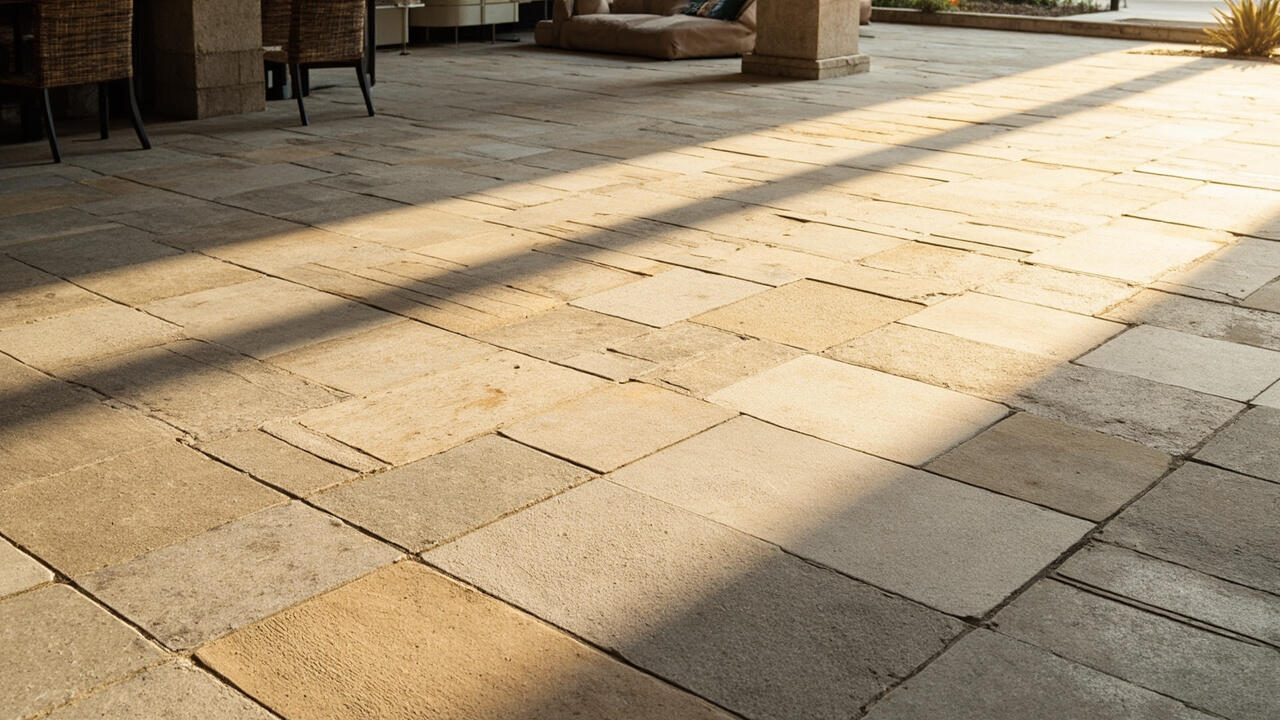

Most failed paver patios did not fail at the pavers. They failed under them, in a base that was too shallow, compacted in one lift, or never restrained at the edge, and the surface simply relayed the movement for a few seasons. Get the layers right and the top course is almost forgiving. Skip them and no amount of careful laying saves it.
That is the whole lesson of this guide. A paver patio is a stack: subgrade, geotextile, compacted crushed stone base, bedding sand, pavers, joint sand. Each layer has one job, and the surface you admire is the last one, not the important one.
Why Paver Patios Fail in the Base, Not on Top
Frost is the patient enemy here. Water gets into the soil under your patio, freezes, expands, and pushes everything upward. Then it thaws, and the ground beneath settles back while your pavers stay where the frost left them. That gap is what you feel as rocking, and it repeats every winter until the joints widen into ruts.
The base exists to spread that heave across a wide enough area that it never reaches the pavers. Six inches of compacted crushed stone is the standard residential depth. Eight inches when something heavy sits on the patio, like a hot tub, a vehicle, or a stacked firewood wall.
Depth alone is not the point. What actually matters is that the stone is compacted in lifts, usually two inches at a time, not one 6-inch dump. A single thick lift cannot fully settle across its depth, so the bottom stays soft and the surface above it never becomes truly stable.
Rock type matters too. You want angular crushed stone, often called decomposed granite or Class 2 road base, because the sharp edges interlock and lock under compaction. Pea gravel and round river rock roll instead of packing, and a base built from them will never hold the pavers flat.
Place a geotextile fabric between the native soil and the stone. It is a permeable sheet that lets water pass while stopping the fines from mixing upward into your base. Without it, the bottom of your base turns to mud after a few seasons and drains like it, no matter how well you compacted it.
None of this is visible once the job is done. That is precisely why it gets cut. Every layer below the pavers is a cost you pay once and a failure you pay for annually, in rocking edges, weeds in the joints, and puddles that never quite dry out.

Concrete, Clay, or Permeable: Which Pavers Fit Your Conditions
Concrete pavers are the widest color and shape range you will find, and the most predictable to work with. They come in a standard 2-inch thickness for patios, which is what most residential base depths assume. Tumbled and chipped-edge styles hide installation small errors better than smooth, square-edged units.
Clay pavers have been extruded and fired for centuries, and they bring a warmer, more varied face to a patio. They are also more porous than concrete units.
That porosity makes them slightly more likely to twist out of plane if the bedding is not screeded carefully. Some sellers claim they are frost proof in any climate, which overstates it. They tolerate frost well, and they still want a base that drains.
Permeable pavers are a different system wearing the same name. They let water pass through the joints into an open-graded base, which manages rainfall without a pipe or a swale. That base is typically deeper than a standard one, and it must be open-graded stone, not the dense road base used under solid pavers.
Choose permeable where the yard drains poorly or a local watershed rule pushes you toward it. Choose solid pavers everywhere else, where a conventional base is simpler to build and easier to repair.
Whichever you pick, buy the same paver from one production lot. Color shifts between lots are subtle in a sample and obvious across a finished patio, and no installer can blend them once they are down.
The Seven Step Sequence That Keeps Joints Aligned
Order is not a preference here. Each step depends on the one before it being right, which is why a paver patio that starts out of sequence tends to stay crooked.
- Mark the area and dig to depth. Lay out the finished edges first, then excavate the soil about 7 to 8 inches below finished grade. That leaves room for 6 inches of base plus about 1 inch of bedding sand under a 2-inch paver. Dig deeper on the side away from the house if the patio must slope.
- Grade the subgrade. Rake the soil flat and firm. Slope the finished surface about 1/4 inch per foot away from the house, so runoff never collects against the foundation.
- Lay the geotextile. Overlap the fabric 6 inches or more at every seam and pin it so it cannot shift under the stone.
- Build the base in lifts. Spread 2 inches of crushed stone, compact, then repeat until you reach 6 inches, or 8 under a hot tub or vehicle. Compact with a plate compactor, working from the low point outward.
- Install the edge restraint. Set it before the outer course of pavers goes down, not after. It is the component that stops the outer row from walking outward, and it only works if the pavers bear against it.
- Screed the bedding sand. Lay about 1 inch of concrete sand, screed it flat between rails, then pull the rails away and fill the furrows. Keep the sand dry and loose, never damp and compact.
- Lay, cut, fill, compact. Set the pavers, snap-cut the edge pieces, sweep joint sand into the gaps, and compact the whole surface once more so the joints lock.
The final compaction is the step people skip, and it is the step that sets the joints. Without it the sand sits loose in the gaps and washes out with the first heavy rain, which is what lets weeds and polymeric sand claims of stability get debated.
Five Fixable Mistakes That Ruin a First Patio
The base was too shallow. Six inches is the floor for a walkway patio, and anything carrying load needs eight. Under-built base is the number one reason a paver surface starts to wave within a few seasons.
The stone was compacted in one pass. A single thick lift cannot settle evenly. Lifts of 2 inches, compacted each time, are not fussy detail; they are the mechanism that makes the base work.
The edge restraint went in after the pavers. Installed too late or left unlipped, it lets the outer row creep outward and opens a joint you can slide a garden hose into. Set it before the perimeter course and follow the manufacturer’s spacing spikes.
The bedding sand was damp. Damp sand screeds true but does not flow, and it compacts into the pavers as they are set, so the surface ends up uneven. Sand goes down dry.
The patio drains toward the house. Every patio slopes somewhere. Pointing it at the foundation moves a small puddle problem into a large one. Lay the grade away from the house first, before you fix the patio footprint.
None of these five are hard to fix at the planning stage and all of them are brutal to fix after the pavers are down, which is the argument for spending the design time up front rather than the labor time later.
What a Paver Patio Costs and How Long the Work Takes
Two costs get confused here: the material and the installed price.
Paver material itself typically runs $5 to $15 per square foot depending on style, and it is the smaller half of a residential quote. Installed, a straightforward paver patio usually lands somewhere between $15 and $35 per square foot.
That spread is driven by base condition, access to the site, and whether a slope has to be corrected. A poured concrete surface sits lower per square foot but carries more risk on a bad site, and the two price out differently once excavation difficulty is counted. Our concrete slab cost breakdown covers that side with the numbers.
In time, a 200 square foot patio is roughly a weekend for an experienced crew with a plate compactor. For a first-timer, plan on a longer one.
Excavation and base compaction are most of those hours, and neither is a step you can rush without losing the result you are aiming for.
Where a crew earns its fee: a slope correction of more than a foot, tight access, a hot tub or vehicle load, or soil that turns to mud as you dig. If your site is flat, accessible, and only has to carry people, this is one of the more forgiving DIY projects in the category. If any of those four conditions applies, the base is the part to hand off.
Before committing to either assembly, it is worth confirming the surface choice itself. Our deck versus patio comparison starts with the one measurement, the height from grade to your back door, that settles most of this before any material enters the conversation.
Once the patio is down, the maintenance calendar starts. Sealing and staining keeps the surface from fading and, on concrete, stops moisture from getting into the slab. That job is worth understanding before the first spring rather than after the first stain.