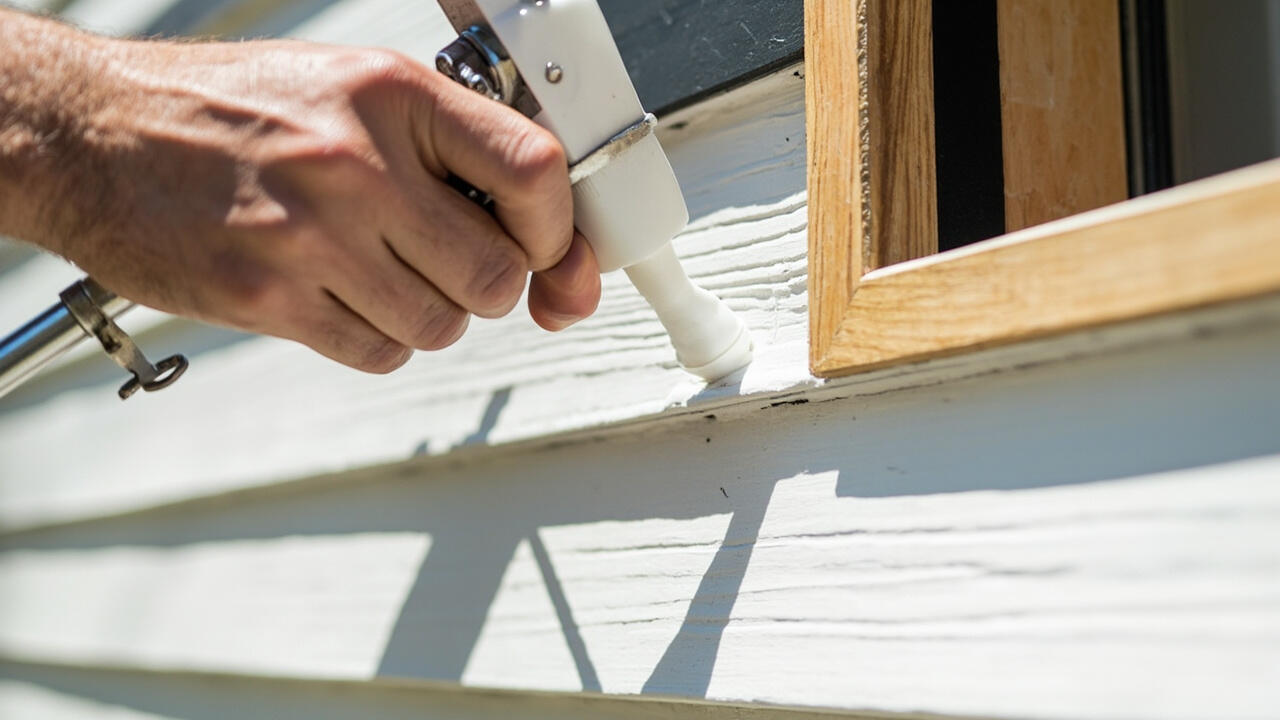

Most failed exterior caulking is not a product failure. It is a bead applied in the wrong place, or a good bead applied over old hardened caulk that had stopped adhering months earlier. Water got in behind the joint, and the sealant you can see was never the thing that was actually leaking.
The bigger surprise for a first-time homeowner is that caulking belongs on some joints around your windows and siding, and sealing the wrong ones traps water inside the wall where it does far more damage.
Knowing which is which takes about an hour of walking the perimeter with your own eyes.
Where Exterior Caulk Belongs and Where It Must Stay Open
Caulk seals a joint by filling it. On a wall, water follows gravity and pressure differentials, and a sealed joint in the wrong location stops the escape route it was supposed to provide.
Seal these joints: the vertical sides where window and door casing meets siding or masonry, the window frame against its surrounding casing, the open ends of mitred trim corners, where trim or siding abuts a different material, and around vent and hose bib openings cut through the wall.
Leave these open: the horizontal lap between courses of lap siding, and the underside of a window sill where it meets the wall below it.
Those two exceptions are the ones that catch people. The lap between siding courses is designed to drain. The sill underside is designed to drain. Seal either one and you have built a tray inside your wall, and the water that would have run down the face of the siding now sits against the sheathing instead.
The same logic applies to soffit and fascia runs and to any horizontal trim detail. Caulk is for closing a path, and a path that exists on purpose should stay open.
Choosing a Caulk by Joint Movement, Not by Price
Choosing sealant by brand or by what is on sale is the most common mistake, because the products differ enormously in the one property that matters: how much the joint moves without breaking the seal.
| Sealant type | Joint movement | Paintable | Best used for |
|---|---|---|---|
| Siliconized acrylic latex | 25 to 55 percent | Yes | Trim, siding laps, painted details |
| 100 percent silicone | Up to 100 percent | No | Glass, metal flashing, non-painted |
| Polyurethane | 50 percent plus | Often | Trim to masonry, abrasion, mixed materials |
| Hybrid polymer | High | Yes | General exterior trim, damp surfaces |
| Acrylic elastomeric | Up to 500 percent | Yes | Log homes, wide seasonal gaps |
Two properties decide it. First, joint movement: a joint that cycles between wide and narrow as seasons change needs a flexible sealant, and a cheap latex bead in a moving joint will split within a year or two no matter how carefully it was applied.
Second, paintability. Pure silicone cannot be painted, which is a real limitation if the surrounding trim is painted. If you need paint over it, use a siliconized acrylic or a hybrid polymer.
The third consideration is the substrates themselves. Sealants bond differently to wood, glass, metal, vinyl and masonry, and a hybrid polymer is the forgiving option when two different materials meet, which is most exterior trim. It costs more per tube and is what many contractors reach for by default for good reason.
Remove the Old Caulk or Nothing You Apply Will Hold
This is the step that decides whether your work lasts one winter or ten. New sealant applied over old, hardened, or cracked sealant bonds to the old bead, not to the wall, and the whole assembly lifts off later as one piece.
Cut the old bead out with a caulk removal tool or a stiff plastic scraper, pull it rather than push it, and get down to clean material on both sides of the joint. A flat blade and some patience beats a heat gun, which can bake the surrounding paint.
Once the joint is bare, scrape off any loose paint and let the surface dry fully. Caulk applied over damp wood will not hold, and this is where a warm dry week matters more than the product you bought.
For a gap wider than about a quarter inch, push in foam backer rod before caulking. It limits the depth of the bead, which is what a sealant is actually designed for, and it cuts material cost while improving how the bead cures.

Application matters as much as product. Lay a continuous bead rather than blobs, tool it with a wet finger or a damp sponge before it skins over, and keep the nozzle moving at a steady pace. A bead applied in one relaxed pass tools clean; one rushed and patched afterward never does.
How to Tell Your Caulk Has Failed
You do not need to be a contractor to inspect your own caulking. The test is simple and it takes five minutes per window.
Press a bead with your fingertip. Healthy sealant is rubbery and springs back, leaving no mark. Failed sealant feels hard, crumbly, or stays compressed where you pushed it. That single test catches most failures before water does.
Look for the visual signs too: cracks running along the bead, sections that have pulled away from one surface, chalking or discoloration, or a bead that has hardened into something closer to rubber cement. A draft at a closed window is often the first functional hint.
Pay attention to orientation. South and west facing walls get significantly more sun and typically need attention first, because UV degrades the polymer from the outside in. A north facing wall in a shaded, damp corner can fail from moisture rather than sun.
Insulation stains or peeling paint on the interior trim or the wall below a window point at a joint that has already been leaking for a while. At that point resealing alone may not be enough, and the wall cavity itself may need to be opened and inspected.
How Often to Recaulk and What It Costs
Most exterior caulking lasts somewhere between five and ten years, and the honest average for a full house is closer to seven. Interior caulk lasts considerably longer because it sees no UV and no rain.
Rather than sealing the whole house on a calendar, inspect twice a year, in spring and again in early fall before heating season, and replace failed sections as you find them. Partial replacement is normal maintenance and far cheaper than a whole-house redo.
A tube of quality exterior sealant runs roughly $5 to $12, and a tube covers about 25 linear feet of a 1/4 inch bead.
The material cost on a typical house is trivial, often well under a hundred dollars. If a quote prices this as a premium service, the labor is the number to question.
The tool investment is similarly small: a caulk gun in the $10 to $25 range, a removal tool, and a box of painter’s tape for clean edges. Getting the exterior trim joints right is what makes these beads exist, and it is the difference between a seal that lasts a decade and one that fails in a year.
A Quick Walk-Through Order That Works
If you are starting a resealing project, this order avoids the most common beginner error, which is sealing a joint before the one above it has dried and been checked.
- Walk the perimeter first with no tools, and mark every failed bead with tape. Look for cracks, pulled edges, and chalky sections.
- Check the sill undersides and siding laps while you are out there, and confirm they are still open rather than caulked by someone else.
- Remove every marked bead fully, down to clean material on both faces of the joint.
- Clean and dry the exposed joint, and scrape loose paint away from the edge.
- Backer rod into any gap wider than a quarter inch before caulking.
- Caulk and tool each joint in one relaxed pass, working top down so gravity works with you.
- Return in a week and press the new beads. Anything that does not spring back gets redone while the rest is still fresh.
That last step is the one people skip, and it is the reason a careful job still fails. Sealant that is properly tooled but poorly bonded often shows up within days, and catching it then is a ten minute fix rather than a repeat of the whole project.
One caution. If failed caulking is accompanied by soft sheathing, mold, or structural movement around the opening, the sealant is a symptom rather than the cause. That is worth a look from a qualified exterior contractor before you spend a weekend on more bead.
While you are up there, it is worth confirming that the water arriving at the wall has somewhere to go. Our basement water and drain guide covers the foundation side of the same problem, and a blocked weep hole or a failed drain is a common reason a correctly sealed joint still ends up wet.