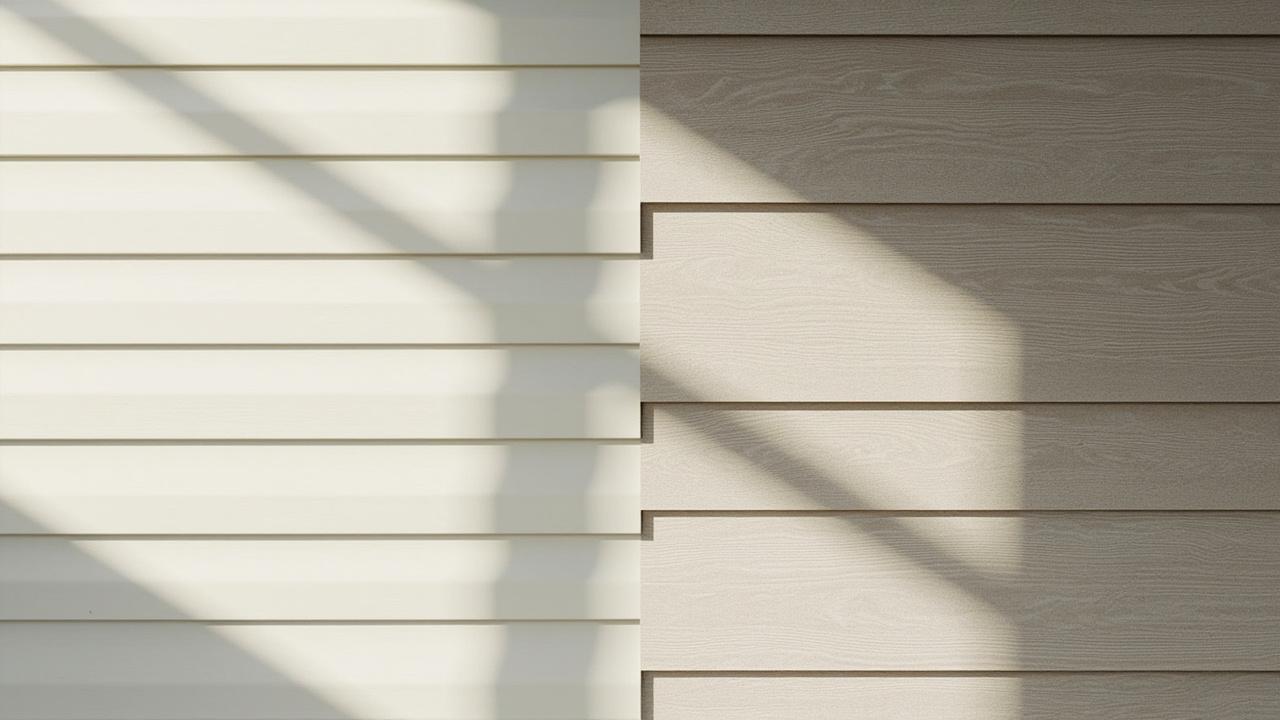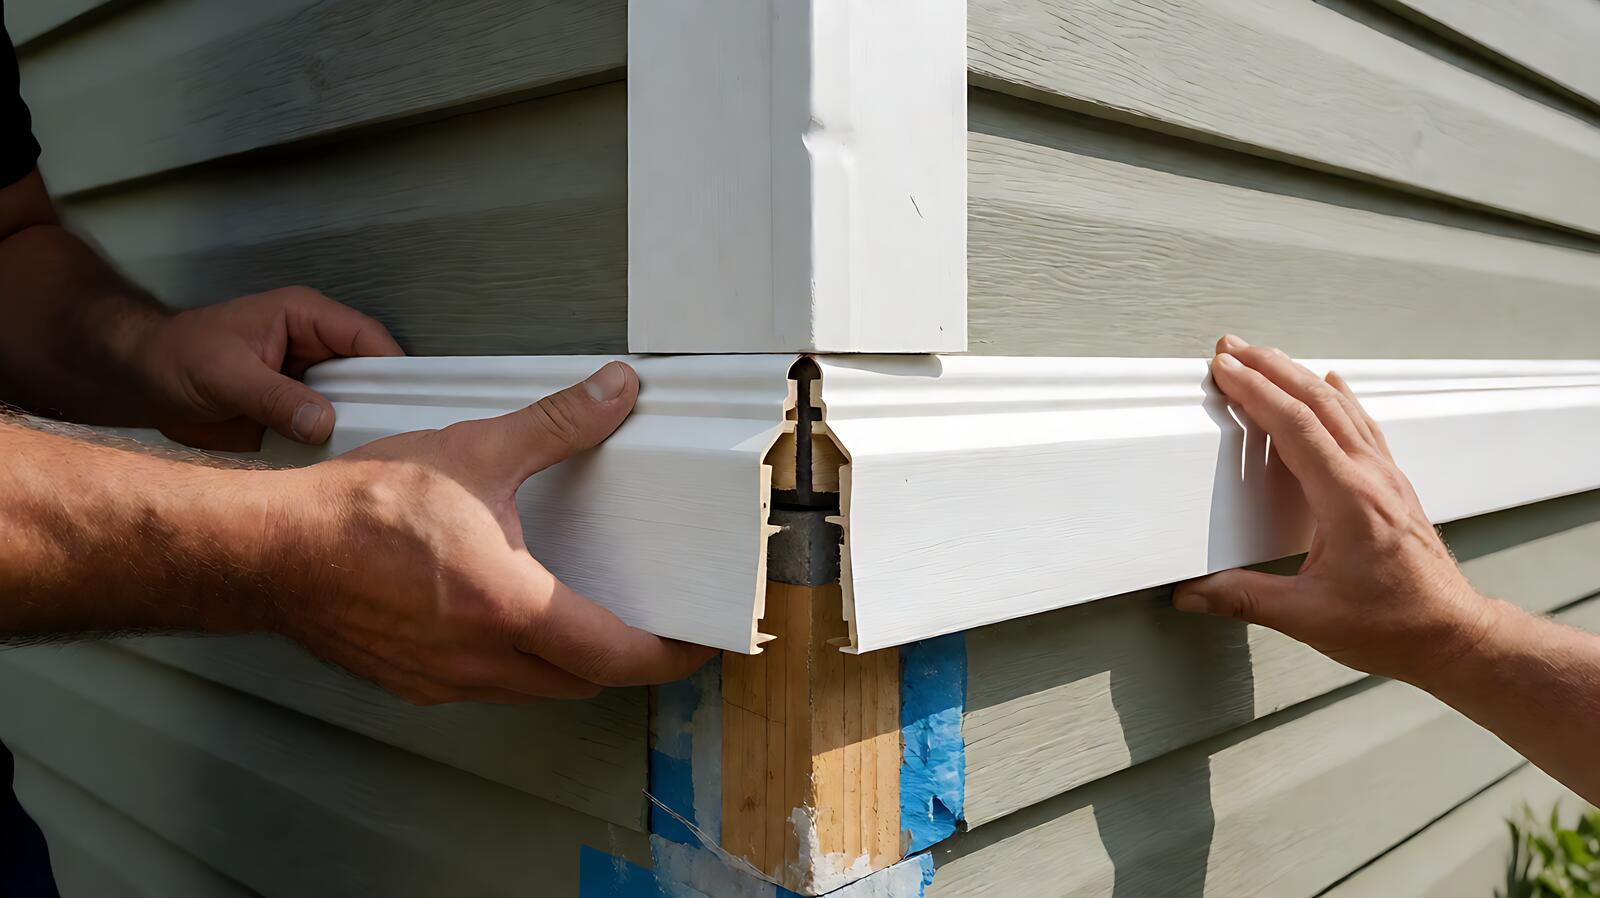

Installing exterior trim is one of those jobs where the material choice matters a lot less than the install details — you can put the right board on the wrong way and it’ll fail faster than the wrong board on the right way. The things that actually cause callbacks are almost always about sequence (what goes on first and what has to stay open), tolerance (flatness, slope, gap size), and fastener discipline (type, spacing, pre-drilling). Get those three right and the trim does its job for 15-25 years. Skip any one of them and you’re under the eaves with a caulk gun before the next warranty cycle.
What Exterior Trim Actually Does — and Why It’s Not Just Cosmetic
Exterior trim — fascia, soffit, corner boards, window and door casings, gable trim — is the interface between your wall or roof structure and the weather. It’s not decoration. Fascia boards cap the exposed ends of rafters and trusses and give gutters something solid to hang from. Soffit panels cover the underside of the roof overhang and in most builds double as the intake for attic ventilation. Corner boards and casings seal the gaps around windows, doors, and wall intersections where water would otherwise find a path into the framing.
The job of exterior trim is to direct water away, permit ventilation where it’s needed, and give other components something stable to mount to. A fascia that’s installed flat and level gives the gutter a consistent mount — a fascia that’s bowed or twisted makes the gutter gap, sag, or overflow at the low spots. A soffit with open vents feeds air into the attic — a soffit with vents painted over or caulked shut cuts off that airflow and contributes to ice dams and attic heat buildup.
The rainscreen gap — typically 3/4 inch between the top of the fascia and the roof sheathing — is the detail that connects soffit ventilation to the attic. Close this gap and you’ve turned a vented roof edge into a sealed one, which changes the moisture and temperature dynamics of the entire roof assembly.
Sequence — What Goes On in What Order
The install sequence exists for a reason: each step creates the conditions the next step depends on. When you skip ahead, you create problems that are expensive to fix after the fact.
1. Roof edge prep comes first. Before any trim goes on, the roof edge needs to be clean, flat, and properly flashed. This means the drip edge is installed, the housewrap or felt paper is terminated and integrated at the roof line, and any rotted or damaged sheathing at the eaves is replaced. Installing new fascia over compromised sheathing hides the problem for six months and makes it worse in the meantime.
2. Soffit installs before fascia on vented builds. On a roof with vented soffit, the soffit panels or boards go on first — they need to span from the wall to the planned fascia position, and the fascia gets mounted over the soffit’s outer edge. If you reverse this, you either trap the soffit install between the wall and the fascia, or you end up with a gap that needs filler pieces.
3. Baffles or vent integration before fascia closes the gap. Whatever system you’re using to keep the 3/4-inch rainscreen gap open — individual baffles, a continuous vent channel, or a drip edge designed to leave the gap — gets installed before the fascia goes on. Once the fascia is fastened, you can’t add a baffle without removing it.
4. Fascia goes on level, not sloped. The fascia board itself should be installed level. Gutter slope comes from how the gutter is hung, not from the fascia — typically 1/4 to 1/2 inch of drop per 10 feet toward the downspout. sloping the fascia creates an uneven gap at the soffit joint and makes the gutter noisy and prone to pooling at the low end of the fascia run.
5. Gutters mount after fascia is secured. Gutter hangers or spikes go into the fascia, not into the soffit or the roof sheathing behind it. The fascia needs to be fully fastened and checked for flatness before gutter hardware goes in — if the fascia shifts after the gutters are up, the gutters crack or gap at the seams.
Tolerances That Actually Matter — and the Range for Each
These aren’t precision-engineering numbers, but they’re close enough that ignoring them shows up within a season or two.
| Detail | Target range | What happens if you miss it |
|---|---|---|
| Rainscreen gap (fascia to roof deck) | 3/4 inch (typical); 1/2-1 inch acceptable depending on vent design | Gap too small = soffit airflow restricted; gap too large = gutter mount weak, pests enter |
| Fascia flatness | Flat within 1/8-3/16 inch over 4 feet | Gutters gap or overflow at low spots; visible waves after paint |
| Gutter slope | 1/4-1/2 inch per 10 feet toward downspout | Too flat = standing water, mosquito breeding, overflow in heavy rain; too steep = water outruns the downspout, splashes at base |
| Vinyl expansion gap (end joints) | 8 mm minimum at butt joints and corners | Material buckles or waves in heat; gap closes and fasteners pop in cold |
| Hanger spacing (fascia) | 24-36 inches on center; tighter for long runs or high-wind sites | Sagging over long spans; gutter pullaway in wind |
| Fastener penetration | Into framing or blocking, not just sheathing | Fascia pulls away in wind or under gutter load; nails pull through sheathing |
The rainscreen gap is the one that shows up in the most callbacks because it’s invisible once the fascia is on. A 3/4-inch gap is the typical target, but the actual number depends on what ventilation system you’re using — some continuous soffit vent designs need a full inch to move enough air, while individual soffit vents with baffles can work with 1/2 inch. The check is simple: after the soffit goes on and before the fascia goes on, look up from below and verify you can see a clear path from the soffit openings into the attic. If you can’t, the gap is blocked.
Flatness matters because fascia is a mounting surface. A gutter hung on a fascia that varies by more than 1/8 inch over 4 feet will show the irregularity — the gutter either gaps at the high spots or pools at the low ones. Check with a straightedge before fastening, and if a board is twisted or bowed, replace it rather than forcing it flat with extra screws. Forcing it creates stress points that crack when the material expands and contracts.
Fasteners, Materials, and What Each One Requires
Different trim materials need different fastener approaches, and using the wrong one is a slow failure that shows up as rust stains, popped nails, or split boards years later.
Fiber cement — Pre-drill every fastener hole. Fiber cement is dense and brittle; driving a nail without a pilot hole splits the board, especially near the edges. Use corrosion-resistant fasteners — hot-dipped galvanized or stainless — because standard galvanized nails rust and streak the cement within a few years in wet or coastal climates. Follow the manufacturer’s spacing, typically 16 inches on center for soffit and 24 inches on center for fascia, with fasteners placed at least 1 inch from the board edge.
Vinyl — No pre-drilling needed, but you need expansion gaps. Vinyl expands noticeably in direct sun — a 12-foot run can grow several millimeters on a hot day, and without an 8 mm gap at each joint, that expansion has nowhere to go and the board buckles. Use vinyl-specific nails or screws with a slightly oversized pilot hole or a neoprene washer so the fastener doesn’t restrict movement — the board needs to slide slightly under the fastener head as it expands and contracts. Hanger spacing is typically 24-36 inches, tighter on long runs or windy sites.
Engineered wood / composite — Similar to fiber cement for fasteners (corrosion-resistant, often pre-drilled near edges), but the expansion behavior is closer to wood than vinyl. Follow the manufacturer’s instructions for gap and fastener spacing — different brands have different formulations and the install specs vary.
Solid wood — Hot-dipped galvanized or stainless fasteners, pre-drilled near edges to prevent splitting, and a paint or stain finish within the manufacturer’s recommended window after install. Wood trim that sits unpainted for months in wet weather absorbs moisture and swells, which makes the first coat of paint bond poorly and leads to peeling within the first few years.
One fastener mistake that shows up on almost every DIY job: fasteners that are too long. A fascia board that’s 3/4 inch thick shouldn’t get a 3-inch nail — it should get a fastener that penetrates the board and bites into the framing behind it without poking through the other side. If you’re fastening into rafter ends or blocking, a 1.5-2 inch fastener is typical. If you’re fastening into only the sheathing because there’s no blocking behind the fascia, the fastener isn’t doing its job and the fascia will eventually pull away — add blocking or upgrade to a mechanical connection that grabs the structure.
Common Mistakes That Undo the Work
These are the things that cause callbacks — the install looks fine on day one and fails within a year or two. Most of them are avoidable with a 10-minute check at the right point in the sequence.
Caulking the top of the fascia. The single most common mistake. The top edge of the fascia where it meets the roof sheathing is where the soffit ventilation needs to flow. Caulk there and you’ve blocked the soffit vents — the attic stops getting intake air, moisture builds up, and ice dams or attic mold follow. Seal the bottom of the fascia where it meets the wall or gutter, but leave the top open or integrated with a designed vent path. If a previous owner caulked it, the fix is a putty knife and a heat gun, not new fascia.
Skipping the rainscreen gap check. It takes 10 seconds to look up from below the eaves after the soffit is on and before the fascia goes on. If you can’t see a clear path from the soffit openings into the attic, the gap is blocked — by the fascia board itself (too thick for the overhang), by insulation stuffed into the gap, or by a baffle that’s installed wrong. Fix it before the fascia goes on. After the fascia is on, the fix means removing it.
Gutter slope on the fascia, not the gutter. When the fascia is installed with a slope, the gutter looks tilted and the soffit joint at the top is uneven. The gutter gets its slope from how it’s hung, not from the fascia. Level fascia, properly sloped gutter.
Paint over vents. A previous owner or contractor paints over the soffit vent openings, killing the airflow. When troubleshooting attic heat or moisture, verify the vents are actually open before replacing the soffit. Sometimes the fix is thinner than you think.
Wrong fastener type for the climate. Standard galvanized nails in a wet or coastal climate rust within a few years and leave rust streaks down the fascia and siding. The fix is expensive because you’re replacing fasteners that are now stained the surrounding material. Use hot-dipped galvanized or stainless from the start — the cost difference per fastener is small, the cost of replacing rusted ones later is not.
No blocking behind the fascia. If the fascia is fastened only into the roof sheathing with no structural blocking behind it, it’s holding on with nails in plywood or OSB — not a reliable long-term connection, especially once gutters are loaded with water and ice. Add blocking between the rafters at the fascia line, or use a mechanical connection that grabs the structure.
When to Call in a Licensed Professional
Most exterior trim installs are within reach of a competent DIYer with the right tools and enough time. But some conditions push this into professional territory — not because the trim itself is hard, but because the conditions behind it require skills or equipment that go beyond trim install.
Rotted rafter tails or truss ends — If the wood behind where the fascia will sit is soft or dark-stained, the framing needs repair before new trim goes on. This means opening the roof edge, assessing how far the decay has spread, and replacing framing members — work that requires structural judgment and often scaffolding. A licensed contractor can evaluate whether the decay is localized or widespread and what the repair actually involves.
Ice dam history with attic ventilation issues — If the house has a history of ice dams and the soffit-to-attic ventilation path is compromised (insulation dams at the eaves, blocked baffles, knee walls creating dead air), a new soffit install alone won’t fix it. The full ventilation path needs assessment — intake, attic clearance, exhaust — and that may involve insulation work, air sealing, or roof geometry changes that go beyond trim.
Steep or high roofs — Working at height on a roof with a steep pitch or significant height requires fall protection and experience with the setup. A fascia install that takes an afternoon on a single-story ranch with a low-pitch roof becomes a half-day job with safety rigging on a two-story home with a 12/12 pitch. If the setup feels unfamiliar, that’s a sign to bring in someone who does this regularly.
Structural questions about the roof edge — If you’re unsure whether the existing rafters or trusses can support the gutter load you’re planning, or whether the overhang is deep enough to protect the fascia from wind-driven rain in your climate, a professional assessment saves the guesswork. A licensed contractor can evaluate the roof edge as a system — structure, overhang, gutter capacity, fascia spec — and tell you whether what you’re planning actually holds up.
After the trim is installed, the next questions are usually about the rest of the exterior system: what the siding around this trim needs, how the gutters tie into the drainage plan, and what the whole edge rebuild costs per linear foot. The exterior siding overview covers how siding and trim work together as a system, and the gutter installation cost guide walks through gutter sizing and pricing if you’re planning the full edge at once.