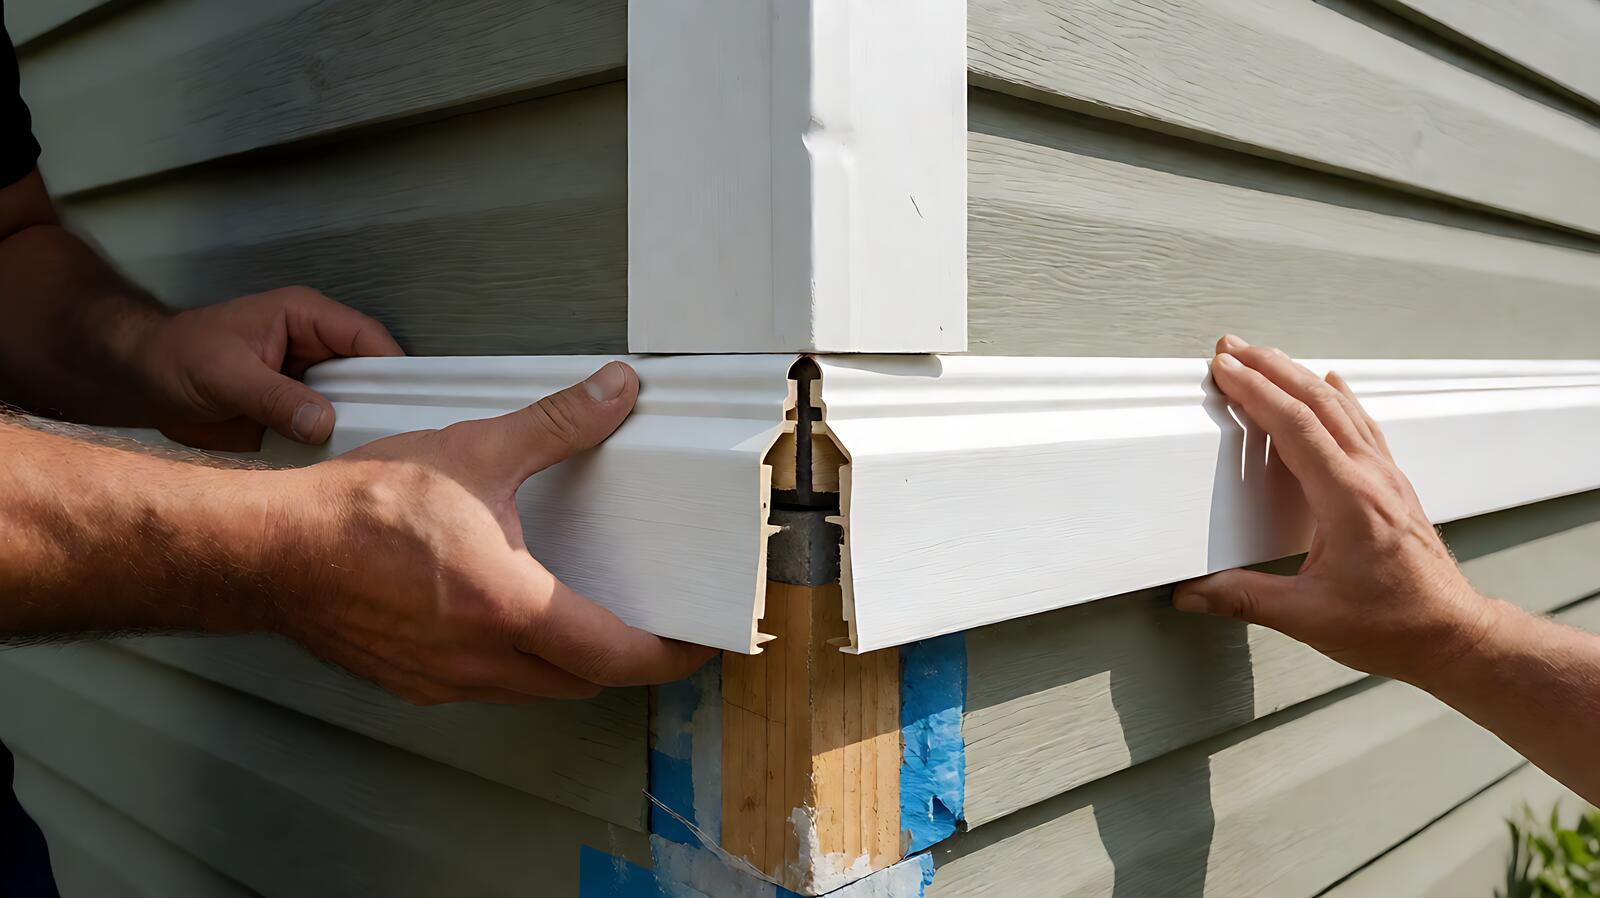
Remove trim, repair the wall, add a weather barrier, flash openings from bottom to top, snap a level starter line, hang panels with room to move, then set corners, windows, and eave trim with patient sealing. The tolerance that matters most is movement, so hold vinyl about 1/8 to 3/16 inch off stops and keep nails centered with heads loose enough for float. House siding installation is a layered cladding process that sheds rain outward while protecting the wall beneath.
Direct Answer: The Correct Siding Sequence
Siding installation order follows seven stages from wall repair to final seal when installed over wood frame sheathing. You check the wall, build the drainage plane, flash openings, establish level, hang field panels, trim openings and corners, then seal and ventilate. Skip a stage and water finds it. Rush layout and every course tells the story.
Think of the wall as a raincoat, not a sponge. Each layer laps over the one below, like shingles, so gravity does the work. If you are comparing house siding types before you buy, choose the profile first, then read its install sheet, because fastener depth and exposure change by product. Keep the makers guide on site and follow it where it is stricter than general practice.
Plan the day around access and cuts. Stage panels flat and shaded, mark stud lines on the weather barrier, set sawhorses with a sharp fine tooth blade, and keep a level, story pole, and snap line close. Short practice cuts teach you how your material chips, cracks, or melts. That small rehearsal saves full panels later.
Wall Prep and Weather Barrier Done Right
Wall sheathing condition decides siding life, holding firm and dry for decades when rot is removed and joints stay flat. Pull loose nails, replace soft or swollen sheets, re nail wavy areas to framing, then sweep dust so wrap and tape bond. Sight down the wall. A hump here becomes a wavy course for twenty feet.
For the drainage plane, felt and synthetic wrap both shed water when lapped correctly, with synthetics often easier to keep flat and tight. Run courses from the bottom up with 4 to 6 inch horizontal laps and 6 to 12 inch vertical laps, tape only the laps your maker approves, and cap staples where wind is strong. Leave the bottom edge open for drainage, never seal it to the foundation.
Flashing order is bottom first, then sides, then top, so each upper piece drains onto the lower one. Set sill pan flashing at windows and doors, run flashing tape up the jambs, then set head flashing to kick water clear of the trim. Add housewrap slits that fold into the opening like wrapping a gift, not cuts that funnel water inward. Patience here prevents most sheathing rot calls later.
Step by Step Install With Real Tolerances
Panel coursing accuracy stays true within about 1/8 inch over a long run when each course is checked against a datum line. Snap one coursing and level line around the whole house, transfer window head heights to it, and dry lay corners so narrow slivers do not land beside openings. Level does not mean following a sagging slab. It means holding one honest line.
- Set the starter strip dead level, 1 to 2 inches below the sill plate or per maker range, with firm fastening into framing. This first piece sets every course above it.
- Wrap corners, then set J-channel around windows and doors with small miters that drain, leaving about 1/8 to 3/16 inch clearance for vinyl movement at stops.
- Hang the first full course, locking the panel hem fully while keeping nails in the nail slot center over 16 inch on-center studs where the structure calls for it. Drive heads snug without crushing, about 1/32 to 1/16 inch off vinyl for float.
- Work upward with a 1/8 inch expansion gap at trim stops for vinyl in mild weather, widening toward 3/16 inch in cold, and butt fiber cement per its sheet with a smaller controlled joint. Check level every two to three courses.
- Use staggered butt joints with factory ends meeting on framing or per maker detail, stepping joints at least 16 to 24 inches between courses so seams scatter.
- Fit around pipes, meters, and lights with snug rings plus sealant, keeping upper flashings lapped over lower trims. Cut with room for motion, never force a panel home.
- Close the top with undersill trim, notch and hang the last rip, then tie into soffit and fascia with vented pieces where attic airflow requires it. Keep the rainscreen gap 3/4 inch open at top and bottom where your strapping design calls for it, screened against insects.
| Siding type | Fastener | Typical spacing range | Movement gap range |
|---|---|---|---|
| Vinyl lap | Roofing nail into framing or solid nailing base | 12 to 16 inches on center | 1/8 to 3/16 inch at stops |
| Fiber cement lap | Siding nail or approved screw, blind nailed | 16 to 24 inches per exposure | Small butt joint per sheet, sealed where required |
| Engineered wood lap | Siding nail into studs or structural base | 16 inches on center typical | 3/16 inch class gaps at trim, per maker range |
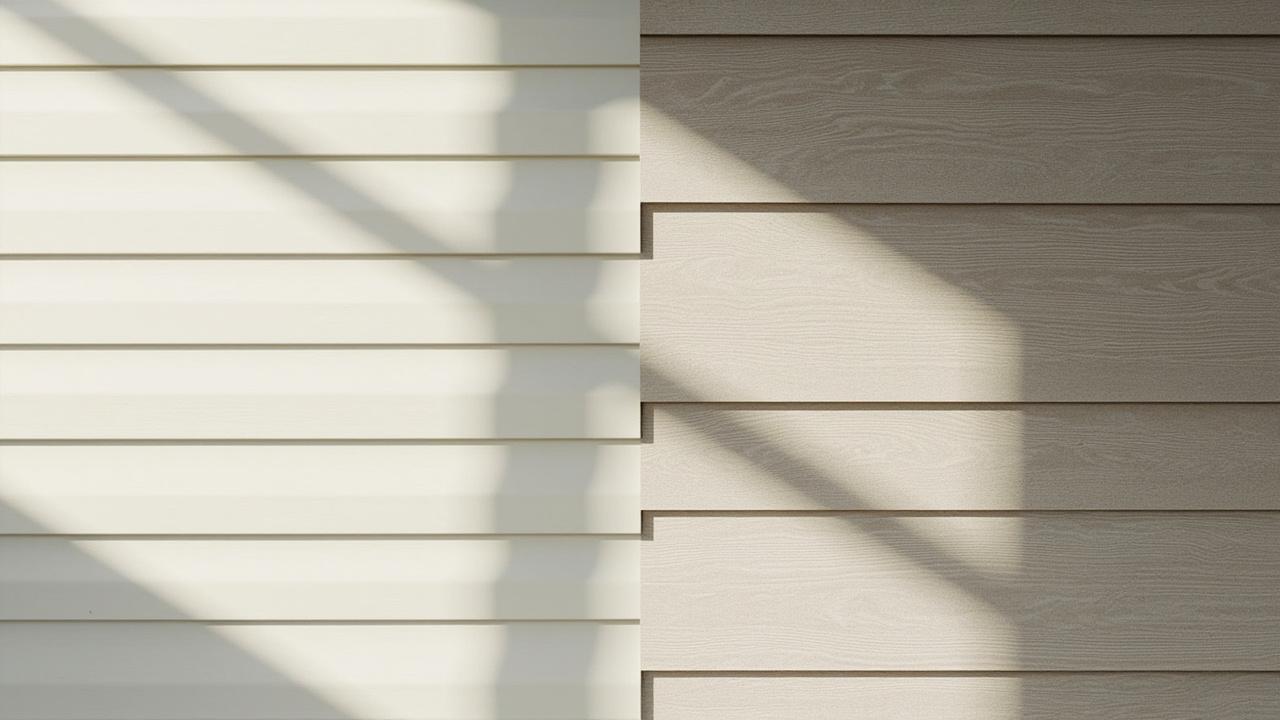
If you are still choosing between materials, this vinyl vs fiber cement siding comparison helps you weigh movement, paint, and weight before you commit to a fastening plan. Vinyl floats, cement holds paint, and each choice changes the rhythm of the day.

Mistakes That Cause Rot and Blow Offs
Face nailing failure starts with tight or off center fasteners that lock vinyl panels during heat and cold. Oval slots exist for a reason. A nail driven hard through the edge of a slot stops float, oil cans the panel, and pops locks in wind. Center the shank, leave the head proud for glide, and hit framing or a solid base.
Water entry often traces back to missing or backward laps at trim, plus absent kickout flashing where a roof dies into a wall. Without that small diverter, runoff pours behind the cladding for years. Sealant alone cannot fix it. Add the diverter, step flash up the roof, and let the wall drain.
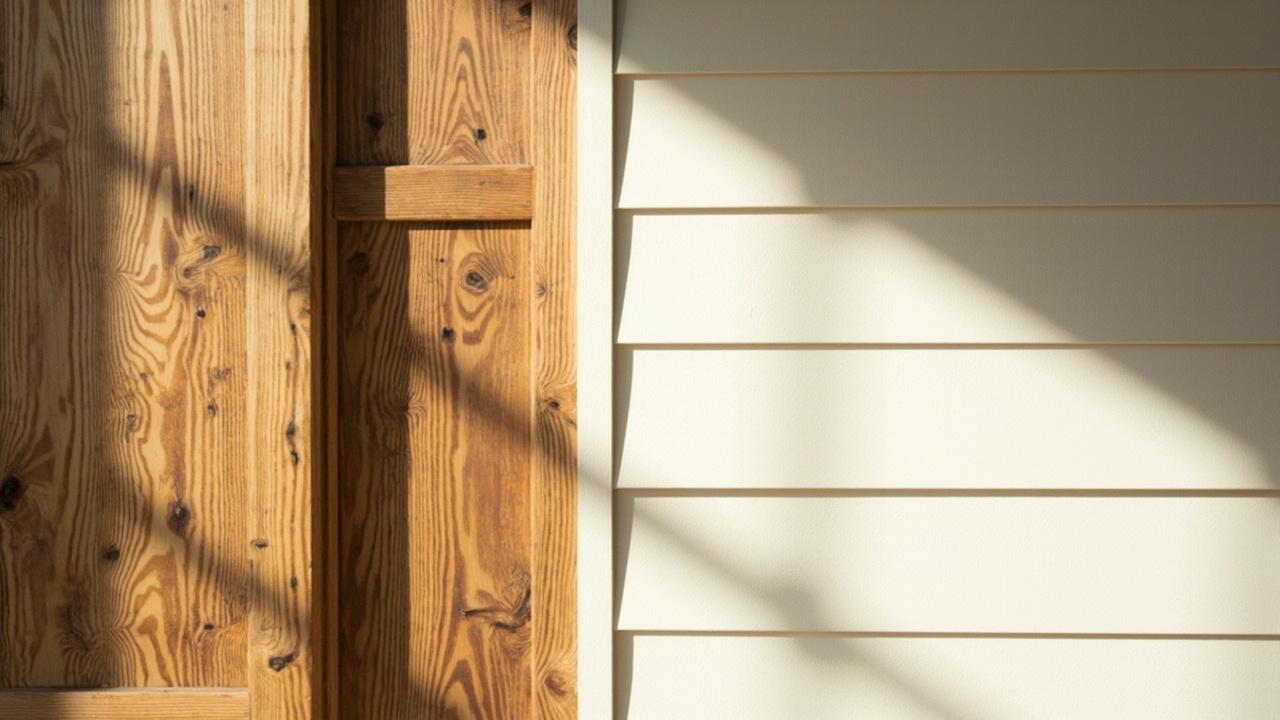
Other slow killers include butt joints stacked in a ladder, panels jammed tight to corners, and heavy reliance on caulk and backer rod where a flashing belonged. In cold climates, repeated freeze-thaw opens those stressed joints wider each season. Leave room for motion, scatter seams, flash first, then use sealant as a helper. For contrast on material behavior, readers also compare wood vs engineered siding before detailing joints and finish.
Limits, Permits, and When to Call a Pro
Permit scope for siding replacement stays simple for like for like work in many towns, turning stricter when sheathing, structure, or historic detail changes. Call the building office with your address, siding type, and whether you will open walls. Ask about weather barrier inspection, egress at windows, and clearance above grade and roofing. IRC based rules commonly point to 6 to 8 inch clearance above grade and 1 to 2 inch above roofing, but your local office governs.
Stop and bring help when rot runs deep, walls wave badly, or heights and power lines make footing risky. Ladders deserve sober respect, with level feet, a sound tie off, and a spotter on tall reaches. Nail guns deserve the same care, with eyes and ears covered, sequential fire mode, and fingers clear of the nose. If framing is soft, windows leak from the frame, or stucco meets complex roofs, consult a licensed professional before you cover anything up. Covering damage only schedules a bigger repair.
Your next step is small and concrete. Walk the house with a screwdriver, level, and camera, probe suspect trim, note wavy courses and stained laps, then pick one test wall to open and reseal. If that wall goes flat, dry, and level, you have your system. If not, you have your answer, and a pro can take it from there.