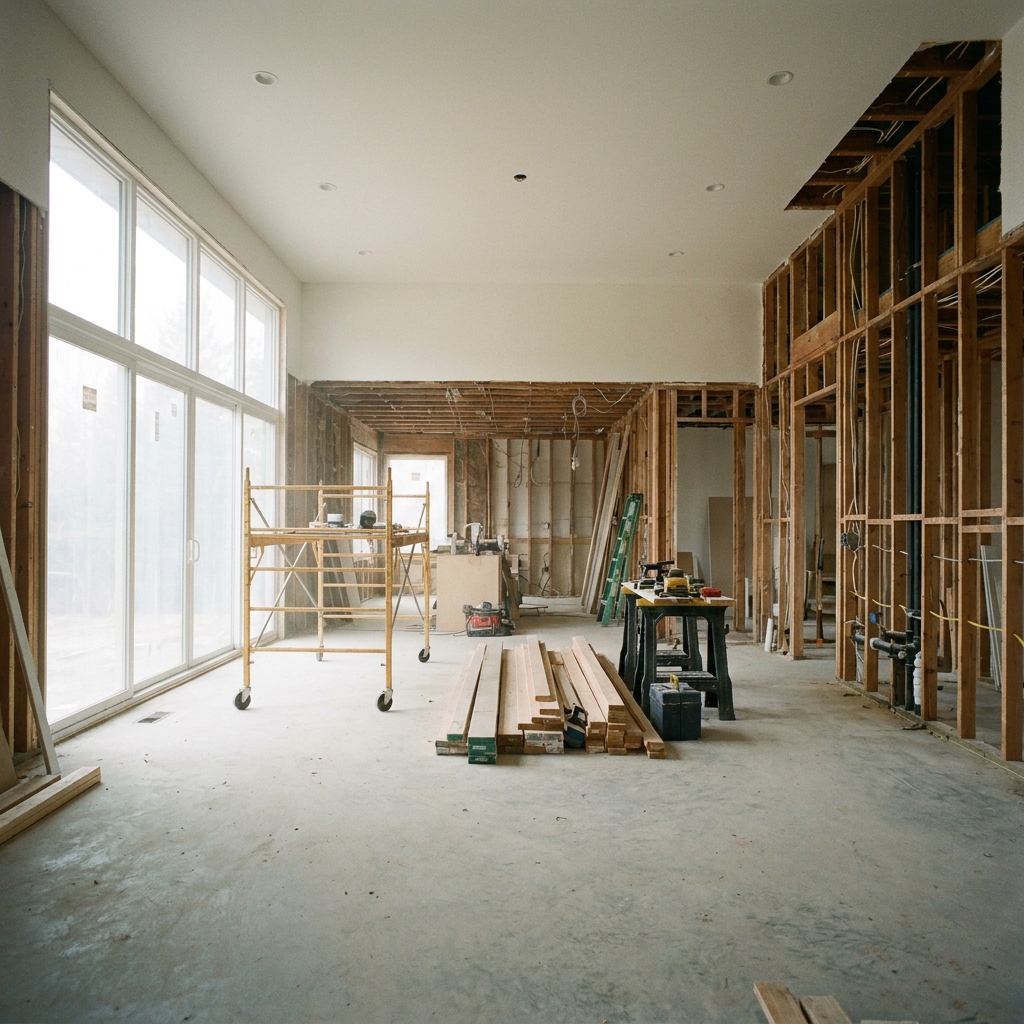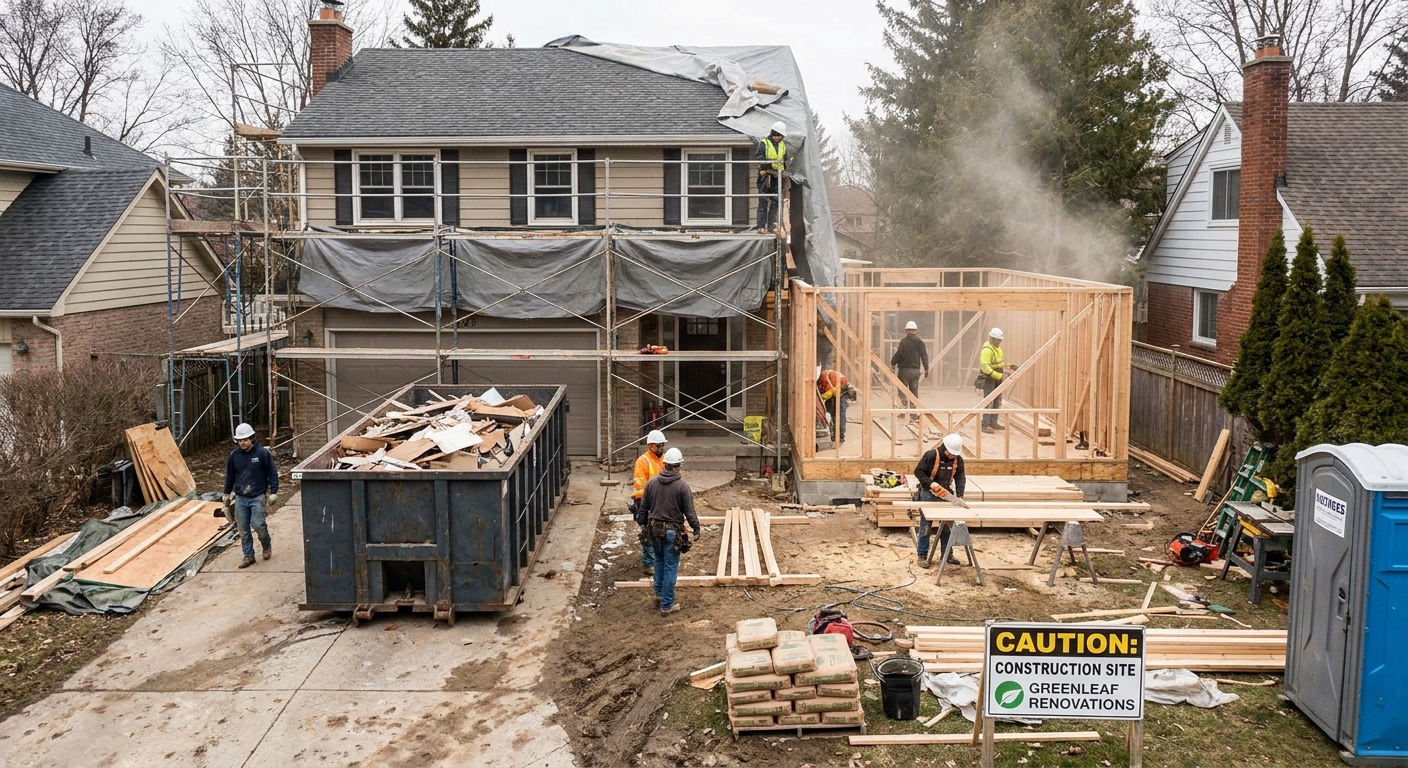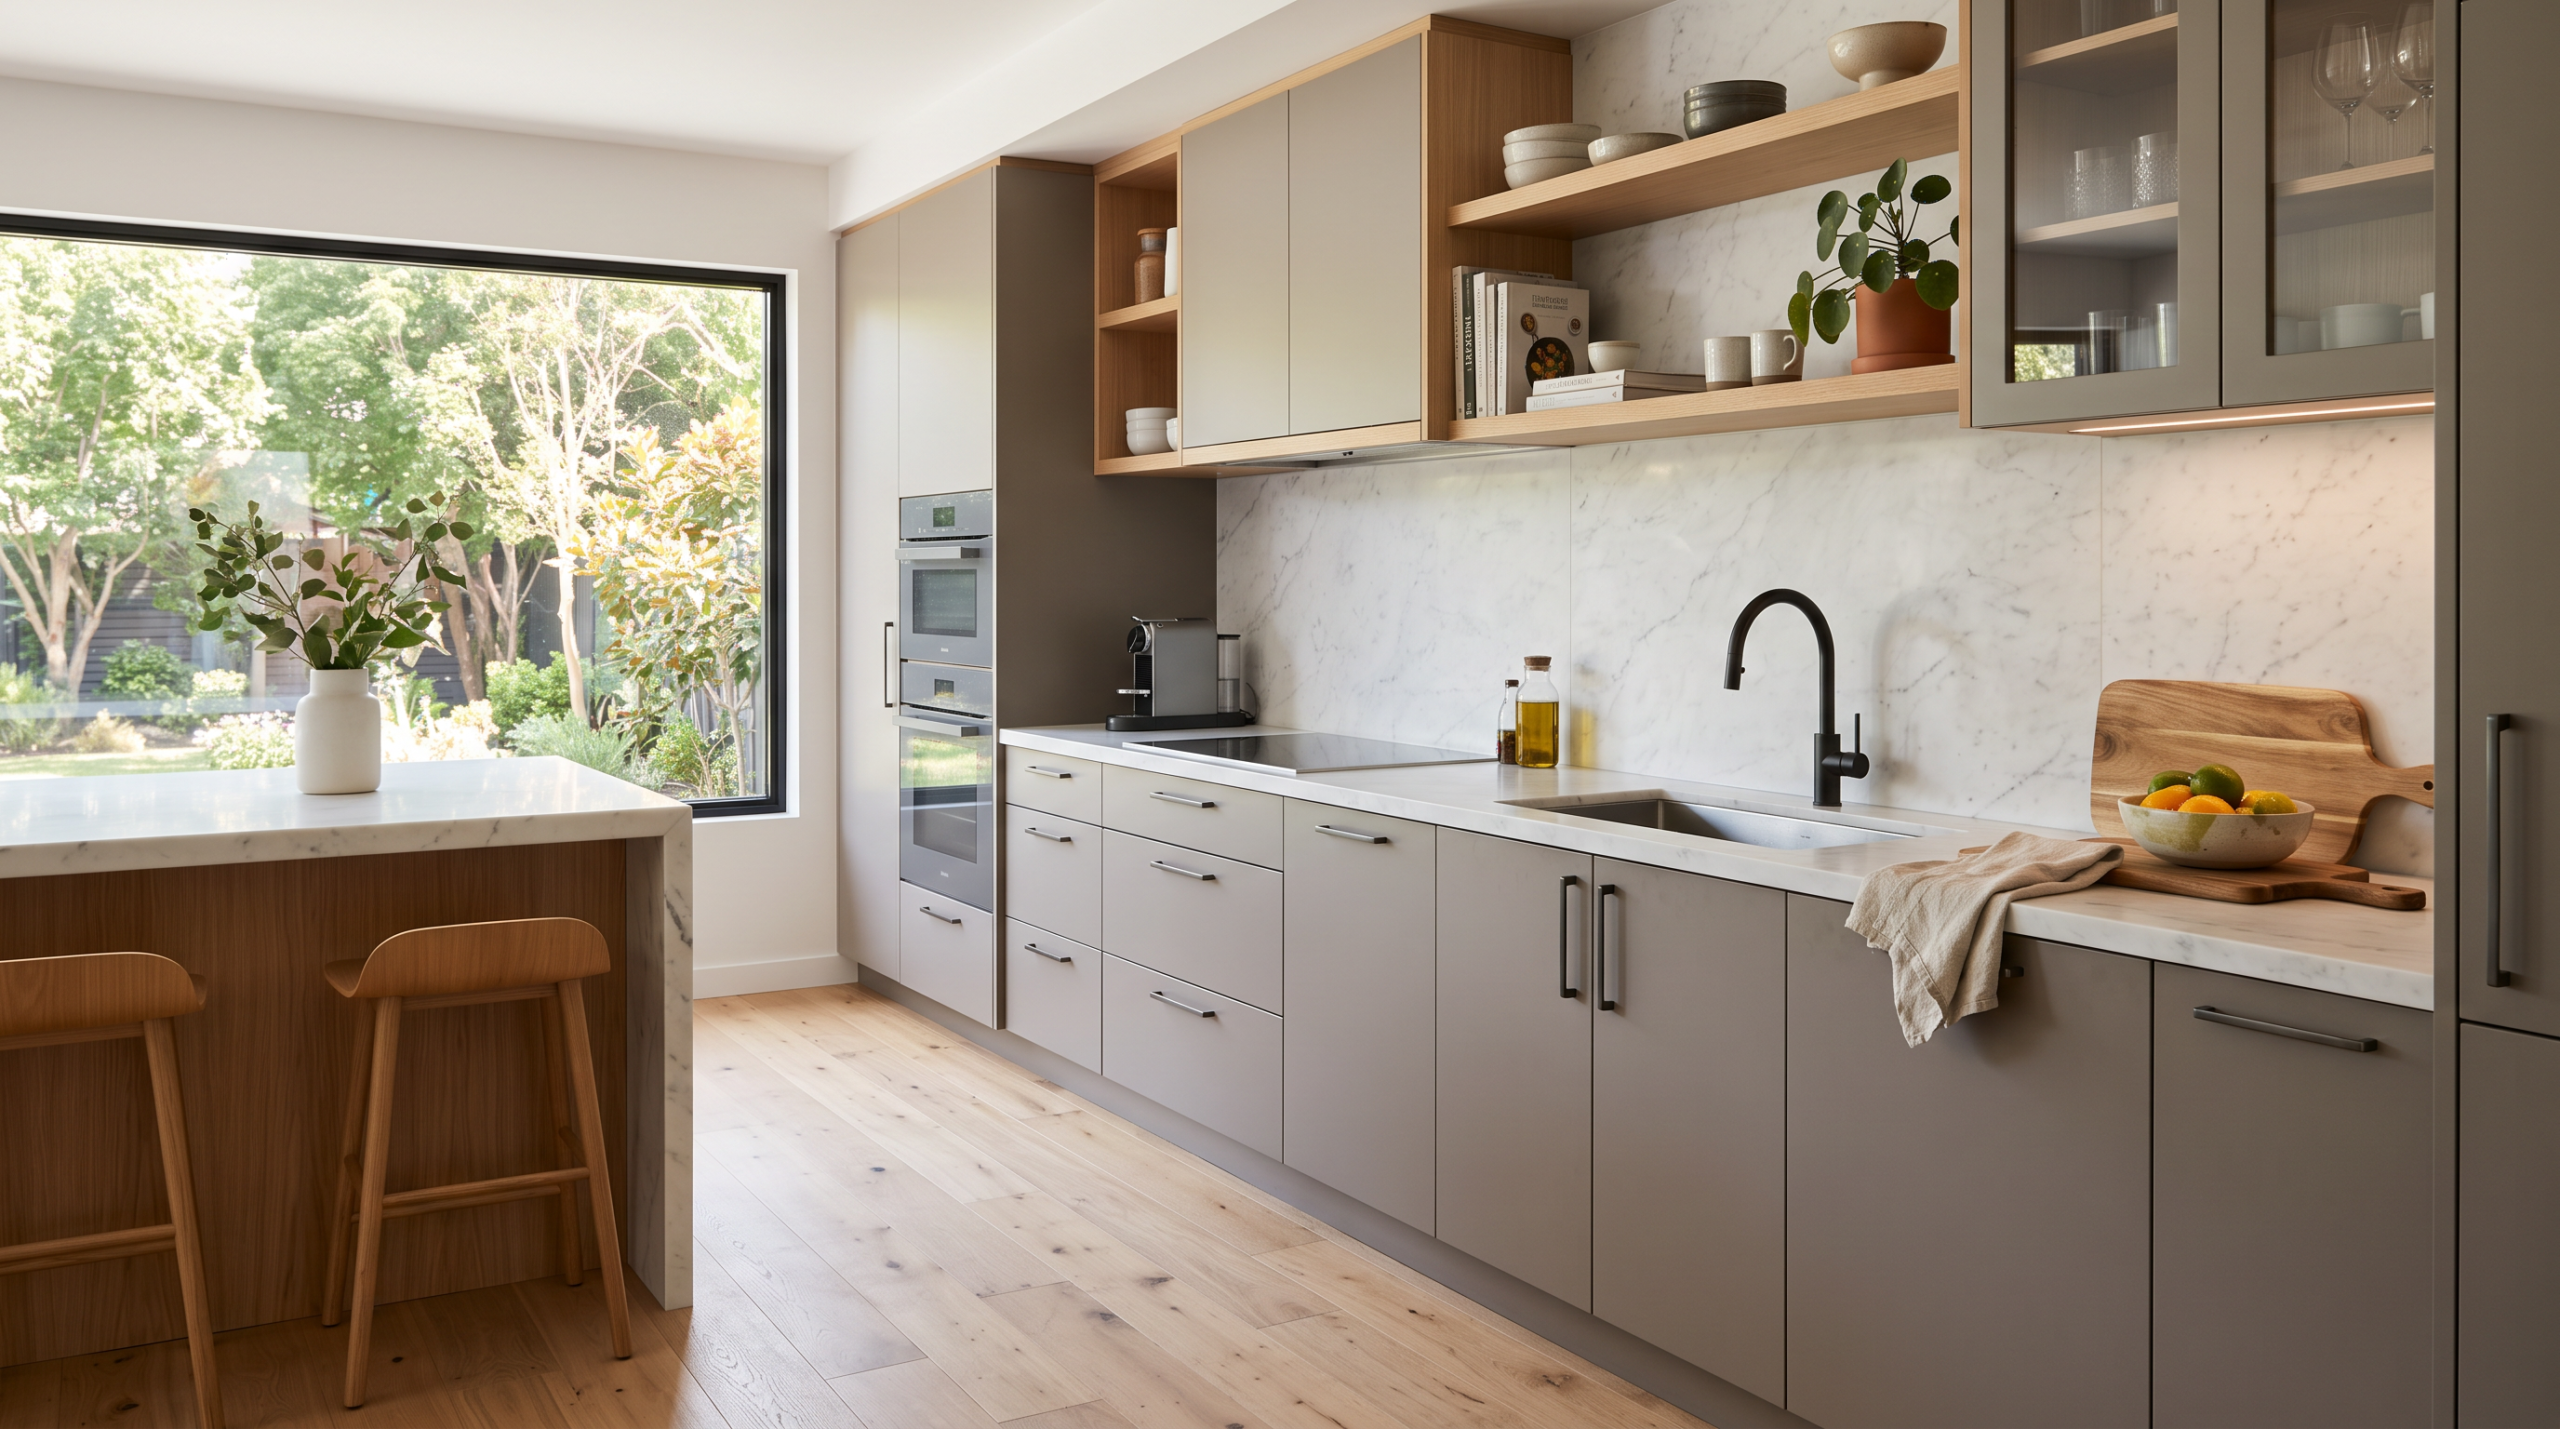


Whole house projects go sideways for one predictable reason, the wrong work happens at the wrong time. Crews redo finished floors because plumbing was still open, paint blisters because the wall was not dry, and inspections fail because framing was covered too early. A clear checklist prevents that cascade by locking design, permits, and long lead materials before demolition starts. It also reserves a 10 to 15 percent contingency so surprises become line items, not crises. A home renovation checklist is a sequenced control document that aligns scope, budget, and inspections to a single project sequence.
What This Checklist Covers and Why Sequence Decides Cost
A home renovation checklist covers scope definition, design freeze, permits, procurement, demolition, structural work, mechanical rough-ins, enclosure, finishes, and final inspections in an order where each step protects the next. It answers the dominant job, execute the process correctly without hidden rework, by making the project sequence visible to owner, designer, and trades before anyone swings a hammer.
When sequence is explicit, two expensive loops disappear. First, finish before function, where paint and flooring go down before plumbing and electrical pass inspection, so compliant work forces demolition of new finishes. Second, decisions during demolition, where tile and fixtures are chosen while studs are open and lead times stall the general contractor and crew.
In US practice most interior renovations land between budget $100 to $350 per sq ft installed, about $1,080 to $3,770 per sq m, with kitchens and baths at the high end because concentrated plumbing, electrical, and waterproofing sit in a small footprint. Tie payments to completed prerequisites and a passed inspection under IRC and IBC where structure or egress is touched. Consult a licensed professional for structural, electrical, and plumbing plan review before you pull permits.
How the Sequence Works: Phases, Tolerances, and What Each Protects
Renovation follows physics, not preference. Demolition exposes structure, structure sets geometry, mechanical systems fill that geometry, and finishes seal it. Skipping ahead traps moisture and hides defects inspections are meant to catch before cover.
| Phase | Exit Criteria Before Next Step | Tolerance or Range |
|---|---|---|
| 1. Planning and permits | Drawings signed, selections locked, building permit issued | Design to permit 3 to 10 weeks |
| 2. Procurement and site prep | Long lead items ordered with written lead times | Cabinets 6 to 12 weeks, windows 4 to 10 weeks |
| 3. Demolition and framing | Framing plumb and straight, load-bearing wall changes engineered | Bow less than 1/8 inch per 8 feet |
| 4. Mechanical rough-ins | Plumbing, electrical, HVAC run and pressure tested | Pass rough-in inspection before insulation |
| 5. Enclosure and test | Insulation, drywall, and waterproof membrane installed and tested | Membrane 0.8 to 1.2 mm, flood test 24 hours, floor flatness 3/16 inch per 10 feet |
| 6. Finishes and punch | Flooring, cabinets, tile, paint, trim, final inspections | expansion gap 1/4 inch at perimeters, slope 1 to 2 percent to drain |
Dimensional control lives between phases 5 and 6. If the subfloor is not flat within 3/16 inch per 10 feet, large format tile will lippage and cabinet bases will rack. If the membrane lacks a 4 inch upturn and proper overlaps, water finds the stud spacing behind tile, not the drain. If exhaust fan 50 to 110 CFM is undersized or flex ducted, humidity lingers and paint ages fast.
Hold a contingency reserve of 10 percent for cosmetic scopes and 15 percent when you open walls or move drains. Tie draws to inspections, not calendar dates, so rework is priced before cover, not after.
Choosing Your Path: Contractor, DIY, and Material Trade-Offs Compared
Every checklist becomes a decision tool at three forks, who leads the work, what finish range you target, and how you handle wet areas. Condition, not preference, chooses.
| Decision | Choose A If | Choose B If | Risk If Wrong |
|---|---|---|---|
| Lead: contractor vs owner led | Structural or multi trade permitted work | Single room cosmetic, one trade | Failed inspection, schedule slip |
| Scope: keep layout vs reconfigure | Clearances meet code and use is comfortable | Drain or aisle hampers daily use | $800 to $2,000 plus revision to move a drain |
| Flooring: laminate vs tile vs hardwood | Dry living areas, tight budget | Wet or sun exposed areas | Cupping, gapping, or slope failure |
| Waterproofing: sheet vs liquid | Large shower, low tolerance for error | Small splash zone | Pinhole leak becomes second tile job |
A dry living room at 200 sq ft with flat subfloor and stable humidity fits laminate with a 1/4 inch perimeter gap, often $4 to $8 per sq ft material plus $2 to $5 per sq ft labor, but only with acclimation and moisture testing. See how to install laminate flooring to match expansion and flatness before you buy. A compact bath with a failing pan rewards keeping the footprint while rebuilding membrane and slope, explore positioning in bathroom layout and fixtures before you move a toilet. For wet zones settle waterproofing logic early, waterproofing that actually prevents leaks belongs in planning, not during tile selection.
Step by Step Installation Sequence and the Mistakes That Force Rework
Check each box only when the exit criteria are met and photographed, so the next crew inherits a job that is truly ready.
1. Lock design and selections. Finalize plans, lighting and fixture positions, tile size, and hardware. Order cabinets, windows, and specialty tile now and set demolition start from the longest lead time, not the earliest.
2. Pull permits and confirm holds. Post the permit and note which inspections require open framing or open plumbing. Schedule the rough-in inspection before insulation and never cover work the inspector needs to see.
3. Protect and demolish. Shield floors, cap ducts, contain dust with zip walls, remove finishes to studs where required, and keep one clear egress path per code.
4. Correct structure and geometry. Replace damaged framing, add blocking for cabinets and grab bars, and verify plumb and plane. A wall plumb within 1/8 inch over 8 feet makes every later step cheaper.
5. Rough-in and test. Set plumbing with correct slope, run dedicated circuits for bath and kitchen, route exhaust in rigid metal where possible, pressure test, then call for inspection. Passing here saves more than a week of finish speed.
6. Close and seal. Install insulation, hang drywall, tape to a true flat, continue waterproof membrane through wet zones with manufacturer overlaps, and run a 24 hour flood test. Verify floor flatness and correct with leveling compound before flooring.
7. Set finishes in order. Tile in wet areas always follows a tested membrane, paint follows drywall cure, and flooring respects expansion gaps and slope to drain.
8. Trim, fixtures, and punch. Install doors, trim, and fixtures, set ventilation on timers, and build your punch list room by room. Final inspections close the job on paper the way the flood test closed it in the field.
Three mistakes cause most callbacks. Covering work before inspection forces reopening that never looks as good as the first install. Skipping flatness and slope checks makes cabinets rack and water sit on a flat pan, problems you chase with caulk for years. Starting finishes before acclimation produces gapped planks in winter and buckled edges in summer. The quiet fourth is the undocumented change order, a verbal tweak with no price or time impact, that later becomes a dispute about what the assumed budget covered.
Decision Guidance: When to Pause, Downscope, or Call a Licensed Professional
Not every project should continue once walls are open. Good checklists include stop rules that keep a hidden condition from compounding.
Pause if you find active leaks, widespread mold, spongy subfloor near a tub, charred or notched joists, or outdated wiring. Price remediation separately and keep contingency intact, do not spend finish allowance to cover structural or health risks.
Downscope deliberately if lead times or budget drift. Keeping layout while upgrading membrane, ventilation, and lighting often delivers more durable value than moving a drain for a trend. Humid or below grade spaces favor moisture tolerant systems, sun exposed rooms favor fade stable finishes, and tight budgets favor keeping wet walls where they are.
Bring in a licensed professional for structural modifications, new or relocated waste and vent, added circuits, gas, or envelope penetrations. Confirm local amendments to IRC and IBC with your building department. A stamped detail costs a few hundred dollars and documents an asset you will disclose at sale.
Walk the house with this checklist, mark prerequisites you have not yet locked, and sequence purchases to the critical path, not the sale calendar. A renovation that respects tolerances feels quiet underfoot, drains cleanly, and still looks straight when seasons change, that is the real finish line.