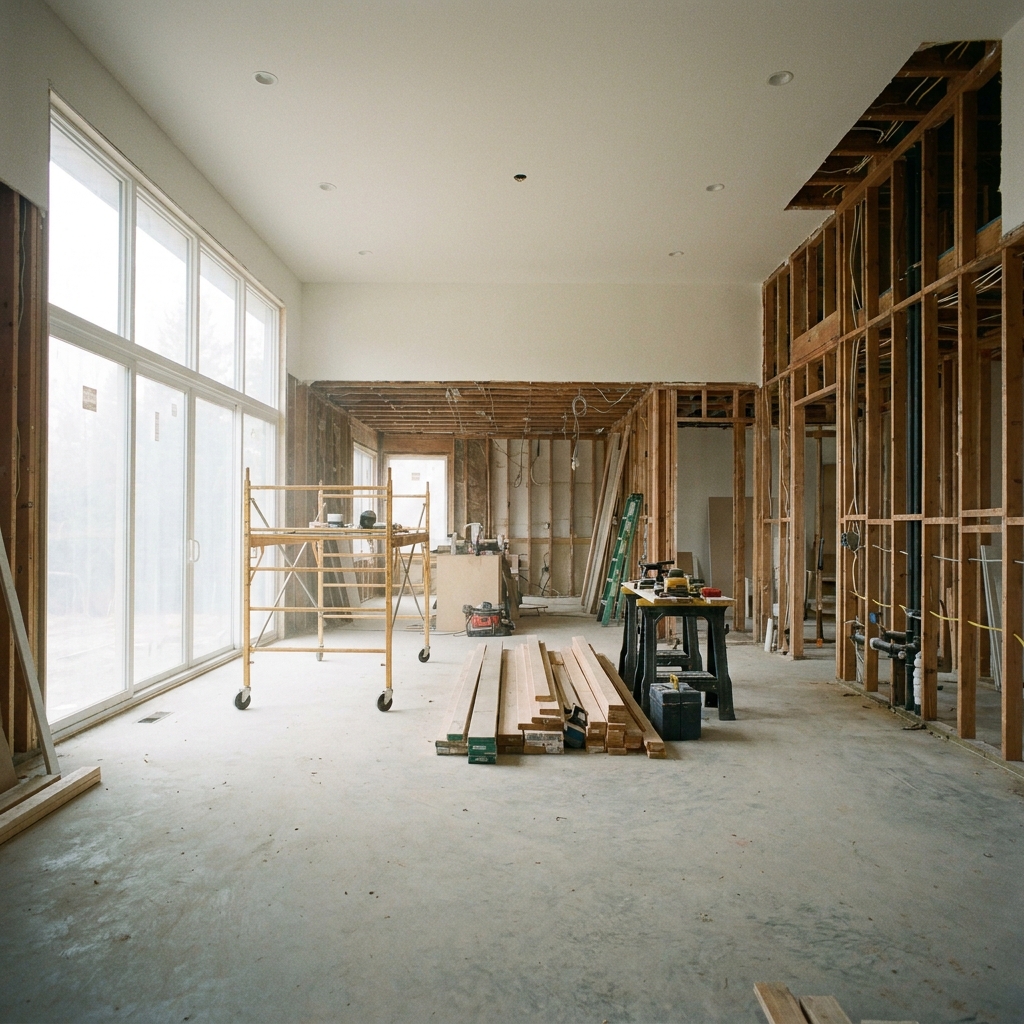

The quote is in your inbox, the contractor is starting in three weeks, and the room you are about to renovate still has a working sink, a half full pantry, and a water heater that has not been checked since you moved in. The week before demo is when most renovations go wrong, not the week of the work. A home renovation is a coordinated update of layout, structure, mechanical systems, and finishes that improves safety, function, and durability under IRC and IBC requirements, and the prep that gets done in the last seven days decides whether the next eight to sixteen weeks run on schedule or run over.
Preparation is not cleaning the room. Preparation is documenting the existing conditions, locking down scope, sequencing inspections, clearing access for trades, and protecting the systems and finishes that are not in the work zone. Each item has a tolerance and a trigger. Skip one and the next trade shows up to a room that is not ready, which costs a day, a callback, or a remodeled element that has to be opened back up.
This page walks through the seven prep steps that matter, in the order they matter, with the tolerances that separate a job that runs clean from one that runs over. The list is short on purpose. Most of the value sits in doing these steps completely, not in adding more steps.
Document Existing Conditions Before Anything Changes
The first prep step is to write down what is in the room and what is feeding it. Photograph every wall, ceiling, floor, fixture, and appliance from two angles. Open the electrical panel and label which breakers serve the room. Find the main water shutoff and verify it actually closes. Locate the HVAC returns, supply vents, and any ductwork that passes through the space. Find the smoke and carbon monoxide detectors and note their age. Most detectors expire after 10 years.
The reason this matters before demo is that a contractor who knows the existing conditions can plan around them. A wall that looks cosmetic may contain a plumbing vent that has to be relocated if the layout changes. A ceiling that looks flat may be hiding a junction box for a smoke alarm loop that has to stay accessible per IRC R314. A floor that looks level may slope 3/4 inch over 12 feet, which is fine for carpet and a problem for large format tile.
Capture three documents in writing before the contractor walks the job. A one page scope with what is in and what is out. A one page schedule with the start date, the rough inspection hold, the insulation and drywall date, and the finish start. A one page contact list with the contractor, the project manager if there is one, the building department for permits, and the local utility locator for any digging outside. The total is two pages plus photos. It is the cheapest insurance on the project.
Confirm Permits, Plans, and Inspections in Writing
If the work touches structure, electrical, plumbing, mechanical, or the building envelope, a permit is required under most US jurisdictions that follow the IRC or IBC. Cosmetic work like paint, flooring over existing finish, and cabinet refacing usually does not require a permit. The dividing line is scope, not size. A $40,000 cosmetic refresh may not need a permit. A $4,000 wall move almost always does.
Confirm the permit in writing. Ask the contractor for the permit number, the date it was pulled, and the name on the permit. In most jurisdictions, the property owner or the licensed contractor pulls the permit, and the work cannot start rough inspection until the permit is posted and the plan reviewer has signed off. If the contractor says permits are not needed, ask which specific scope item is exempt and write down the answer. Verbal confirmation does not protect you at resale or at claim time.
Inspections are part of the prep too. Most residential renovations trigger three to five inspections: a footing or foundation inspection before the pour, a framing inspection after structure is up, a rough mechanical inspection after electrical, plumbing, and HVAC are roughed in, an insulation inspection after insulation is in, and a final inspection when work is complete. Each inspection is a hold point. Schedule them on the calendar before the first trade arrives so the inspection date does not become a surprise that stops the crew for two days.
The budget for permits and inspections is real. A kitchen or bath remodel pulls $400 to $1,200 in fees in most jurisdictions, with outliers higher in California, New York, and the Pacific Northwest. Plan the line item, not the lump sum, so the fee does not eat the contingency.
Sequence the Demo and Protect the Path Between Room and Dumpster
Demo looks fast and gets expensive when it is not staged. The rule is to remove the layers in reverse order, not in the order they were installed. Tile and substrate before drywall, drywall before studs, studs before plumbing, plumbing before slab if the scope requires it. Each layer goes into a labeled container so the crew can find what they removed if the layout changes mid project.
Protection is the second half of demo. Lay 1/2 inch OSB or 3/4 inch plywood on the path between the work zone and the dumpster or truck. The path takes more abuse than the work zone, and an unprotected path damages flooring that is not in the scope. Hang plastic sheeting on every doorway that borders an occupied room, and run a fan to keep dust from migrating into the return air. Tape HVAC returns in the work zone closed. Dust in the return clogs the blower wheel and reduces system life, which becomes a warranty fight a year later.
Plan the dumpster before the first hammer swings. A 10 to 20 yard roll off dumpster holds a typical kitchen or full bath demo. The driveway, the alley, or the curb needs a placement that does not block emergency access or violate local parking rules. A permit for the dumpster is required in some cities. Add the call to the prep list, not the day before demo, because delivery slips a day when the previous customer overfills.
Verify Substrate, Rough Framing, and Tolerance Before Close Up
Substrate is the layer that finishes sit on, and it is the layer that fails first when it is out of tolerance. Floors flat to within 3/16 inch over 10 feet for tile, 1/8 inch over 6 feet for large format porcelain. Walls plumb to within 1/8 inch over 8 feet for cabinet runs. Ceilings level to within 1/4 inch over 12 feet for any lighting that grazes the surface. These numbers come from the Tile Council of North America handbook and from general finish trade practice. They are not negotiable for a result that reads as quality.
Check substrate before the drywall goes up. The framing is exposed, the mechanical rough-in is in, and corrections cost dollars instead of hundreds. Run a laser level across the floor and a 10 ft straightedge across the wall. Mark high and low spots with a pencil. A bowed stud gets planed or replaced. A low spot in the subfloor gets shimmed or built up with self leveler. A wall that is out 1/4 inch over 8 feet reads as wavy reads as wavy under any raking light, and the raking light always shows up after move in.
Three substrate checks catch most of the rework that derails a job. First, the floor flatness before any tile or large format flooring is ordered. Second, the wall plumb before any cabinet order is released. Third, the door and window rough openings before any door or window order is finalized. Each check costs 20 minutes at the right moment. Each missed check costs a day to a week when the finish material arrives and the substrate is wrong.
Lock the Schedule, Plan the Punch List, and Set a Realistic Move In Date
Schedules are not promises. Schedules are the sequence of trades plus the inspection holds plus the lead times on long lead items. A 12 week kitchen schedule that does not include the 6 week lead time on custom cabinets is a 18 week schedule with a two month surprise. Pull the long lead lead times before the start date and back calculate the order date so the cabinet, the stone, the windows, and the appliances are all on site before they are needed.
The punch list is the small list of corrections made at the end of the job, and it is a prep step, not a finish step. Walk the room weekly during construction and write down each issue. A scratch on a window, a gap in a miter, a misaligned outlet cover, a paint run on the ceiling. The list grows by one or two items per week on a clean job and by five to ten per week on a struggling one. The list at the end is the difference between a punch list that takes a day and one that takes two weeks.
Set a realistic move in date. Add two weeks to the contractor’s verbal finish date for punch list, final inspection, deep clean, and the things nobody remembered. Add another two weeks if the scope is full gut with structural or mechanical change. The honest move in date is the date you can live in the space without a contractor on site for a fix, not the date the last trade walks out.
For a deeper look at the cost layers behind this schedule, the home renovation cost guide covers per square foot ranges in US markets, and the home renovation timeline article walks through the sequence in more detail. If the project is a kitchen and you are deciding DIY versus contractor, DIY vs professional renovation lays out the criteria that decide which path protects your budget for this scope.