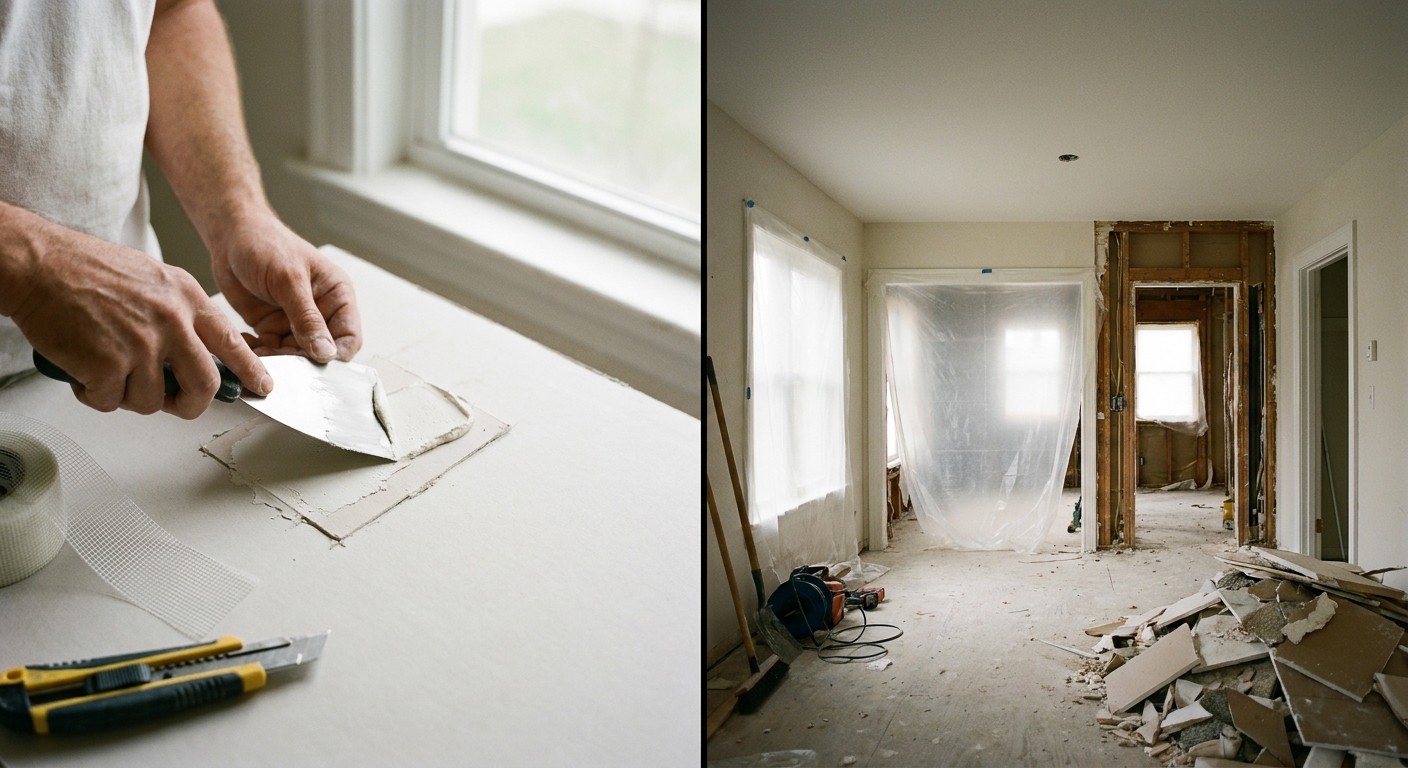


You want to save money where you can, but you do not want to pay twice to fix work that fails inspection or leaks. That tension is the real job behind the DIY question. It is not tool skill. It is knowing where your labor helps and where it hurts schedule, permits, and warranty. A home renovation is a coordinated update of layout, structure, mechanical systems, and finishes that improves safety, function, and durability under IRC and IBC requirements.
What DIY vs Professional Renovation Really Means
DIY vs professional renovation compares who carries scope, liability, and sequencing for the same outcome, not who swings the hammer. DIY means the homeowner manages project sequence, sourcing, and quality control. A professional engagement means a licensed general contractor owns schedule, subs, inspections, and warranty. The value difference shows up in coordination, not just labor hours.
In US practice the code is the divider. Cosmetic work in place like painting, swapping cabinet hardware, or laying click flooring over a flat subfloor rarely triggers permits. Once you move a load-bearing wall, alter an electrical panel, reroute plumbing rough-in, add gas, or touch envelope and egress, IRC chapters R602, P2503, E3401 and IBC equivalents require permits and inspections. That permit line is the most reliable predictor of which path protects your budget. Cross it without the right trade, and you trade a saved fee for a failed inspection and opened walls.
Think of cost in bands, not single numbers. Cosmetic DIY in a 120 to 200 sq ft room often lands at $25 to $75 per sq ft ($270 to $810 per sq m) for materials and tool rental. The same scope with a contractor runs $100 to $200 per sq ft installed. Full gut with systems work runs budget $100-350/sq ft ($1,080 to $3,770 per sq m) depending on plumbing, electrical, structure, and finish level. Carry a contingency of 10 to 15 percent if layout stays, 15 to 20 percent if systems or walls move. If that range feels wide, it is meant to be. It reflects how much layout change moves cost, not just finish taste.
How Each Approach Works and Why Results Differ
Project sequence is the mechanism that determines whether a renovation lasts, and sequence explains why timelines diverge. Both paths follow the same physical order, demo and protection, framing and structure, mechanical rough-in, inspection, insulation and drywall, then finishes. The professional difference is hold points for inspection and trade overlap. The DIY difference is often a compressed schedule that skips the pause that lets inspections catch errors before they are buried.
Cause chains make this concrete. When a shower pan misses its 1/4 inch per foot slope or a vapor barrier is lapped the wrong way, water does not show at the tile. It shows months later as a stain on the ceiling below or as cupped flooring at the wall. When a new circuit shares a 15 amp breaker that should have been a dedicated 20 amp home run per IRC E3702, the breaker trips under normal load. When a wall opens and a joist is notched beyond IRC R502.8 limits to pass a drain, deflection shows up as a soft spot in the subfloor and a cracked grout line. Each failure is a sequencing error, not a material defect. The mechanism is trapped work. Once drywall closes, rework costs three times what doing it correctly cost.
Tolerances tell the same story. Walls for cabinet runs should be plumb within 1/8 inch over 8 feet, floors flat within 3/16 inch per 10 feet, and tile substrate within 1/8 inch over 10 feet per TCNA guidance. A pro crew levels and shims to those numbers before setting finishes. A weekend install often levels by eye, which is why doors rub, countertops need heavy caulk at the backsplash, and flooring telegraphs every dip. Labor savings are real when tolerance is forgiving. When tolerance is tight, savings become shim and caulk that you notice every day.
DIY vs Professional Renovation Compared on the Same Criteria
Permits and budget $100-350/sq ft belong on the same scoreboard, because most homeowners compare price alone and then get surprised by timeline and risk. A symmetric comparison prevents that. Look at the same five criteria for both paths and let your condition decide, rather than a universal winner.
Two brief examples help. A 150 sq ft hall bath refresh that keeps the footprint, new vanity, mirror, paint, and LVP flooring over a flat subfloor, typically costs $4,500 to $9,000 DIY and $15,000 to $28,000 pro at $100 to $185 per sq ft. Rework risk is low if you stay on existing supplies and drains. Contrast that with moving the shower drain across joists to create a curbless entry. DIY material may be $3,000 to $5,000, but joist modification, liner slope, waterproof membrane continuity, and plumbing vent rework often push pro cost to $18,000 to $32,000 at $140 to $210 per sq ft. The second job saves little DIY once permits, licensed plumbing, and inspection risk enter. The first saves a lot.
| Criteria | DIY | Professional |
|---|---|---|
| Cost | $25 to $75 per sq ft cosmetic, materials plus rentals, no labor warranty, you absorb rework | $100 to $350 per sq ft installed, includes labor, overhead, and warranty, rework covered in scope |
| Timeline | 8 to 16 weeks elapsed for nights and weekends on a room, slower procurement, no crew overlap | 3 to 8 weeks for same room with sequenced trades, inspections scheduled, trades overlapped |
| Permits | You pull permits, schedule inspections, and own code compliance under IRC/IBC, higher risk of hold | Contractor pulls permits, manages inspections, and provides licensed trades for mechanical work |
| Quality | Good when scope is cosmetic and tolerances are forgiving, limited tooling for tight tolerances | Consistent when substrate is leveled to 3/16 inch per 10 feet and verified with laser and straightedge |
| Risk | You carry injury, water, and electrical risk, plus no workmanship warranty for next buyer | Contractor carries insurance, warranty, and callback, risk transfers but never disappears |
The pattern is consistent. DIY wins on direct cost when work is visible, forgiving, and permit light. Professional wins on total cost when work is hidden, dimensional, or inspection dependent. If you want a sequencing reference to test your plan against, review the shared logic in home renovation timeline and the cost layering in bathroom renovation cost guide before you commit to either path.

Installation Sequence and the Mistakes That Undo Savings
Project sequence protects finishes only when it is followed in order, and the order is the same whichever path you choose. Start with demolition, protection, and layout verification. Confirm stud, joist, and drain locations, add blocking for cabinets, grab bars, and hoods with 3/4 inch plywood where studs do not align, then rough in framing, plumbing, electrical, and HVAC and hold for inspection. Close only after inspection, then insulation, drywall, waterproofing, and flatness checks before tile or flooring. Template countertops after boxes are set and appliances are on site. Order materials for that sequence, not for the sale calendar.
Common DIY traps repeat because they feel efficient. Templating stone before the new range or sink arrives creates a cutout that misses by 1/4 inch and needs a seam you can see. Setting LVP or hardwood before the subfloor is checked with a 10 foot straightedge locks dips under a floating floor that clicks loudly with every step. Skipping a dedicated 20 amp small appliance circuit leaves the microwave and toaster sharing a breaker that trips at breakfast, a direct NEC Article 210 issue that an inspector will flag. Lapping a shower membrane up the wall only 4 inches instead of the required 6 inch minimum invites a slow leak that finds the ceiling below. Pushing tile grout before thinset cures and before the punch list inspection traps movement that later reads as a crack.
A simple field check keeps either path honest. Hold a laser on the cabinet wall and a straightedge on the floor. If the wall is out more than 1/8 inch over 8 feet or the floor more than 3/16 inch over 10 feet, level first. If you moved plumbing, ask for the inspection card before you close. If you touched structure, get the header and joist detail in writing. Saving a day by skipping those pauses usually costs a weekend of rework plus a return trip for a licensed trade who now has to open what you closed.
Limitations, Trade-Offs, and How to Choose Without Regret
Structural work and systems work set the honest limits for DIY, and naming those limits early is what protects budget and sanity. DIY does not structurally improve a house. It refreshes surfaces that sit on structure. Once load, water, gas, or new circuits are involved, the work wants licensed eyes even if you keep labor elsewhere. That is not gatekeeping. It is risk allocation that your future buyer, insurer, and inspector will check.
Trade-offs stay visible when you keep them conditional. DIY offers lower cash outlay, full control of selections, and flexible pacing, and it asks for your time, tool learning, permit legwork, and full ownership of rework. Professional offers coordinated scheduling, inspection management, insurance and warranty, and consistent tolerances, and it asks for higher upfront cost, lead time, and trust in a crew. Neither is universally better. Each is better for a specific condition, which is why the decision wants an If X choose A because Y test, not a slogan.
Use this framework to decide.
If your scope is cosmetic, stays on existing supplies and drains, needs no new circuits or gas, and sits in a dry area with easy access, choose DIY because savings are durable and rework risk is contained and inspection load is light.
If your scope moves drains or vents across joists, modifies a load-bearing wall, adds a circuit at the electrical panel, reroutes gas, or waterproofs a wet area that must hold slope and membrane continuity, choose a licensed professional because code, inspection, and concealed failure risk outweigh labor savings.
If your condition is tight budget plus wet area or heavy load, choose hybrid because you can DIY demolition, painting, and finish install while a licensed plumber and electrician own rough-in, permits, and inspection. You keep savings where they stick and transfer risk where failure is expensive.
If your condition is tight timeline, for example a single bath home or a kitchen you must cook in, choose professional because crew overlap and scheduled inspections compress calendar days that nights and weekends cannot.
When risk is uncertain, bring a licensed professional in for a pre-demo walk. Ask whether the project sequence you drew creates an inspection hold before close, whether that 48 inch shower change needs a new vent, and whether that wall carries load or just partitions space. Carry the right contingency, plan the punch list before you start, and document permits and inspections so the next owner sees work that was done to code, not just work that looks good on day one.