
The difference between a smooth renovation and a nightmare usually has nothing to do with budget or taste. It comes down to sequence. Do the work in the wrong order and you will strip finished floors to replace subfloorJoists, repaint walls that get scuffed by cabinet installers, or tear out drywall you already hung because plumbing inspections failed. The money saved by rushing is returned ten times over in rework.
Home renovation follows a logical cascade from structural work inward. Demolition comes before framing. Framing comes before mechanical rough-ins. Rough-ins come before insulation and drywall. Drywall comes before finish work. Finish work comes last. Deviating from this order creates conflicts that no amount of project management can fully resolve. You can mitigate damage. You cannot erase it.
This page maps the eight-step sequence that professional contractors follow on residential projects ranging from single-room updates to whole-house remodels. The steps are universal. The timeline varies from eight to sixteen weeks depending on scope, permit speed, and material availability. Budget ranges from $100 to $350 per square foot for full renovations, though minor repairs sit well below that band.
The Eight-Step Sequence for Home Renovation
Each step builds on the previous one. Skipping or reordering creates cascading problems. Here is the order that keeps projects on track.
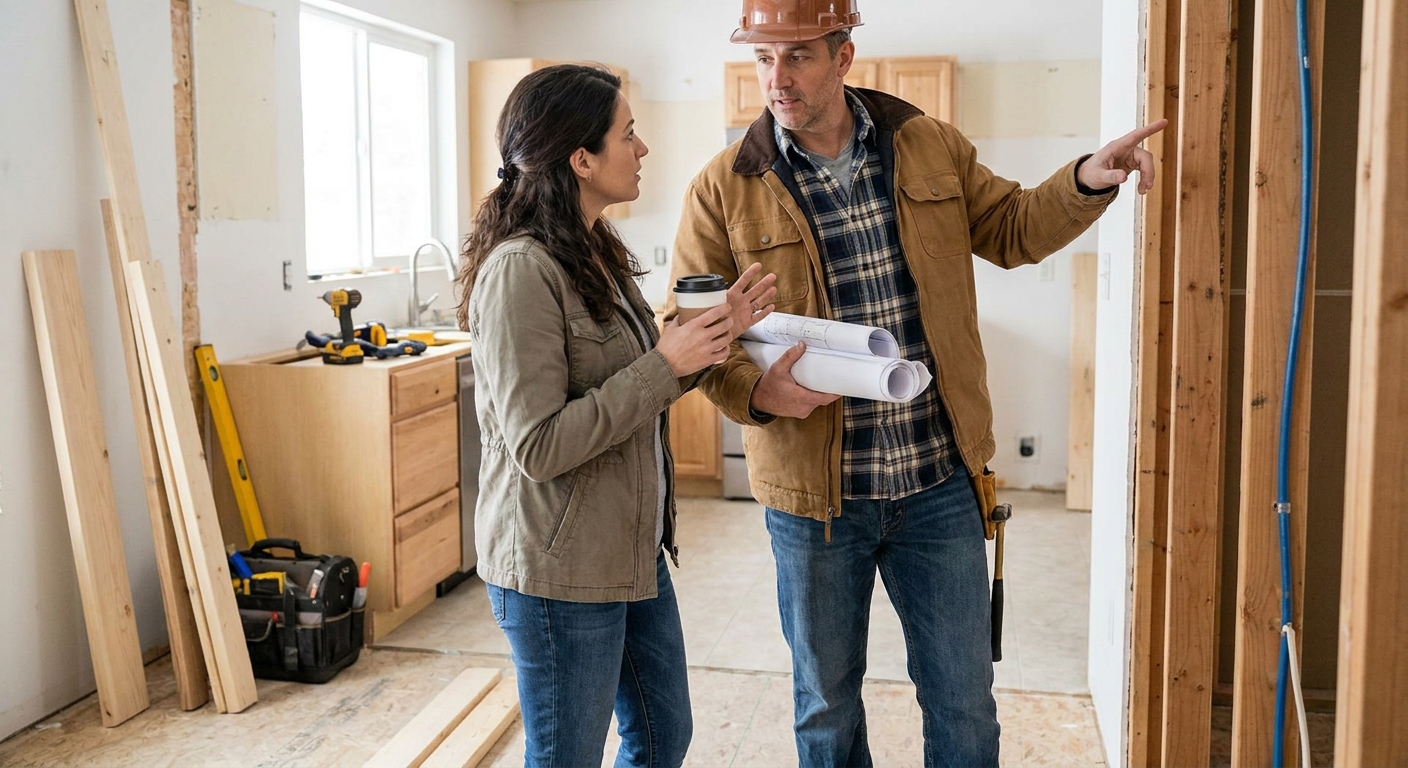
Step one is pre-construction planning and permitting. Before a single hammer swings, drawings, engineering calculations, and permit applications must be complete. This step includes finalizing material selections, securing contracts, scheduling inspections, and ordering long-lead items like custom cabinets or specialty windows. Permit approval timelines vary by municipality but typically take two to six weeks. Starting construction before permits are issued risks stop-work orders and fines that add thousands to project cost.
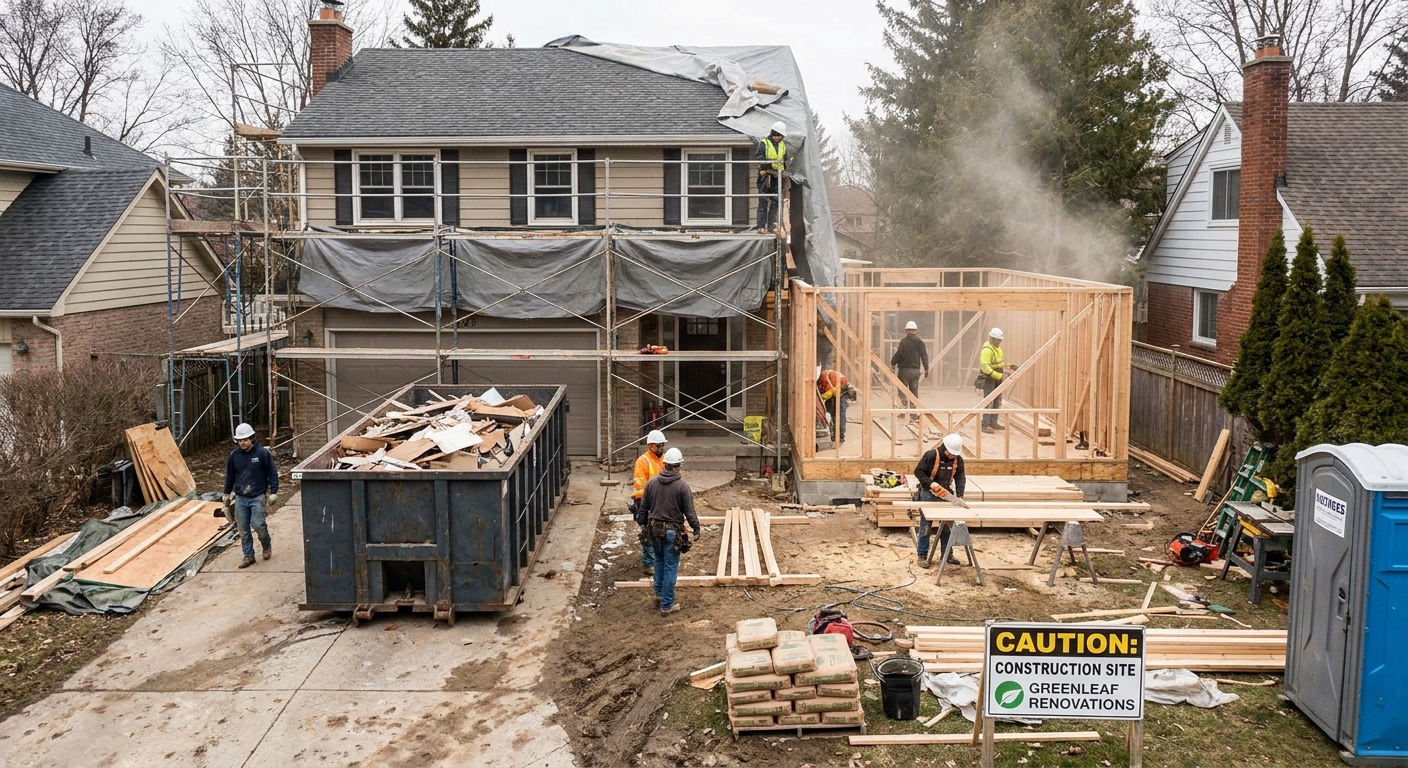
Step two is site preparation and protection. The work area must be isolated from living spaces. Flooring in adjacent rooms receives protection boards or plywood. Furniture is removed or contained in plastic sheeting. HVAC vents are sealed to prevent dust migration. Temporary lighting and power are installed if existing circuits will be disturbed. This step is easy to underestimate but critical for minimizing disruption and protecting completed work elsewhere in the house.
Step three is demolition and disposal. Demolition proceeds from top to bottom and interior to exterior. Ceiling fixtures come out first. Then walls, then flooring. Structural elements are never touched without engineered authorization. Debris is removed daily to maintain safe walkways and prevent accumulation hazards. Recycling materials where possible reduces disposal costs. This step reveals the hidden conditions that will determine whether the project stays on budget.
Step four is framing and structural work. New walls are framed. Openings are cut or closed. Load-bearing modifications require engineered lumber, steel beams, or header assemblies sized by a structural engineer. Window and door rough openings are framed to manufacturer specifications. All structural work must pass framing inspection before proceeding. This is the stage where the renovation’s physical shape becomes real.
Step five is rough mechanical systems. Plumbing pipes, drain lines, and supply stubs are installed. Electrical wiring, boxes, and panels are routed through new framing. HVAC ductwork is positioned and connected. These systems run inside walls and floors before they are enclosed. Inspection occurs at this stage. Passing inspection is mandatory before insulation or drywall can cover anything. Failed inspections mean opening walls again, which is expensive and delays the schedule.
Step six is insulation and weatherization. Batt, blown-in, or spray foam insulation is installed in exterior walls, attics, and crawl spaces. Vapor barriers are placed according to climate zone requirements. Air sealing around windows, doors, and penetrations prevents energy loss and moisture intrusion. Proper insulation reduces utility costs and improves comfort. Skipping or rushing this step compromises the building envelope for the life of the structure.
Step seven is drywall installation and finishing. Drywall panels are hung, taped, mudded, and sanded. Corners receive metal or paper tape. Joint compound is applied in multiple coats with sanding between layers. The result is a smooth surface ready for paint. This step generates significant dust. All painting prep must wait until drywall work is complete and dust is controlled.
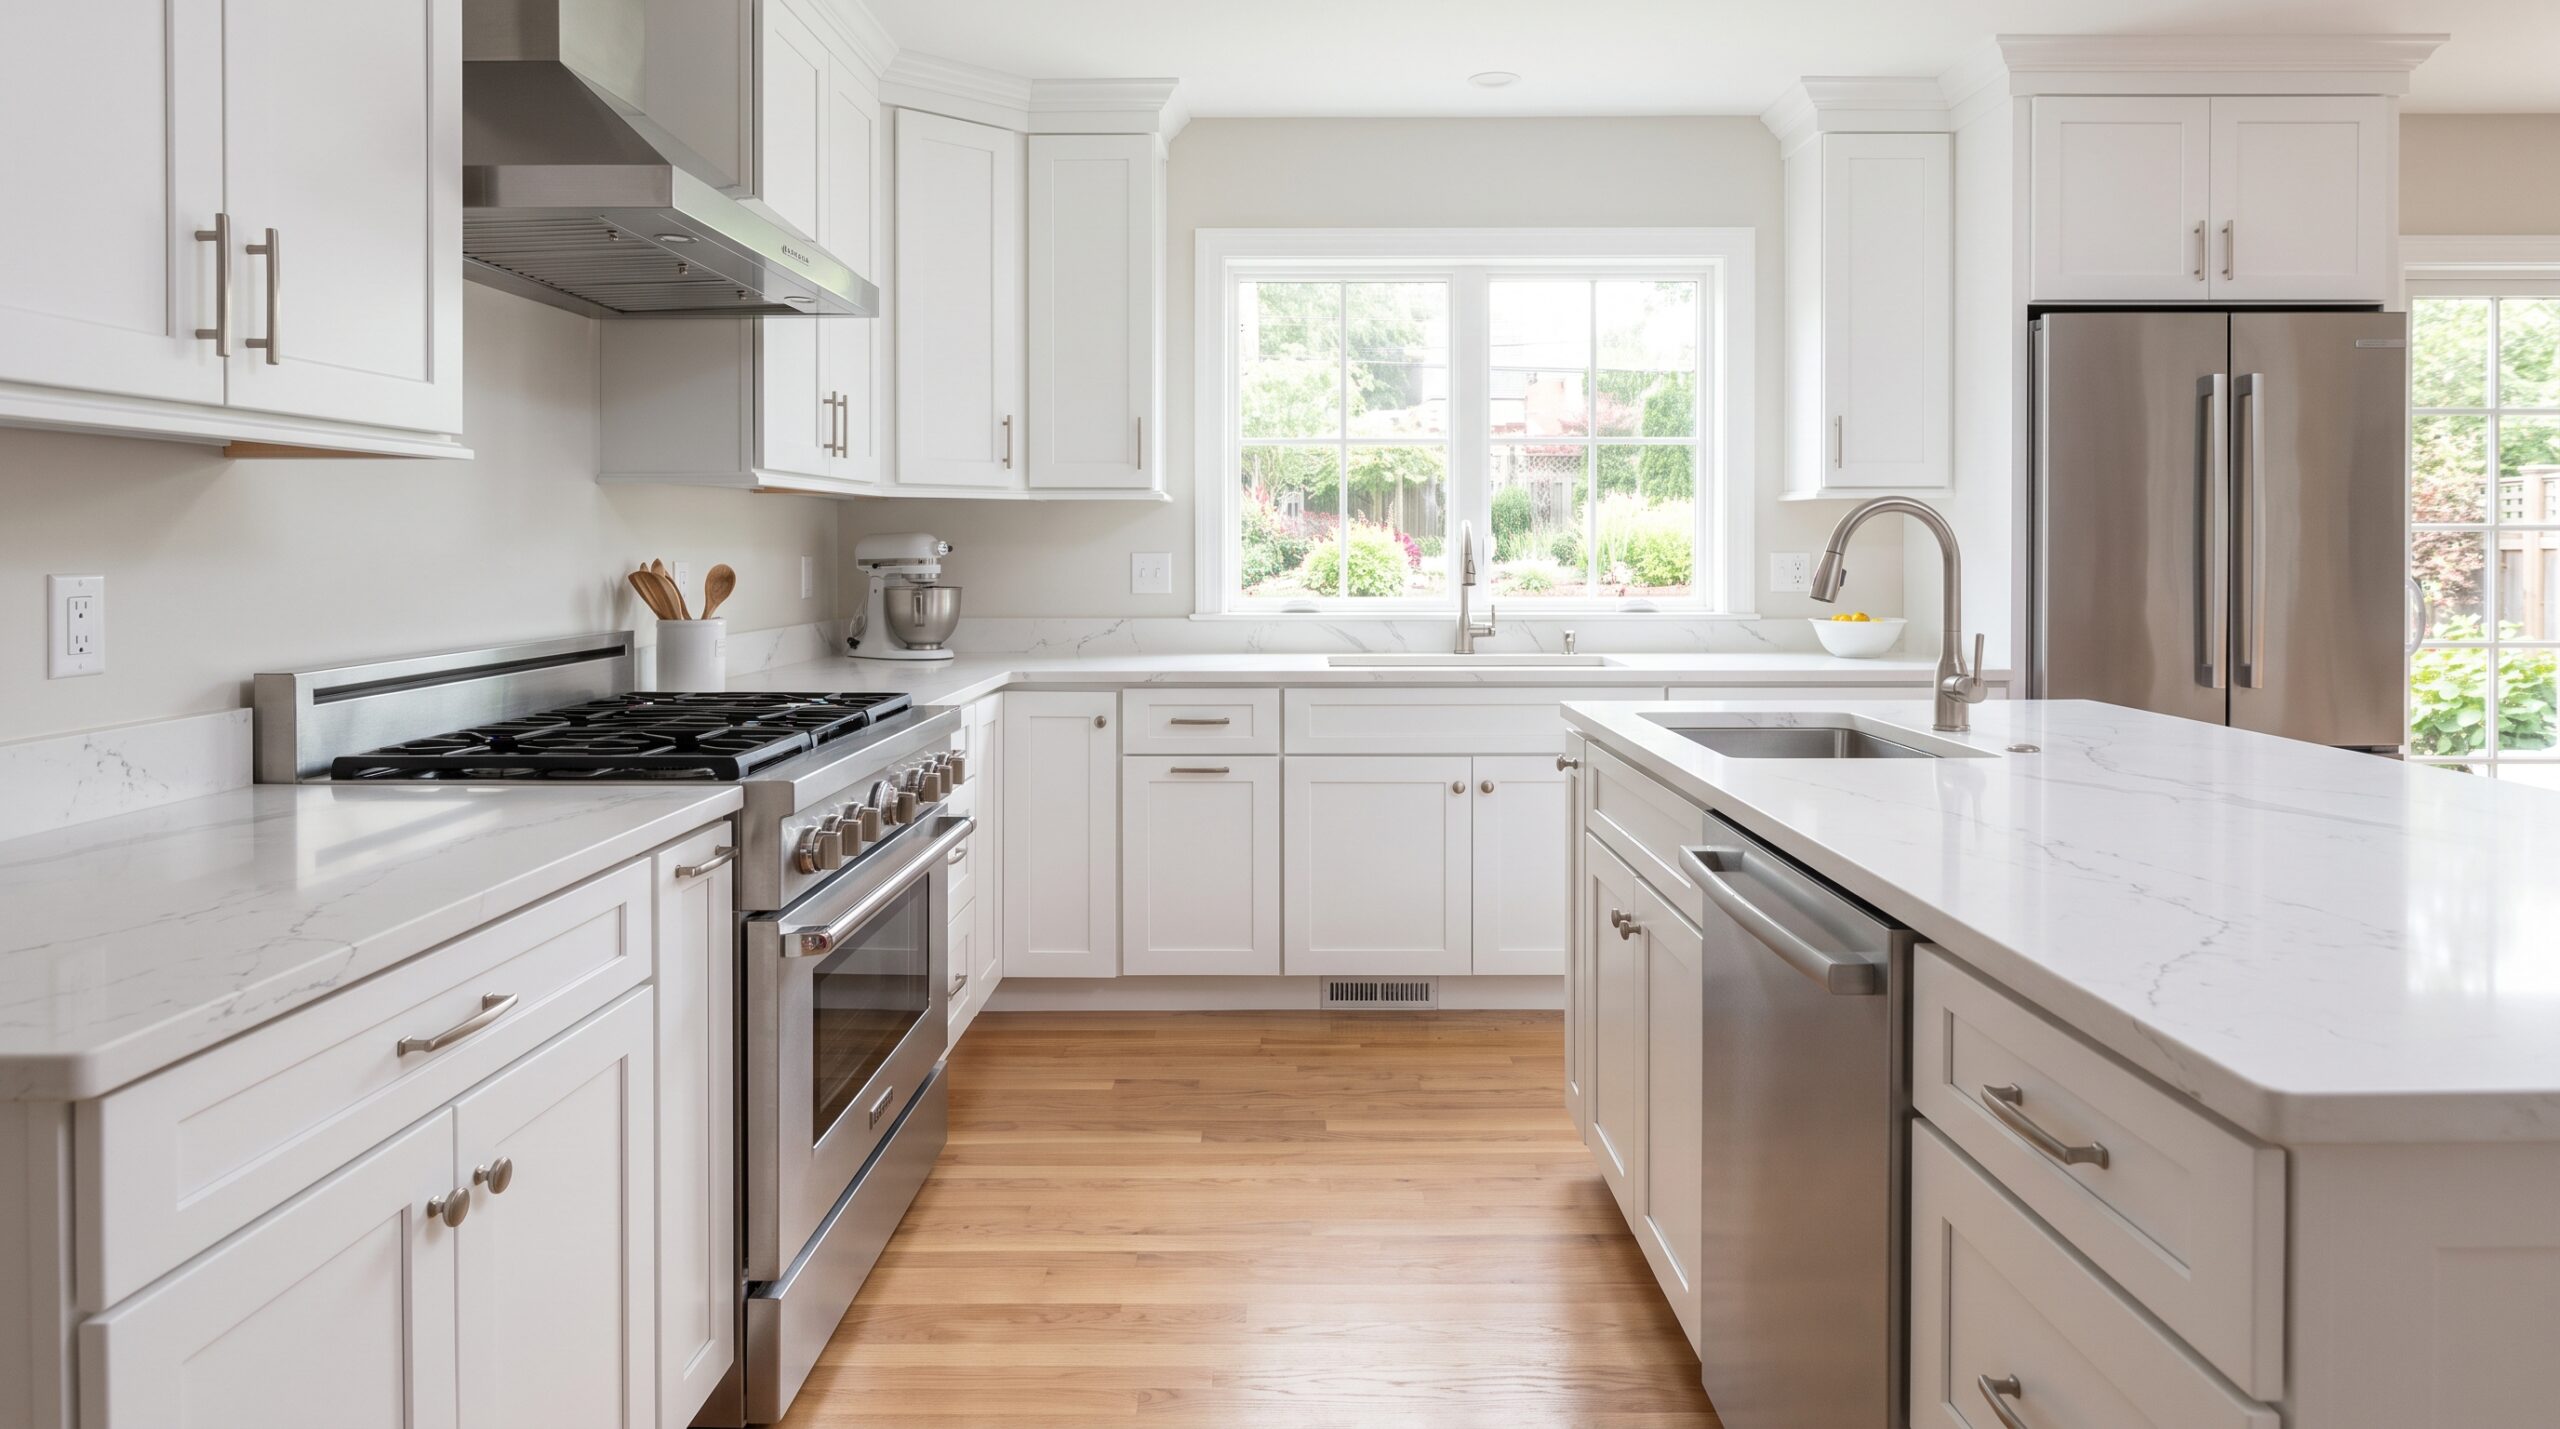
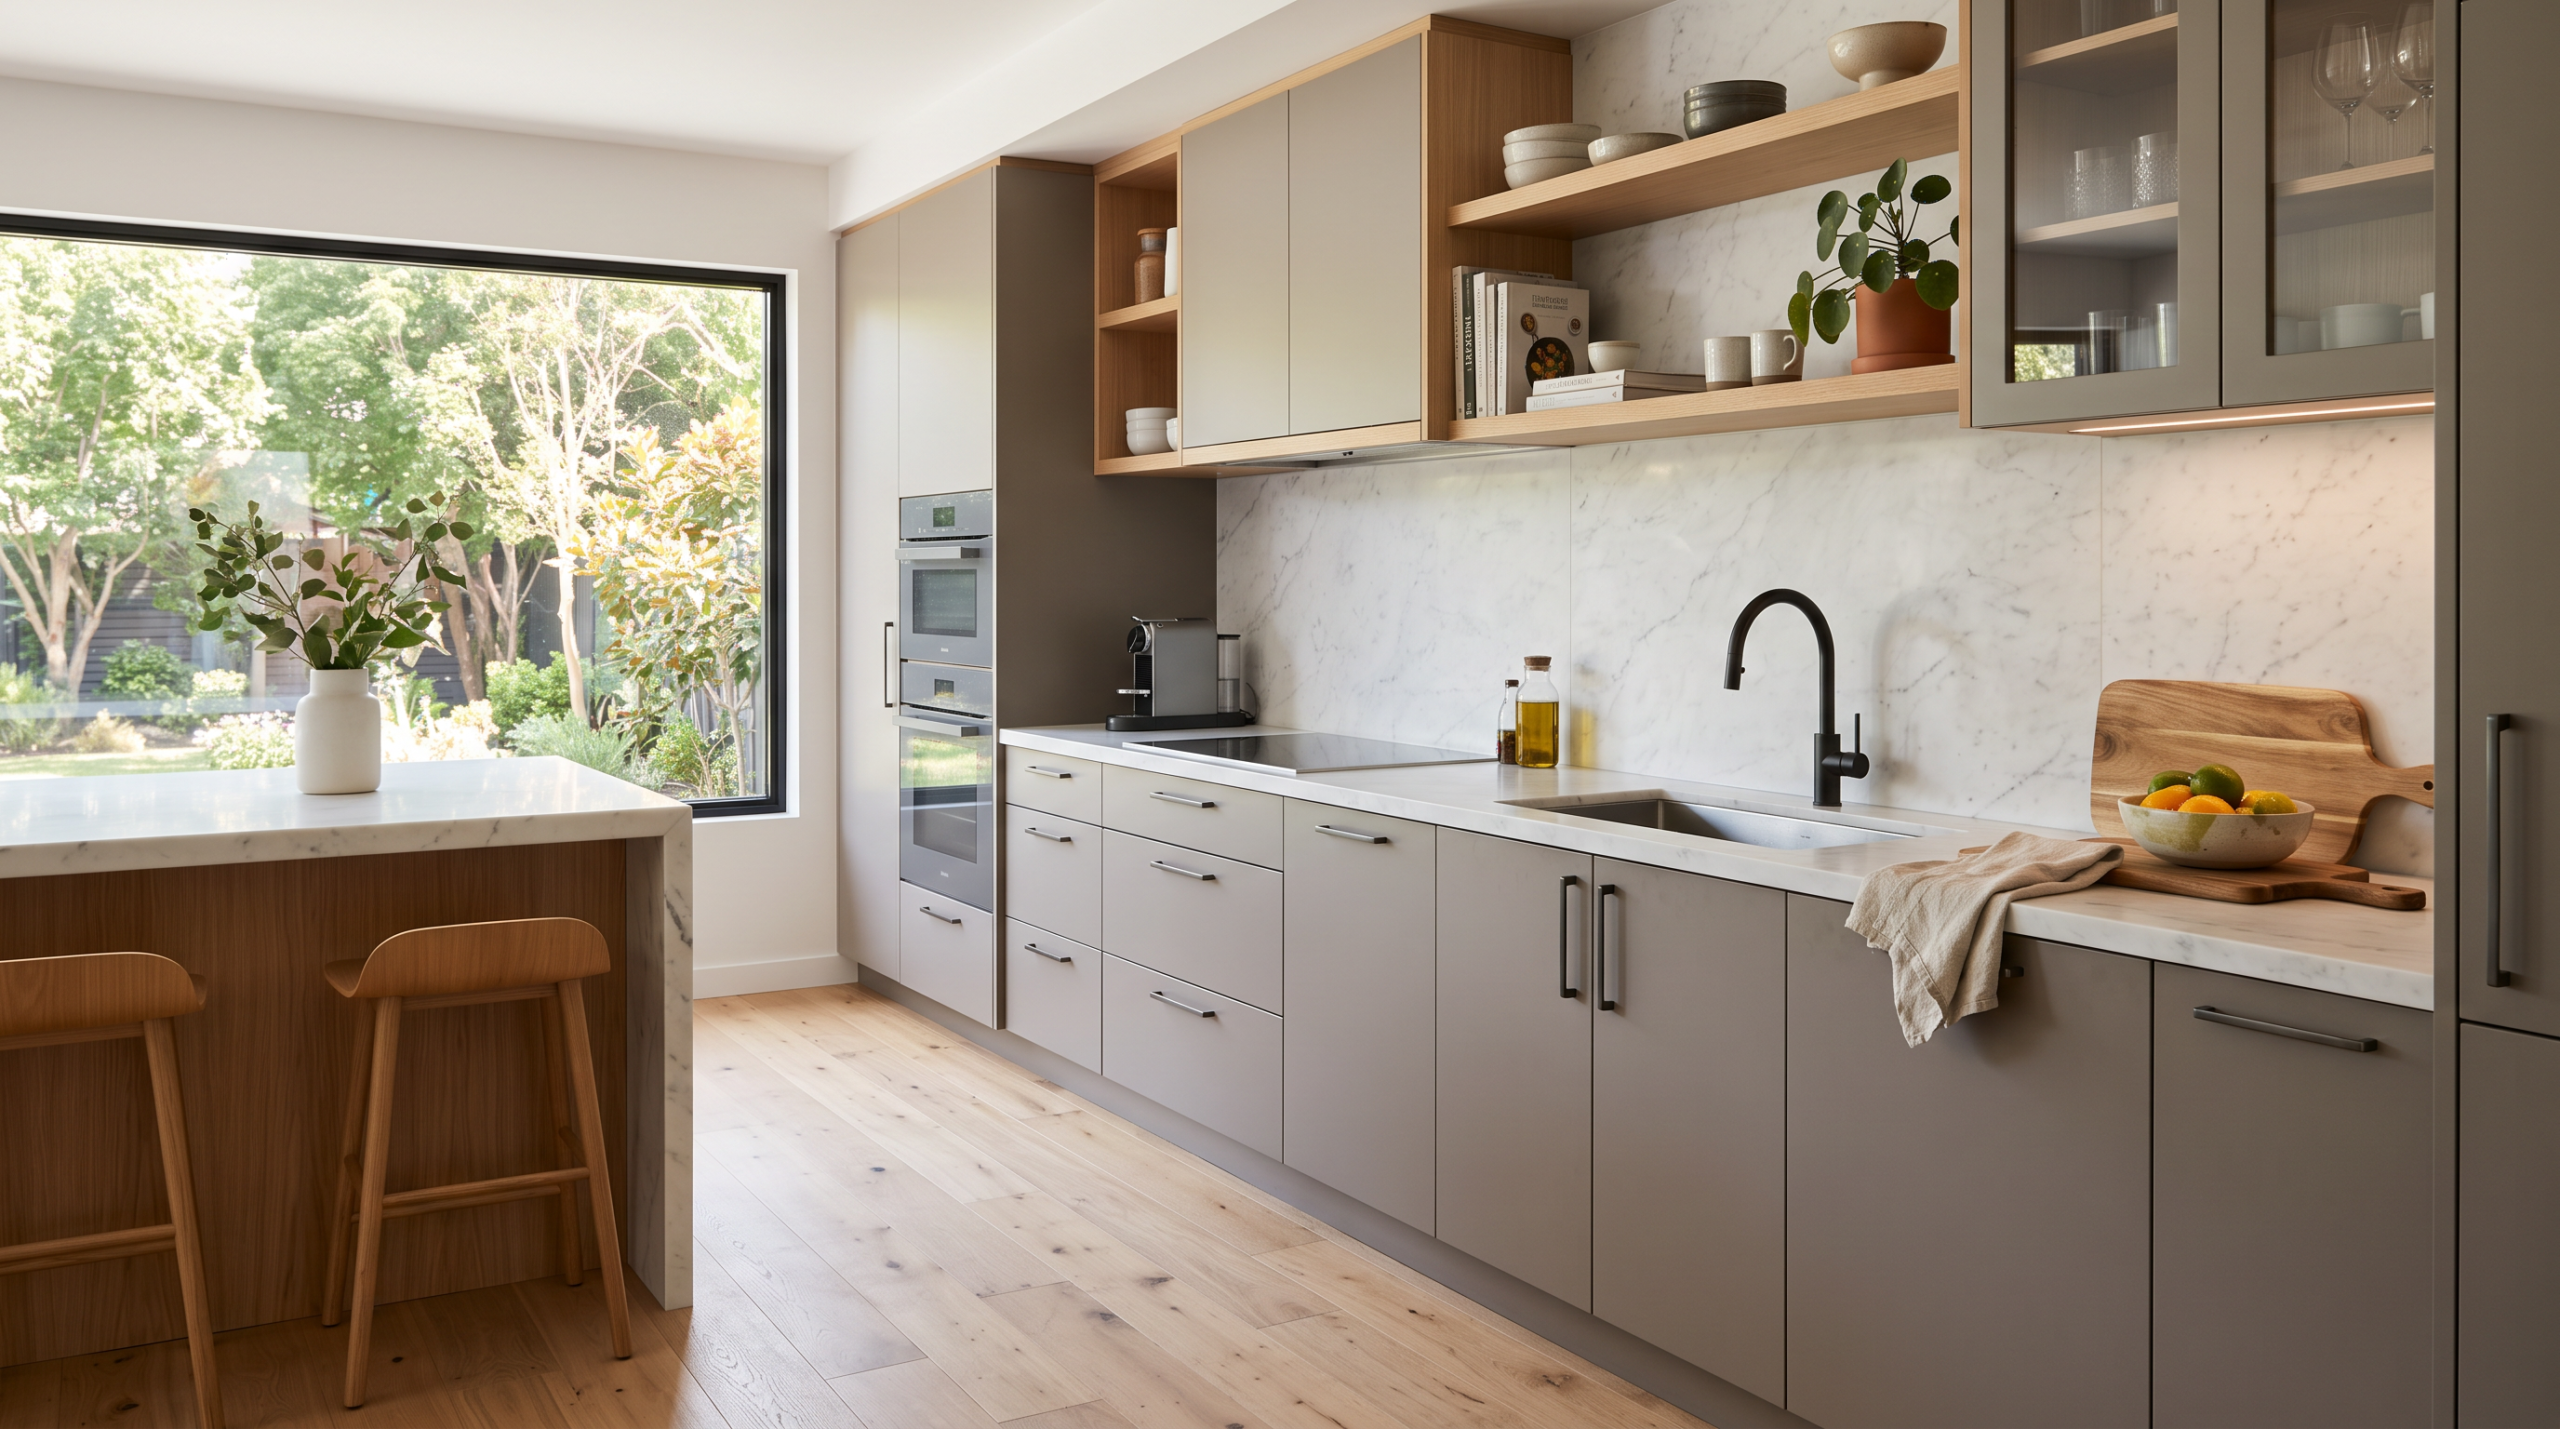
Step eight is finish installations and close-out. Interior paint is applied. Cabinets, countertops, and trim are installed. Flooring goes down after heavy work is complete to avoid damage. Fixtures, hardware, and appliances are connected. Final inspections are scheduled. Punch list items are addressed. The space is cleaned and ready for occupancy.
Why Sequence Matters: The Cost of Getting It Wrong
Sequences exist because physics and practicality dictate dependencies. Painting before drywall finishes means dust contamination. Installing flooring before mechanical rough-ins means cutting and patching finished surfaces. Putting cabinets before plumbing inspections means tearing out work if codes are violated.
The most common sequencing errors and their costs are worth understanding before a project begins.
Error one: framing before permit approval. Unauthorized construction can require demolition and reconstruction after inspection reveals code violations. The cost includes new materials, labor, and permit fees. More importantly, it delays the entire project timeline.
Error two: rough-ins before framing inspection. Mechanical trades cannot be inspected if the framing that supports them has not passed inspection. Reordering means waiting for framers to return, which blocks plumbers, electricians, and HVAC technicians. Schedule slip compounds daily.
Error three: finish flooring before cabinet installation. Cabinets weigh hundreds of pounds. Rolling scaffolding across newly installed hardwood or luxury vinyl plank flooring causes scratches, dents, and gouges. The fix is replacement of damaged sections, which may not match existing batches.
Error four: paint before final fixture installation. Light fixtures, outlet covers, and hardware installation creates touch-up opportunities. Painted surfaces get scuffed during fixture mounting. Contractors who paint last save touch-up time and ensure a clean finish.
Each error follows the same pattern: work done prematurely must be undone or covered, and the covering work creates new vulnerabilities. The sequence exists to prevent exactly this cycle.
Tolerances and Specifications That Prevent Rework
Professional renovations succeed because measurements are precise. Tolerances small enough to miss in casual inspection become critical when multiple trades coordinate. The following specifications prevent conflicts between trades.
Wall framing spacing follows 16-inch or 24-inch on-center standards depending on drywall thickness and load requirements. Drywall screws are spaced 12 inches apart on walls and 8 inches apart on ceilings. Subfloor panels receive 1/8-inch gap at edges for expansion. Tile backer board joints are taped and mortared, not left open.
Plumbing rough-in heights are standardized. Toilet flanges sit on finished floor level. Shower valves are positioned 48 inches above finished floor unless manufacturer specs differ. Kitchen sink supply lines are 18 inches above counter height. Deviation from these standards forces homeowner compromise or contractor rework.
Electrical box placements follow code-mandated distances. Outlets are spaced no more than 12 feet apart along wall lines. Switches are placed 48 inches above finished floor unless accessibility requirements dictate otherwise. GFCI protection is required in wet areas including kitchens, bathrooms, and exterior walls.
Window and door rough openings must match manufacturer specifications precisely. A header that is one inch too narrow prevents proper flashing installation. A sill that is not level causes doors to bind and windows to leak. These are not cosmetic issues. They are performance failures that manifest as operational problems months after move-in.
Common Mistakes and How to Avoid Them
Even experienced homeowners encounter predictable pitfalls. Awareness prevents most of them.
Mistake one: ordering materials too early. Lumber swells with moisture. Drywall absorbs humidity. Paint skinns if containers are opened. Ordering materials weeks before installation exposes them to storage conditions that degrade quality. Order materials one week before needed, or store them in conditioned spaces.
Mistake two: skipping the contingency budget. Hidden conditions appear in every renovation. Rot behind walls. Outdated wiring that does not meet current code. Asbestos or lead paint in older homes. A 10 to 15 percent contingency covers these surprises without derailing the project. Projects without contingencies either finish poorly or go unfinished.
Mistake three: hiring the cheapest contractor. Low bids often reflect inexperience, shortcuts, or misunderstandings of scope. A $5,000 bid that becomes $12,000 through change orders is more expensive than a $10,000 bid that stays at $10,000. Verify licenses, insurance, references, and past work before signing contracts.
Mistake four: making decisions during construction. Every change order during active construction creates delays, disputes, and cost overruns. Finalize all material selections, fixture choices, and design details before demolition begins. If changes are necessary, document them formally and assess impact before proceeding.
Mistake five: ignoring airflow and ventilation. Renovations generate dust, fumes, and debris. Proper ventilation during construction protects health and reduces cleanup time. Use temporary exhaust fans, seal off work areas, and maintain negative pressure when sanding or applying finishes.
When to Stop and Consult a Licensed Professional
Some aspects of renovation sequence require professional judgment. Structural modifications, electrical panel upgrades, plumbing main line replacements, and HVAC system changes all carry safety implications that extend beyond the immediate project. Homeowners should consult licensed contractors, engineers, or inspectors whenever work affects load-bearing elements, main utility connections, or fire safety systems.
Permit requirements vary by jurisdiction. The International Residential Code provides baseline standards, but local amendments may impose additional requirements. When in doubt, contact the local building department before beginning work. Unpermitted work can create liability issues during future sales and may void homeowner insurance coverage.
The timeline for professional inspections follows a fixed pattern: framing inspection before insulation, rough mechanical inspection before drywall, final inspection after occupancy-ready conditions. Missing an inspection window delays the next trade by days or weeks. Schedule inspections early and keep the schedule flexible to accommodate inspector availability.
Next Steps in Your Renovation Journey
Understanding sequence is the foundation of successful renovation planning. The home renovation vs repair guide helps determine whether your project is a repair or renovation before you invest in sequencing details. The home renovation cost guide provides budget frameworks so you can align your sequence plan with realistic financial expectations.
A well-sequenced renovation respects the physics of construction and the economics of time. Each step enables the next. Each inspection validates the previous work. The result is a space that performs as intended, looks as designed, and lasts as long as the materials were meant to last. Rush the sequence and every downstream step suffers. Follow it and the project flows.
Before planning sequence, understand whether your project is repair or renovation. The home renovation vs repair guide helps determine project category so you allocate the right budget and timeline. The home renovation cost guide provides budget frameworks so you can align your sequence plan with realistic financial expectations.
Start with planning. Permit before you demo. Frame before you wire. Inspect before you close walls. Finish last. The order is simple. The discipline is what separates professional results from homeowner regrets.