
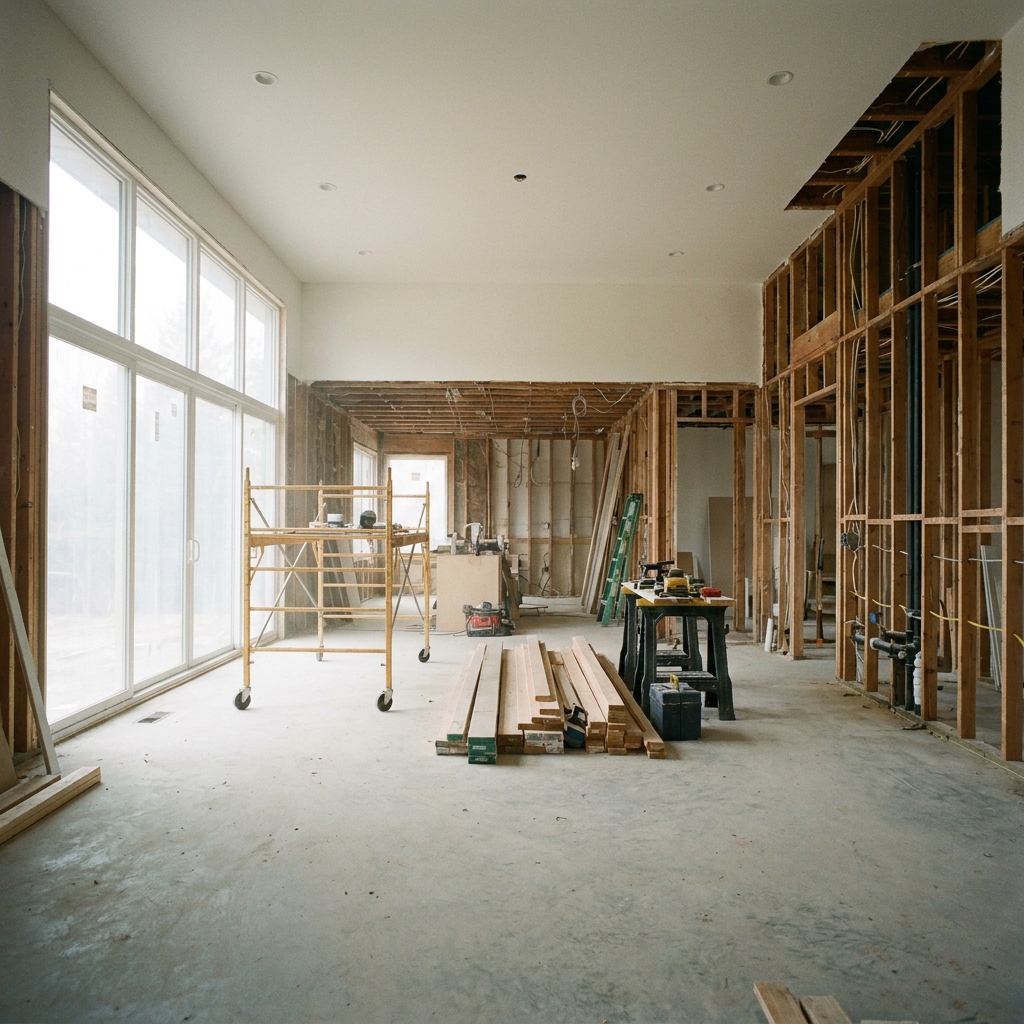

A home renovation budget is the homeowner’s written plan for the total cost of a renovation project, broken into hard costs, soft costs, and contingency, tracked against actual spend as the project moves. The budget is not the contractor’s estimate, and it is not a single number. It is a working document the homeowner owns, set before the first contract is signed, and updated weekly during the project. The homeowner who treats the budget as their own work product finishes the project on the number they set. The homeowner who treats the budget as a quote from someone else finishes the project over budget.
>
A home renovation budget is a process, not a number. It has three categories: hard costs (labor and materials, 65-75% of total), soft costs (permits, design, temporary housing, 10-20% of total), and contingency (15-30% of hard costs depending on scope). The right contingency is 15% for cosmetic, 20% for partial, 25%+ for full gut, not the 10% most guides recommend. The most common ways a budget fails: forgetting soft costs, treating an allowance as a fixed price, and accepting change orders without a written rule. The discipline is to write a total budget number, split it, and track it weekly.
The deeper treatment of the planning process this budget lives inside is on the how to plan a home renovation page. The actual cost numbers by scope are on the home renovation cost page. The line-by-line checklist for the project is on the home renovation checklist page.
Quick answer. A home renovation budget is a process, not a number. It has three categories: hard costs (labor and materials, 65-75% of total), soft costs (permits, design, temporary housing, 10-20% of total), and contingency (15-30% of hard costs depending on scope). The right contingency is 15% for cosmetic, 20% for partial, 25%+ for full gut, not the 10% most guides recommend. The most common ways a budget fails: forgetting soft costs, treating an allowance as a fixed price, and accepting change orders without a written rule. The discipline is to write a total budget number, split it, and track it weekly.
The difference between a budget and an estimate
A budget is the homeowner’s plan. An estimate is the contractor’s quote. The two belong to different people, and confusing them is the most common way a renovation goes over budget. The estimate covers the construction scope. The budget covers the estimate, plus soft costs the contractor did not include, plus a contingency for what the project reveals during construction. The relationship is: the estimate is one input to the budget, not the budget itself.
The three categories every budget needs
A home renovation budget has three categories, and the homeowner who skips one of them is the one who runs out of money. The categories are hard costs, soft costs, and contingency.
Hard costs are the construction itself. They include labor (what the contractor and sub-trades charge for the work) and materials (lumber, drywall, fixtures, finishes). Hard costs are the part the contractor’s estimate covers. They are typically 65-75% of the total budget for a typical renovation.
Soft costs are everything outside the construction. They include permits, design or architectural fees, temporary housing (for whole-home renovations), storage, dumpster rental, debris removal, post-construction cleaning, moving costs, and the cost of eating out more when the kitchen is out of commission. Soft costs are typically 10-20% of the total budget, and they are the category most homeowners forget.
Contingency is the reserve for the unknown. It is the amount the homeowner sets aside to cover what the project reveals during construction. The contingency is not for going over budget. The contingency is for what could not be seen at estimate time, and there is always something. The right contingency percentage is scope-dependent, and the next section covers the specifics.
A worked example. A $100,000 total budget. Hard costs are $70,000 (the contractor’s estimate). Soft costs are $15,000 (permits, dumpster, temporary housing, etc.). Contingency is $15,000. The split is 70/15/15. The contingency is generous (15% of total, or 21% of hard costs), which is appropriate for a partial renovation. The same total budget for a full gut renovation would have a smaller hard costs share, a larger contingency, and a longer timeline.
How much contingency is right (and why 10% is wrong)
The conventional answer to “how much contingency for a renovation” is 10%. The conventional answer is wrong. The right answer is scope-dependent, and the difference between 10% and the right number is the difference between a budget that survives the project and a budget that does not.
For a cosmetic refresh (paint, flooring, fixtures, no structural work, no walls opened), the contingency is 10-15%. Most of the work is visible, the surprises are minor, and the scope is unlikely to expand.
For a partial renovation (one or two rooms gutted, some walls opened, electrical or plumbing modified in places), the contingency is 15-20%. The walls hide conditions (water damage, outdated wiring, undersized plumbing) that the contractor could not see at estimate time.
For a full gut renovation (entire home or major addition down to the studs), the contingency is 20-30% or more. Almost every full gut reveals something in the walls that the contractor could not see, and the cost of fixing what is found is rarely zero.
The reason 10% is wrong is that it is the number for new construction, not for renovation. In new construction, the walls are open from the start, the building inspector is on site from day one, and the surprises are rare. In renovation, the walls are closed, the inspector is not on site until the work is exposed, and the surprises are the norm. A renovation budget that uses a new-construction contingency is a budget that runs out of money.
A second worked example. A $50,000 partial renovation. The contractor’s estimate is $50,000. The contingency is 20% of the estimate, or $10,000. The total budget is $60,000. If the project reveals $7,000 of water damage behind a bathroom wall, the contingency absorbs it, the project finishes, and the budget holds. With a 10% contingency ($5,000), the same surprise puts the project $2,000 over budget, and the homeowner is finishing the project by taking on debt or cutting scope mid-construction.
The soft costs most homeowners forget
The single most common budget failure is forgetting soft costs. The contractor’s estimate does not include them. The homeowner’s spreadsheet does not include them. The total budget number the homeowner walks in with is missing 10-20% of the real cost.
The soft costs that most often get missed:
- Permits (typically 1-3% of construction cost). Required for any structural, electrical, plumbing, or mechanical work. The contractor usually pulls the permits and bills the homeowner, but the cost is in addition to the construction estimate.
- Architectural or design fees (5-15% of construction cost if used). Optional for cosmetic work, often required for additions or full gut renovations. The fee is in addition to the construction estimate.
- Temporary housing (highly variable, often $1,000-$5,000 per month). Required for whole-home renovations where the homeowner cannot live in the home during construction. Often forgotten by homeowners who assume they will “just live through it.”
- Storage unit ($100-$300 per month). For furniture that has to be moved out of the work area.
- Dumpster rental and debris removal ($500-$2,000 for a typical renovation). Sometimes included in the contractor’s estimate, sometimes not. The homeowner should confirm.
- Post-construction deep clean ($300-$1,000). The contractor’s cleaning is usually a rough clean, not a move-in clean. Most homeowners hire a separate cleaning service.
- Moving costs (in and out of the work area, plus possibly the entire home). The cost of moving everything out and back in.
- Eating out more ($200-$1,000 per month the kitchen is out of commission). A small line item but a real one.
The point: these add up to 10-20% of total project cost, and a budget that omits them is broken from day one. The right way to handle soft costs is to estimate each line item up front (using the categories above as a checklist), add them together, and add the sum to the hard costs before adding contingency. A budget with all three categories is a budget that survives.
The allowance trap
An allowance is a placeholder number inside a contractor’s estimate for an item the homeowner has not yet selected. The contractor writes “light fixtures: $200 per fixture × 8 fixtures = $1,600” not because the contractor knows what fixtures the homeowner will pick, but because the contractor has to put a number somewhere. The number is a guess.
The trap is that the budget treats the allowance as a fixed price. It is not. The allowance is exposed to whatever the homeowner actually picks. If the homeowner picks a $500 fixture, the $300 difference per fixture times 8 fixtures is $2,400, and the difference comes out of contingency or scope.
The right way to handle allowances: walk through every allowance in the estimate before signing the contract. For each allowance, decide what the homeowner will actually pick. If the homeowner will pick a $500 fixture, the budget needs to add $2,400 to the construction cost. If the homeowner will pick the $200 fixture the contractor assumed, the budget holds. Either way, the budget number reflects a real decision, not a placeholder.
The allowance categories that are most often off:
- Light fixtures (allowances are typically low; homeowners often pick higher-end fixtures)
- Plumbing fixtures (faucets, showerheads, toilets)
- Tile (allowances are per square foot; the actual tile the homeowner picks is often above the allowance)
- Cabinet hardware (knobs and pulls, small per-item but adds up)
- Door hardware
- Appliances (sometimes in the contractor’s estimate, sometimes not)
The budget rule: for every allowance in the estimate, write down what the homeowner will actually pick, and the resulting number. The line items that come out above the allowance add to the budget. The line items that come out below the allowance come off the budget or get moved to contingency. The point is not to second-guess the contractor’s allowance. The point is to make sure the budget reflects a real decision, not a placeholder.
The change-order rule (write it before construction starts)
A change order is a written amendment to the contract for added or changed work. Change orders are how the homeowner adds scope (“while we’re at it, let’s also…”) and how the contractor charges for the additions. The most common way a renovation goes over budget is unmanaged change orders. The contractor is not the problem. The change orders are the symptom. The discipline is the fix.
The change-order rule: any change order above a threshold requires three things in writing before the work starts. The threshold is small enough to catch most changes (e.g., $500 or 5% of the contract, whichever is lower). The three things are:
1. A written cost breakdown. Labor hours, labor rate, materials, and any contractor mark-up. The mark-up is usually 15-25%, and it should be the same as the mark-up in the original estimate. A change order with a higher mark-up than the original estimate is a red flag.
2. A written impact on the schedule. Every change order pushes the timeline. The homeowner who adds five change orders over a 3-month project has added 3-6 weeks to the timeline. The schedule impact is real and should be in writing.
3. A written impact on the total project budget. The change order is added to the running total. The running total is compared to the budget. The homeowner decides, in writing, whether to absorb the change, cut scope elsewhere, or revise the budget up.
The rule is in the budget, not in the contract. The contractor does not enforce the rule; the homeowner does. The contractor is happy to write change orders. The homeowner is the one who has to say no, or say yes with a written impact on the rest of the project.
The change-order rule is the most important budget discipline, and it is the one that requires the most writing. A one-page change order policy attached to the budget is the practical version. The policy is in plain English, the threshold is a specific dollar amount, and the three requirements are listed.
Tracking spend during the project
A budget that is set and not tracked is a budget that drifts. The tracking method can be simple: a spreadsheet with these columns, updated weekly:
| Line item | Budget | Contracted | Change orders | Paid | Remaining |
|—|—|—|—|—|—|
| Demolition | $3,000 | $3,000 | $0 | $2,800 | $200 |
| Cabinets | $15,000 | $15,000 | $500 | $14,000 | $1,500 |
| Countertops | $6,000 | $6,000 | $0 | $0 | $6,000 |
| Labor (subtotal) | $40,000 | $40,000 | $1,200 | $32,000 | $8,000 |
| Permits | $1,500 | | | $1,200 | $300 |
| Dumpster | $800 | | | $800 | $0 |
| Contingency | $15,000 | | | | $12,800 |
The columns: budget (the line item amount), contracted (what the contractor or vendor is committed to deliver), change orders (running total of change orders on this line), paid (what has been paid so far), and remaining (the difference). The remaining column is the one to watch. When the remaining column drops below 50% of the contingency, the homeowner slows down on discretionary change orders.
The trap most homeowners fall into: tracking the contractor’s invoices but not the soft costs or the DIY material spend. The contractor’s invoices are the easiest to track (they come in the mail), but they are only part of the budget. The soft costs (permits, dumpster, design fees), the DIY material spend (Home Depot receipts, lighting purchases, fixture orders), and the small items the homeowner pays for directly (paint, hardware, storage) all need to be in the same spreadsheet. A budget that tracks only the contractor’s invoices is a budget that ignores 20-30% of the actual spend.
The tracking method does not have to be a spreadsheet. It can be an app (Buildertrend, CoConstruct, or similar), a notebook, or a shared Google Sheet. The method does not matter. The discipline does. A budget that is updated weekly is a budget that the homeowner can adjust. A budget that is updated at the end of the project is a record of what was spent, not a plan.
What to cut when the budget is too tight
The most stressful budget moment is mid-project, when the running total is above the budget and the homeowner has to cut. The cuts have an order, and the wrong cuts are expensive to undo.
The order of cuts (lowest impact first):
1. Scope additions the homeowner added after signing. “While we’re at it, let’s also…” is the single most expensive sentence in a renovation. The scope additions are the first thing to defer. They are not in the original plan, and they are the easiest to cut without disrupting the rest of the project.
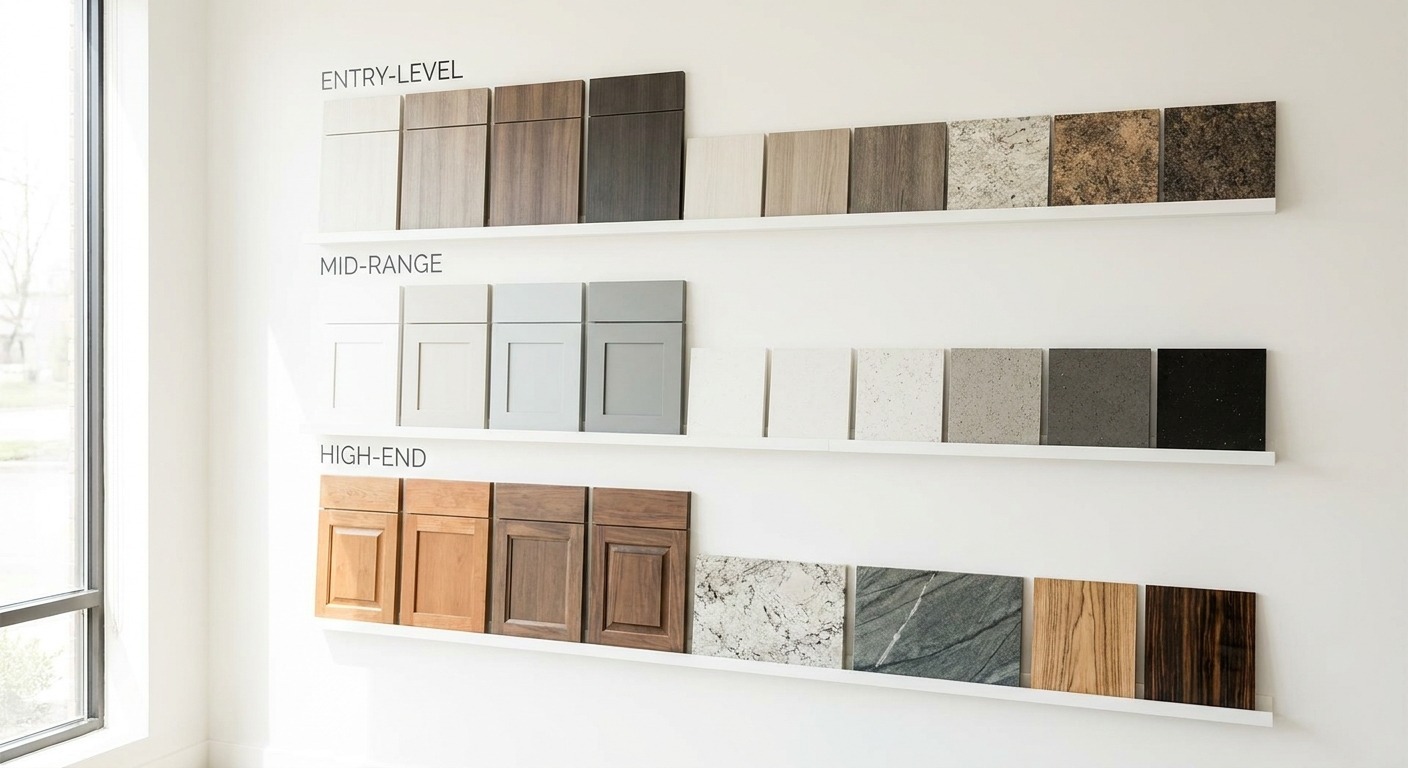
2. Higher-end material upgrades. Quartz instead of laminate, soft-close drawers, higher-end tile. The mid-range material in the same product category usually performs the same. The visual difference between mid-range and high-end is often invisible after move-in.
3. Finish details. Crown molding, custom range hood, upgraded hardware, decorative light fixtures. The finish details are the items that show up in the magazine photos. They are also the items that are the easiest to add later, after the project is paid off.
4. Square footage. Shrink the room, not the materials. A smaller kitchen with high-end finishes feels better than a larger kitchen with builder-grade finishes. But shrinking a room is structural, and the cost of doing it mid-project is high.
The order of “do not cut”: structural, electrical, plumbing, roofing, insulation, and the work that is expensive to fix later. A load-bearing wall removed to open up a floor plan cannot be put back without major cost. Electrical that is undersized for the new layout is a fire hazard. Plumbing that is undersized is a leak. The “do not cut” items are the items where the cut shows up as a problem in 2-5 years, not a savings today.
A second worked example. A $70,000 budget for a kitchen renovation. The contractor’s estimate is $55,000. Soft costs are $8,000. Contingency is $7,000. Mid-project, the homeowner has added $4,000 of change orders and is now at $74,000 total. The order of cuts: defer the $2,500 backsplash upgrade to phase 2, downgrade the cabinet hardware from $800 to $200, and keep the electrical and plumbing as planned. The cuts total $3,100, the project comes in at $70,900, and the homeowner finishes with a working kitchen and a paid-off project.
Phasing as a budget lever
A full renovation that is borderline feasible now may be cheaper if it is phased across 2-3 years. The math: a $80,000 renovation done now vs $50,000 now plus $40,000 in 2 years, assuming 8% annual inflation on the deferred portion. The phased approach totals $50,000 + $40,000 × 1.08^2 = $50,000 + $46,656 = $96,656. The all-at-once approach is $80,000 today.
The phased approach is more expensive in absolute terms, but it is a different cash-flow profile. The all-at-once approach requires $80,000 today. The phased approach requires $50,000 today and $46,656 over the next 2 years. For a homeowner who has $50,000 but not $80,000, the phased approach is feasible, and the all-at-once approach is not.
The tradeoffs: the homeowner lives in a partial renovation for 2 years, and the contractor mobilization cost is paid twice. The mobilization cost is typically 5-10% of the project, so the phased approach pays an extra $2,500-$5,000 in mobilization. The tradeoff is real and should be in the budget.
The budget rule: if the project is borderline feasible now, phasing is a real option, not a sign of failure. The right way to phase is to do the work that has to be done first (the structural, electrical, plumbing) and defer the cosmetic work. The cosmetic work is the part that is easiest to add later, and the structural work is the part that is most expensive to add later.
A working budget framework
The full framework, condensed:
- Step 1: Set the total budget first. This is the amount the homeowner can actually afford, including a 25% buffer for the unknown. The buffer is on top of the contingency, not the same as the contingency. The total budget is the number the homeowner writes down, signs, and protects.
- Step 2: Estimate the cost for the scope. Use the cost ranges on the home renovation cost page, by scope tier (cosmetic, partial, full gut). The estimate is a range, not a number. The middle of the range is the planning number.
- Step 3: Subtract the estimated cost from the total budget. The difference is the contingency. If the contingency is below 15% of the estimated cost, the budget is too tight and the scope has to come down.
- Step 4: If the estimated cost is above the total, cut scope before signing. Do not sign a contract on a budget that is broken from day one. The cuts are easier to make in the planning phase than in the construction phase.
- Step 5: Track weekly during the project. Use a spreadsheet or an app. The flag: if the running total crosses 80% of the budget before the project is 80% complete, slow down on discretionary change orders.
- Step 6: Revise the budget up or cut scope if the running total exceeds the budget. Do not let the project drift past the budget. The decision is in writing.
The full budget lives on a single page. The page has the total budget, the line items with their amounts, the contingency, the change-order rule, the tracking method, and the rule for what to cut if the budget is too tight. The page is updated weekly. The page is the homeowner’s work product for the project.
A budget is not a number. A budget is the document that protects the number. The homeowner who has the document is the one who finishes the project on the number they set. The deeper treatment of the cost ranges by scope is on the home renovation cost page. The line-by-line project checklist is on the home renovation checklist page. The contractor’s estimate as a budget input is on the how to choose a renovation contractor page. The scope decision that drives the budget is on the home renovation vs remodeling page.