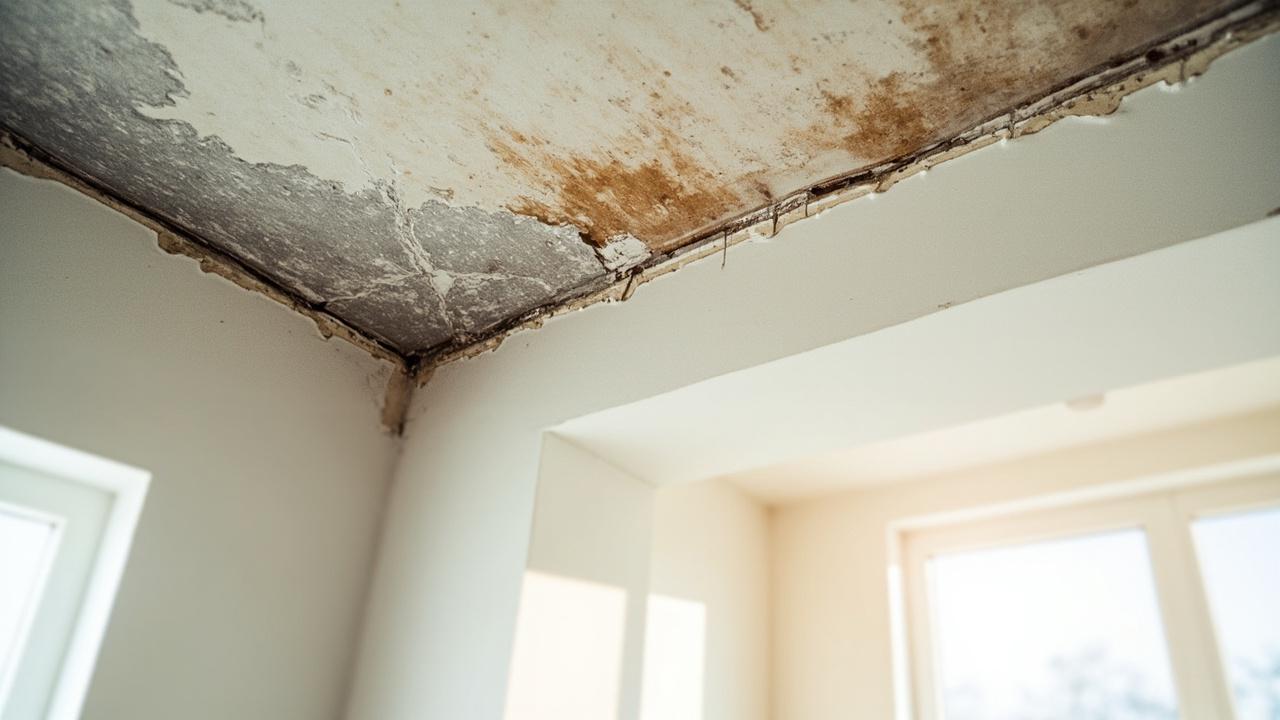

Most kitchen remodels go sideways in the same handful of ways. The cabinets arrive before the walls are straight, the sink moves without a vent plan, the budget covers finishes but not the wiring behind them. Your kitchen still works, but every shortcut compounds into callbacks, change orders, and a bill 20 to 30 percent above the quote. A kitchen renovation common problem is a predictable failure in planning, sequencing, or building science that turns a straightforward remodel into delays and rework, and nearly all of them are avoidable when the cause is understood before demolition starts.
The Problems That Derail Most Kitchen Remodels
Kitchen remodel failure patterns cluster around five repeat offenders: an unrealistic budget with no contingency, measurements taken once and trusted forever, trades scheduled in the wrong order, ventilation and electrical treated as afterthoughts, and moisture protection skipped behind wet zones. Any one of these can stall a project for weeks. Together they explain why a four-week remodel stretches to ten. The encouraging part is that every one of them shows up early as a warning sign, a quote with no line items, a plan with no dimensions for the sink wall, a schedule that has countertops templated the same day cabinets are set. Spotting those signals during planning costs nothing. Fixing them after install costs thousands.
A realistic budget starts with scope honesty. A cosmetic refresh of paint, hardware, and a stock backsplash lands near $8,000 to $15,000 in most US markets. A mid-range pull-and-replace with semi-custom cabinets, quartz, and modest layout changes runs $25,000 to $55,000. Moving plumbing, gas, or load-bearing walls pushes past $60,000 fast, because each move drags permits, engineering, and inspections behind it. The problem is rarely the headline number. It is the missing renovation contingency fund of 10 percent for same-footprint work and 15 to 20 percent when walls or services move, held untouched until the walls are open and the surprises are visible.
Measurement error is the quietest budget killer. A wall out of plumb by 3/8 inch over 8 feet, a ceiling that dips 1/2 inch across the run, a window centered by eye instead of by tape, each forces filler strips, scribe cuts, and recuts that eat days. Laser-measure every wall at three heights, confirm diagonals on the sink and range walls, and re-measure after demolition when framing is exposed. Cabinets ordered to pre-demo numbers fit the old kitchen, not the real one.
Why Cabinets, Countertops, and Layouts Fail After Install
Cabinet installation failure almost always traces to the box or the fastening, not the door style. Particleboard boxes at 12 mm with staple joints swell at the sink base after one slow leak, and screws pull out of thin backs when loaded with small appliances. A plywood cabinet box 15 to 18 mm with screwed joints and 3/4-inch backs holds alignment through humidity swings from 30 to 60 percent and survives a refinish cycle 15 to 25 years out. Hinges and slides decide daily feel: soft-close hardware rated for 75 to 100 lb keeps drawers true where bargain slides rack and drag within two years. For a closer look at how box materials behave in wet kitchens, see plywood vs aluminum vs solid wood cabinets.
Countertop cracking and staining follow a different logic because stone tolerates vertical load but punishes uneven support and thermal shock. A 12-inch overhang without brackets eventually stresses the seam no matter the brand. Quartz resists wine, citrus, and oil without sealing yet asks for trivets near ranges, while granite tolerates heat but needs periodic sealing at roughly $30 to $60 DIY per round. Laminate saves upfront at $20 to $40 per sq ft installed but shows wear at edges and cannot be repaired invisibly. The right surface follows your cooking, not the showroom sample, and the full cost picture including fabrication and seams is worth studying in how to choose kitchen countertops before you sign a slab order.
Layout failures are slower but more expensive to undo. A work aisle under 36 inches traps two cooks. A refrigerator door that swings against an island corner chips both within a month. A sink moved across floor joists without proper waste slope and vent sizing per IRC gurgles and drains slowly forever. Walk the plan at full scale with painter’s tape before ordering anything. Tape is free. Moving a plumbed island after stone is set is not.
Budget Blowouts, Delays, and Contractor Disputes
Kitchen remodel cost overruns come from change orders more than from material prices. The industry pattern is consistent: vague allowances let a low bid win, then every selection above allowance becomes a change order at retail-plus margin. A $400 lighting allowance against $1,200 of actual fixtures, a $30 per sq ft tile allowance against $55 per sq ft handmade tile, each quietly adds thousands. The fix is boring and effective. Demand line-item allowances tied to named products, lock selections before demolition, and require written change orders with price and schedule impact before work proceeds. No verbal approvals, ever.
Remodel timeline delays usually start with lead times nobody confirmed. Semi-custom cabinets run 4 to 8 weeks, stone fabrication needs 1 to 3 weeks after template, and template can only happen after cabinets are set and level. Order appliances early enough that cutout dimensions are exact, not guessed from a spec sheet that later changes by half an inch. Permits add their own queue: electrical, plumbing, and structural changes each need inspection holds, and inspectors do not reschedule around your countertop delivery. Build the schedule backward from inspection dates, not forward from demolition day.
| Warning Sign | What It Means | What to Do |
|---|---|---|
| Lump-sum quote, no line items | Allowances will drift upward later | Require itemized allowances tied to products |
| Template booked before cabinets set | Measurements will shift after install | Template only after boxes are fixed and level |
| No permit mentioned for moved plumbing | Unpermitted work risks resale and insurance | Confirm permit scope in writing with contractor |
| Verbal change approvals accepted | Billing disputes with no paper trail | Written change orders with price and dates only |
Disputes follow a script too. The homeowner remembers a promise, the contractor remembers an allowance, and nobody wrote either down. Keep a shared selection sheet with product names, model numbers, and prices, photograph rough-in before drywall closes, and hold a final 10 percent until punch-list items are done. Calibrate the whole budget against how to set a home renovation budget so the contingency survives contact with reality.
Hidden Problems Behind Walls, Wiring, and Plumbing
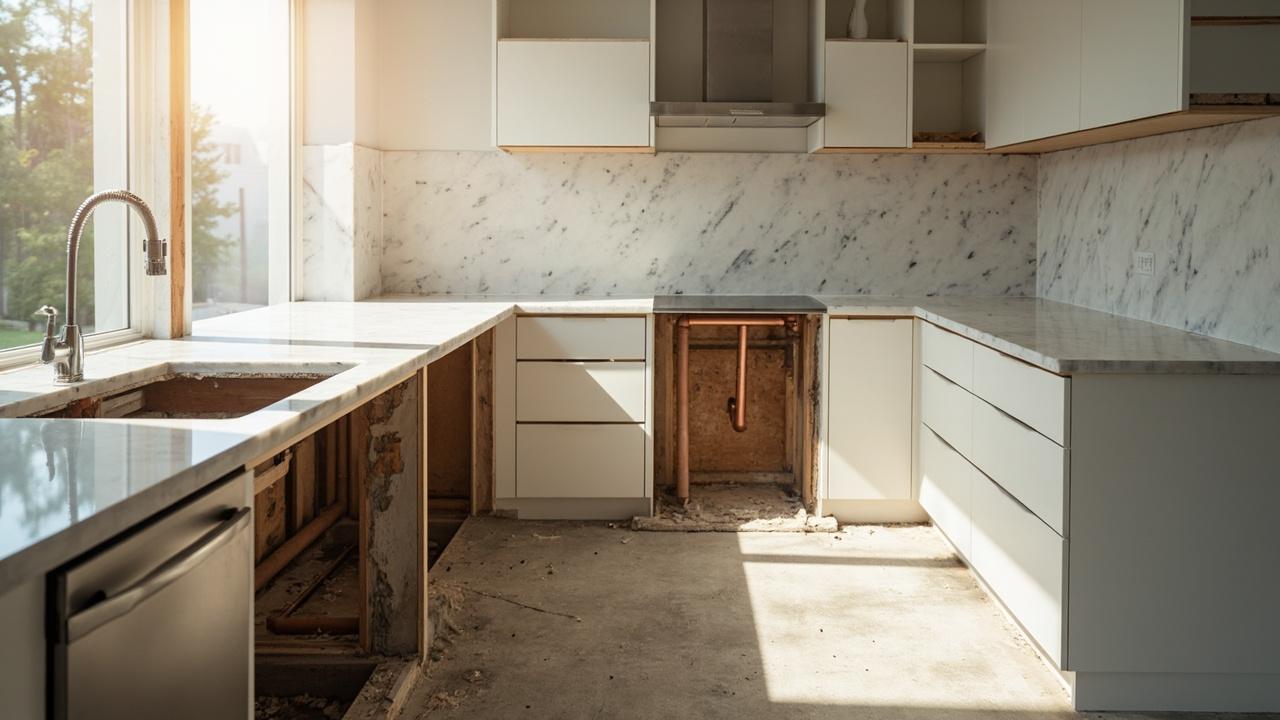
Kitchen electrical code violations hide behind the prettiest finishes. Older kitchens often run on a single 15-amp circuit shared with lighting, while modern code expects two dedicated 20-amp small-appliance circuits per NEC Article 210 plus GFCI and AFCI protection per local adoption. A microwave, toaster oven, and coffee maker on one old circuit trip breakers daily. Opening walls is the cheapest moment to add circuits you will need for the next 20 years, including a dedicated line for the dishwasher and disposal. Consult a licensed electrician for load calculation and panel capacity before assuming the existing service can carry an induction range.
Kitchen plumbing rough-in mistakes surface as slow drains, sewer odor, and cabinets that rot from the inside. A sink relocated without correct trap-to-vent distance or proper quarter-inch-per-foot waste slope drains poorly no matter how premium the faucet. Supply lines buried without accessible shutoffs turn a $15 washer replacement into a cabinet demolition. Dishwasher drains need a high loop or air gap per code to prevent backflow. Verify shutoff placement, test drainage before closing walls, and photograph every joint while it is visible.
Kitchen moisture and ventilation damage is the slow problem that outlives the remodel. Cooking releases pounds of water vapor daily, and a recirculating microwave fan simply returns grease and humidity to the new drywall and paint. A rigid metal exhaust hood ducted outdoors, sized near 100 CFM per linear foot of range width, protects cabinets, finishes, and indoor air at once. Behind wet zones, cement backer board plus a waterproofing membrane outlasts green board drywall that wicks a leak straight into framing. The sequencing logic that keeps all of this straight is laid out in what actually matters when planning a kitchen remodel, where vent and waste routing must be right before finishes arrive.
When to DIY, When to Call a Professional, and What Comes Next
Kitchen remodel DIY limits sit exactly where safety and code begin. Painting, hardware swaps, backsplash tile on a sound wall, and flat-pack assembly are fair game for a careful homeowner. Gas lines, new circuits, load-bearing wall removal, and waste-and-vent reconfiguration belong to licensed professionals, full stop. A wrongly sized header over a removed wall does not sag politely, it cracks drywall across the ceiling within a season and voids insurance if unpermitted. Get three itemized bids, check license and insurance directly with the issuing authority, and call references from jobs finished at least a year ago so callbacks would have surfaced.
Carry the project home with a punch list and a maintenance habit. Walk every door reveal, drawer slide, caulk line, and grout joint before final payment. Run every appliance through a full cycle. Keep touch-up paint, grout, and spare hardware labeled in one box. Then wipe down the exhaust filter monthly, reseal natural stone on schedule, and check the sink base for dampness each season. Kitchens do not fail all at once. They whisper first, in a hinge that drifts, a seam that darkens, a breaker that trips on Sunday mornings. Listen early and the renovation you paid for stays the renovation you enjoy.