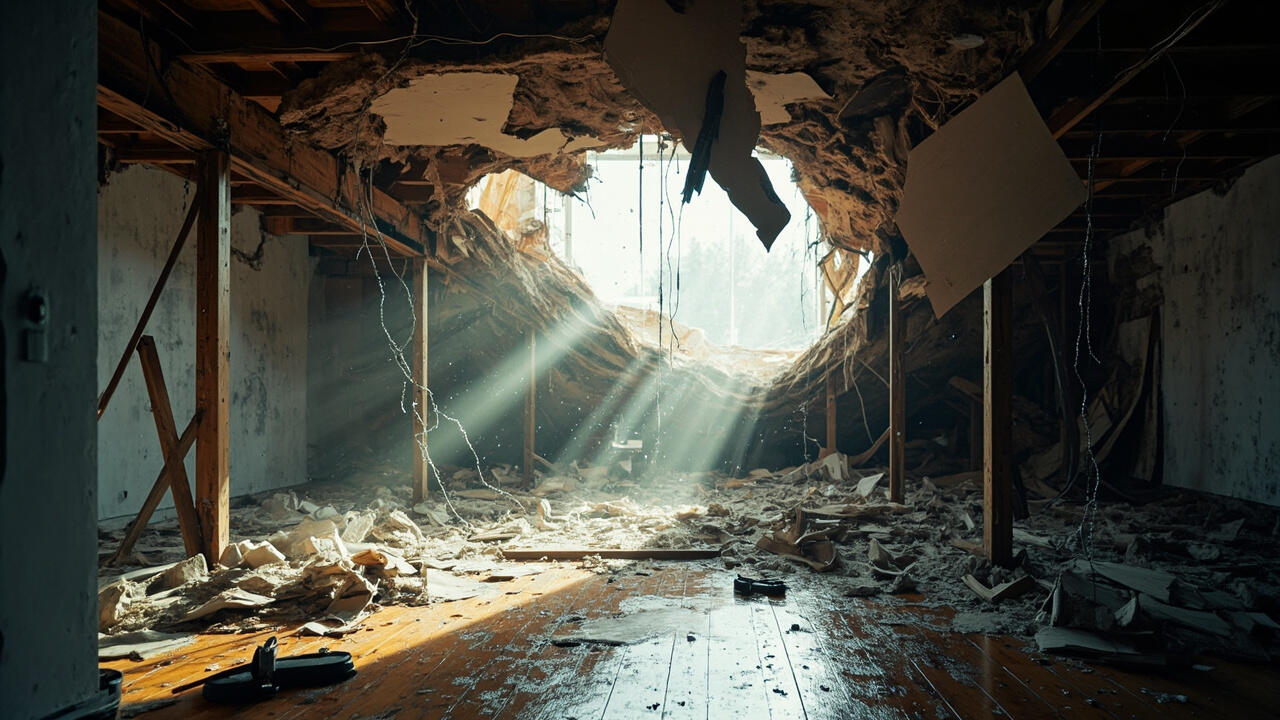

The storm damage roof insurance claim is the project most homeowners never plan for and never want to file. The hail came through at midnight, and by morning you have shingles in the yard and a slow dread in your chest that will not go away.
The right approach is simple in shape and unforgiving in detail: document the damage before you touch it, call your insurer the same day, and let the adjuster see the roof exactly as the storm left it. Each step builds on the last.

First Things First in the First 24 Hours
The first 24 hours after a storm are when the foundation of your claim gets built. Skipping steps here is the most common reason claims get reduced.
The first step is safety. Do not climb on a wet, storm-damaged roof. Check from the ground with binoculars. Check the attic for active leaks with a flashlight.
The second step is photographic documentation. Take wide shots of the house from the street. Take medium shots of the roof slope from the ground. Take close-ups of every visible damaged shingle, dented flashing, and exposed nail head.
The third step is temporary mitigation. If water is coming in, place a tarp on the roof and a bucket inside. Save every receipt. Mitigation costs are usually reimbursable, and skipping them can give the insurer a reason to deny the interior portion of the claim.
The fourth step is call your insurer the same day. Most policies require prompt notification, and a delay can be used to question the cause. Get a claim number and the adjuster’s name in writing.
The fifth step is do not sign anything at the door. Storm chasers show up in the first 48 hours. Some are legitimate; many are not. Get their business card, take their flyer, and verify them later through your state licensing board. Our how to choose a roofing contractor checklist has the verification questions.
What the Adjuster Looks For During the Visit
The adjuster’s job is to confirm the damage is storm-related and to estimate the cost to repair or replace. Knowing what they look for helps you present the claim well.
The first thing is the slope itself. They count damaged shingles, check for granule loss across the field, and look at the soft metals (vents, flashing, gutters) for hail dings. Soft metals dent more easily than shingles and give the storm a clear signature.
The second thing is collateral damage. Dings on the gutter, dents on the downspouts, marks on the window screens, and damage to the AC condenser all support the wind and hail story.
The third thing is the date of the storm. Most insurers cross-reference the NOAA Storm Events database for your address. They will check that you are not claiming pre-existing damage under a recent storm.
The fourth thing is interior damage. Stains on the ceiling, peeling paint near the crown moulding, and soft drywall all support that the storm created a path for water.
The fifth thing is your documentation. Photos you took within the first 24 hours, repair estimates from licensed contractors, and receipts for tarps or mitigation work all strengthen the claim.
For more on the project itself once the claim is approved, our roof replacement process step by step page walks through every phase from quote to final walkthrough.
RCV vs ACV: How Your Payout Gets Calculated
The single biggest number in any storm damage roof insurance claim is whether your policy pays replacement cost value or actual cash value. The difference is usually thousands of dollars.
Replacement cost value (RCV) pays to replace the roof with materials of like kind and quality, without deducting for age or wear. Most modern homeowner policies are written on an RCV basis for the roof.
Actual cash value (ACV) pays to replace the roof minus wear and tear. On a 15-year-old roof, the depreciation can be 50 percent or more, leaving you to cover the gap out of pocket.
Read your declarations page, not just the policy summary. The roof section will say RCV or ACV. If it says ACV and you have had the policy for less than a year in some states, you may have a right to upgrade under the doctrine of reasonable expectations.
Ask your insurer or your agent for the roof schedule showing the depreciation table. Most policies use a 50-year straight-line depreciation for asphalt, so a 15-year-old roof pays out at about 70 percent of replacement cost.
For the cost side and what a new roof actually runs, our roof replacement cost guide has the regional breakdown by material.
Working With Your Contractor During the Claim
The contractor you choose during a storm damage roof insurance claim is part of your team, not a passive participant. Knowing how to work with them makes the claim smoother.
The first step is to have the contractor meet the adjuster on site. They speak different languages: the adjuster speaks in line items and Xactimate codes, the contractor speaks in squares and labor hours. Together, they get to the right number.
The second step is to share the adjuster’s report with the contractor before any work starts. Most supplements (additional items the adjuster missed) are filed within 30 days of the initial estimate. Missing that window can cost real money.
The third step is to document code-driven upgrades. If the current code requires ice and water shield at the eaves, drip edge, or six nails per shingle, the contractor should write a separate line item. Insurance usually pays code upgrades even on an ACV policy.
The fourth step is to keep all communication in writing. Email and text create a paper trail. Phone calls do not. If the adjuster says something on the phone that matters, follow up with an email summary.
For the contractor choice itself, our how to choose a roofing contractor checklist has the questions that separate a real pro from a storm chaser.
Common Mistakes That Get Claims Denied
Most denials come from one of a handful of recurring patterns. Avoid these and the process gets easier.
The first mistake is waiting to call. A delay of weeks or months gives the insurer a reason to argue the damage was not from the storm in question. Call within 24 to 72 hours.
The second is cleaning up before documentation. Pulling shingles out of the yard before photographing them is the single most common reason adjusters write small estimates.
The third is throwing away receipts. The tarp, the bucket, the plywood, the temporary repair invoice: all of these are reimbursable. Keep them in one folder.
The fourth is doing the work before the adjuster visits. Permanent repairs before the adjuster sees the damage can void coverage. Mitigation (tarps, plywood) is fine; replacement is not.
The fifth is not understanding your policy. Some policies exclude cosmetic damage, some exclude roofs over a certain age, and some exclude certain materials. Read your declarations page before the adjuster arrives.
What to Do If the Claim Is Denied or Underpaid
If the insurer comes back with a denial or an estimate that does not cover the work, you have options. Most claims are resolved without litigation, but you have to push.
The first step is to ask for the denial in writing with the specific policy language cited. Most denials cite a section you can look up and challenge.
The second step is to file a supplement request through your contractor. Supplements are additional line items the adjuster missed: code items, decking repairs, ventilation upgrades. Most insurers honor a well-documented supplement.
The third step is to request a re-inspection with the contractor present. A different adjuster with the contractor on the roof often sees things the first missed.
The fourth step is to invoke the appraisal clause. Most homeowner policies have an appraisal process where each side hires an appraiser and a neutral umpire decides disputed items. It is faster than litigation and usually settles within 60 days.
The fifth step is to contact your state’s department of insurance. Every state has a consumer protection office that handles claim disputes. The complaint is usually resolved within 45 to 90 days.
For the project once the claim is approved, our roof replacement process step by step page has every phase. For the cost side, our roof replacement cost guide has the regional numbers.
For the day the crew arrives, our how to prepare your house for roof replacement page covers what to move and what to cover.
For the broader picture on the project itself, our roof replacement pillar has the full walkthrough. If you are still deciding whether to file the claim at all, our signs you need a new roof guide walks through the visible damage that supports a claim.
If timing on payment is tight, our financing a new roof options page breaks down home equity, contractor programs, and FHA Title I loans so you are not waiting on the insurer to start the project.
A storm damage roof insurance claim is one of those projects where the homeowner who documents well gets paid fairly.
For the permit and code side of the rebuild, our roof replacement permit and code requirements page covers what your local building department asks for.
For deciding whether the storm damage calls for repair or full replacement, our roof replacement vs repair page has the decision framework.
The trick is recognizing that the adjuster works for the insurer, but your contractor works for you, and the documentation belongs to no one but you.