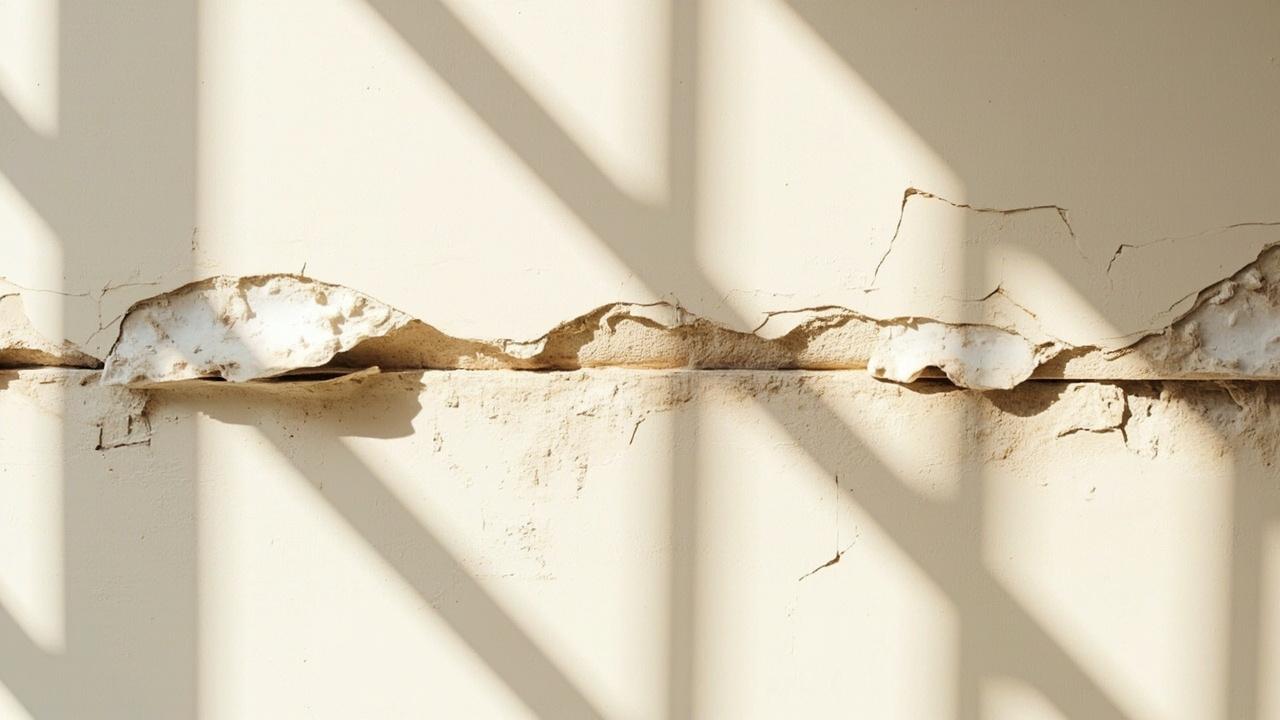

Peeling paint is not a paint problem. It is a moisture, preparation, or compatibility problem that paint merely reveals. When you see sheets of latex curling off a bathroom ceiling or bubbles forming on a fresh exterior wall, the real issue started long before the last coat went on. Here is how to diagnose exactly which cause is happening in your home and fix it so it does not come back in six months.
Peeling vs Bubbling vs Flaking: What Each Symptom Tells You
Peeling in large sheets almost always means moisture is pushing from behind. Water vapor moves through walls from warm interior air toward cold exterior surfaces in winter. In summer, sun-baked exterior walls drive moisture inward. Either way, the water vapor condenses behind the paint film, breaking the bond.
Check peeling paint with a moisture meter. Readings above 15% mean active moisture, not old paint failing. Bubbles or blisters during or right after painting point to a different cause: trapped air, moisture on the surface when paint was applied, or paint applied too thick in one coat.
Bubbles near windows and doors on interior walls often mean humidity was high during application. Small bubbles that pop easily and leave a clean surface underneath are typically application issues. Bubbles that reveal damp or dark substrate underneath are moisture intrusion.
Moisture: The Number One Cause of Exterior Paint Failure
On exterior walls, moisture follows predictable paths. South and west-facing walls get the most UV exposure and rain impact. Paint degrades faster there, and water enters through failed caulk joints, window seams, and roof-to-wall intersections. Missing or cracked caulk is the most common single cause of exterior peeling.
Inspect every joint where siding meets trim, where pipes penetrate walls, and where the foundation meets the sill plate. Gutter overflow is the hidden culprit behind peeling on lower walls. When gutters clog or downspouts are too short, water sheets down the siding, saturating the bottom 2-3 feet.
The paint looks fine until winter, when freeze-thaw cycles lift it right off. Extend downspouts 4-6 feet from the foundation and clean gutters twice a year. Also check your crawl space. An unvented crawl without a vapor barrier sends ground moisture up through the framing, pushing paint off interior walls near the baseboard.
Interior Peeling: Bathrooms, Basements, and High-Humidity Zones
Interior paint peeling in bathrooms, kitchens, and basements follows the same physics: water vapor moves from wet to dry, condensing behind the paint film. In a bathroom without an exhaust fan, a 10-minute shower releases over a pint of water into the air.
That moisture migrates into the walls and ceiling, and within two years, the paint starts bubbling near the ceiling line or behind the bathroom door where air does not circulate. The fix is threefold: run an exhaust fan rated at 50-80 CFM for 20 minutes after every shower, repaint with a moisture-blocking primer before the topcoat, and use semi-gloss or satin sheen in wet zones.
Flat paint absorbs moisture like a sponge. In basements, add a dehumidifier set to 50% relative humidity and check for efflorescence (white salt deposits on foundation walls) before painting. Efflorescence means active water seepage. Paint alone will not fix it. For persistent basement moisture, see our basement waterproofing guide.
Paint Incompatibility and Surface Prep Failures
Not all paints get along. Painting latex over oil-based paint without proper preparation causes peeling in large sheets within months. Oil-based paint is glass-smooth and non-porous. Latex cannot grip it. The fix: etch the surface with 120-grit sandpaper, wipe away dust, apply a bonding primer designed for slick surfaces, then repaint with latex.
Skipping the primer guarantees failure. Similarly, painting over chalky, dusty, or glossy surfaces without deglossing or priming causes adhesion failure. Exterior paint naturally chalks over time. If you can rub white powder off the wall with your hand, the surface is too chalky for new paint.
Power wash or scrub with TSP (trisodium phosphate), let dry completely, then apply a primer. Glossy trim needs light sanding before recoating. And never paint over peeling paint without scraping down to a sound edge. New paint over old peeling paint just lifts faster.
When to DIY vs Call a Pro: The Decision Guide
DIY makes sense when: the peeling is limited to one room, the affected area is under 25 square feet, and the cause is obvious (bathroom humidity, failed caulk, painted over gloss). Budget $50-100 in materials: scraper, sandpaper, primer, paint, and caulk. A Saturday afternoon is plenty.
Call a pro when: peeling covers more than 15% of the exterior, moisture is coming from an unknown source (basement, behind walls), you suspect lead paint (homes built before 1978 require EPA-certified removal), or peeling is accompanied by structural cracks wider than 1/8 inch.
These signal issues that go beyond paint. A painting contractor can diagnose moisture sources and a structural engineer can assess foundation cracks. Fix the cause before repainting, or you will be scraping again next year. Ready to repaint? Our exterior painting guide walks through the complete process from prep to final coat.