
Most peeling deck stain is not a bad product problem. It is a preparation and moisture problem, and it shows up a season or two later as curling edges, grey patches, and bare wood where the finish lifted away entirely.
A finish sits on top of wood, so it inherits whatever condition that wood was in when you brushed it on. Staining a deck well comes down to three decisions: what kind of coating the surface actually needs, whether the boards are dry enough to take it, and whether the old coating is really gone. Get those right and the color lasts through a few seasons of rain and sun.
Why Deck Stain Peels, and What Actually Causes It
A coating fails in a fairly predictable order. It loses adhesion first, then it lifts. Look at where it peeled from and the cause is usually visible.
Lifting at the edges and curling upward points to poor surface adhesion. The stain never bonded at the board edge, so it pulled away like a sheet. Dust, loose grey fibers, and an unremoved previous film all leave the surface with nothing to grab.
Bubbles and blisters mean moisture was trapped inside the wood when the coating went on, and it tried to get out later. This is the most common complaint on a shaded deck that stayed damp through the morning.
Blotchy, uneven color with the grain showing through is a different failure. The surface was too different from one board to the next, usually a mix of weathered grey and areas the previous stain protected.
Underneath all of them sits the same underlying condition: wood that was not ready to be coated. Wood that has just been pressure washed, wood that rained on an hour after application, and wood that is already soft with rot will all shed a finish, no matter which brand you use.

Stain, Sealer, or Neither: Read the Surface First
The word stain covers two different things in a hardware store, and picking between them is the first real decision. Read what is already on the boards before you buy anything.
Penetrating stain soaks into the wood fibers and leaves the grain visible. It looks like wood, which is why most people want it. It dries to a soft film, so it will not peel in sheets the way a surface film can.
Film-forming sealer or stain sits on top and builds a thin layer. It washes out surface dirt more easily and holds color more evenly across boards of different ages, but it behaves more like paint when it fails, and it will peel.
A clear water-based sealer adds no color at all. It is the right choice when you want the natural wood tone and simply want water and UV protection.
Now read the surface. Weathered grey wood has lost its soft outer layer to sunlight, and no penetrating stain will restore color there without help. Grey deck boards need to be brightened first, with an oxygen bleach or a dedicated deck brightener, before any stain will look like stain.
Cedar and redwood add one more variable. Their tannins can bleed a brownish tint through a water-based finish as it cures, which looks like a stain defect but is just the wood. An oil-based product on those species, or a longer cure before you judge the color, handles it.
If you are not sure whether the deck itself is sound, that is a different conversation. Our deck maintenance and repair guide covers telling a surface problem from a board that needs replacing.
The Prep Sequence That Decides Whether the Coat Lives
Every step below exists because skipping it shows up as peeling later. Do them in order.
- Check the boards first. Probe a few spots with a screwdriver. If the wood gives easily or feels spongy, staining is the wrong project. Replace those boards before you coat anything.
- Clean the surface. Sweep, then wash with a deck cleaner and let it dry fully. A pressure washer works, but only at a controlled pressure that does not raise the grain or scar soft wood.
- Brighten if the deck is grey. Deck brightener or oxygen bleach brings the weathered surface back to a state that accepts color. Skip this and a water-based stain will sit on top looking flat and chalky.
- Strip any old film. If the previous coating is peeling or will not sand off, remove it. A loose film under a new coat is the guarantee of a repeat failure.
- Sand where needed. About 60 to 120 grit smooths raised grain and knocks off loose gray fibers. Sand with the grain, and vacuum or brush thoroughly afterward.
- Confirm the wood is dry. Aim for a moisture reading under roughly 15 to 18 percent before you open the can. If you have no meter, wait several dry days after washing. This one step decides more stain jobs than any other.
Cleaning and stripping are the slow, unglamorous part, and they are the part that separates a coat that lasts from one that peels by next summer.
Weather, Coats, and the One to Three Year Recoat Window
Application conditions matter as much as the product. Most coatings want roughly 50 to 85 degrees, dry air, and a stretch of several hours with no dew, rain, or direct hot sun. Read the label, because a water-based product and an oil-based one do not share the same limits.
Two thin coats beat one thick one, every time. The second coat evens out the absorbed first coat, and it also gives you a window to catch a missed board while the surface is still workable.
Work the length of the deck boards rather than across them, and keep a wet edge so you never end up with a lap line. On a large deck, treat it in sections on the same day rather than coming back to a dried section later.
After application, give it a full day or two before heavy foot traffic and longer before anything sits on the surface. Furniture and rugs trap moisture against the finish, and a coating that cures under pressure can blister at exactly the spot you set the furniture down.
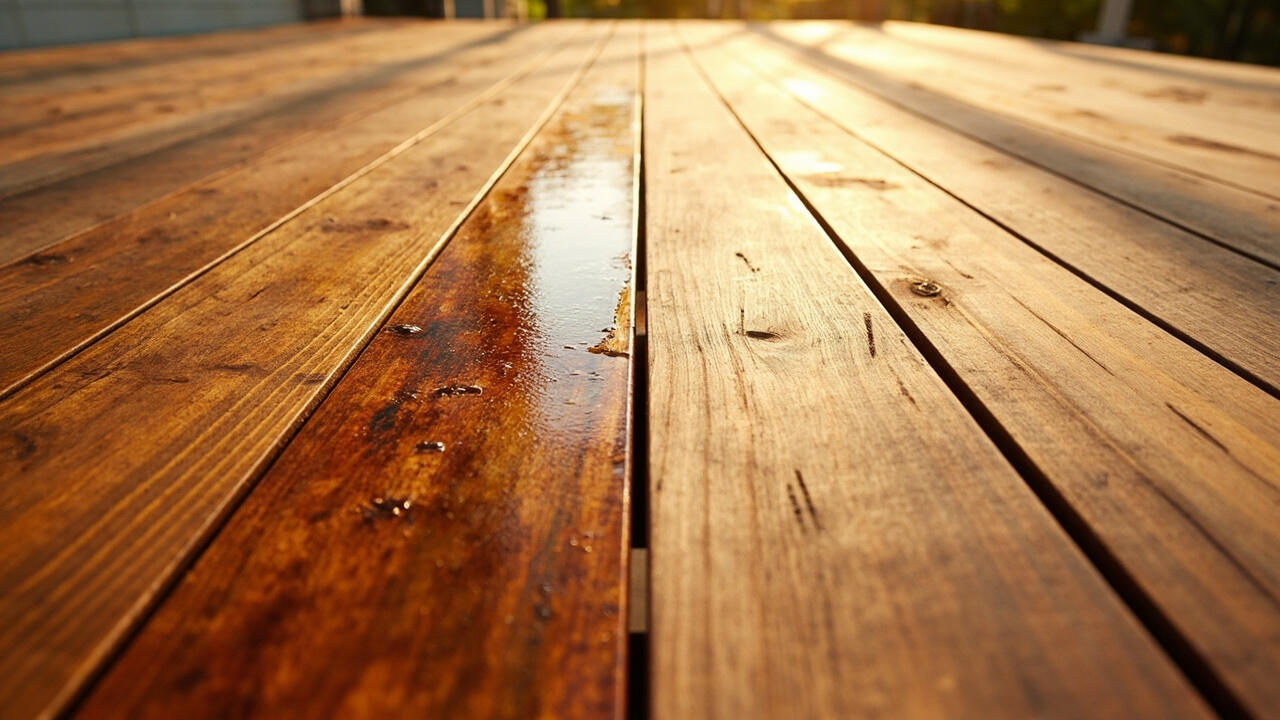
Then set a reminder rather than waiting for the peeling. A penetrating stain usually wants attention in one to three years, earlier in full sun and later in shade. The tell is water sitting on the surface instead of soaking in, which means the finish has stopped being porous and needs cleaning before recoating.
When to Stop and Replace Boards Instead of Staining
Some decks are past the point where a coating helps. Stain will not restore wood that has lost its structural integrity, and spending a weekend and a hundred dollars on a surface that needs boards replaced is the expensive kind of lesson.
Replace boards when they are soft, cracked through, cupped enough to rock underfoot, or rotted at the fastener points. Soft or punky wood is the clearest signal, because stain will not restore structural integrity and it hides the problem until the board fails under load.
In cost terms, deck stain is cheap and mostly about your Saturday. Material for a typical deck runs roughly $1 to $3 per square foot for a DIY job, against $3 to $6 with a pro doing the work. Board replacement is the opposite: a few boards is manageable, widespread soft decking is a much larger conversation about the substructure underneath.
If you are weighing a full rebuild rather than a repair, our step by step deck build guide covers the framing and the surface choices from a new deck start.
And if what you really want is a lower-maintenance outdoor surface, that is a different decision than a maintenance one. The paver patio installation guide covers the assembly that never needs staining at all.