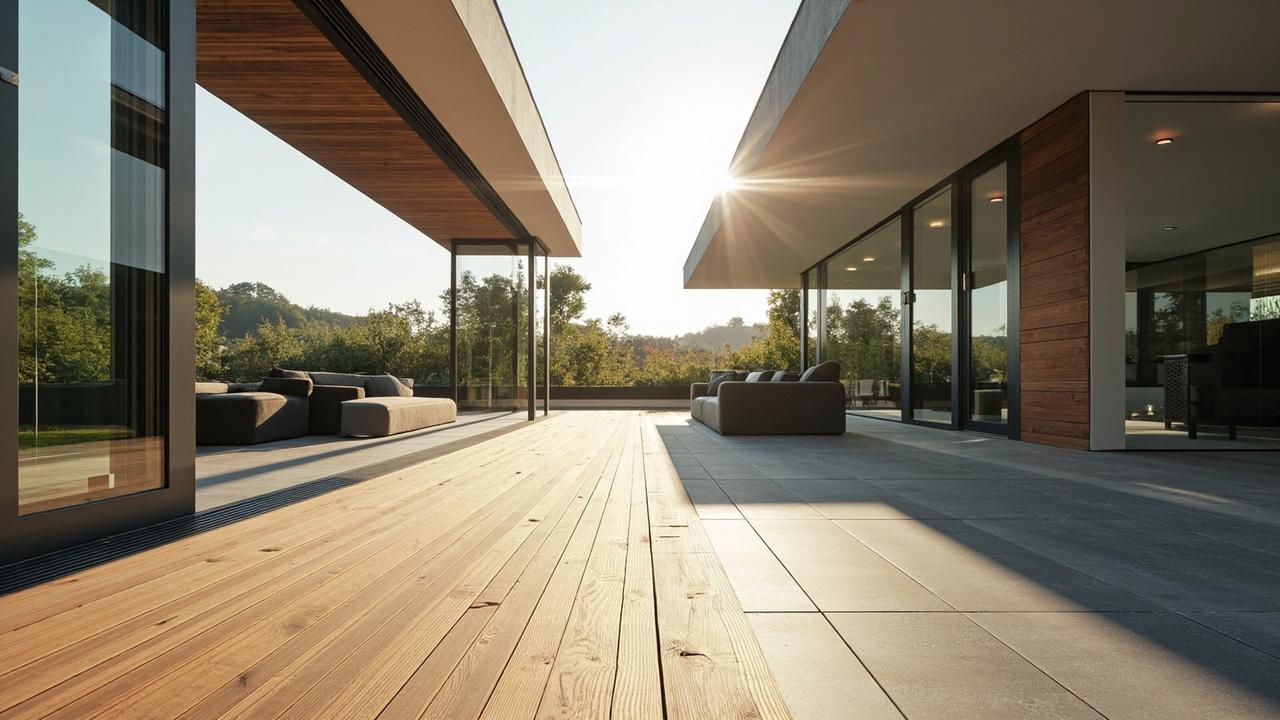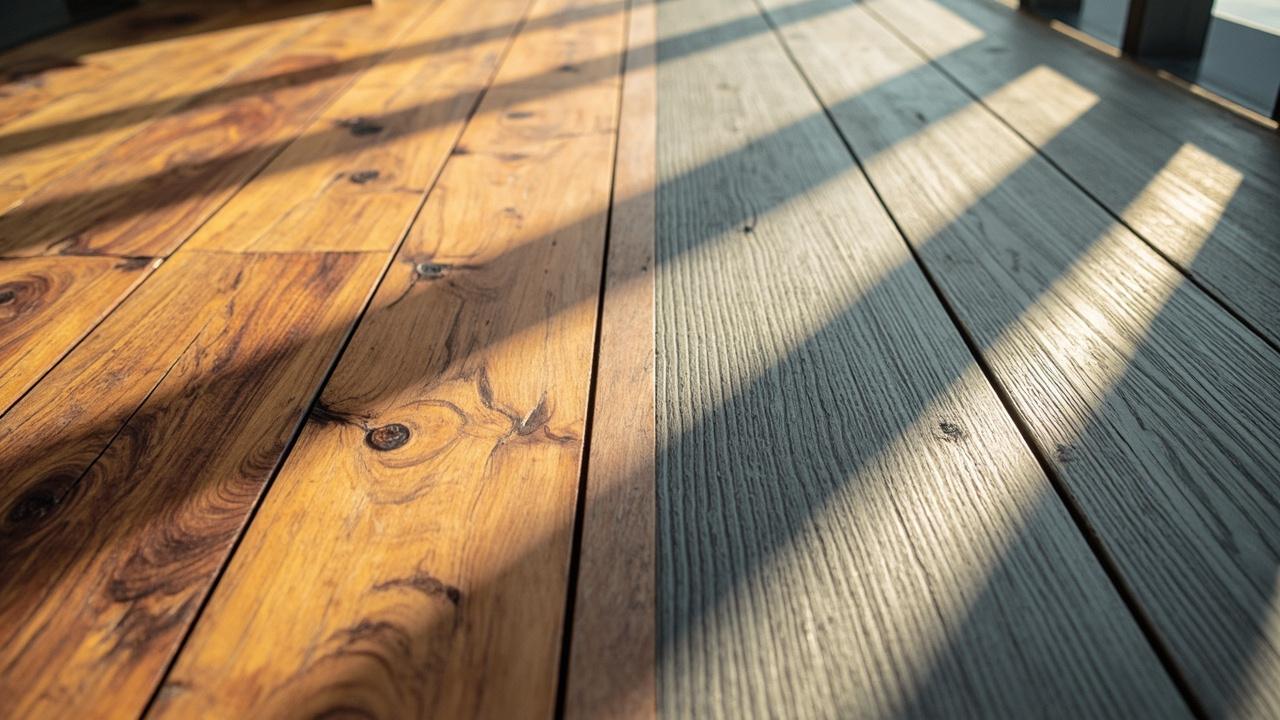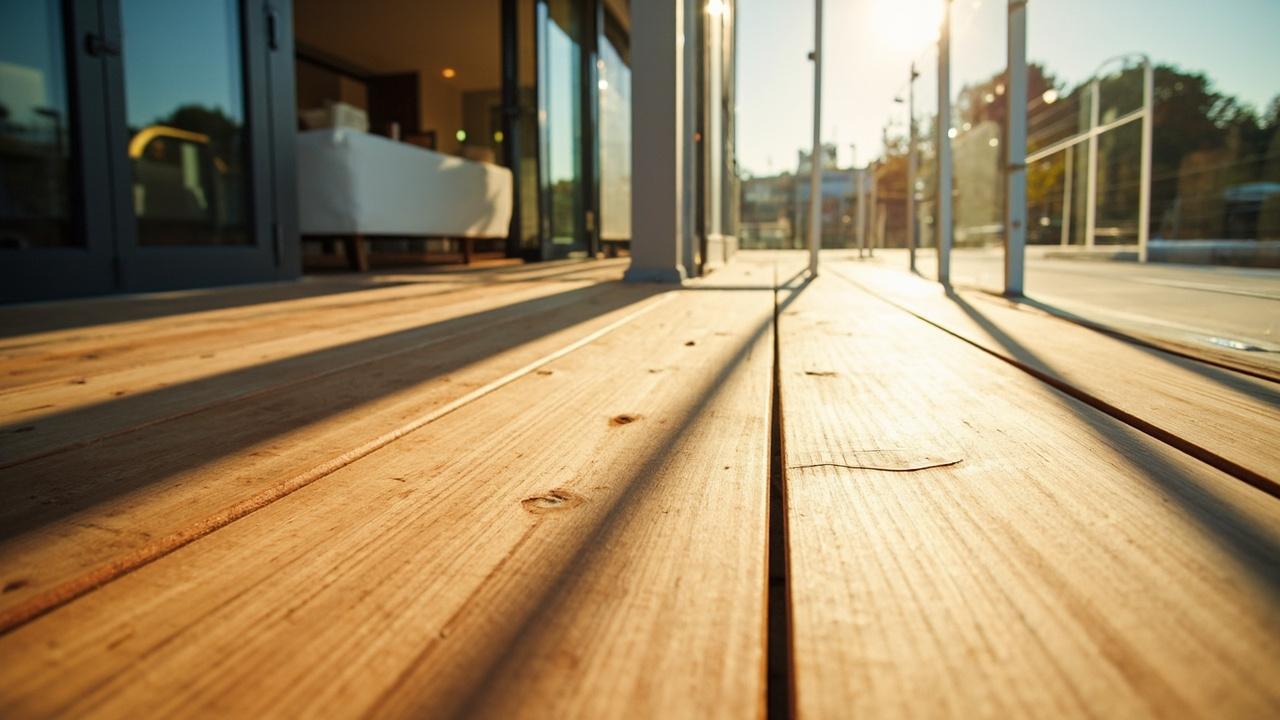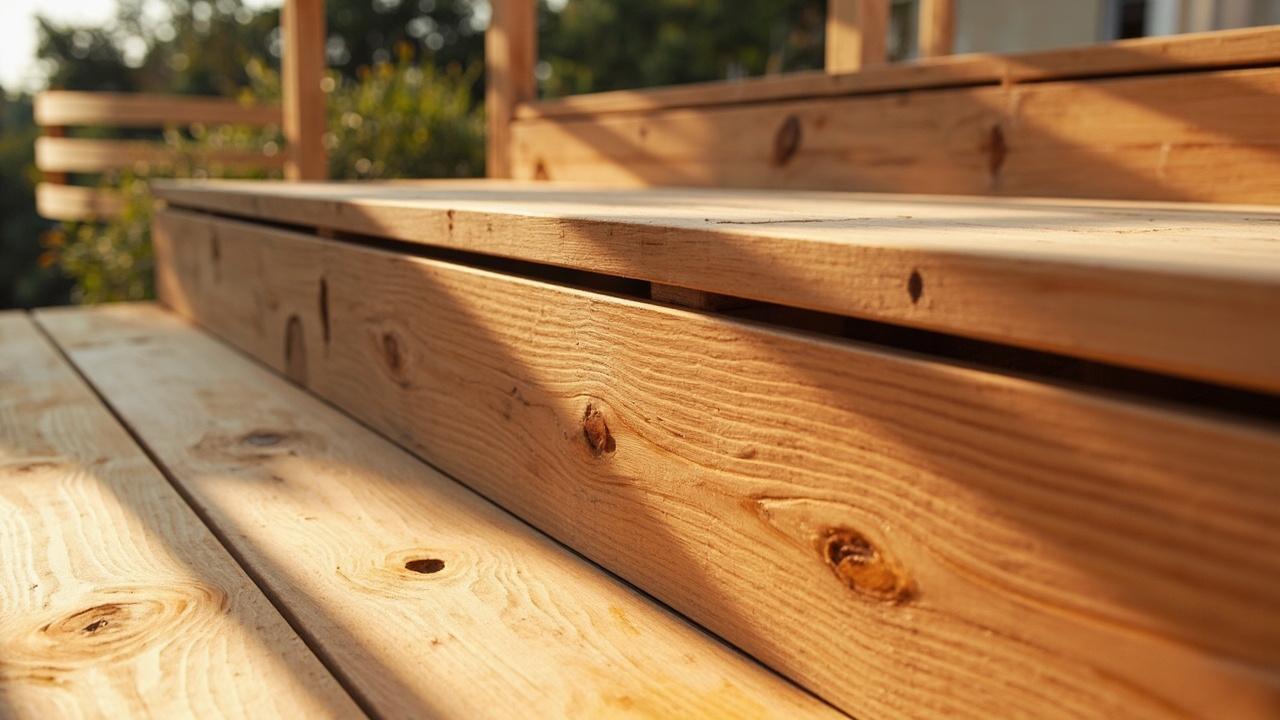

How to build a deck is a multi-step process where deck joists 2×8-2×10 at 16-inch on-center spacing form the structural frame, footings below the frost line anchor the structure, and your choice between composite vs wood decking determines long-term maintenance. The job gets harder when you skip tolerances — a 1/4-inch per foot drainage slope or an improperly sized footing turns a weekend project into a rebuild.
If you’re building a deck, start with the framing, not the surface. Get the footings right, space the joists correctly, and the rest follows. This guide walks through each step with the tolerances that separate a deck that lasts from one that sags, leaks, or fails inspection.
What Building a Deck Involves
Building a deck means constructing an elevated outdoor platform attached to or detached from your home — deck and patio is the broader category, and deck is the elevated, often attached subtype. The structure needs a solid foundation (footings), a framing system (beams, joists, ledger board if attached), a surface (decking boards), and often railings and stairs. Each layer has its own tolerances — skip one and the whole structure compensates. For the full build sequence, see how to build a deck step by step.
The deck and patio category splits into two clear paths: attached decks that tie into the house via a ledger board, and freestanding decks that stand on their own footings. The choice changes your foundation requirements, your attachment details, and whether you need a building permit. Most jurisdictions require permits for decks over 30 inches above grade, and railings are mandatory when the deck surface is more than 30 inches off the ground — see deck railing code requirements for the specifics on height and infill rules.
The critical decision happens before you dig the first hole: what are you building on? A deck on stable, well-drained soil with footings below the frost line behaves differently from one built on a slope with poor drainage. The footings below frost line rule exists because frost heave can lift and crack a deck that sits too shallow. In colder climates, that frost line might be 48 inches deep. In warmer zones, 12 inches may suffice. Check your local code — this is one place where “close enough” costs you.
How Deck Framing Works
The framing system is the skeleton. Deck joists 2×8-2×10 at 16-inch on-center spacing are the standard for most residential decks. Spacing tighter (12-inch OC) allows thinner decking and heavier loads. Spacing wider (24-inch OC) requires thicker joists and heavier decking — and isn’t always code-compliant for composite materials.
Here’s how the structure stacks, from ground up:
– **Footings** — concrete piers or sonotubes that transfer load to stable soil. Depth must reach below the frost line. Diameter and reinforcement depend on load and soil conditions.
– **Beams** — horizontal members that span between footings or from footing to ledger. Built-up beams (multiple 2x lumber nailed together) carry more load than single members.
– **Joists** — the 2×8-2×10 at 16-inch OC members that support the decking. Joist span tables in the IRC dictate maximum spans based on species, grade, spacing, and decking material.
– **Ledger board** (attached decks) — a board bolted to the house framing that carries half the deck load. This is the failure point in many deck collapses. Proper flashing and lag screw or through-bolt attachment are non-negotiable.
– **Decking** — the surface. Composite vs wood decking is the big choice. Wood (pressure-treated pine, cedar, tropical hardwoods) costs less upfront but needs annual sealing. Composite costs more but resists rot, insects, and warping.
The 1/4-inch per foot drainage slope matters when you’re building a deck with a ground-level or low-pitch surface that collects water. Most elevated decks don’t need this — they’re open underneath. But any deck with a built-in drainage system, a tiled surface, or a plan to capture runoff needs that slope baked into the framing.
Choices That Change the Build

Three decisions dominate the build: decking material, attachment method, and railing design.
Composite vs wood decking isn’t just about looks. Composite boards run $4-9 per square foot material cost versus $2-5 for pressure-treated pine. But composite doesn’t need staining, resists splintering, and lasts 25-30 years with minimal maintenance. Wood needs resealing every 1-3 years and may last 10-15 years before replacement. Over a 20-year window, the total cost often flips — wood wins on upfront, composite wins on lifecycle.
Attached vs freestanding determines your foundation work. An attached deck needs a properly flashed ledger board bolted to the house’s rim joist or band board — not to siding, not to brick veneer. A freestanding deck needs footings at each corner and possibly intermediate piers depending on span. Freestanding avoids the ledger failure risk but requires more footing work.
Railing height 36-42 inches depends on your local code and whether you’re building for residential or commercial use. Residential decks typically require 36-inch railings. Some jurisdictions mandate 42 inches. The infill (balusters, cables, glass) must prevent a 4-inch sphere from passing through — that’s the code test for child safety.
Steps to Build a Deck
This is the sequence — follow it in order, because each step depends on the one before.
1. **Plan and permit.** Check local requirements for permits, railing height (36-42 inches), footing depth, and maximum deck height. Draw a plan with dimensions, joist spacing (2×8-2×10 at 16-inch OC), and beam placement.
2. **Excavate and pour footings.** Dig below the frost line. Install forms, reinforcement, and pour concrete. Let it cure — typically 24-48 hours for initial set, 7-28 days for full strength depending on mix and temperature. Don’t rush this.
3. **Install the ledger (attached decks) or build the beam frame (freestanding).** For attached decks, flash the ledger board properly — membrane or metal flashing behind and over the board, shimming to create a drainage gap. Use lag screws or through-bolts into the house rim joist, not into siding or veneer.
4. **Set the beams and joists.** Beams rest on post bases or beam pockets. Joists attach to beams with joist hangers — don’t toenail unless the code specifically allows it for your application. Space joists at 16-inch OC for standard decking.
5. **Install the decking.** Start from the outside edge and work toward the house (for attached decks) or across the frame. Leave expansion gaps — composite needs 1/8 to 3/16 inch between boards, wood needs 1/8 inch. Screw or nail per manufacturer specs. Don’t over-drive screws into composite — it cracks.
6. **Build stairs and railings.** Stair stringers need proper rise and run — typical residential stairs run 7-8 inch rise and 10-11 inch run. Railings go on last, after the deck surface is complete.
7. **Inspect and finish.** Walk the deck. Check for bounce, squeaks, and gaps. Seal wood decking. Composite needs cleaning but no sealing.
Common Mistakes and When to Stop
The mistakes that undo deck builds are predictable:
– **Footings too shallow.** Skipping the frost line seems fine until the first freeze lifts the deck. In cold climates, this is catastrophic. In moderate climates, it’s still a code violation and a structural weakness.
– **Wrong joist spacing for the decking material.** Composite manufacturers specify maximum joist spacing — often 16-inch OC, sometimes 12-inch OC for diagonal lays. Exceeding that voids the warranty and causes sagging.
– **Ledger attached to siding or veneer.** The ledger must bolt into the structural framing — the rim joist or band joist. Attaching to siding, brick veneer, or stucco backing doesn’t transfer load. It fails.
– **Skipping flashing on the ledger.** Water gets behind the ledger, rots the rim joist, and the deck pulls away from the house. Flashing costs dollars. A deck collapse costs everything.
– **No expansion gaps.** Wood swells when wet. Composite expands with heat. Without gaps, boards buckle, crack, or push against fasteners.
– **Building without a permit when one is required.** Most jurisdictions require permits for decks over 30 inches high, decks with electric or gas lines, and any deck attached to the house. Fines, forced removal, and resale disclosure issues follow.
When should you stop and call a professional? If your site has a steep slope, poor soil, or a high water table, the footing work alone may exceed DIY scope. If you’re building a deck more than 8 feet off the ground, the structural demands increase significantly. If the deck is attached to a house with unusual framing (steel studs, ICF walls, brick veneer), the ledger attachment needs an engineer’s input.
Limitations and What Comes Next
This guide covers the standard residential deck build. It doesn’t cover elevated decks requiring engineered designs, commercial decks with different code paths, or decks built on unusual substrates (rock, steep slopes, contaminated soil).
After you’ve planned and built your deck, the next questions are usually about cost and maintenance. The deck and patio cost per square foot varies widely by material choice — composite runs higher upfront, wood runs lower but adds maintenance cost over time. For installation specifics beyond framing — how to lay decking, how to build specific railing styles, how to handle stairs and landings — the how-to install guides cover those in detail.
Quick reference: Footings below frost line. Joists 2×8-2×10 at 16-inch OC. Railing 36-42 inches (check local code). Composite vs wood is a lifecycle cost decision, not just upfront. Permit required for most decks over 30 inches. Flash the ledger or the deck fails.