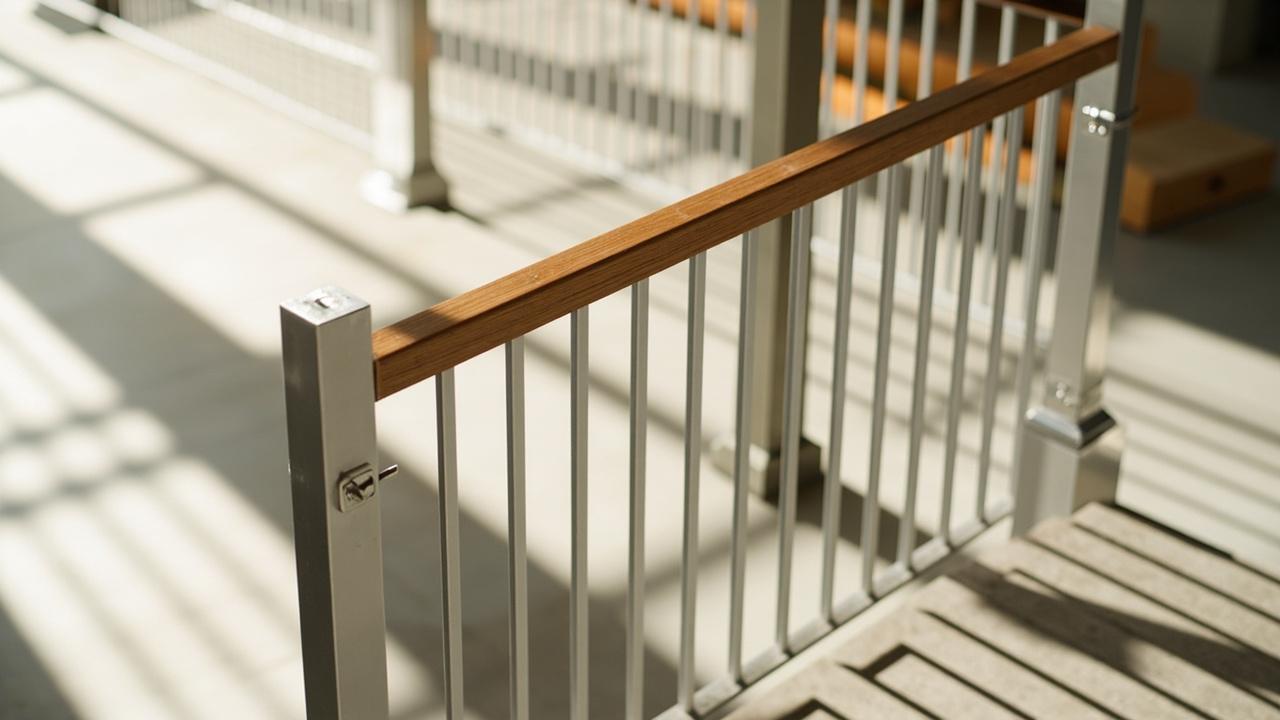

Deck railing code requirements exist to prevent falls. The core rules are straightforward: railings are required when the deck surface is 30 inches or more above grade, the railing must be at least 36 inches high for most residential decks (some jurisdictions require 42 inches), and the infill — balusters, cables, glass, or other material — must not allow a 4-inch sphere to pass through. Beyond those minimums, the choice of railing style, material, and attachment method affects both code compliance and how the deck feels to use. Railing is part of the overall build — for the complete build sequence, see how to build a deck step by step.
Railing is one of the most visible parts of a deck and one of the most common code violations. Getting it right means understanding your local code, choosing a system that meets it, and attaching the posts where they actually carry load — to the framing, not to the decking. After construction, railing maintenance is part of the broader deck maintenance and repair routine — loose posts, cracked glass, or corroded cable hardware need attention before they become safety issues.
What the Code Requires
The International Residential Code (IRC) sets the baseline for residential deck railings. Most local jurisdictions adopt the IRC with amendments, so your local code is the final word — but the IRC provides a useful reference point.
The key requirements:
– **Height: 36 inches minimum for most residential decks, measured vertically from the deck surface to the top of the railing. Some jurisdictions — and some situations, like decks above a certain height or decks on commercial properties — require 42 inches. Check yours.
– **Infill spacing: 4-inch sphere rule. Any opening in the railing — between balusters, between cables, between glass panels — must be too small for a 4-inch sphere to pass through. This is a child-safety requirement. Cable railings need sufficient cable count and tension to meet this. Wide-gap balusters don’t qualify.
– **Load resistance: 200 pounds applied in any direction. The railing must resist a 200-pound force applied at any point along its height, in any direction — outward, downward, upward. This means the posts must be strong enough and attached strongly enough to transfer that load to the deck framing.
– **Graspability (for stairs). Stair railings have additional requirements for graspability — the profile of the handrail must be graspable, typically a specific cross-section dimension range.
These are minimums. You can build higher, stronger, and more restrictive. But you can’t build below them and call it compliant.
Railing Types and Their Trade-offs
Wood baluster railings — the traditional choice. Vertical balusters (2×2 or similar) spaced to meet the 4-inch rule, attached to top and bottom rails. Wood railings match wood decking and are easy to build on-site. They need the same maintenance as the deck — sealing, checking for rot, replacing broken balusters. Cost runs roughly $15-30 per linear foot for materials in a DIY build.
Cable railings — stainless steel cables strung vertically between posts. Contemporary look, unobstructed view. The challenge is meeting the 4-inch rule — cables must be close enough together and tense enough that a 4-inch sphere can’t pass. This usually means cables spaced 3 inches or less center-to-center, and the cables must stay tense — they stretch over time and need retensioning. Cost runs $30-60 per linear foot for a quality system.
Glass railing systems — tempered or laminated glass panels anchored between posts. Clearview, modern, minimal maintenance. Tempered glass is required for safety — it shatters into small dull pieces rather than shards. Glass systems are the most expensive option, typically $50-100+ per linear foot, and require precise installation. Local codes may have additional requirements for glass thickness and anchoring.
Metal baluster railings — aluminum or steel balusters in pre-manufactured sections or built on-site. Durable, low-maintenance, available in many styles. Aluminum won’t rust. Steel needs powder coating or galvanizing in wet climates. Cost runs $20-40 per linear foot.
Composite or PVC railing systems — matched to composite decking brands. Low maintenance, color-consistent with the deck surface. Can be more expensive than wood and may not have the same structural properties — check the system’s load rating. Cost runs $25-50 per linear foot.
The choice isn’t just aesthetic. Cable and glass systems need precise post spacing and anchoring. Wood systems need more maintenance but are more forgiving to build. The composite vs wood decking choice on the deck surface doesn’t necessarily drive the railing choice — you can mix materials if you want.

How Railing Posts Transfer Load
This is the part most DIY builds get wrong: the railing post must be attached to the deck framing — the rim joist or joists — not just to the decking surface. A post screwed into the decking can hold a small lateral force, but a 200-pound load applied at the top of a 36-inch post creates significant leverage. That force transfers through the post to whatever it’s attached to. If it’s attached to decking alone, the decking fails, the post pulls loose, and the railing collapses.
Proper post attachment:
– **Through-bolts or structural screws from the outside of the decking into the joist below, with washers. The bolt must pass through the decking and engage the joist structurally.
– **Post bases anchored to the rim joist — metal post bases that bolt to the rim joist or joists, with the post sitting in or on the base. This keeps the post above the decking and transfers load directly to the framing.
– **Blocking behind the post — for posts that sit between joists, blocking between the joists gives the post something solid to bear against and prevents the joists from twisting under load.
Post spacing matters too. A continuous top rail (wood or metal) spanning between posts carries load across its length. Posts that are too far apart allow the rail to flex or deflect under load. Typical post spacing is 6 feet on center or less for wood rail systems — check the specific system’s requirements.
Railing Height and Your Situation
The 36-42 inch range exists because different situations call for different heights. Here’s how to think about it:
– **36 inches** is the residential minimum in most codes. If your deck is under 10-12 feet above grade, 36 inches is typically sufficient and common.
– **42 inches shows up in some local codes, for decks above a certain height, or for decks that double as access to a rooftop or elevated platform. Some homeowners choose 42 inches for extra safety even when 36 satisfies code.
– **Stair railings may need to be higher — sometimes matching the stair rake, sometimes at a specific height above the stair nosing. Check your code for the stair railing requirement specifically.
– **Mixed heights are possible — a 42-inch railing on the open sides of the deck, a 36-inch railing on the lower side — but each section must meet its applicable requirement.
The railing height is measured from the deck surface, not from the top of the decking board at the point of measurement. If your decking is 1 inch thick, that inch doesn’t add to the railing height — you measure from the walking surface.
When Railing Code Goes Beyond the Minimum
Some situations push railing requirements beyond the standard residential deck:
– **Decks above a steep drop** — a deck 30 inches above a slope that drops 6 feet in 3 feet creates a hazard greater than a deck 30 inches above flat ground. Some codes and inspectors treat these differently. Higher railings and more restrictive infill may be required.
– **Commercial or multi-family decks — different code (IBC instead of IRC), different requirements for height, load, and graspability.
– **Decks with pooled water or ice risk — in climates where ice forms on deck surfaces, railing design may need to account for the added slip hazard at the edge.
– **Decks accessible to children — the 4-inch sphere rule exists for child safety, but if young children will be using the deck regularly, some homeowners add additional restrictions — closer baluster spacing, mesh infill, or gate locks.
If you’re building or replacing a railing and your situation is unusual, talk to your local building department before you build. An inspector’s interpretation matters more than the code text when the situation is ambiguous.
Choosing a Railing System
The choice breaks down into four factors: code compliance, cost, maintenance, and feel.
For code compliance, confirm your local height requirement (36 or 42 inches) and your infill requirement (4-inch sphere rule). Any system you choose must meet both. Pre-manufactured railing systems typically document their code compliance — ask for it.
For cost, wood baluster is the least expensive to build (materials and DIY labor), followed by aluminum/metal, then composite/PVC systems, then cable, then glass. Per linear foot, the range is roughly $15 at the low end to $100+ at the high end. A typical 10×10 deck has roughly 40 linear feet of railing — multiply accordingly.
For maintenance, wood needs the most (sealing, painting, replacing broken balusters), cable needs periodic retensioning, glass needs occasional cleaning, and metal/composite systems need the least.
For feel — the railing is something you touch, lean on, and look through every time you use the deck. Cable and glass feel open and contemporary. Wood feels warm and solid. Metal feels clean and durable. This is subjective but real — you’ll live with this choice longer than the build itself.
After you’ve chosen and installed the railing, the deck is close to done. The next steps are usually final finishing — sealing (for wood), cleaning (for composite), and any added features like lighting or built-in seating. For ongoing upkeep, the deck maintenance and repair guide covers the common failure points and how to address them.
Quick reference: Railings required at 30+ inches above grade. Height: 36 inches minimum (some codes 42). Infill: 4-inch sphere can’t pass through. Load: 200 pounds in any direction. Posts must attach to framing, not just decking. Railing type drives cost and maintenance — wood cheapest, glass most expensive. Verify local code — it’s the final word.