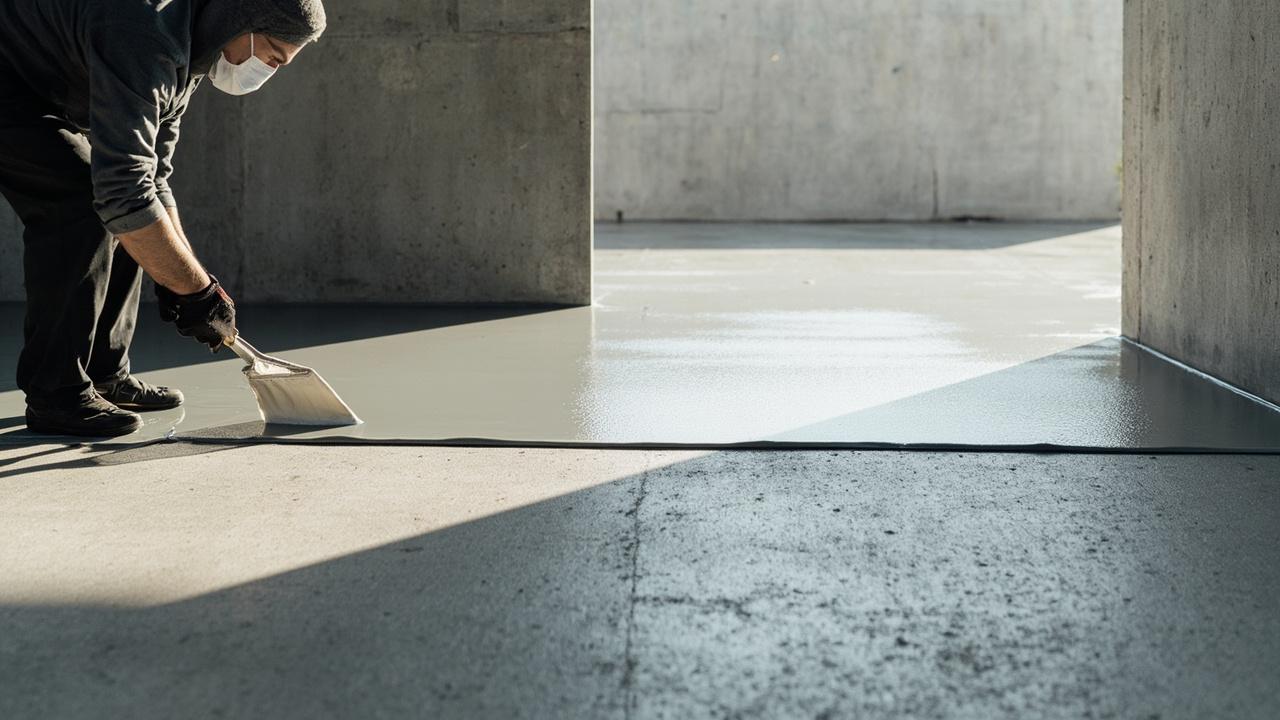

Two coats and good luck is how callbacks start. Waterproofing fails not because the product was wrong, but because the substrate was dusty, the corner was thin, and nobody tested before tile. The procedure that holds up is simple when done in order. Successful waterproofing application is preparation, detailing, coating at correct thickness, curing, and testing as one continuous workflow, done before protection and finish. Waterproofing systems are assemblies that stop water migration, and correct application means each layer bonds, covers, and gets verified.
Prepare the Substrate So Coating Actually Bonds
Start with soundness. Concrete must be cured at least 28 days, or 7 days for early-coat tolerant slurries per manufacturer, and pull at least 1.5 MPa with a pull-off test. Hollow sounding render gets cut out, 3/4-in plywood gets screwed to joists at 6 in on edges and 8 in in field, and subfloor flatness is checked at 3/16 in per 10 ft for liquid membranes and 1/8 in for tile over membrane. High spots get ground, low spots get polymer leveling compound, not thick slurry.
Clean thoroughly. Dust, curing compound, oil, and laitance prevent bond more than any mix error. Vacuum, then wipe with damp rag, not a pressure wash that leaves moisture above 6 percent for membranes. For cementitious, the surface should be saturated surface dry, damp but not glistening. For sheet and liquid membranes, moisture must read under 6 percent with a pin meter, otherwise blisters form under film. Prime per system, acrylic primer for acrylic liquids, epoxy primer for polyurethane, bituminous primer for torch sheets at 0.15 to 0.25 kg per sq m.
Fix geometry before chemistry. Install a cove fillet at all wall-floor junctions at 20 to 25 mm radius using polymer mortar so the membrane does not thin over a sharp angle. Chase and fill cracks over 0.5 mm with repair mortar. Set drains and pipe sleeves at correct height now, with flashing clamping rings set and level, because moving a drain after coating means cutting your own waterproofing. Check slope, bathrooms need preslope 1/4 in per ft to the drain before the membrane, roofs and terraces need 1 to 2 percent to drains, otherwise ponding sits on your best work.
Mask and plan. Protect finished edges, door thresholds, and window frames, and lay out your exit path so you do not walk on wet film. Batch enough material for the area at specified coverage, cementitious at 1.2 to 1.5 kg per sq m per coat, liquid membrane at 0.75 to 1.0 kg per sq m per coat, and open fleece rolls for corners and pipes. One organized setup prevents the common error of thin spots where the bucket ran out at 4 pm.
Detail Corners, Drains and Upstands Before the Field Coat
Details are the job. Field coats rarely leak, details always do. Reinforce every inside corner, outside corner, pipe penetration, and drain with fleece or mesh embedded in the first coat at 4 to 6 in each side. At wall-floor joints, press 10-in fleece band into wet coating, then overcoat. At pipes, use preformed collars or cut fleece donuts that lap 2 in onto pipe and 4 in onto substrate. At drains, set a reinforcement patch that laps under the clamping ring, not just to its edge.
Build upstands correctly. Walls in wet areas need 6 to 8 in (150 to 200 mm) vertical turn-up above finished floor, showers at 72 in full height on the plumbing wall. Apply the first coat to horizontal and vertical in one session so the corner is wet-on-wet. Keep thickness at inside corners equal to field, a wet film gauge should read 0.8 to 1.0 mm per coat there, not 0.4. Thin corners are invisible under tile until the first leak.
Address movement. At control joints, threshold joints, and at dissimilar materials like drywall to concrete, embed a bond-breaker tape at 2 to 3 in centered over the joint, then coat over with fleece. This lets the joint cycle without tearing film. At wood-to-concrete, use a flexible hybrid or polyurethane, not rigid cementitious alone, because the joint moves with humidity and temperature.
Prime cuts. If you cut fleece, overlap 2 in (50 mm) and keep laps shingled so water flows over, not into. At a niche, pre-slope the sill at 1/8 in per ft, reinforce the bottom corners with double patches, and do not leave a raw fleece edge exposed, always overcoat by 1 in. These steps add 30 to 40 minutes and prevent the callback that costs a day.
Apply the Field Coating at Verified Thickness in Two Coats
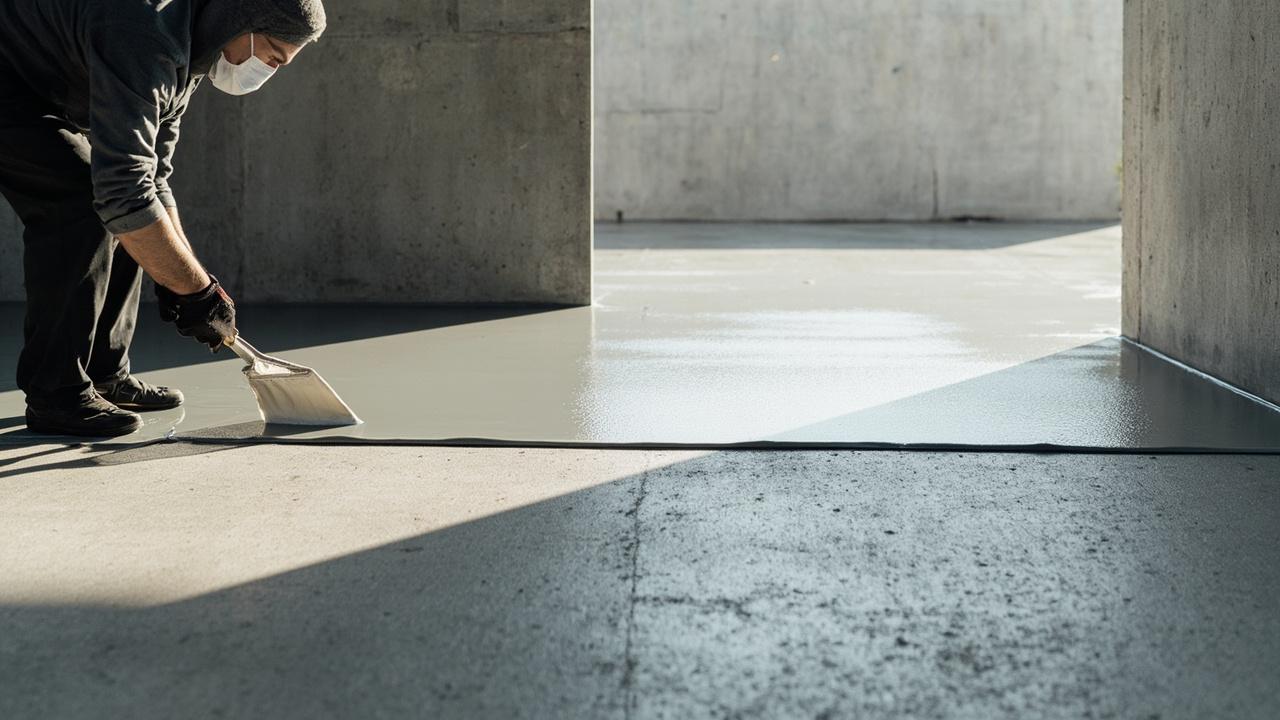
Mix to spec. Cementitious slurry mixes at the ratio on the bag, typically 3 to 4 parts powder to 1 part polymer liquid, mixed 3 minutes, 2 minute rest, remix, no extra water. Liquid membranes stir, not whip, to avoid air. Do not stretch coverage to save material, thickness is the warranty. Use a brush for the first coat to work product into pores, then roller for second coat cross direction to erase brush holidays.
Hit the thickness. For cementitious, target 1.2 to 2.0 mm total dry film in two coats, checked with a wet film comb at 1.0 to 1.2 mm per wet coat. For liquid acrylic or polyurethane, target 1.5 to 2.0 mm total, 0.75 to 1.0 mm per coat. For torch SBS, heat until the bitumen flows and the indicator film melts, then roll laps at 100 mm side and 150 mm end with a seam roller while hot. Every 100 sq ft, spot check with a gauge and photo it.
Control timing. Between coats, wait 4 to 6 hours at 70 °F and 50 percent RH, longer when cold or humid, shorter when warm. Do not recoat when the first coat is tacky and lifts, and do not wait so long that dust settles and blocks bond. Keep wet edge, and keep workers off the film, shoe spikes damage fresh coats more than missed spots do. If you must walk, lay clean plywood islands and move them.
Watch the environment. Do not coat a roof membrane in rain, wind over 20 mph, or when substrate is over 95 °F, solvent flash and dust inclusion rise. Protect fresh work from rain for 12 to 24 hours and from foot traffic for 24 hours. In basements, ventilate so curing moisture escapes, trapped humidity under a vapor barrier top side slows cure and traps odor.
| Step | Check | Accept |
|---|---|---|
| Substrate | Flatness, moisture, cleaning, pull-off | 3/16 in per 10 ft, under 6% for membranes, vacuum clean |
| Geometry | Cove 20 to 25 mm, slope 1/4 in per ft, drain set | Fillet done, preslope correct, clamp ring level |
| Detail | Fleece at corners, pipes, drains, upstands 6 to 8 in | All transitions reinforced, laps 2 in, gauge at 0.8 mm+ |
| Coat 1 | Mix ratio, wet film 0.75 to 1.2 mm, cross brush | No holidays, photo gauge, 4 to 6h cure |
| Coat 2 | Cross direction, total 1.5 to 2.0 mm, lap 100 mm | Even color, spark test pass, records logged |
| Test | Ponding 24 to 48h, inspection of underside | No drop, no damp below, documented |
If you are choosing material as you plan thickness, the cementitious vs membrane comparison matches thickness and cost to movement and exposure so you do not overcoat the wrong chemistry. For bathroom geometry that sets slope and drain order, the bathroom layout and fixtures guide keeps plumbing before proofing in the right sequence.
Cure, Test and Protect Without Skipping the Proof
Cure before you trust. Cementitious needs 24 hours to touch, 7 days to full strength before backfill or tiling in wet areas, longer when cold under 50 °F. Liquid membranes need 12 to 24 hours before light foot and 48 to 72 hours before ponding or tiling, per datasheet at stated temperature. Keep traffic off and keep water off during that window, a single hose wash to clean up can push uncured film off a corner.
Test every wet area. Build a temporary dam at thresholds with mortar or tape, fill to 1 to 2 in depth, mark the line, hold 24 hours for showers and 48 hours for roofs and terraces, and inspect below with a flashlight, not just from above. A drop over 1/4 in that is not evaporation, or damp on the underside at a joist bay, means find the detail that leaked, not add a third field coat. For liquid membranes, a holiday spark test at 100 to 200 volts per mm finds pinholes before water does.
Protect before trades return. Cover horizontal surfaces with protection board at 3 to 6 mm, lapped 2 in, not cardboard that wets and grinds grit into film. Tape boards, not membrane. Keep underlayment and tile mortar off the membrane until the test is signed, because mortar hides leaks and makes rework tear the membrane. If a trade must penetrate after proof, require a re-patch with fleece and retest that zone 12 hours.
Document. Photos of primer, fleece at corners, wet film gauge at field and corners, drain clamping, upstand height, and the ponding line are not paperwork, they are warranty when a later owner asks who did what. Log batch numbers, coverage per bucket, and temperature and humidity. A job with records keeps its warranty, a job without keeps its argument.
Limits, Trades Off and When to Call a Pro
Every method has a limit you should name. Cementitious cannot bridge moving cracks over 0.5 mm and should not be relied on alone for below-grade hydrostatic with head over 3 ft, it will bypass at the footing joint. Acrylic liquids need UV topcoats and should not pond long term without rated ponding resistance. Torch membranes need a trained torch hand, singeing the sheet or leaving a cold lap looks sealed and is not. Hybrid polyurethanes demand dry substrates and full cure before tile, rushing adds days later.
Trade-offs show on site. A fast single-coat rescue at 0.8 mm saves a day and costs a callback next season, because pinholes hide in holidays. A careful two-coat at 1.8 mm with fleece details adds a half day and saves a week of opening finished tile later. On a small shower, that half day is $150 to $300 in labor. On a terrace, skipping the 48-hour ponding test to stay on schedule risks $4,000 to $8,000 in rework when water shows below.
Know when the job wants a licensed installer. Torch work with open flame near sheathing, foam, or occupied space needs a fire watch and permit per IRC/IBC. Below-grade with hydrostatic pressure, roofs over living space, and balconies over structure need a designer for slope, drain sizing, and compatibility with structure and thermal, not just a product pick. For structural, electrical, plumbing, or below-grade work, consult a licensed professional for sizing and code approval in your jurisdiction.
Conditions fine tune the last decision. In high humidity or cool weather under 50 °F, extend cure, add ventilation, and do not pond test early. On wood decks that move seasonally, choose flexible liquid or sheet and keep a drainage layer and protection so finish does not grind the membrane. In sun-heavy exposures, keep membrane under protection or mineral cap quickly, UV degrades exposed bitumen and acrylic faster than water ever will. Finish well is good, but proof is better. A thin, well-tested membrane beats a thick, untested one every time, and the photo of a full pond is the cheapest insurance you will buy. For next-step costing and for deciding when a recoat is enough versus a full strip, the repair vs replace guide and the waterproofing failure diagnosis guide connect this procedure to budget and to failure mode so you open only once.