
If your attic is suffocating, your roof is paying the price. Roof ventilation is the system of intake and exhaust vents that moves air through your attic — keeping it cool in summer and dry in winter. The six primary types are ridge vents, soffit vents, gable vents, turbine vents, powered attic vents, and box vents — and the right choice depends on your roof’s shape, your climate, and how much you’re willing to spend.
What Roof Ventilation Does — and Why Your Roof Needs It
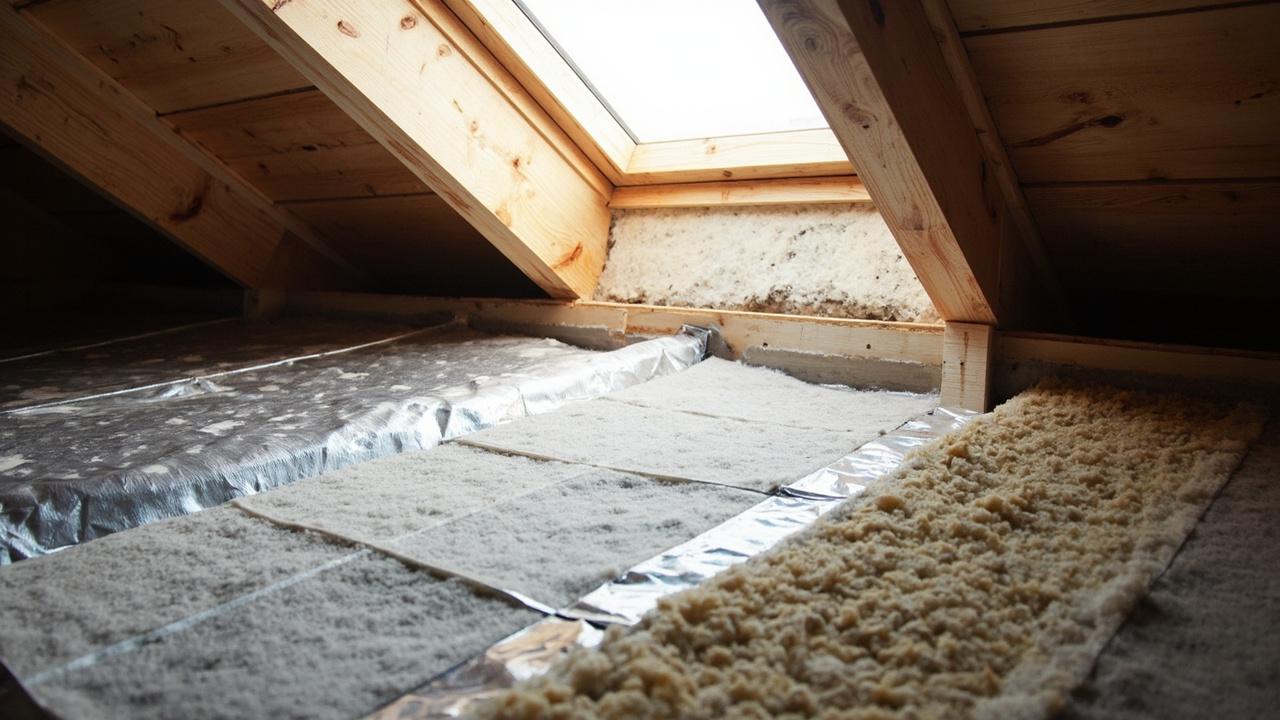
Think of your attic as a living thing. It breathes. Without it, moisture builds up, heat gets trapped, and your roofing shingles bake years before their time. A proper ventilation system creates a continuous flow: cool, dry air enters low through intake vents (usually at the eaves), and warm, moist air exits high through exhaust vents at or near the ridge.
This cycle does three things simultaneously. First, it prevents ice dams — those jagged ridges of ice that form when a warm roof melts snow which then refreezes at the cold eaves. Second, it stops moisture buildup that warps the roof deck and breeds mold. Third, it extends the life of your shingles by keeping the deck temperature stable. The International Residential Code (IRC) requires a minimum of 1 square foot of net free area — the actual open space air can flow through — for every 150 square feet of attic floor. Most professionals recommend a 1:150 ratio for balanced systems.
The type you choose matters less than the balance. Balanced ventilation means your intake area roughly equals your exhaust area. Skew one direction and the system stalls — or worse, pulls conditioned air out of your living space.
How Each Vent Type Works — Mechanism, Placement, and Movement
Ridge vents run along the peak of the roof, covered by a shingle-cap that blends into the roofing shingles profile. They’re the most efficient exhaust option because heat naturally rises to the highest point. Air exits continuously along the entire ridge — not just at two or three spots. They work only when paired with soffit vents at the eaves to create a complete convection loop.
Soffit vents sit beneath the eaves, pulling in outside air. They’re almost always the intake half of a balanced system. Continuous soffit vent strips provide more airflow than individual round panels, but either works if the net free area meets your attic’s square footage. Without adequate soffit intake, a ridge vent pulls from your living space instead — wasting energy and defeating the purpose.
Gable vents mount on the triangular walls at either end of an attic. They’re inexpensive and easy to install, but they only work on homes with gabled rooflines — and they can struggle on complex hip roofs where air has to travel long distances across the attic. They’re best as a supplement, not a primary system.
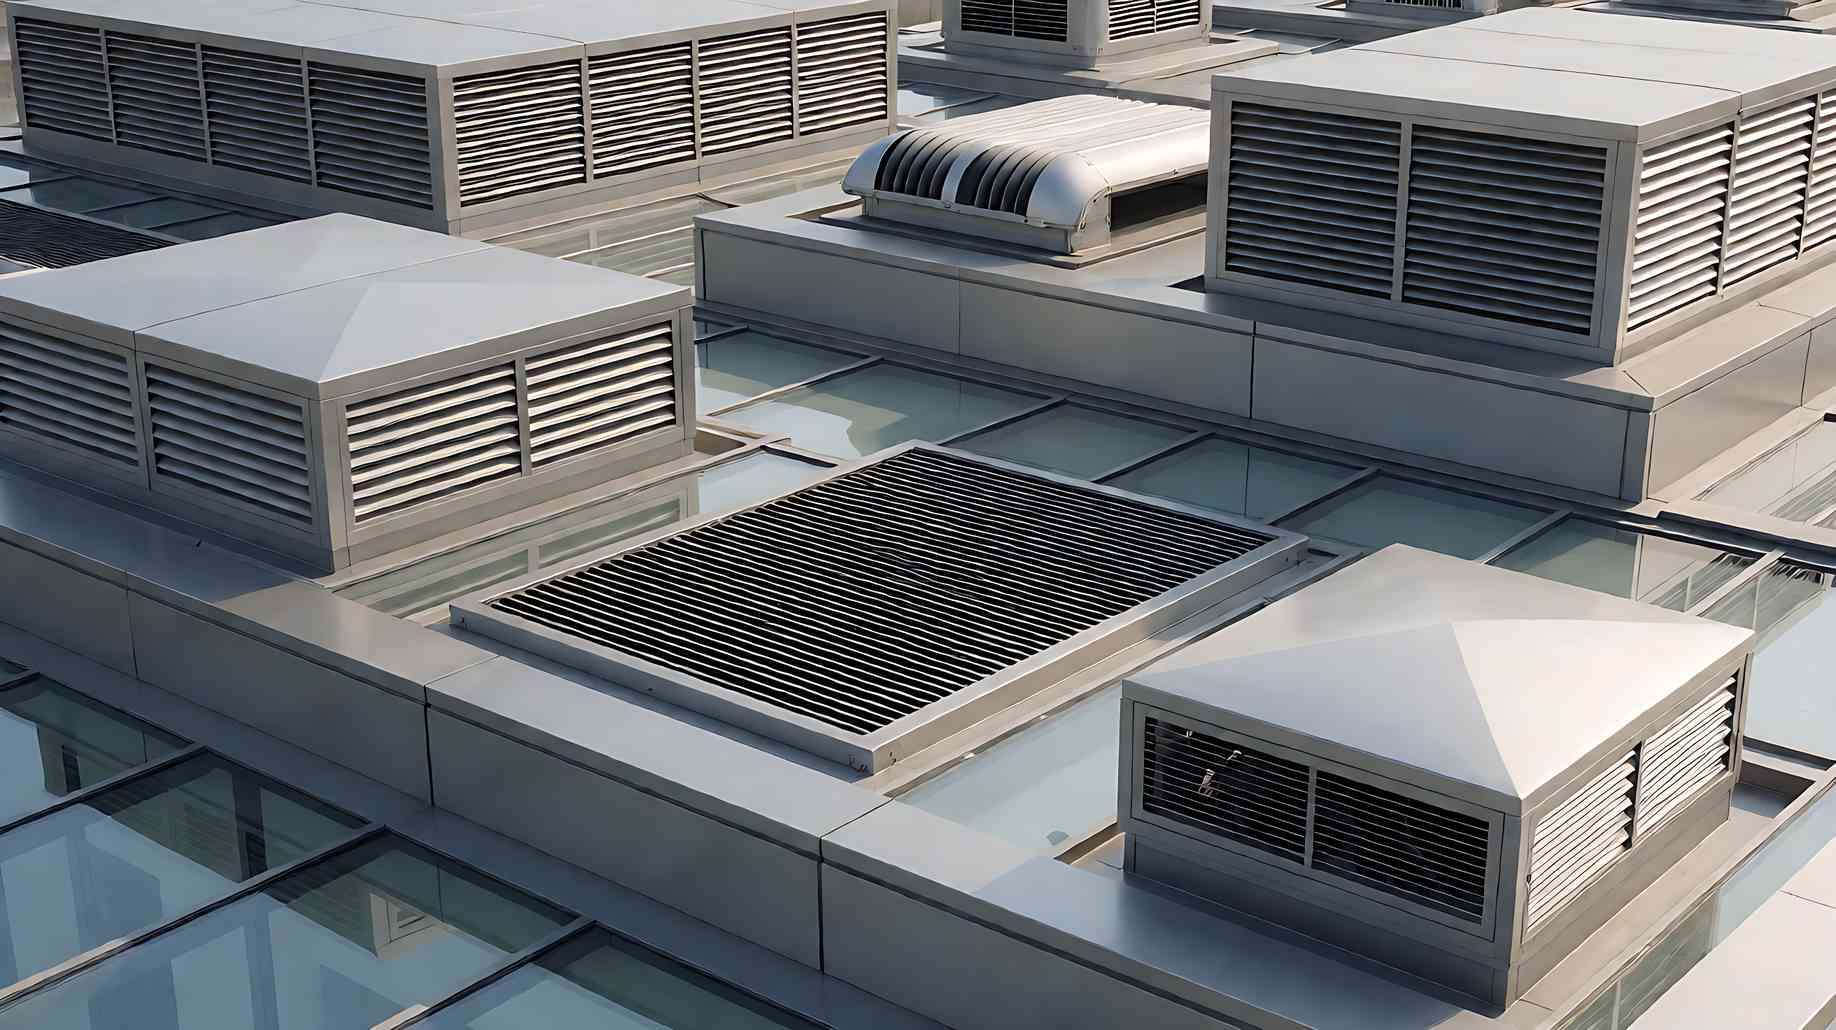
Turbine vents — the spinning metal tops you see on older homes — use wind to actively pull air from the attic. On breezy days they move impressive volume. On still, hot days, they sit idle. A 12-inch turbine moves roughly 3,000 cubic feet per minute in a 10-mph breeze, but zero when the air is calm.
Powered attic vents use electric or solar fans to force air out. They’re effective in hot, still climates where natural convection isn’t enough. A solar-powered attic fan costs $250–$600 installed and uses no electricity, but it only moves air during daylight hours. Electric-powered units run continuously but add to your utility bill — and they can depressurize the attic if intake is insufficient, pulling conditioned air down from the rooms below.
Box vents (also called static vents or louvers) are the simple metal domes with no moving parts. They rely entirely on natural convection. You need several of them spaced evenly across the roof to match the output of a ridge vent — which means more penetrations in the roof deck, more potential leak points, and more visible hardware on your roofline.
Cost Comparison and What Fits Your Situation
| Vent Type | Installed Cost | Best For | Watch Out For |
|---|---|---|---|
| Ridge + soffit (balanced) | $350–$700 | Most roof types; new construction or re-roofing | Soffit blocked by insulation baffles |
| Box vents | $100–$300 (per pair) | Simple gable roofs; budget retrofits | Multiple penetrations; uneven airflow |
| Turbine vents | $50–$150 each | Breezy regions; moderate budgets | Stops moving on still days; bearing wear |
| Powered (solar) | $250–$600 | Hot, still climates; large attics | Daytime-only operation; intake balance |
| Gable vents | $20–$50 each | Gable roofs; supplementary airflow | Ineffective on hip roofs; cross-breeze dependence |
The most cost-effective setup for most homes is a ridge vent paired with continuous soffit vents. It runs $350–$700 installed during a re-roofing job, has no moving parts to fail, and moves air evenly across the entire attic. If you’re already replacing your roofing shingles, adding a ridge vent costs far less than it would as a standalone retrofit — the roofer is already on the roof.
If you live in a consistently windy area and want a middle-ground option, turbine vents at $50–$150 each can supplement a ridge system or serve as the primary exhaust on simpler roofs. In hot, humid climates where natural convection stalls, a solar-powered attic fan ($250–$600) can reduce attic temperatures by 20–40°F — but only if your soffit intake is generous enough to feed the fan.
For help weighing your options against your specific roofline, our guide to choosing the right roofing shingles walks through how ventilation decisions interact with material selection and underlayment choices.

How to Choose the Right Ventilation for Your Roof
Start with your roof shape. A simple gable roof with open eaves? Soffit vents plus a ridge vent will handle it cleanly. A complex hip roof with minimal ridge length? You might need a combination — ridge vent on the main ridge plus a couple of box vents on the secondary slopes. An attic with no gable walls and narrow overhangs? Off-ridge vents or carefully placed box vents may be your only exhaust option.
Next, consider your climate. In cold regions where ice dams are a recurring headache, the priority is removing heat from the attic before it reaches the roof deck. A continuous ridge-and-soffit system excels here because it ventilates the entire deck evenly — no warm spots to melt snow unevenly. In hot, humid climates, the priority is removing moisture-laden air that condenses on the underside of the roof sheathing. Here, airflow volume matters more than precise placement — which is where turbine vents or a solar-powered attic fan earn their keep.
Your budget plays a role, but don’t let it drive the whole decision. A $100 box vent pair seems cheaper than a $600 ridge system — until you need four pairs to match the ridge’s output, or until a leak develops around one of the penetrations. Ventilation is one area where the mid-range option almost always wins.
Finally, match your ventilation to your slope. Steep roofs (8:12 and up) create stronger natural convection — warm air has less horizontal distance to travel before it hits the ridge. Low-slope roofs (below 4:12) barely generate convection on their own and often benefit from powered exhaust to keep air moving.
Common Mistakes and What to Do Next
The most common mistake is mixing exhaust types. Don’t install a powered attic vent on the same roof as a gable vent — the stronger fan will pull air from the path of least resistance (the gable vent) rather than from the far corners of the attic, leaving dead zones where moisture accumulates. Pick one exhaust strategy and commit to it.
Second, don’t block your soffit intake. Baffles in every rafter bay are non-negotiable. Without them, insulation shifts over time and seals off the intake — and your ridge vent becomes a very expensive roof ornament.
Third, don’t size by guess. Calculate your net free area requirement (attic square footage ÷ 150 = minimum NFA), then verify that your chosen vents actually deliver that number. A vent’s physical size isn’t its NFA — mesh screens, louvers, and insect guards all restrict flow. Manufacturers list NFA in their specs. Use it.
If your roof has complex geometry, multiple attic compartments, or recurring ice-dam issues, consult a licensed roofing professional before cutting holes in the deck. A $150 assessment can save you thousands in rework.
Ready to move from evaluation to action? Our article on preventing ice dams and roof leaks covers the next layer — how insulation, air sealing, and underlayment work together with ventilation to protect your home year-round.