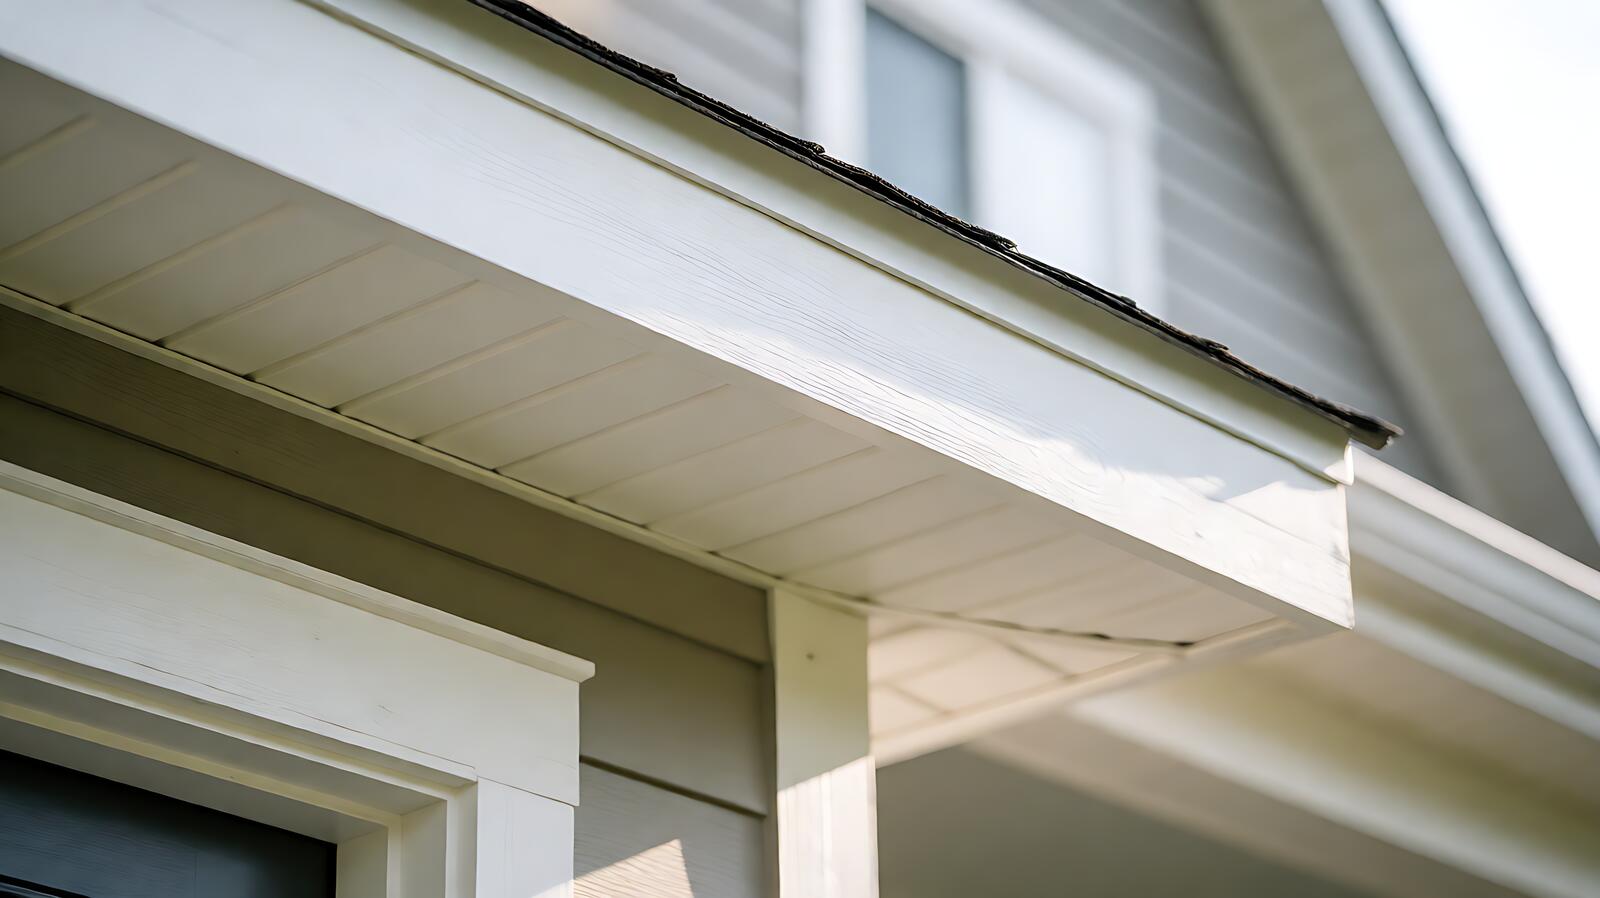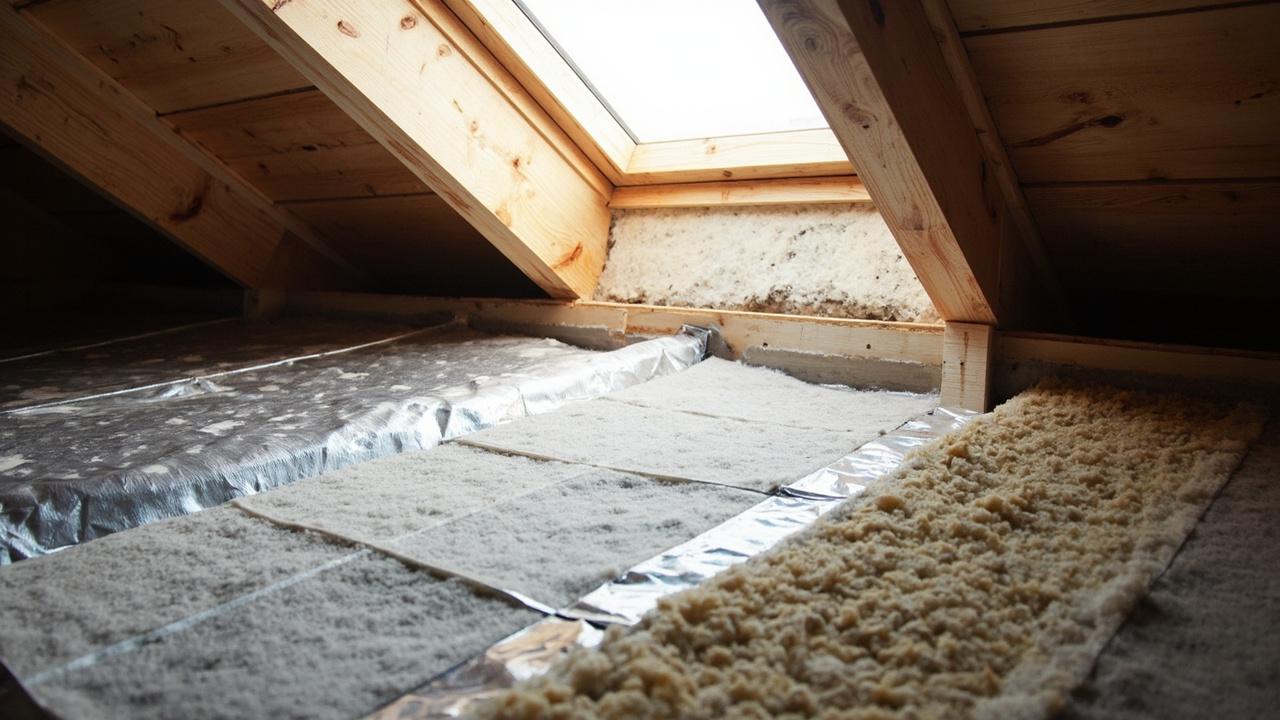

Your upstairs feels like a different country from your downstairs. The furnace runs, the thermostat lies, and the ice dam is back on the north eave.
Roof insulation and energy efficiency are the same conversation. The roof is the single biggest heat-loss path in most homes, and the fix is rarely a thicker furnace. It is a tuned assembly: an air seal, a baffle at every soffit, and the right insulation at the right depth for your climate zone.
What Roof Insulation Actually Does
Insulation slows heat moving through the building envelope. It does not generate heat, and it does not stop air leakage on its own. When people say their home is drafty, they usually mean warm air escapes through gaps at the attic hatch, around recessed lights, and at the top plates of interior walls.
The job splits into two parts. Air sealing stops the convection currents that carry heat up and out through every ceiling penetration. Insulation adds R-value, a measure of resistance to conductive heat flow, so what passes through moves slowly. Skip either layer and the other does half a job.
For most US homes the target sits between R-38 and R-49 in the attic. That number comes from the DOE and the International Energy Conservation Code (IECC) climate zone map, and it is the level at which adding more insulation pays back slowly enough that you should stop.
How It Works: Heat Flow, R-Value, and Vented vs Unvented Attics
Heat moves three ways in a roof assembly: conduction, convection, and radiation. Insulation tackles conduction. Air sealing tackles convection. A radiant barrier tackles radiation, and matters mainly in hot climates with dark shingles.
Insulation is rated by R-value per inch. Fiberglass batt runs R-3.1 to R-4.3 per inch. Blown fiberglass runs R-2.2 to R-2.7. Cellulose sits near R-3.8.
Foam products run higher per inch. Open-cell spray foam is R-3.5. Closed-cell lands at R-6 to R-7. Rigid board lines up as polyiso R-5.6 to R-6, XPS R-5, and EPS R-4.
To hit R-49 with blown fiberglass at R-2.7 per inch, you need about 18 inches. With closed-cell spray foam at R-6.5 per inch, you need roughly 7.5 inches. The shape matters for venting, cost, and whether you can finish the space later.
Vented attics let outdoor air flow in through the soffits and out through a ridge or gable vent. The target is roughly 1 square foot of net free ventilation per 150 square feet of attic floor, or 1:300 with a vapor barrier. Baffles keep insulation off the roof deck.
Unvented attics seal the roof deck with rigid foam above the sheathing (sarking) or with spray foam against the deck. The attic becomes conditioned space, ducts and all. This is the right way to handle HVAC equipment in a hot attic, and the right answer in cathedral ceilings with no attic to ventilate.
Pick the assembly that matches your climate and attic. Vented with blown cellulose is the budget default across most of the US and Canada. Unvented with closed-cell spray foam or polyiso over the deck wins in IECC zones 5 through 8, in humid Gulf climates, and any time ducts sit in the attic.
Choosing the Right Insulation for Your Roof
The “best” insulation is the one that fits the assembly, the budget, and the climate. The table below lines up common options by R-value per inch, installed cost per square foot in USD, install difficulty, and the climate zone where each earns its keep.
| Insulation type | R-value per inch | Installed cost $/sq ft | Install difficulty | Best climate zone |
|---|---|---|---|---|
| Cellulose (blown) | 3.8 | $1.50 – $3.50 | DIY with rental | Zones 2-5 |
| Fiberglass batt | 3.1 – 4.3 | $1.00 – $2.50 | DIY friendly | Zones 1-4 |
| Fiberglass blown | 2.2 – 2.7 | $1.25 – $3.00 | DIY with rental | Zones 1-4 |
| Open-cell spray foam | 3.5 | $3.00 – $5.50 | Hire a pro | Zones 3-7 |
| Closed-cell spray foam | 6.0 – 7.0 | $5.00 – $9.00 | Hire a pro | Zones 4-8, humid |
| Polyiso rigid board | 5.6 – 6.0 | $2.00 – $4.50 | Pro for deck | Zones 4-8, unvented |
| XPS rigid board | 5.0 | $1.75 – $3.50 | Pro for deck | Zones 3-6 |
| EPS rigid board | 4.0 | $1.25 – $2.75 | Pro for deck | Zones 1-4 |
Cost ranges are installed, USD per square foot, assuming a clean attic with reasonable access. Add 25 to 40 percent if old insulation needs removal, if air-sealing work is heavy, or if the attic has limited headroom. For a 1,500 sq ft attic, plan on roughly $2,300 to $13,500.
Use cellulose or fiberglass in a vented attic in zones 1 through 4 when budget drives the decision. Use closed-cell spray foam or polyiso over the deck in zones 5 through 8, in humid climates, or any time the attic holds HVAC equipment.
For an existing home in a temperate climate, blown cellulose over the existing batts is the highest-payoff move. For a re-roof in a cold climate, lifting the sheathing to add rigid foam above the deck pays back over decades.
The roofing shingles choice and the insulation upgrade pair well, since the underlayment and flashing work already has the crew on site.

Installation, Common Mistakes, and the Order That Matters
Insulation goes in after air sealing. Always. Blow cellulose over a ceiling full of gaps and you are insulating the outdoors. The order is not negotiable, and it is the single most common reason insulation jobs underperform.
Step 1: Air seal the ceiling plane
Seal every penetration in the top of the ceiling before insulation goes in. That means the top plates of every interior wall, every wire and pipe chase, the rim joist, recessed light housings rated IC, the attic hatch, and any gap around a bath fan or dryer vent. Use caulk for small gaps, foam for larger ones, and a gasket on the hatch.
Step 2: Install baffles at every soffit
A baffle is a rigid or foam channel that holds insulation back from the underside of the roof deck at the eaves. Without baffles, insulation slides into the soffit and chokes the intake vent. The attic stops breathing, the roof deck gets hot, and the shingles age early.
Step 3: Insulate to the right depth for your zone
Mark the depth with a ruler stapled to a joist, or use depth markers on the batts. Zone 1 and 2 homes target R-30, zones 3 and 4 target R-38, zones 5 through 8 target R-49. These come straight from the IECC residential map. Going past R-49 in a vented assembly costs more than it saves in most climates.
Step 4: Handle the attic hatch and recessed lights
An unsealed attic hatch is a hole the size of a door in your thermal envelope. Cut a piece of rigid foam, glue it to the back of the hatch, and add weatherstripping around the frame. Recessed lights that are not IC-rated need a sealed box or a three-inch clearance from any insulation.
Common mistakes that waste the investment
- Blowing insulation over knob-and-tube wiring without a clear path to an electrician first.
- Blocking soffit vents with batts instead of using baffles.
- Compressing fiberglass batts to fit, which drops R-value sharply.
- Skipping the vapor barrier in cold climates where the assembly needs one.
- Insulating over a leaking roof or wet sheathing and trapping moisture.
If you are re-roofing, plan the air seal and baffles for that same visit.
For an existing home where the shingles are still good but the attic is thin, a roof inspection often surfaces the visible signs of insulation failure from outside: ice dams, ridge melt, attic frost, and water staining around bath fan housings.
Limits, Edge Cases, and When to Bring In Help
Cathedral ceilings, finished attics, and HVAC ductwork in the attic are the three edge cases that change the answer. In a cathedral ceiling there is no attic to ventilate, so insulation goes between the rafters or above the deck. Closed-cell spray foam or rigid foam over the deck wins because the assembly cannot vent.
Finished attics with drywall on the rafters are essentially cathedral ceilings. The fix is exterior: rigid foam over the sheathing at the next re-roof, or a dense-pack of cellulose or open-cell spray foam into the rafter bays if access allows.
HVAC ducts in a vented attic are a heat-loss problem even with perfect insulation. The ducts sit in 130 degree attic air in summer and 25 degree cold in winter. The right move is to relocate ducts into conditioned space, wrap them, or convert the attic to unvented with spray foam against the deck.
Ice dams deserve a mention. An ice dam is a ridge of ice at the eave that backs up meltwater under the shingles.
The root cause is heat leaking into the attic, melting snow on the upper roof, which refreezes at the cold eave. Better insulation and air sealing usually fix it. Gutter style and gutter installation cost matter for water management once the dam is gone, but they will not stop it alone.
Hire a licensed insulation or roofing contractor when the job involves spray foam, rigid foam above the deck, duct relocation, knob-and-tube wiring, or any structural change. A pre-job infrared scan costs roughly $150 to $400 and shows where the heat is leaving before you spend on materials.
Once the air seal and insulation are right, the natural next decision is the roof covering. A re-roof is the right moment to add rigid foam above the deck. If the roof is still sound, monitor the attic with a hygrometer once a season.