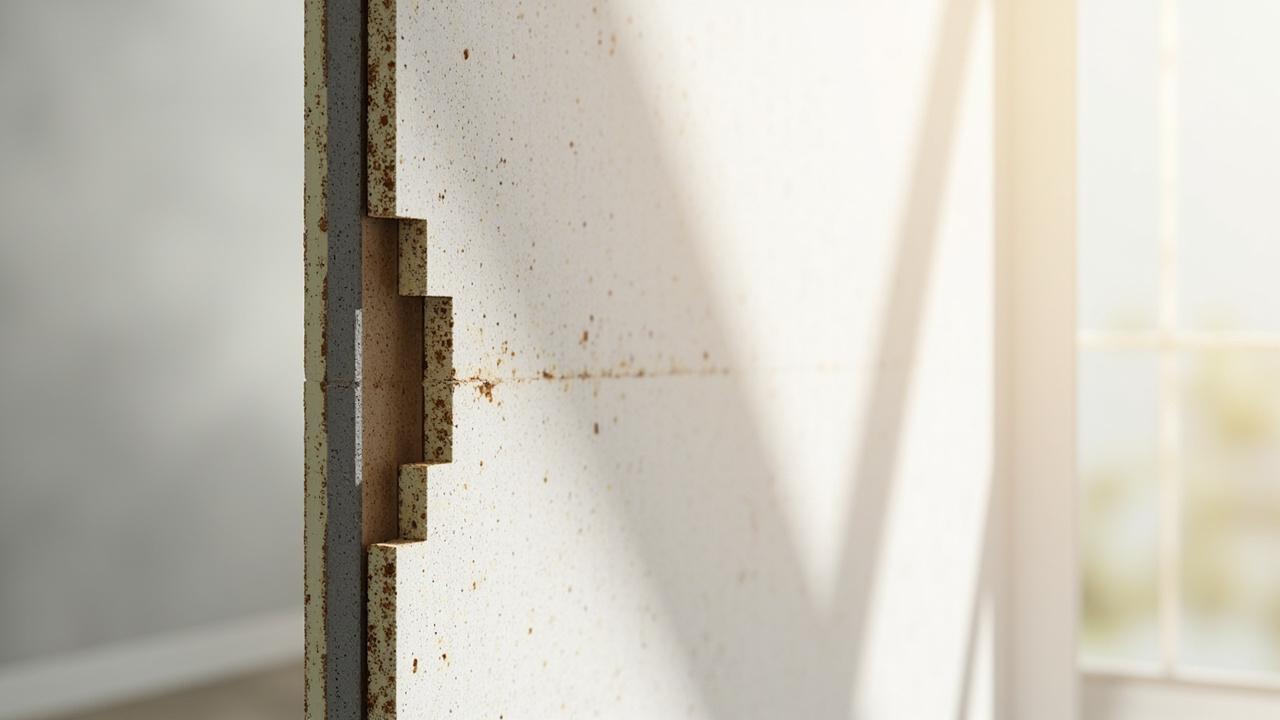

That musty smell that returns a week after you bleach the grout is not a cleaning problem. It is a moisture problem. Most bathroom leaks and mold trace back to water getting where it should not stay, and the fix depends on which path the water took. Bathroom leaks and mold is a diagnostic task that links symptoms to specific failure points in the waterproofing, drainage, and ventilation chain.
What Bathroom Leaks and Mold Really Are: Trapped Moisture Finding the Weakest Path
Bathroom leaks and mold occur when moisture persists beyond the wet area and feeds microbial growth or migrates to adjacent assemblies. The primary entity is not the stain on the ceiling below. It is the continuity of the waterproof membrane and the conditions that let it stay wet.
A sound bathroom keeps water in three places: on the tile surface, down the drain, and out the exhaust. When any link breaks, the result looks similar at first. Paint bubbles. Grout darkens. A faint earthy odor rises after a shower. The useful question is not whether you have mold, but why the assembly stayed wet long enough to grow it.
Think of the system as a chain. The waterproof membrane 0.8 to 1.2 mm thick forms the continuous pan. Membrane overlap 100 mm at seams prevents wicking. Slope 1 to 2 percent toward the drain moves water before it finds a pinhole. Grout and tile protect the membrane but do not replace it. Break one link, and the next humid week delivers the symptom.
How the Assembly Works and Where It Fails: Numbers That Matter
A bathroom stays dry because every layer has a measurable job. Understanding those numbers makes diagnosis possible without guessing.
The waterproof membrane is typically a liquid-applied or sheet system at 0.8 to 1.2 mm dry film thickness, coved 4 to 6 inches (100 to 150 mm) up walls in wet zones and fully wrapping the curb and niches. At seams and corners, a 4-inch (100 mm) overlap with embedded reinforcing fabric is standard per manufacturer data and IRC P2709. Miss that overlap and the membrane may look intact while capillary action pulls water sideways.
Slope to drain is the most undervalued dimension. Tile assembly standards call for 1/4 inch per foot (about 2 percent) on the subfloor or mortar bed toward the drain. Even 1 percent will move water if the tile is large and flat. Below that, ponding lingers at the far corner, grout stays damp for hours, and mold finds the extended drying time it needs. A simple level check with a 2-foot level and a tapered gauge tells you more than another coat of sealant.
Exhaust ventilation sets the drying clock. Code typically requires 50 CFM intermittent or 20 CFM continuous for a bathroom, ducted directly outdoors through a vapor barrier competent assembly, not into an attic. A 6 by 8 foot (48 sq ft) bathroom needs roughly 50 CFM for 8 air changes per hour while showering. If that fan is noisy, undersized, or vented to a soffit that recirculates, humidity stays above 60 percent for an hour after the shower. That is the window where mold on painted drywall and cellulose in drywall paper thrives.
Drainage completes the loop. A drain assembly with a properly clamped membrane, weep holes kept open, and a trap that holds water prevents both seepage at the drain body and sewer gas that homeowners often misread as a leak odor. When the drain body is set high or weep holes are grouted shut, water perches in the mortar bed and migrates to the nearest wall plate.
Diagnosis by Symptom: Matching Clues to Causes
No two leaks behave identically. The pattern of the stain, its timing, and where it appears narrows the cause before you open a wall. The table below maps the most common bathroom leak signatures to their likely origins.
| Symptom and Timing | Most Likely Cause | Confirming Clue |
|---|---|---|
| Ceiling stain below that grows only after showers, dry otherwise | Membrane or curb breach, failed overlap | Stain aligns with shower curb or niche, water test isolates it |
| Constant damp line at wall base, grout dark for hours | Insufficient slope or ponding, grout saturation | Level shows less than 1 percent fall, puddle remains 10 minutes after spray |
| Mold spots on ceiling and upper walls, no active drip | Ventilation deficit, chronic humidity above 60 percent | Fan under 50 CFM or not ducted outdoors, humidity meter confirms |
| Musty odor inside vanity, subfloor soft near toilet flange | Wax ring or supply connection leak | Dye test at toilet base, moisture meter on subfloor plywood spikes |
| Intermittent drip from drain area even without shower use | Drain body or plumbing connection leak | Water appears with sink or toilet flush, not shower alone |
In practice, the shower curb and niches deserve your first look. Those transitions account for a disproportionate share of membrane failures because they combine a horizontal to vertical change, a fastener penetration, and a seam in a tight space. A 24-hour flood test at 2 inches (50 mm) depth, with the drain plugged and water held inside the curb, remains the definitive check for membrane continuity. If the level drops more than 1/4 inch overnight and the ceiling below shows new dampness, the membrane has a breach that no surface re-grout will solve.
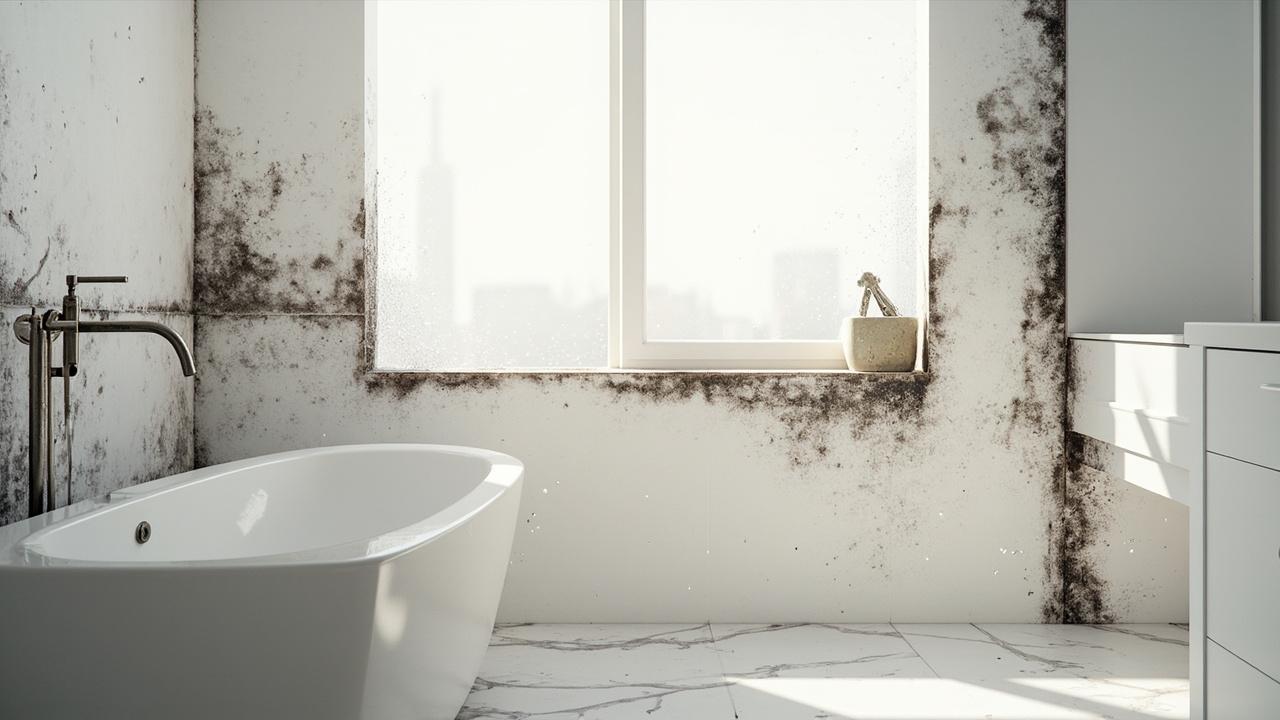
For humidity-driven mold, the clue is uniformity. When the entire ceiling dots with pinhead spots and the exhaust mirror test shows weak draw, the problem is air, not water from a pipe. Upgrading to a quiet 80 to 110 CFM fan on a 30-minute timer often resolves recurrence faster than repeated bleaching, which only whitens the surface without reducing the moisture the colony feeds on.
What You Can Check Safely and What Not to Open
You can gather most of the evidence without cutting into walls. Start with non-invasive checks, and know when to stop and call a licensed professional.
Run the ventilation check first. Hold a tissue to the grille while the exhaust fan runs. It should hold firmly. If it flutters weakly, check for a kinked flex duct, a closed damper, or a termination blocked by insulation. Clean the grille and measure humidity with a $15 hygrometer. If readings stay above 60 percent 45 minutes after a shower, airflow is inadequate regardless of how the leak presents.
Next, test the shower pan. Block the drain with an inflatable test ball, fill to just below the curb top, mark the level, and wait. This isolates the membrane from supply plumbing. Do not fill above the curb or flood an upper floor without confirming the structure can handle the load, and never leave the test unattended overnight without containment. If you rent or share a structure, consult the building manager first.
Inspect the tile plane. Look for grout cracking at inside corners, missing caulk where tile meets tub or curb, and soft or hollow sounds when tapping tile over the pan. Those suggest movement or a void below. For toilets, rock the bowl gently. Any movement indicates a compromised flange or crushed wax ring that can send seepage into the subfloor with each flush.
When to bring in help is not ambiguous. If water appears at a light fixture, if framing shows deflection or staining beyond a small patch, if the subfloor feels spongy underfoot, or if mold covers more than about 10 sq ft (1 sq m), a licensed plumber or remediation contractor should evaluate before you disturb the assembly. Disturbing large mold areas without containment or cutting a load-bearing curb without understanding the framing risks more than the leak itself. Give ranges, not absolutes, and get a second opinion if the proposed scope changes dramatically after demolition begins.
Choosing the Right Fix and Preventing a Repeat
Diagnosis only matters if it points to a durable decision. The right fix follows the cause, not the stain.
If the culprit is ponding and slope, surface re-grouting buys months at best. The lasting correction is to rebuild the pan with correct fall and a bonded membrane that maintains at least 0.8 mm thickness and proper overlaps, lapped over the drain flange with flashing integrated into the wall membrane. Expect $800 to $1,800 for a curbed shower pan rebuild in most US markets, more if the curb and niche are included. That range reflects labor to remove tile, replace the bed, and retile, not just materials.
If the cause is humidity and ventilation, the hierarchy is clear. First, ensure the exhaust fan 50 to 110 CFM is correctly sized, quiet enough to use, and ducted with rigid metal to the exterior through a proper roof or wall cap. Second, verify the door undercut or grille supplies makeup air. Third, control shower duration and squeegee walls to cut drying load. Repainting with mold-resistant primer helps only after the air change is fixed. Without that, paint is decoration on a wet substrate.
If the membrane failed at a seam or penetration, partial patching works only when the breach is isolated and the surrounding membrane tests sound. A professional can cut back tile, expose the membrane, overlap a new section 4 inches (100 mm) with manufacturer-approved seam treatment, and flood test again. When the original membrane is thin, brittle, or of unknown origin, a full replacement avoids chasing sequential pinholes that each require another tile removal.
To keep confidence after the repair, add two simple habits. Run the fan 20 minutes after the last shower on a timer, and re-caulk flexible joints at tub to tile and curb to wall annually with a mildew-resistant sealant, not grout. Grout is rigid. Joints that move need something that can move with them. For a broader plan that ties diagnosis to scope and sequence, see how to renovate a bathroom step by step for the correct order of demolition and waterproofing, and the bathroom renovation pillar for when a full update makes more sense than a spot fix. Budget planning lives in the bathroom renovation cost guide so you can weigh spot repair against a pan rebuild with real numbers.
Water always tells the truth about the weakest link. Follow the timing, follow the level, and follow the air. The stain is just the messenger.