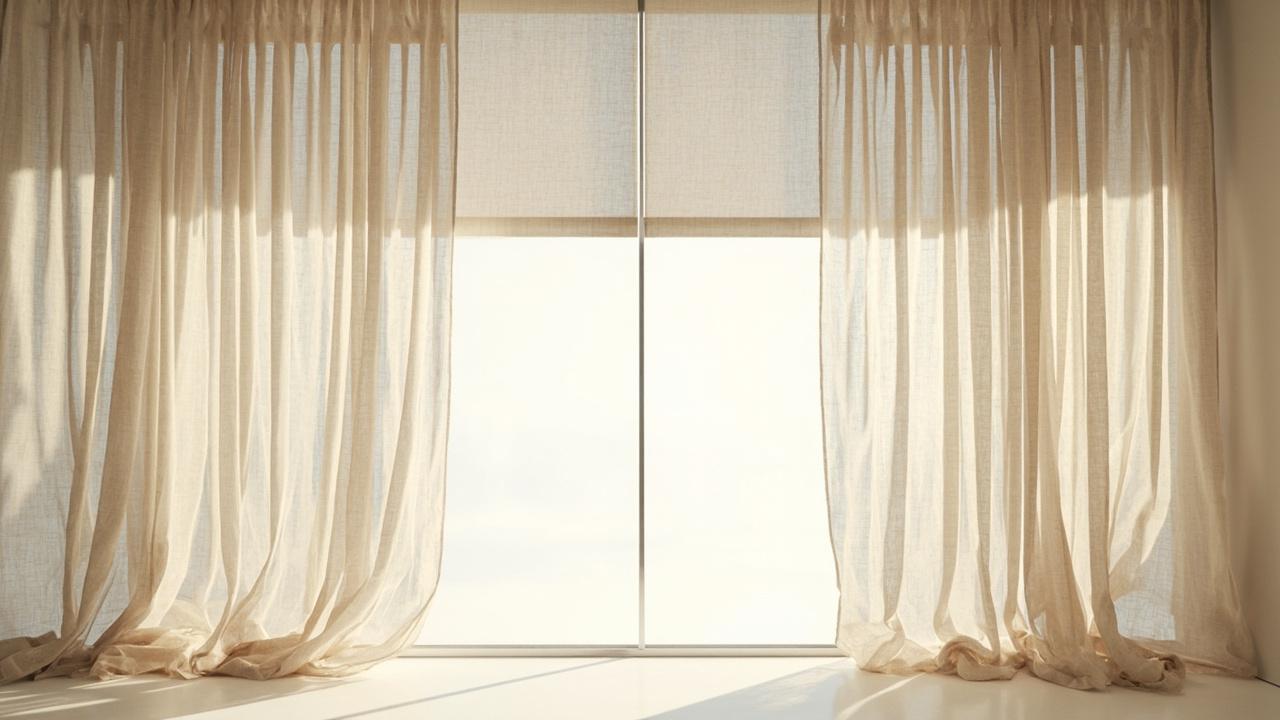

Windows are the room’s eyes, and treatments are the lashes that shape them. A window treatments interior design guide is a buying guide that matches the right covering to each window, the right mount to each wall, and the right price to each opening. There is no single best treatment, only the best one for that window, that light, and that household.
What Window Treatments Are and Why the Choice Matters
Window treatments are the soft and hard layers you hang, mount, or build over a window to control light, privacy, insulation, and finish.
The category includes drapery and curtain panels, Roman shades, roller shades, cellular or honeycomb shades, Venetian blinds, sheer curtains, valances, cornices, plantation shutters, vertical blinds, panel tracks, top-down bottom-up shades, and motorized shades. Blackout curtains and sheer layered with drapery are combinations, and they often solve problems a single product cannot.
The choice matters because the wrong covering fights the room every day. A heavy velvet panel in a north-facing bedroom can feel like a cave at noon, while a sheer alone in a south-facing nursery wakes the baby at dawn.
Start with three questions per window. What light do I want, when? What privacy do I need, from whom? What is the budget per window? Once those are answered, the long list of products narrows fast. For the broader room context, the interior design guide for homes shows how layout, light, and finishes sequence before you order any fabric.
How Light Control, Privacy, and Mounting Work Together
Every window has three jobs to balance. Light control, privacy, and mounting. The mechanism is simpler than the catalog suggests.
Light control ranges from sheer to blackout. Sheer curtains filter harsh sun into soft ambient glow without losing the view. Roller shades in light filtering fabric cut screen glare while keeping daylight.
Cellular or honeycomb shades trap air in cells and add an R-value gain of about 2 to 4 over a single pane, which is why they dominate bedroom and nursery pick lists. Blackout liners block 95 to 99 percent of light and matter most for shift workers, kids’ rooms, and media spaces.
Privacy comes from opacity and from the position of slats or weave. Ground-floor street-facing windows usually want top-down bottom-up shades, so you keep daylight while blocking the sidewalk line. Upper-floor windows often only need light filtering, since the sightline is the sky.
Bathrooms want moisture-safe materials like faux wood, aluminum, or outdoor-rated fabric, not real wood that warps.
Mounting decides both look and function. Inside mount sits within the frame, looks clean, and needs a frame depth of at least 2 to 4 inches for most shades to clear the glass.
Outside mount sits on the wall or trim above the window and makes the window look larger, but it leaves a light gap of 0.25 to 0.5 inches at the edges that shows the street at night.
For a feature wall where window light does half the work, the how to create an accent wall piece pairs well with treatments that soften rather than block the light, since wall color and window light read as one composition.

Choosing the Right Treatment: Comparison and Room-by-Room Picks
Two windows in the same house rarely want the same treatment. The table below puts the common picks side by side.
| Treatment | Light and Privacy | Cost / Window (USD) | Best Room |
|---|---|---|---|
| Drapery panels | Low to blackout, full privacy | $80 to $400 per panel | Living, dining, primary |
| Roman shade | Medium to blackout, full privacy | $120 to $500 | Living, dining, study |
| Roller shade | Medium to full, full privacy | $60 to $250 | Bedroom, nursery, office |
| Cellular or honeycomb | Medium to full, insulated | $90 to $350 | Bedroom, north-facing room |
| Venetian blinds | Adjustable, very precise | $40 to $300 | Office, kitchen, bath |
| Plantation shutters | Adjustable, very precise | $250 to $600 per panel | Craftsman, primary suite |
| Vertical or panel track | Medium to full, full privacy | $80 to $300 | Sliding glass door |
| Top-down bottom-up | Adjustable, very flexible | $120 to $400 | Street-facing bath |
| Motorized | Same as base product | $300 to $900 | Tall windows, media |
Use cellular shades if the room runs hot or cold. Use roller or solar shades if the room is mostly screens. Use plantation shutters if the home is owned and the windows are standard sizes.
Use vertical blinds or panel tracks for sliding glass doors, since side-stacking clears the opening. Use motorized shades if windows are tall or part of a whole-home plan.
The cordless upgrade adds about $20 to $60 per window and is the safer pick for kids’ rooms, since looped cords remain a strangulation hazard with small children.
Renters have a tighter playbook. Choose no-drill options like tension rods, clip-on panels, or Command strip brackets rated for the weight, and avoid outside mount holes that need patching at move-out.
The companion piece on interior design for rental property walks through which changes survive a security deposit and which do not.
Installation, Measurements, and Mistakes That Cost Money
Good measurements beat good taste every time. Measure every window in three places, width at top, middle, and bottom, and use the smallest. Standard window widths of 24, 36, 48, and 72 inches cover most homes, and custom sizes usually add 20 to 40 percent.
- Decide mount type first. Inside mount needs 2 to 4 inches of frame depth. Outside mount hides a tired frame, but order 2 to 4 inches wider on each side to cut the light gap.
- Set rod height and length. Mount 1 to 3 inches below the ceiling, and extend 8 to 12 inches past the frame on each side so panels stack clear. Stack-back runs about 10 to 20 percent of rod length.
- Set length with intent. Floor length panels should kiss the floor at 0.5 to 1 inch off, or puddle 2 to 3 inches for a formal look.
- Choose the right lining. A standard liner softens the look. A blackout liner cuts light and noise. Interlined drapes like upholstery for formal rooms.
- Brackets into structure. Drywall anchors fail under drapery weight, so find studs or use toggle bolts. Shutters and Roman shades especially need solid backing.
Five mistakes show up in almost every redo. One, ordering outside mount to the frame width and leaving a halo of light at night. Two, hanging the rod at the frame top so the window looks short.
Three, ignoring return brackets on outside mount, which let light leak around the sides. Four, mixing metals and finishes between rod, rings, and brackets so the hardware reads as an afterthought. Five, skipping a final check of the window’s operability, since a shade that binds on the crank gets returned slowly, if at all.
When the work moves beyond a drill and a level, like rewiring for motorized shades or reframing a deep sill, consult a licensed professional and confirm the work meets local building codes before you order custom sizes.
Limits, Edge Cases, and What to Do Next
Window treatments have honest limits, and the right next step depends on which limit is yours. Treatments cannot fix a drafty frame, a fogged seal, or a single pane in a cold climate, so pair any new covering with a quick check of the window itself.
If the glass is original or the sash is loose, weatherstripping and a storm window often return more comfort per dollar than the priciest drapery.
Edge cases change the recipe in predictable ways. South and west exposures want solution-dyed acrylic or UV-rated fabric so color does not bleach in two summers. North-facing rooms want lighter colors and a touch of sheen, since dark panels absorb what little light they get.
Ground-floor street windows want top-down bottom-up shades or layered sheer and drapery. Upper-floor windows often get away with light filtering only, since the sightline is the sky. Bedrooms and nurseries want cordless operation and a true blackout liner, non-negotiable for shift workers and small kids. Renters should keep mount to the frame and hardware to removable.
Your next step is a one-hour walk with a tape measure. For each window, write the rough width, the rough height, the mount type, the room, and the one job that matters most, whether that is privacy, blackout, insulation, or softening the view.
Then pick the simplest product that solves that job, and resist the urge to standardize the house on one treatment. If you want a broader yardstick before you price anything, the interior design cost guide keeps the total budget honest while the window decisions come together.