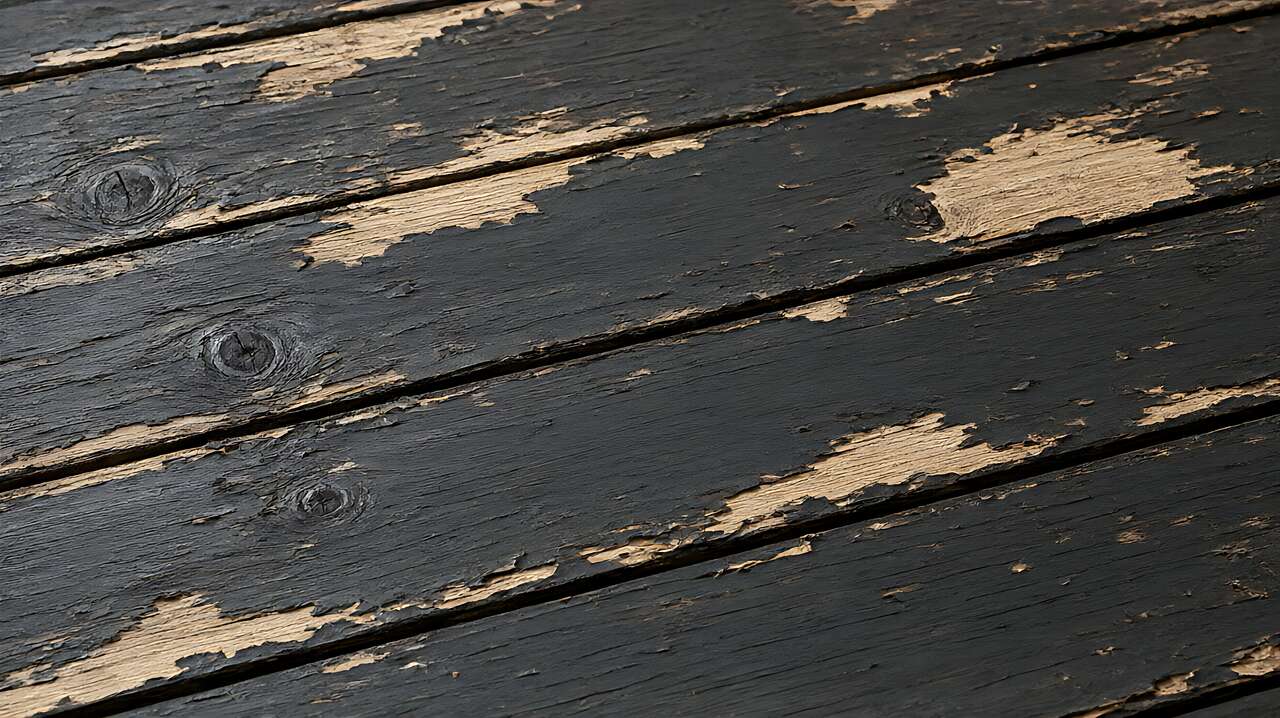

A deck that has been stained before and is now showing peeling, grey patches, or a chalky white surface has a coating problem that no new product will fix. The old stain or sealer is still there, sitting on the wood, and it has to go before the new coat will bond. Stripping the old finish is the slow, unglamorous part of the project, and it is the part that decides whether the next coat lasts for two or three years or lifts off by the next summer.
This guide covers when to strip versus when a clean and re-stain is enough, the chemical and mechanical methods for removing old stain, the safe order of operations, and how to get the wood ready for a new coat once the old one is gone.
When to Strip vs Clean and Re-Stain
Not every deck needs a full strip. The question is whether the old coating is still bonded to the wood or whether it is already failing. A clean, even, non-peeling stain can usually be washed down and re-coated directly. A peeling, flaking, or chalky surface is a sign that the old coat has lost adhesion, and a new coat on top of a failing one will fail on the same schedule.
The cost of skipping a strip is usually a second strip. A new coat applied over a failing one will lift off within a year, and you will have to strip the whole thing again, this time removing two layers of old product instead of one. The time and money saved by skipping the first strip is always more than the time it takes to do it right the first time.
The test is simple: press your thumb or a coin into the surface. If the old stain crumbles or flakes off, the bond is gone and a strip is required. If the surface is just dirty but the coating is intact and not lifting, a clean and re-stain is the right call and a full strip is overkill.
For a deck that is five or more years old and has had two or three coats of stain, the accumulated build-up often makes a full strip the better option, even if the top layer looks intact, because the total thickness of old product is holding moisture against the wood and causing it to grey from underneath.
Chemical vs Mechanical Stripping Methods
There are two main approaches, and the right one depends on the surface area, the type of old coating, and how much time you have.
The type of old coating also changes the method. A latex paint layer on an old deck is the hardest to remove, because it has formed a hard film that chemical strippers struggle to break down. For a painted deck, the mechanical method with a pressure washer and a heavy-duty scrub brush is usually more effective than a chemical product. A oil-based stain is easier to chemically strip, because the chemical is designed specifically for oil products and it breaks them down faster.
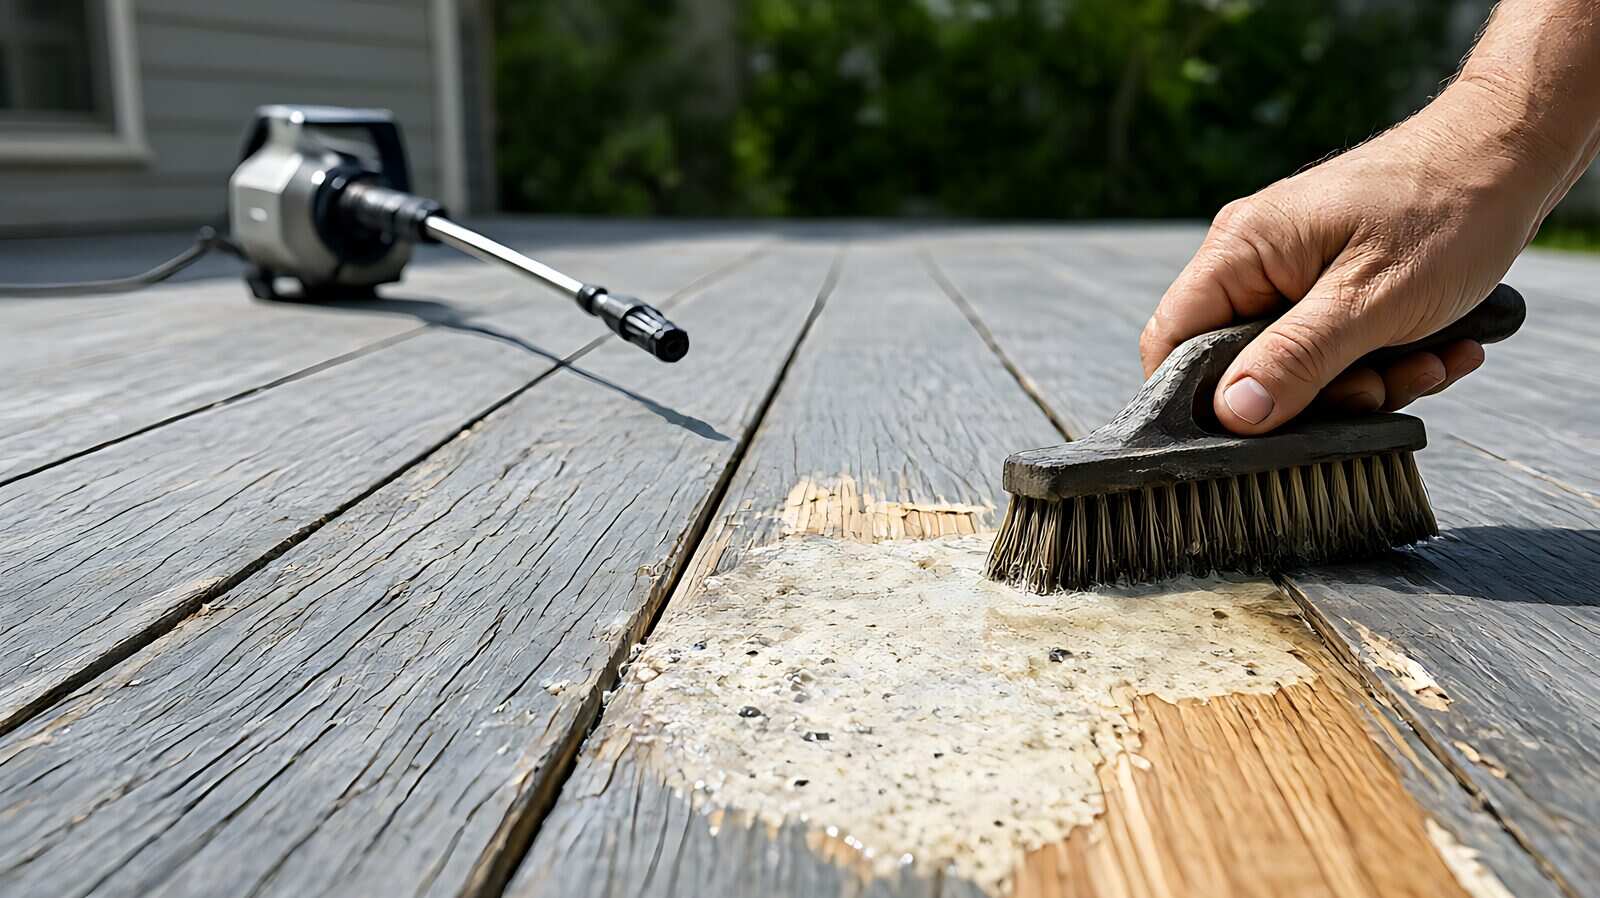
Chemical stripping uses a product specifically designed to break down oil-based and latex stains. You apply it with a brush, let it sit for the time on the label, and then scrub the surface with a stiff-bristle brush. The chemical converts the stain to a chalky paste that rinses off with water. This method is slower, usually two or three days for a typical deck, but it is the gentlest on the wood and does not raise the grain the way a pressure washer does.
Mechanical stripping uses a combination of a pressure washer and a stiff-bristle scrub brush to physically remove the old coating. It is faster, often a single afternoon, but it is harder on the wood, especially soft species like pressure-treated pine, where the pressure can raise the grain and create a rough surface that stains unevenly. The pressure setting matters: use the widest fan pattern and keep the nozzle at least eighteen inches from the surface.
For a deck with a solid coverage stain that has been on for a while, the combination of a chemical pre-treatment followed by a pressure wash is usually the most effective. The chemical breaks down the bulk of the coating, and the pressure wash removes the rest. Using either method alone on a thick, old solid stain usually leaves patches.
The Safe Order of Operations
Stripping is not just about removing the old coating. It is about getting the wood into a state where the new coat will bond and last. The order matters, and doing it wrong wastes the effort.
- Protect the area. Lay down drop cloths on the surrounding planters and ground, and wet the soil around the deck perimeter before you start. Stain remover chemicals are caustic and will kill grass and plants on contact.
- Apply the chemical. Brush the stripper on in the direction of the grain, working in sections of about four to five boards at a time. Do not let the chemical dry on the surface, because a dried chemical is much harder to remove than a wet one.
- Let it work. Give it the time on the label, usually twenty to thirty minutes. The surface will turn grey or chalky as the coating breaks down.
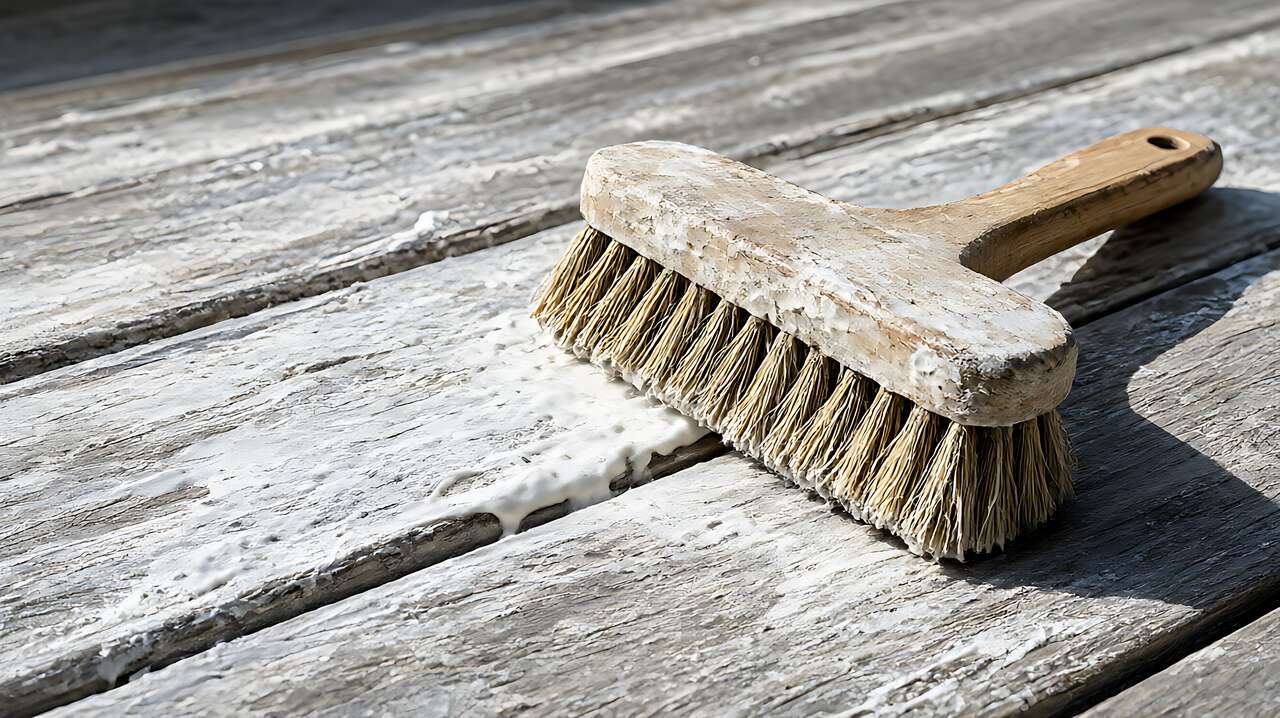
- Scrub. Use a stiff-bristle deck brush and work the loosened coating off in sections. A shop-vac with a wet/dry nozzle is faster than a garden hose for rinsing large decks.
- Rinse thoroughly. Any residue left on the surface will show up as uneven staining later. Rinse until the runoff is clear.
- Brighten. If the deck is grey after stripping, apply a deck brightener or oxygen bleach solution to bring the wood back to a light, even tone. This step is critical, because a grey surface will not take a water-based stain evenly.
- Let it dry. The wood needs to dry to under 15 to 18 percent moisture content before you apply a new coat. In a dry climate, a couple of days. In a humid one, a week or more.
The safety gear matters here more than on most home improvement projects, because you are working with a caustic chemical and a pressure washer at the same time. Wear rubber gloves, safety glasses, and long sleeves. The chemical will burn skin on contact and is hard to rinse off once it has soaked in. The pressure washer will drive water and chemical into any open cut on your hands, so check for cuts before you start and bandage them if needed.
The oxygen bleach step is the one most people skip, and it is the one that makes the biggest difference in the final result. A deck that is stripped but not brightened will stain with a mottled, uneven tone that is very hard to fix after the fact.
After Stripping: Getting the Wood Ready
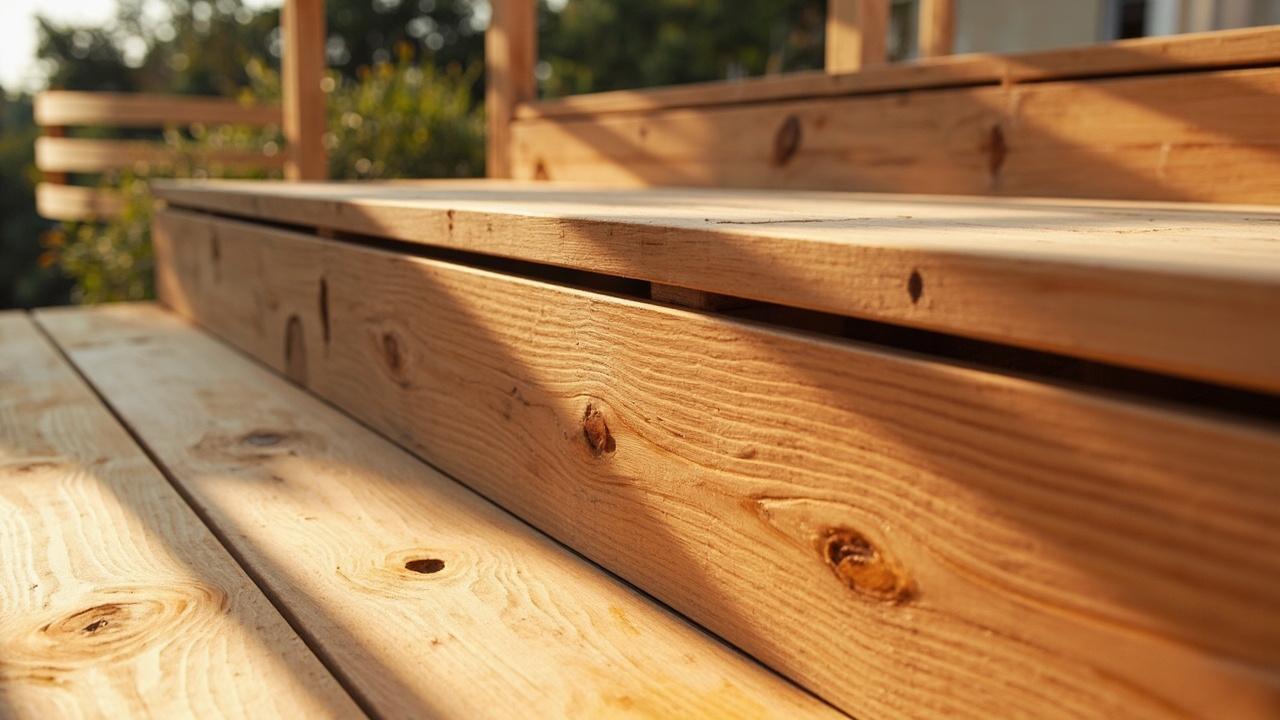
Once the old coating is gone and the wood is bright and dry, the next step is to check the surface for damage. Stripping often reveals rot at the fastener points, where the water has been trapped under the old coating for years. Probe a few boards with a screwdriver. If the wood gives easily or feels spongy, replace those boards before you apply the new coat. Staining over soft, rotten wood is a way of hiding a structural problem until it fails under load.
If the grain has been raised by the stripping process, light sanding with 80 to 120 grit will smooth it back down. Do not use a coarse grit, which will leave scratches that show up as light streaks in the new stain. Sand with the grain and vacuum the surface thoroughly afterward, because dust on the surface will block the stain from penetrating and create a patchy finish.
One more consideration: the time of year you do the strip. Stripping in late summer or early fall is ideal, because the wood dries fast and you have a full season for the new coat to cure before the cold weather sets in. Stripping in late autumn is risky, because the short days and cool nights mean the wood may not dry to a stainable moisture level before the ground freezes. If you are forced to strip in a cold season, the drying step alone can take two to three weeks, and you may have to delay the re-stain until spring.
Once the surface is clean, dry, and smooth, you are ready to apply the new coat. The how to stain a wood deck guide covers the full application sequence, including the weather window and the two-coat technique. And if you are not sure which product to use on the newly stripped surface, the best deck stain by type guide walks through the oil vs water and transparent vs solid decision. For a freshly stripped deck, a penetrating semi-transparent oil stain is the most common and reliable choice, because the open, clean surface will absorb it evenly and the product will bond well.
If the deck is in bad shape and the stripping has revealed more damage than you expected, the deck maintenance and repair guide tells you which boards need replacing and what the substructure looks like under the surface.