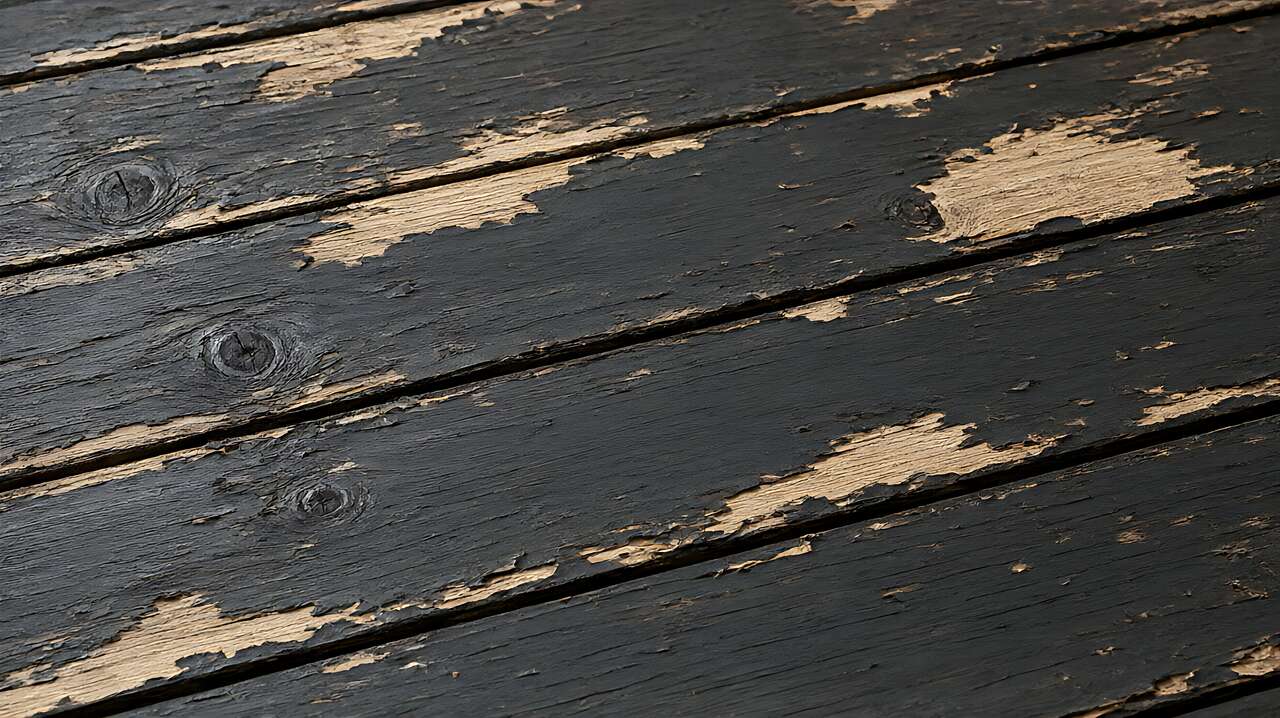

Most deck staining failures are not a product problem. The stain was fine. The brush was fine. The failure came from a decision made before the can was opened, or from skipping a step that took ten minutes but saved the whole job. These are the mistakes that turn a $200 Saturday project into a $400 re-strip-and-restore the next spring, and each one is preventable.
This guide walks through the eight most common deck staining mistakes, why each one shows up as a specific failure, and how to avoid it in the next project.
Mistake 1: Staining Wet Wood
The single most common failure in deck staining is applying the product to wood that is not dry enough. A moisture meter that reads under 15 to 18 percent is the minimum threshold. If you do not have a meter, the deck needs to dry for a full day or two after the last rain before you open a can. Wood that is still holding moisture will trap that water under the stain, and the trapped water will push the finish off from underneath as the board dries over the next few weeks. The failure looks like peeling and cupping at the fastener points, where the moisture is concentrated.
The moisture content of the deck is not just about the surface being wet. The boards themselves hold moisture deep in the grain, and a board that feels dry on top can still be at 20 percent moisture in the center. The meter reading is the average, not the surface. If the meter says 20 percent, the surface may be dry but the board is still holding enough water to push a stain off within a month. Wait for the reading to come down before you start.
The fix is not to wait for a rain-free day, it is to wait for the wood to actually dry. A deck that was rained on an hour ago is not ready. A deck that was rained on two days ago in a dry, windy climate might be ready, and the meter is the only way to know for sure.
Mistake 2: Skipping the Prep
Most of the staining jobs that fail were not staining jobs that failed, they were prep jobs that were not done. The old stain or sealer is still on the surface, the wood is still grey and closed, and a new coat applied on top of all of that will not bond. The prep sequence in the how to stain a wood deck guide covers the full process: clean, brighten, strip the old coating, sand where needed, and confirm the wood is dry. Skipping any one of those steps shows up as a specific failure: adhesion failure if you skipped stripping, blotchy color if you skipped brightening, rough texture if you skipped sanding.
For a deck that has been stained for more than three years, the recoat window has likely passed, and the existing coating is no longer a surface to stain over, it is a surface to strip first. Staining over a failed, peeling coating is the most common way to guarantee another failed, peeling coat a year later. The strip-and-re-stain path in the how to strip deck stain guide is the correct approach for an old deck, and the prep section above assumes the deck is in a stainable state.
Prep takes longer than the staining itself. For most decks, the prep takes two to three times as long as the staining. Budget the weekend accordingly.
Mistake 3: Wrong Product for the Wood
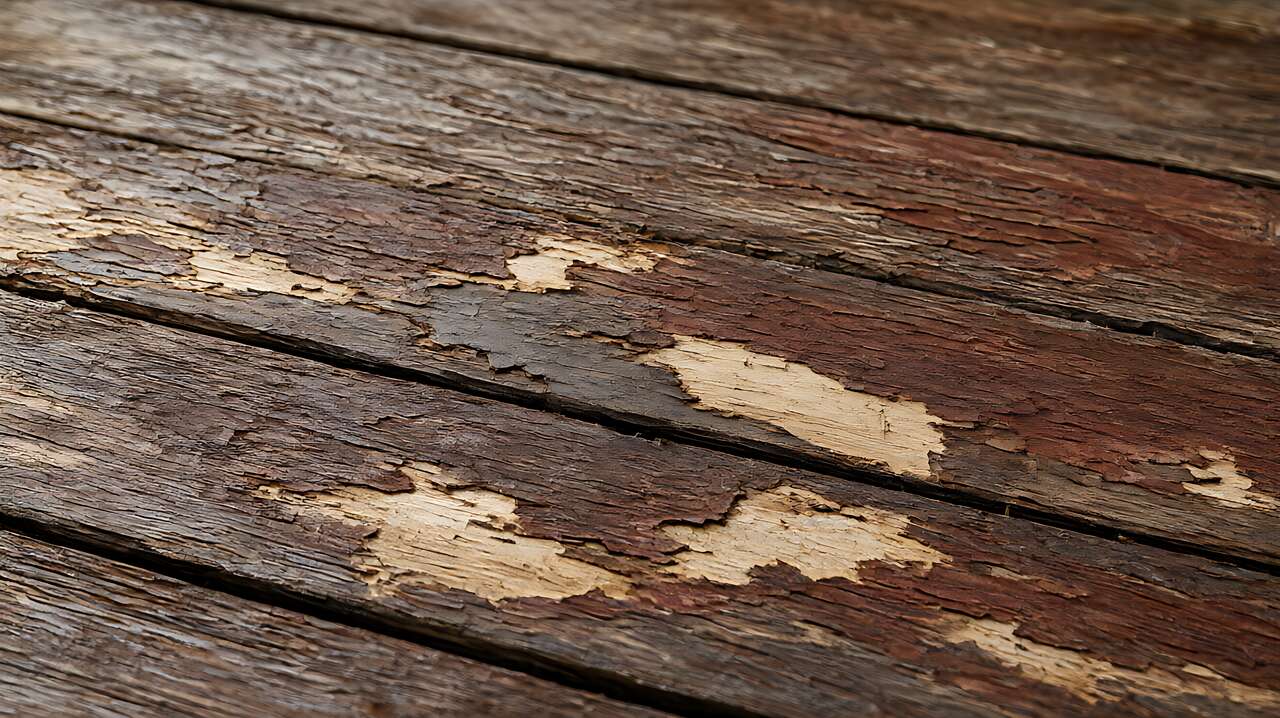
A solid coverage stain on a cedar deck is the wrong product for the wood. Cedar is dense and slightly oily, and a thick solid coat will trap moisture against the surface, causing the wood to grey from underneath within a year. The right product for cedar is a semi-transparent penetrating stain, which lets the wood breathe and shows the grain. The best deck stain by type guide walks through the wood-to-product match, and it is the reference to check before you buy.
The same logic applies in reverse: a transparent stain on a beat-up, grey, old-stained pressure-treated deck will look patchy and will not cover the surface well enough to protect it. The wood type and the condition of the surface together determine the product, and choosing one without considering the other is how most staining projects start on the wrong foot.
Mistake 4: Applying in Direct Sun
Most deck stain products have a label temperature range, usually 50 to 85 degrees, and a requirement that the surface be in shade or in a stretch of dry air with no direct hot sun. Applying stain in direct sun on a hot afternoon means the first coat is drying faster than you can work the next board, which creates a lap line or a two-tone section that will not even out with a second coat. The sun is not a staining problem, it is a timing problem: the best time to stain is early morning or late afternoon, when the deck is still in shade or the temperature is mild.
On a large deck, treat it in sections on the same day, and work from the shaded side first, moving toward the sun side as the day progresses.
Mistake 5: One Thick Coat
One thick coat is worse than two thin coats, every time. The thick coat dries on the surface before it penetrates, so you end up with a film that lifts off in a season instead of a penetration that lasts two to three years. The second coat is not optional, it is the part that evens out the color and fills in the missed spots. If you only have enough product for one coat, you do not have enough product for the job.
The drying time also matters. Most products list a one-to-two hour recoat window, but that is in ideal conditions. In a humid climate, the first coat takes longer to dry, and the second coat applied too early will trap the first coat under it, creating a surface that is wet and tacky for days and that will not level out evenly. Check the product label, and if the first coat still looks wet when you go to apply the second, wait.
The how much deck stain do you need calculator covers the two-coat math by wood type and product. For most decks, two coats is the standard, and the second coat is what makes the color even across the whole surface.
Mistake 6: Not Testing First
A test patch takes twenty minutes and prevents the most expensive mistake in a staining project, which is staining the whole deck with the wrong color or the wrong product. Pick a board that is not in the most visible position, apply the product the way you would apply it to the whole deck, and wait for it to dry. Then look at the board from a distance, in the light it will actually get all day. The color under direct sun looks different from the color in the shade, and a test patch in the shade will look darker in the sun than you expect.
For a transparent or semi-transparent stain, the test patch also tells you whether the product is penetrating or just sitting on the surface. If the test board looks uniformly wet and the color is flat, the product is not penetrating, and you need to change the approach, not the color.
Mistake 7: Ignoring the Gaps Between Boards
The gap between two boards is where the wood on the underside of the upper board gets the most sun exposure and the most UV damage, and it is also the gap where the next coat of stain will show through if you missed it. A dry brush technique, where you work the brush at the gap and let the dried bristles pull the stain into the shadow side of the gap, covers both the top surface and the underside of the adjacent board. If you only stain the top surface, the underside will be the first place to fade and grey, and the whole deck will look uneven within a year.
Mistake 8: Skipping the Brightener
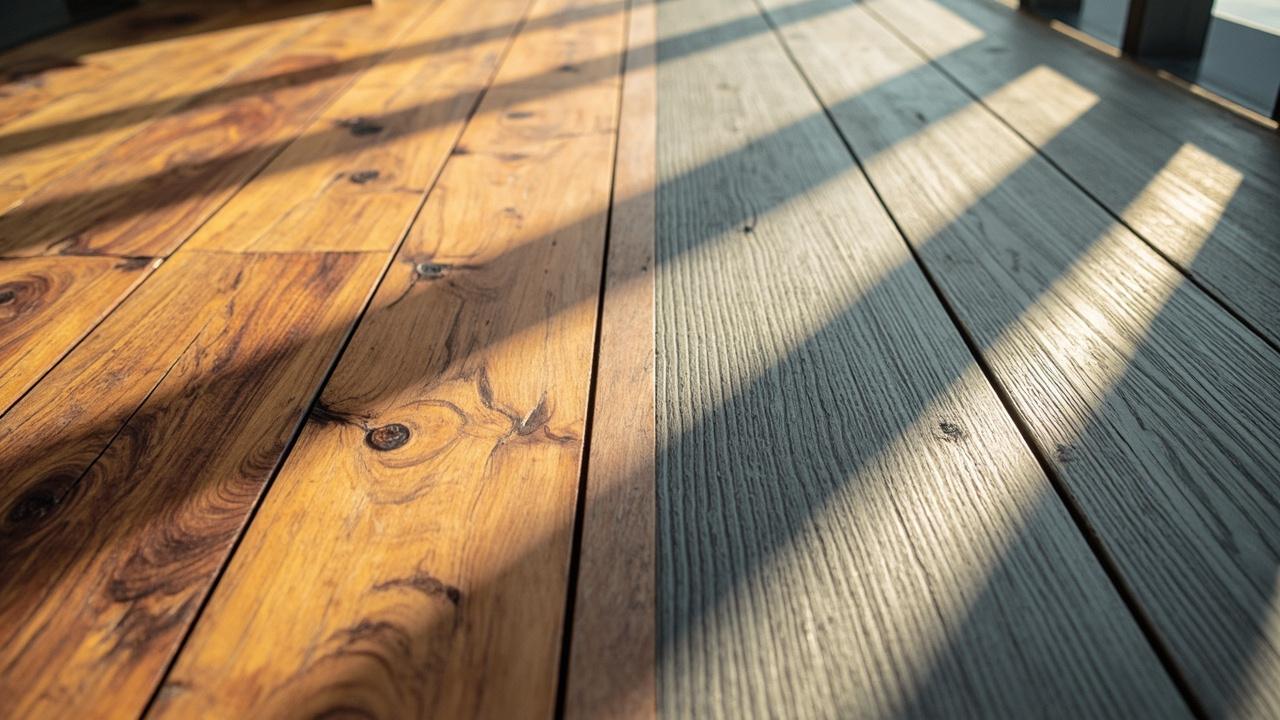
A grey, weathered deck looks uniform, but under the grey surface the wood is not actually uniform. Some areas have more grey film than others, and when you wash the deck, the grey comes off at different rates. If you stain a deck that has not been brightened, the areas with more grey will take less stain and look lighter, and the areas with less grey will take more and look darker. The result is a mottled, patchy finish that no second coat will even out.
The recoat window is not a suggestion, it is a hard limit. Once the old coating has started to lift, no new coat will bond to the surface. The bonding surface has to be clean, dry, and sound for the new stain to adhere, and a failing old coat is none of those three things. If you are not sure whether the old coat is sound, run the thumb test: press firmly on the surface and see if the coating flexes or cracks. If it cracks, the bond is gone and the deck needs a strip, not a re-stain.
A deck brightener or oxygen bleach solution dissolves the grey film and brings the wood back to a light, even tone before you stain. It is the step that separates a staining job that lasts from one that looks blotchy by the next season. The how to strip deck stain guide covers the brightening step in detail, and it is the one to read if your deck has been grey for a while.