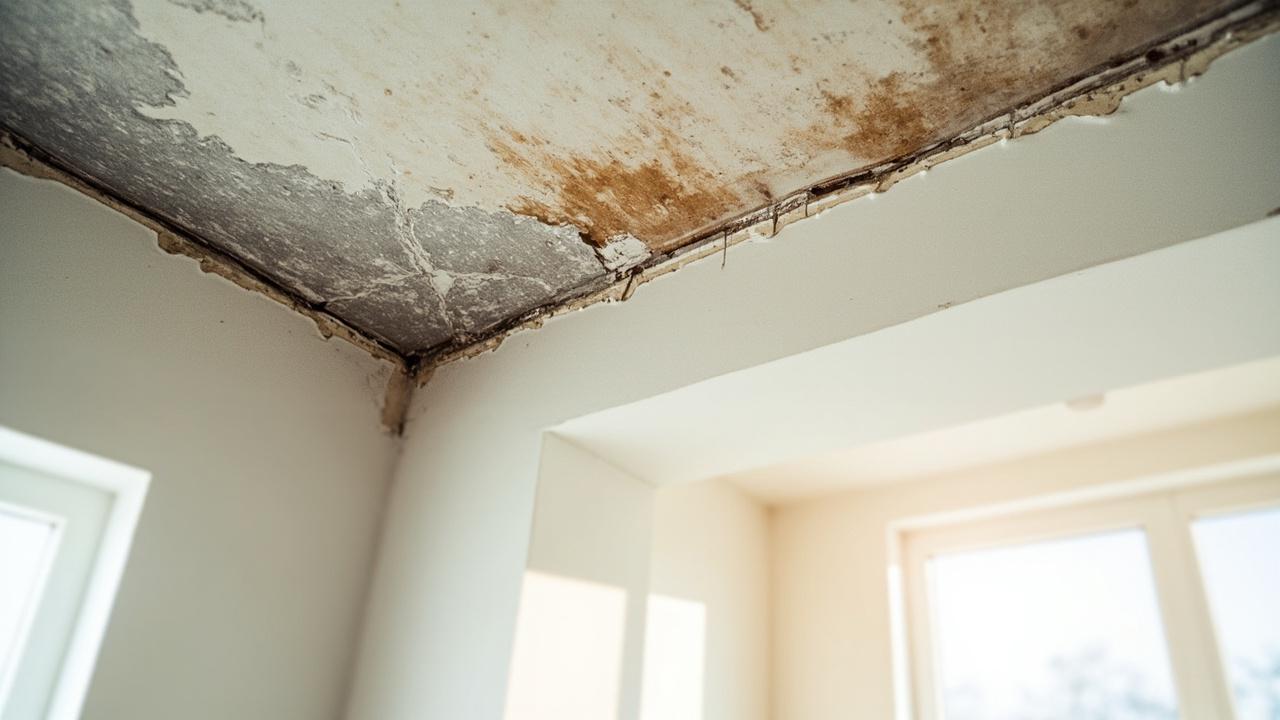

A few cracked boards or a whole house that looks tired: patch the bad spots or tear everything off and start fresh? For damage extent, the answer is refreshingly physical. Repair wins when harm stays localized to a handful of boards on one wall. Replacement wins when damage spreads across elevations or reaches the framing behind the cladding. Put simply, exterior siding is the outer cladding layer that sheds water away from the sheathing and framing it covers.
What Siding Repair vs Replacement Comes Down To
Siding repair vs replacement is decided by one attribute, damage extent: repair fits localized harm confined to a few boards or one elevation, while full replacement fits widespread failure or moisture that has reached the sheathing, in any climate.
Repair means cutting out the bad boards, slipping in color-matched panels, and resealing the joints so the wall reads as one surface again. It keeps the existing weather barrier, trim, and flashing in place, which is exactly why it stays cheap and fast. Replacement means stripping every course down to the sheathing, correcting whatever the old siding hid, then hanging a whole new skin with fresh barrier and flashing throughout.
Contractors often apply a rough rule of thumb, and it is inference, not code: when under about one fifth of the wall area is affected and the barrier behind it tests dry, repair usually pencils out. Past roughly one third, or whenever two or more walls show failure at once, the per board math of repair converges on replacement cost while leaving old weaknesses in place. Your siding material sharpens this line further. Vinyl forgives spot swaps because panels unlock and relock by design, while fiber cement and wood punish patching because blending texture, thickness, and paint age takes real skill.
How Siding Fails and What Each Failure Tells You
Siding fails through water entry first and everything else second, as wind driven rain slips past laps and joints and the hidden drainage layer behind the cladding catches it, or fails to, on every wall in wet climates.
Learn to read the symptoms the way a dentist reads teeth. Hairline cracks, a few storm cracked vinyl panels, or boards a ladder knocked loose are surface wounds. The wall behind them is almost certainly sound. Soft spots that give under a screwdriver, paint that peels in sheets near grade, courses that buckle outward after rain, or a musty smell inside an exterior wall point deeper, to moisture intrusion working inside the assembly. The mechanism is simple: bulk water enters at an unflashed joint or failed caulk line, the sheathing soaks, fasteners lose grip, and the cladding follows the rotting substrate out of plane.
Two quieter killers deserve mention. Thermal movement buckles vinyl that was nailed tight instead of hung loose in its slots, and it opens butt joints in wood that was installed green. Ultraviolet chalking and fading then punish south and west elevations hardest, so a sun baked wall can look replacement ready while the shaded side has a decade left. Typical full replacement runs about $4 to $14 per sq ft ($43 to $151 per sq m) installed depending on material, while a localized repair commonly lands between a few hundred and around $1,500 per area. Most vinyl and fiber cement lines carry a wind rating near 110 to 130 mph when fastened to schedule, and painted sidings ask for a repaint cycle every 8 to 15 years, so a wall already due for paint plus patching is quietly halfway to replacement cost.
Repair or Replace: Costs, Lifespan, and Two Field Examples
Siding repair costs less upfront and preserves the existing wall, while replacement resets the whole assembly including barrier and flashing, so the deciding factor is remaining service life per dollar in your specific exposure.
| Criterion | Spot repair | Full replacement |
|---|---|---|
| Typical cost | A few hundred to ~$1,500 per area | $4 to $14 per sq ft installed |
| Scope of work | Boards only, barrier stays | Down to sheathing, new barrier and flashing |
| Added service life | 3 to 8 years on the patched wall | 25 to 50 years depending on material |
| Downtime and disruption | Half day to two days | One to three weeks for a full house |
| Best when | One wall, dry substrate, matching stock available | Multiple walls, wet sheathing, discontinued profile |
| Trade-off | Old weaknesses remain behind the patch | Highest upfront cost and full tear off mess |
Two jobs make the table concrete. A 2,000 sq ft colonial lost six vinyl panels to a windstorm on one gable end. The barrier tested dry, the profile was still in production, and the fix took a morning for under $800. The rest of that cladding had fifteen good years left, so replacement would have burned money. Contrast a shaded two story with cedar lower courses soft at every corner and peeling paint upstairs: probing found punky sheathing on two elevations, and stacked repairs were quoted near $9,000 with the rot source still unflashed. A fiber cement residing near $11 per sq ft reset the moisture barrier, added kickout diverters, and ended the repair cycle instead of funding its next round. The honest difference between the jobs was rot and crack extent, surface deep in the first, structural in the second.
Budget pressure is real, and this is where sequencing earns its keep. If money is tight but the substrate is dry, repair the worst wall now and budget the residing within three to five years. If the substrate is wet, delay is the expensive option, because every season of trapped moisture converts sheathing repair into framing repair. For the material choice that follows a replace decision, this overview of house siding types and installed cost lays out the six common options side by side.
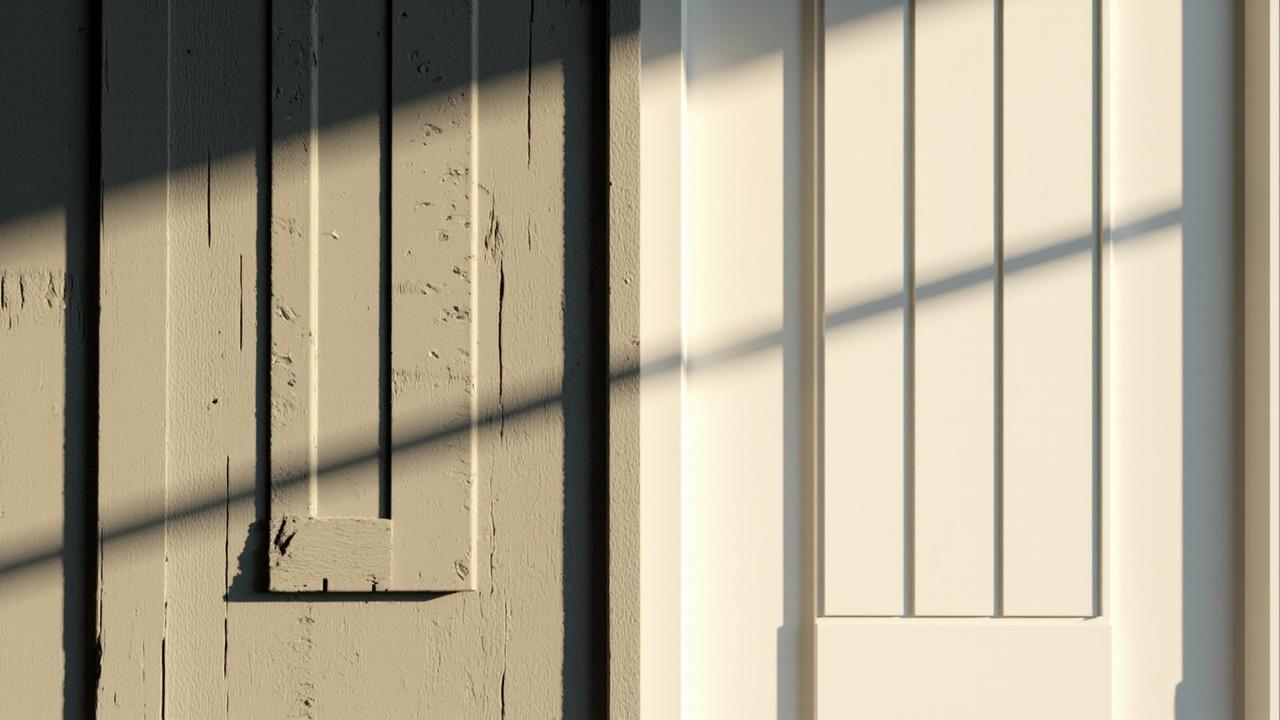
How Each Path Gets Done and Where Owners Go Wrong
Siding repair succeeds through invisible blending, with matched profile, lapped barrier patches, and loose vinyl fastening, while replacement succeeds through sequencing, with dry sheathing, continuous barrier, and flashed openings verified before any panel goes up.
A clean repair follows a short order: photograph and number the damaged courses, unlock or cut out only what is bad, inspect the barrier and sheathing revealed, patch any nicked barrier with lapped housewrap tape, then set the new boards with the manufacturer specified expansion gap at the ends. Vinyl nails stop about 1/32 inch (0.8 mm) proud and centered in their slots so panels glide. Fiber cement fasteners sit flush, never countersunk, with cut edges sealed and primed before they touch the wall.
Replacement is a bigger choreography with the same physics. Tear off exposes the truth, and any soft sheathing gets cut back to sound wood before the new drainage plane goes on shingle style. Windows, doors, and ledger boards get flashed first, starter strips sit at least 6 inches (152 mm) above finished grade, and every roof to wall joint gets a kickout flashing diverter. Lap exposures typically run 4 to 7 inches (102 to 178 mm). Walls where damp proofing ties into roofing or decks deserve extra care, and this guide to how waterproofing layers work explains the barrier logic the new siding depends on.
The failure list is short and entirely avoidable. Face nailing vinyl tight guarantees buckles on the first hot afternoon. Caulking over weep holes traps the very water the assembly was designed to release. Installing a discontinued profile in a close but visibly different grain telegraphs every patch from the curb. And the costliest mistake is cosmetic repair over wet substrate, fresh boards over rot, which hides the damage just long enough for the framing bill to grow. Anyone opening walls with active leaks or structural softness should consult a licensed professional, since only an on site evaluation with the cladding off shows how far moisture traveled.
Limits, Edge Cases, and Your Next Move
Siding repair reaches its limits where structure, hazardous materials, or rules take over, so rotted framing, lead paint, asbestos cement board, and strict fire or HOA codes all push the decision toward pro led replacement regardless of damage area.
Name the exceptions before they surprise you. No patch fixes racked framing, chronic bulk water entry from a failed roof valley, or sheathing that crumbles across whole bays. Homes with lead paint or asbestos containing siding face containment and disposal rules that make piecemeal work uneconomical or outright restricted. Wildfire interface zones and coastal high wind districts may require ignition resistant assemblies or an upgraded fastening schedule that only a full residing can deliver. And when the profile is discontinued with no salvage stock, even a small wound can force a whole elevation, because a mismatched wall hurts value more than an honest new one.
Your next move fits in one weekend of homework. Walk every elevation with a screwdriver and a camera, probe boards near grade and under windows, note buckling, staining, and soft spots, and check whether your profile is still manufactured. Then collect three itemized quotes that name the panel, the barrier, and the flashing details, not just a bottom line. If the broader question is whether this project is even a repair at all, this comparison of home renovation versus repair scope helps you frame the budget. Choose repair when the wall behind the damage is dry and the harm is local. Choose replacement when moisture owns the substrate or failure spans the house. Either way, you will have decided on evidence, which is the whole game.