
A bathroom rarely fails because you picked the wrong tile. It fails because the right work happened in the wrong order. Water finds every shortcut you leave, and schedule pressure makes shortcuts tempting. A clear sequence keeps the hidden layers honest. How to renovate a bathroom step by step is the ordered set of decisions and inspections that turns demolition into a dry, durable room.
What a Step by Step Bathroom Renovation Really Controls
Bathroom renovation is the systematic replacement or reconfiguration of the waterproofing, plumbing, electrical, and finish layers that make a small wet room function reliably for 15 to 20 years. The phrase step by step does not mean slower. It means each layer is completed, inspected, and protected before the next covers it.
The dominant task is sequencing, not selection. Most homeowners spend weeks on fixtures and hours on order of operations, then wonder why a beautiful vanity sits over a damp subfloor. The sequence that protects you is simple. Plan and permit, demolish with care, rough in structure and mechanicals, build a continuous waterproof membrane, set tile and fixtures, then ventilate and verify. Skip or compress any step and the error hides until the ceiling below stains.
Three constraints shape every decision after that. Moisture tolerance is near zero in the wet zone, dimensional slope 1 to 2 percent toward the drain determines whether water leaves, and access for future service determines whether a small leak stays small. Hold those three and most finish choices remain flexible.
Planning and Rough-In: The Decisions That Cost Nothing to Change Now
The cheapest mistakes happen on paper. The most expensive happen after tile is set.
Start with layout and code. Confirm clearances for toilet (30 inches wide, 15 inches to side wall centerline minimum per IRC), vanity, and shower threshold, and locate the drain assembly relative to joist direction. Moving a toilet drain across joists may require framing changes or a raised platform, not just a longer pipe. In a 5 by 8 foot (40 sq ft) bath, shifting the vanity 6 inches (150 mm) to gain door swing can be free now and $1,200 later if it means moving supply stubs through a stud bay.
Select systems that match the condition. For wet areas, a liquid or sheet waterproof membrane 0.8 to 1.2 mm with overlap 100 mm at seams is the baseline. Over concrete, confirm the slab is dry enough for the chosen system. Over wood framing, verify the subfloor is 3/4 inch (19 mm) plywood or equivalent, flat within 3/16 inch per 10 feet (4.7 mm per 3 m), and deflection rated for tile. If the structure spans near its limit, add blocking or a second plywood layer before you think about tile pattern.
Rough-in is where licensed trades earn their keep. Plumbing supply and waste, exhaust duct routing, and electrical for exhaust fan 50 CFM minimum, GFCI protection, lighting, and heated floor circuits should be inspected before any membrane goes on. Running a 4-inch rigid duct for the fan directly outdoors with the shortest route and fewest elbows delivers more real airflow than upsizing the fan itself. A tortuous flex duct can cut effective CFM by a third even if the label says 80 CFM.
Permits matter here even for a cosmetic update. Structural notching of joists, new circuits, and drain relocation typically require inspection. Skipping that saves days now and can complicate resale or insurance later. Consult a licensed professional for mechanical and electrical rough-in, and keep inspection cards until final sign-off.
Waterproofing and Tile Setting: Where Tolerances Decide the Outcome
With rough-in approved, the room becomes a vessel. The goal is a continuous pan with controlled drainage and an air path that lets it dry.
Build the membrane as a system, not a coat of paint. Flood the concept down to details. At inside corners, curbs, benches, and niches, embed reinforcing fabric into the wet membrane and maintain the 4 inch (100 mm) overlap onto adjacent planes. Cover fastener heads, extend the membrane 4 to 6 inches (100 to 150 mm) up walls beyond the splash zone, and lap it over the drain flange with integrated flashing. Dry thickness in the 0.8 to 1.2 mm range is not decoration. It provides the crack-bridging capacity that lets the system tolerate minor movement without pinholing.
| Check Point | Target Range | Why It Matters |
|---|---|---|
| Membrane thickness | 0.8 to 1.2 mm dry film | Ensures continuity and crack bridging at seams |
| Overlap at seams | 100 mm minimum | Prevents capillary wicking at transitions |
| Slope to drain | 1 to 2 percent, 1/4 inch per foot ideal | Moves water before grout saturation |
| Tile lippage tolerance | 1/32 to 1/16 inch with clips | Keeps grout joints even and drainable |
| Exhaust airflow | 50 CFM intermittent, ducted outdoors | Drives drying below 60 percent humidity |
Tile work amplifies or forgives what came before. A tile layout with balanced cuts, movement joints at perimeters and changes of plane, and proper grout selection extends service life as much as the membrane. Use a polymer-modified thinset rated for the tile and substrate, beat the tile into full coverage, and keep expansion joints where tile meets tub or wall, filled with sealant rather than grout. Large-format tile hides fewer sins. If the mortar bed slope is short by even 3/16 inch (4.7 mm) over 4 feet, a big tile will pond at the low corner and telegraph that error every shower.
Before grouting, flood test the pan at 2 inches (50 mm) depth for 24 hours with the drain plugged. Mark and monitor the level. This single test validates membrane, overlap, and drain clamping in one step. It costs a day. It saves a ceiling.

Installation Sequence You Can Follow On Site
Here is the order that keeps inspections aligned and layers protected. Adjust scope to your project, but keep the order.
First, protect adjacent areas, shut water, cap waste, and demolish down to studs or sound substrate. Sort debris by type for disposal. Inspect framing for rot and fasteners for corrosion while walls are open. Sister any soft studs and replace compromised drywall or backer in wet zones with a tile-appropriate substrate.
Second, complete structural and mechanical rough-in. Install blocking for grab bars, niches, and glass, set the tub or shower base to level with a full mortar bed where required, and run supply, waste, vent, and electrical. Schedule inspections for plumbing and electrical before enclosing. Pressure test supply lines and verify the drain holds water freely.
Third, enclose and waterproof. Install cement board or coated foam panels per manufacturer, tape seams as specified, then apply the waterproof membrane to floors and wet walls with the required overlap and thickness. Detail curbs, niches, and penetrations with fabric reinforcement. Flood test and photograph results for your records.
Fourth, set tile, grout, and fixtures. Work floor to walls or per tile setter preference, maintain expansion gap at perimeters, grout after thinset cures, then set toilet on a new wax ring or seal, install vanity, and connect the drain assembly with weep holes protected. Keep traffic off fresh grout 24 to 72 hours per product data.
Finally, finish ventilation and verification. Install the exhaust fan on a timer, confirm direct outdoor termination, caulk flexible joints with mildew-resistant sealant, and run the shower 10 minutes while checking below for signs of migration. Leave an access panel where a tub trap or valve serves a wall, never bury a mechanical connection behind tile without access.
Common Mistakes and When to Pause for a Pro
The fastest way to protect budget is to avoid the rework that looks minor up front.
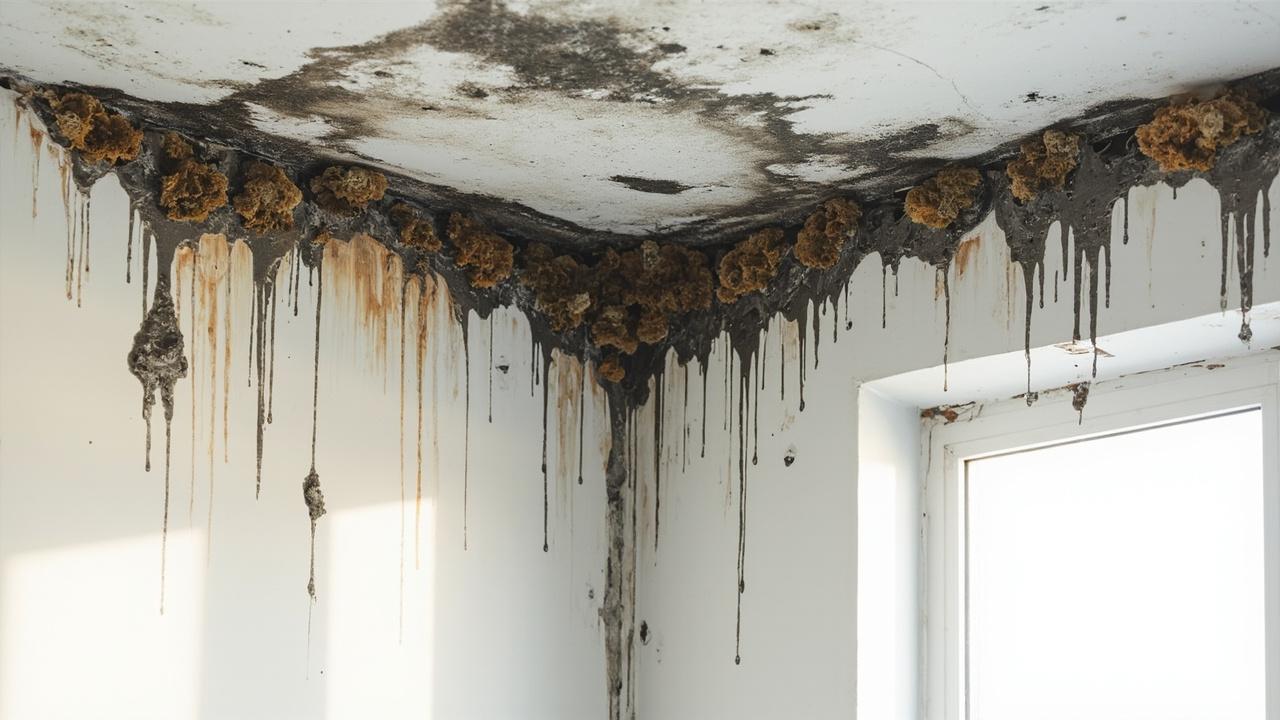
Three traps appear repeatedly. Grouting an inside corner instead of sealing it pretends a moving joint is rigid. Within a year that corner cracks and wicks water behind the tile. Tiling over an untested membrane trusts a layer you cannot see after tile covers it. Skipping the 24-hour flood test removes your only proof of continuity. And venting the exhaust into the attic rather than outdoors moves the mold risk from the bathroom to the sheathing, where it is harder to see and more expensive to fix.
Cost of error is not symmetric. A missed vapor barrier detail or a drain set 1/8 inch high can require removing the last work you paid to complete. When layout requires relocating a drain across joist bays, cutting a load-bearing stud, adding a new dedicated circuit, or remediating more than about 10 sq ft of mold, pause and bring in the appropriate licensed contractor. Ranges help here. A professional pan rebuild typically runs $800 to $1,800, a quiet exhaust fan upgrade with rigid ducting $180 to $450 installed, and a full small bathroom retile $6,000 to $14,000 depending on tile and market. Those are planning ranges, not quotes, and local labor moves them.
To scope intelligently, align this sequence with your budget and layout choices. The bathroom renovation cost guide breaks down where dollars actually go between membrane, tile, fixtures, and labor, while bathroom layout and fixtures helps you commit to positions before rough-in locks them. If you already see symptoms, diagnose first with bathroom leaks and mold diagnosis so the new work solves the real failure. The parent bathroom renovation overview ties scope options to decision points.
A bathroom rewards order. Do the invisible work first, test it while you can still see it, then make it beautiful. That is the whole method.