
Laminate is the friendliest floor a homeowner can install, but the failures all come from skipping prep, not from the clicking itself. Laminate flooring installs as a floating floor: planks lock together over an underlayment pad with no glue or nails, held in place by baseboards and a precise expansion gap around every wall. A careful beginner can lay a 200-sq-ft bedroom in a weekend with basic tools. In short, installing laminate flooring means prepping a flat dry subfloor, rolling out underlayment, clicking planks row by row with staggered joints, and trimming the last row to fit.
Tools, Materials, and the 48-Hour Acclimate Rule
Gather everything before the first plank. You need the laminate itself plus 10 percent overage, 2 mm underlayment with an attached moisture barrier over concrete, spacers, a tapping block, pull bar, tape measure, square, utility knife, and a saw for rip cuts, a jigsaw or miter saw both work. A moisture meter, even a $30 pin type, earns its keep on concrete slabs and in basements.
Then wait. Stack the sealed boxes flat in the installation room for at least 48 hours so the HDF core 8-12mm equalizes with your home’s temperature and humidity. Installing cold planks straight from the garage is how floors gap by February. While they acclimate, check the subfloor: laminate demands flatness within 3/16 in over any 10-ft span. Grind down high spots in concrete, fill low spots with leveling compound, and screw down any squeaky plywood. Our guide to what laminate flooring is made of explains why that dense core telegraphs every bump it rests on.
Prepping the Subfloor and Underlayment
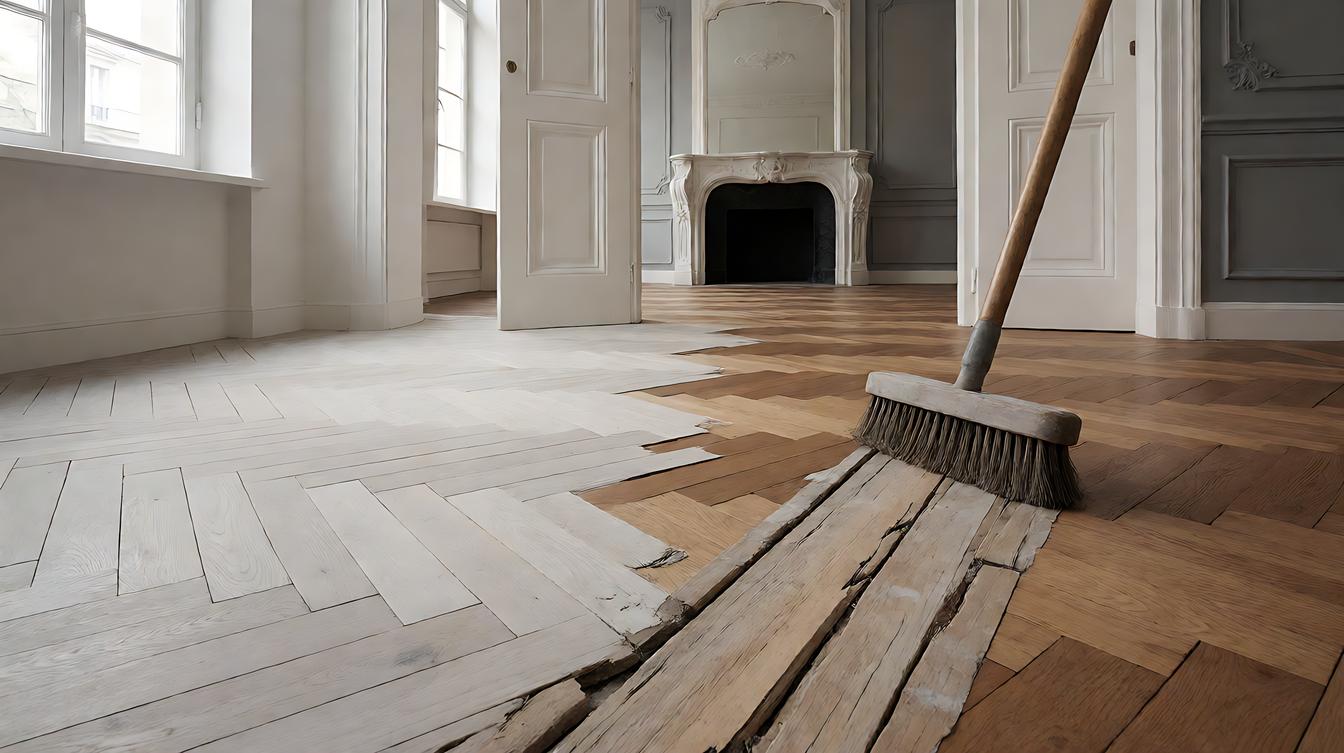
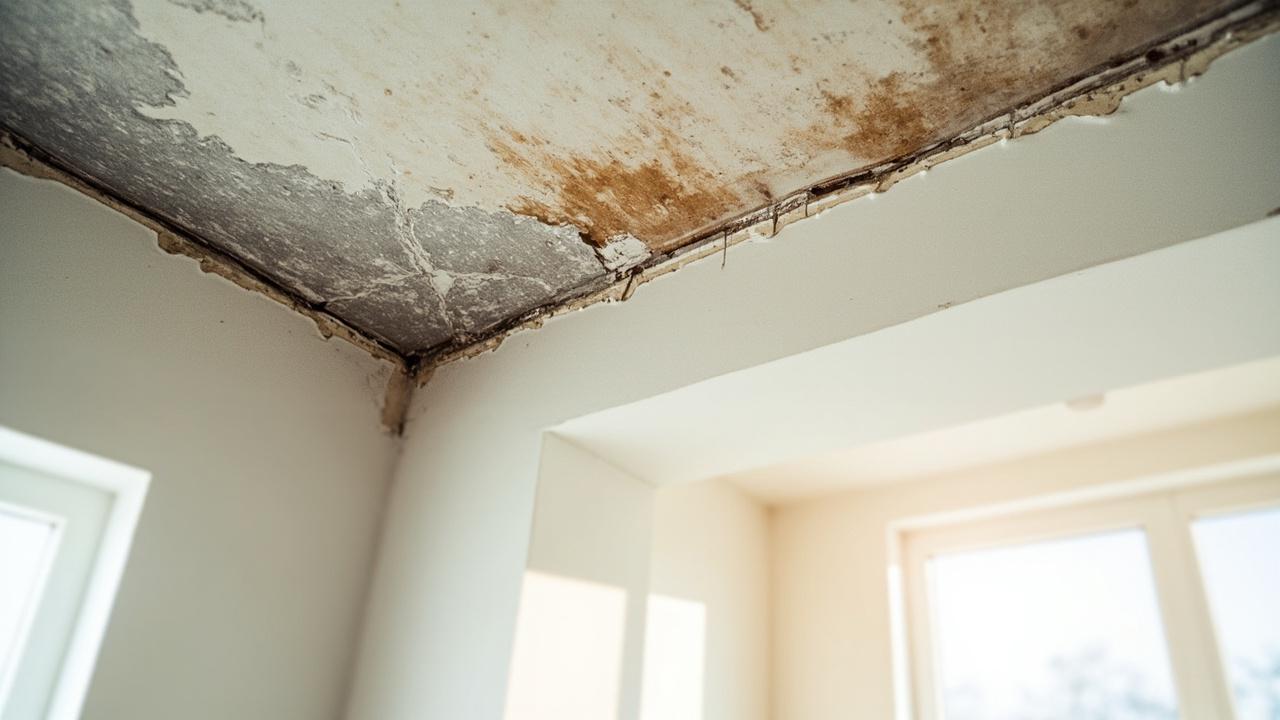
Remove old carpet, staples, and debris, then vacuum thoroughly. Grit trapped under the floor grinds the joints every time you walk. On concrete, tape-test for moisture: seal a 2-ft square of plastic sheeting to the slab for 48 hours. Condensation underneath means the slab is too damp for laminate, and no underlayment fixes that, choose vinyl or tile instead.
Roll out underlayment perpendicular to the planned plank direction, butt edges without overlap, and tape the seams. Over concrete the attached moisture barrier faces up toward the laminate, with seams taped into a continuous sheet that runs 2 in up the wall behind the baseboard. Run underlayment wall to wall in one room at a time rather than the whole house at once. Trim door casing bottoms with a jamb saw or handsaw using a plank scrap as a height guide, so flooring slides underneath for a clean pro look. If you are still deciding between materials, our laminate versus vinyl versus hardwood comparison lays out which rooms suit each floor.
Laying the Floor Row by Row
Plan the layout first. Planks should run parallel to the longest wall or toward the main window, and the first and last rows must each end up wider than 2 in. Measure the room width, divide by the plank width, and if the last row would be a sliver, rip the first row narrower to balance both sides.
Start in the left corner with the tongue facing the wall, spacers holding a 5/16 to 3/8 in (8 to 10 mm) expansion gap on both walls. Angle each plank into the previous row’s groove and drop it flat, then tap the end joint tight with the tapping block. Stagger end joints at least 12 in between rows, and never align joints closer than 6 in to a doorway. Random stagger from cut-off ends looks best and wastes least. Work left to right, tapping but never hammering directly on the click system edges, a crushed edge is a future gap.
Around obstacles, measure twice. For door jambs, scribe the plank profile and cut with a jigsaw. For heat registers and pipes, drill a hole 3/4 in larger than the pipe, cut the plank through the hole center, fit both halves, and glue the small offcut behind. Keep a damp cloth handy: glue squeeze-out on the decor layer wipes off wet but scars dry.
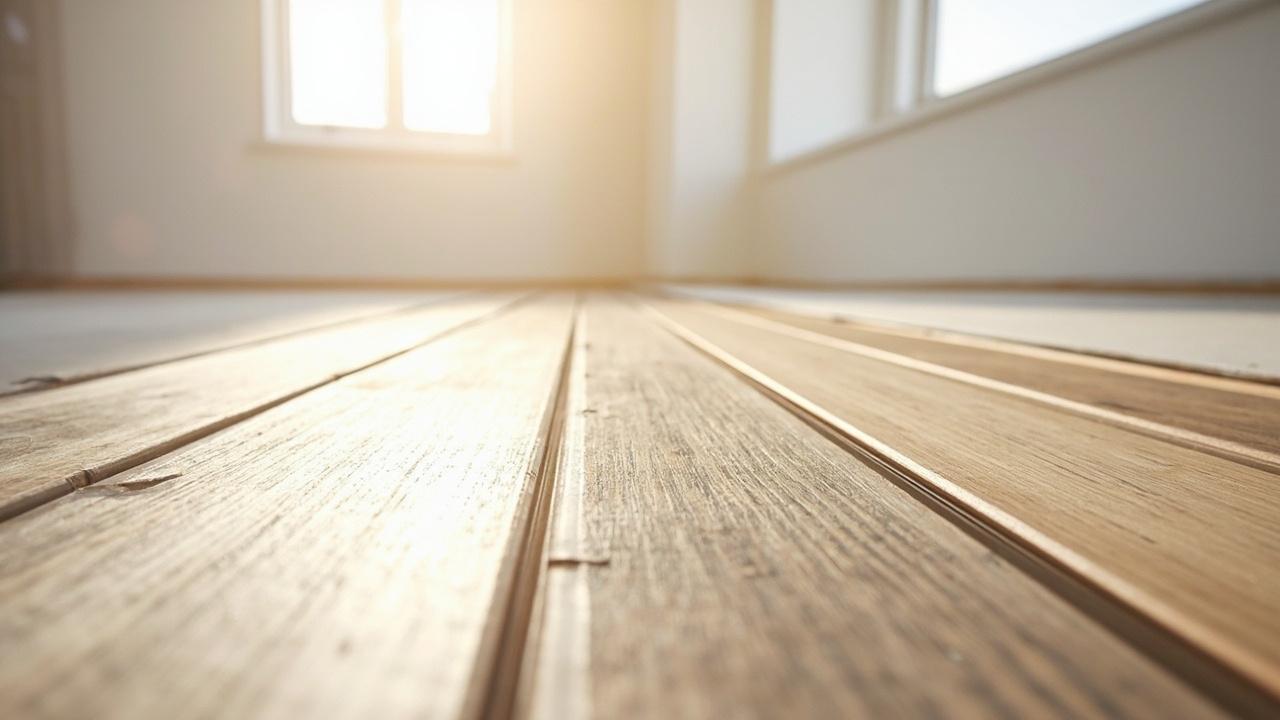
Finishing Rows, Trim, and Transitions
The last row almost always needs ripping. Measure the gap minus the expansion space, mark the plank, and cut with the decor face up on a table saw or face down with a jigsaw to avoid chipping. Use the pull bar to draw the final row tight against its neighbor, spacers still in place at the wall.
Remove spacers only after the whole field is laid, then cover every expansion gap. Reinstall baseboards or add quarter-round shoe molding, nailing trim to the wall, never to the floor, so the field can still move. At doorways and material changes, install T-moldings or reducers in a track, leaving the same 8 to 10 mm gap hidden beneath. Budget the trim honestly: moldings run $1 to $3 per linear foot, and our laminate cost per square foot guide shows how trim surprises first-time budgets.
Walk the floor before calling it done. Every joint should sit flush with no lip underfoot, no plank should rock, and tapping should sound solid rather than hollow. Hollow spots mean debris underneath or a low subfloor pocket worth lifting a few rows to fix now, while it is still easy.
Mistakes That Ruin Floors and When to Call a Pro
The top five failures are all preventable. No expansion gap causes buckling when summer humidity arrives. Installing over a damp slab swells the core within months, which the laminate construction layers guide explains joint by joint. Skipping acclimation opens winter gaps. Hammering joints directly crushes locking profiles. And installing laminate in bathrooms or laundry rooms ignores what the material is: a wood-based floor that standing water destroys.
Know your limits. Call a licensed flooring professional for structural subfloor damage, persistent slab moisture, radiant heat systems that need compatible product and temperature limits, or stairs beyond a straight run. For straight rooms on sound subfloors, though, this is your weekend: prep Friday evening, lay Saturday, trim Sunday, and walk on a new floor by dinner.