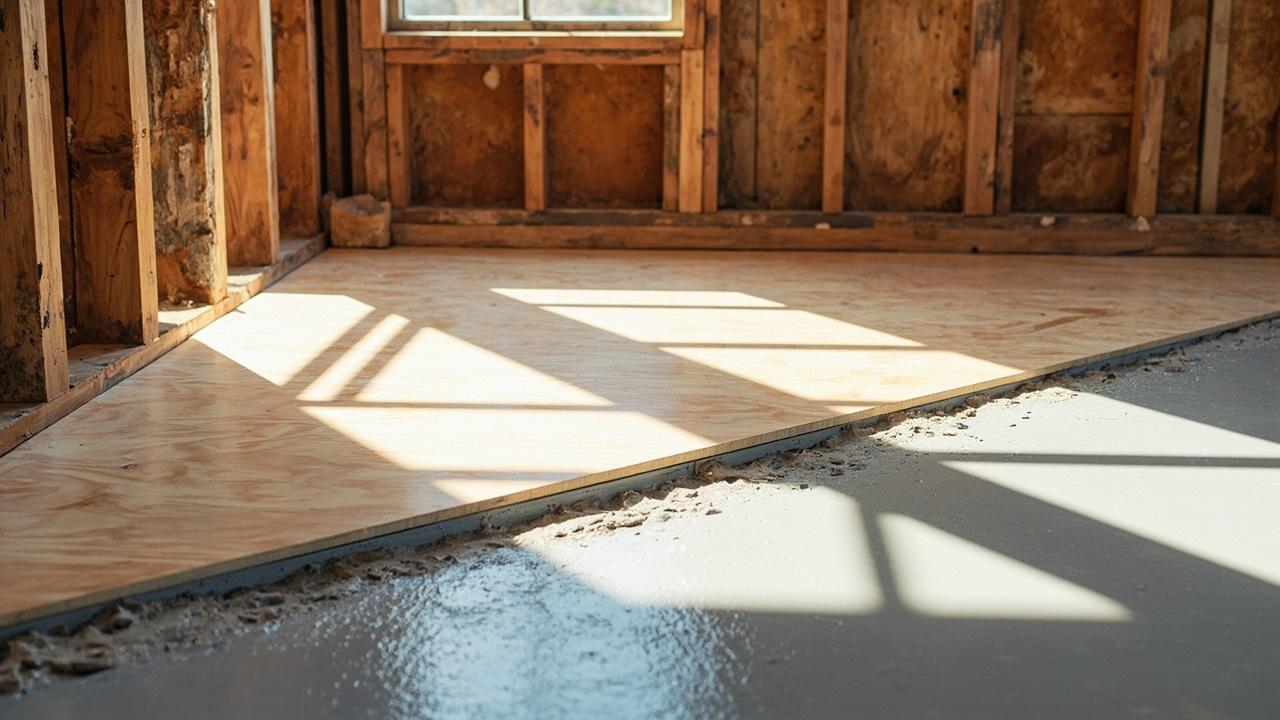

If you are noticing squeaks, soft spots, or unevenness in your finished flooring, the problem likely originates in the subfloor—the structural layer between your finished floor and the floor joists. Subfloor problems affect how your flooring feels underfoot, how long it lasts, and whether moisture-related issues like mold develop beneath the surface. Here is how to identify common subfloor problems, understand what caused them, and determine the right fix before your next flooring project.
What the Subfloor Actually Does
The subfloor is the structural layer that provides a stable, level base for finished flooring. In most modern residential construction, subfloor consists of plywood or OSB (oriented strand board) sheets—typically 3/4-inch thick—nailed or screwed to floor joists spaced 16 inches on center. Older homes may have 1-inch diagonal boards or skip sheathing beneath tile. The subfloor distributes loads across joists, prevents deflection under weight, and provides a solid surface for nailing, gluing, or floating finished flooring.
Understanding subfloor construction helps diagnose problems. A standard floor assembly from bottom to top: joists, subfloor, underlayment (cement board, plywood, or foam), and finished flooring. Squeaks occur when subfloor sheets rub against each other or against joists. Soft spots indicate delamination, moisture damage, or inadequate joist spacing. Unevenness stems from joist deflection, settling, or improperly installed underlayment. Each problem requires a different repair approach, and misdiagnosis leads to recurring issues after new flooring goes down.
Common Subfloor Problems and Their Causes
Squeaking floors are the most common complaint. The noise happens when wood subfloor sheets move against fasteners or each other. Movement occurs because nails loosen over time—wood expands and contracts with humidity cycles, gradually pulling away from the fastener. Screws hold better but can also work loose in older homes with significant seasonal humidity swings. The fix depends on access: from below, screw the subfloor to joists through the existing nail holes. From above, use breakaway screws designed for flooring—they snap below the surface after driving, leaving a clean subfloor ready for new flooring.
Soft spots and deflection indicate structural inadequacy. Subfloor that feels spongy underfoot typically suffers from one of three issues: moisture damage causing plywood delamination, joist spacing wider than 16 inches for the material thickness, or joists undersized for the span. Deflection is measurable: a floor should deflect no more than L/360 under load—for a 14-foot span, that means no more than 0.47 inches of movement when you walk across the room. Excessive deflection stresses finished flooring, causing cracks in tile, gaps in hardwood, and premature wear in carpet. If you notice visible bounce, have a structural engineer evaluate the joist system before covering with new flooring.
Moisture damage in subfloor manifests as discoloration, soft spots, or fungal growth. Plywood delaminates when exposed to prolonged moisture—layers separate and the sheet loses structural integrity. OSB swells at edges and does not recover when dry. Mold appears as black or green spots on the surface. Sources include plumbing leaks, condensation from HVAC ducts, groundwater wicking through slab-on-grade, or roof leaks channeling water into wall cavities that reach the floor structure. Any moisture-damored subfloor section must be removed and replaced—patching compounds cannot restore structural integrity to delaminated plywood.
Uneven surfaces cause finished flooring to telegraph imperfections. Subfloor should be flat within 3/16-inch over 10 feet for most flooring types. High spots come from improperly installed underlayment, adhesive ridges from previous flooring, or joist settlement. Low spots result from joist deflection, removed partition walls leaving uneven bearing, or previous repairs using mismatched material thickness. Self-leveling compound handles low spots up to 1-inch deep effectively. High spots require grinding or sanding—a floor sander with 36-grit paper removes ridges quickly but creates significant dust containment challenges.
Repair Methods and When to Use Each
The table below summarizes common subfloor problems, their primary causes, and the most reliable repair methods for each. Always address moisture sources before repairing damage—fixing the symptom without eliminating the cause guarantees recurrence.
| Problem | Primary Cause | Repair Method | DIY or Pro |
|---|---|---|---|
| Squeaks | Loose fasteners, wood movement | Screw subfloor to joists; breakaway screws from above | DIY |
| Soft spots | Moisture damage, undersized joists | Cut out damaged section, sister joists if structural, replace plywood | Pro recommended |
| Delaminated plywood | Prolonged moisture exposure | Remove and replace affected sheets—do not patch | DIY if accessible |
| Edge swelling (OSB) | Water contact at seams | Sand swollen edges flat; replace if structural integrity lost | DIY |
| Low spots | Joist deflection, settling | Self-leveling compound up to 1-inch depth | DIY |
| High spots | Adhesive ridges, uneven underlayment | Grind or sand flat; feather edges with leveling compound | DIY |
| Mold growth | Moisture + organic material + time | Remove affected material, treat with fungicide, eliminate moisture source | Pro recommended |
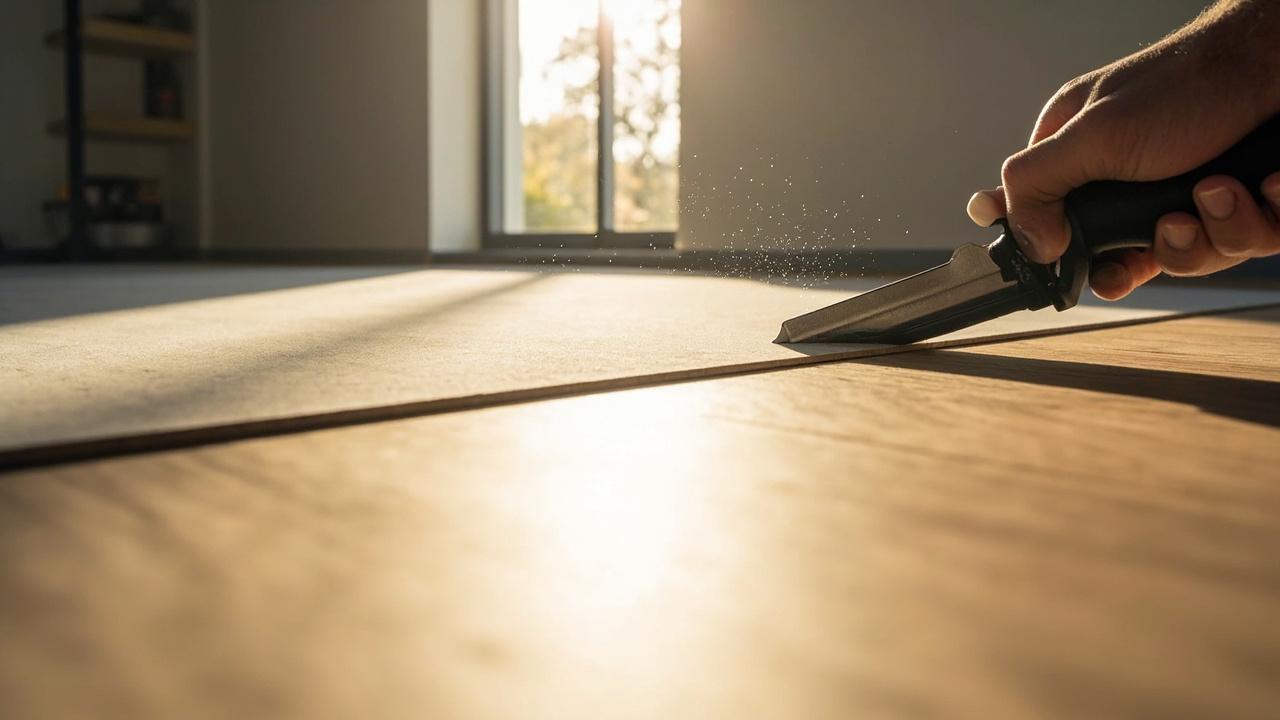
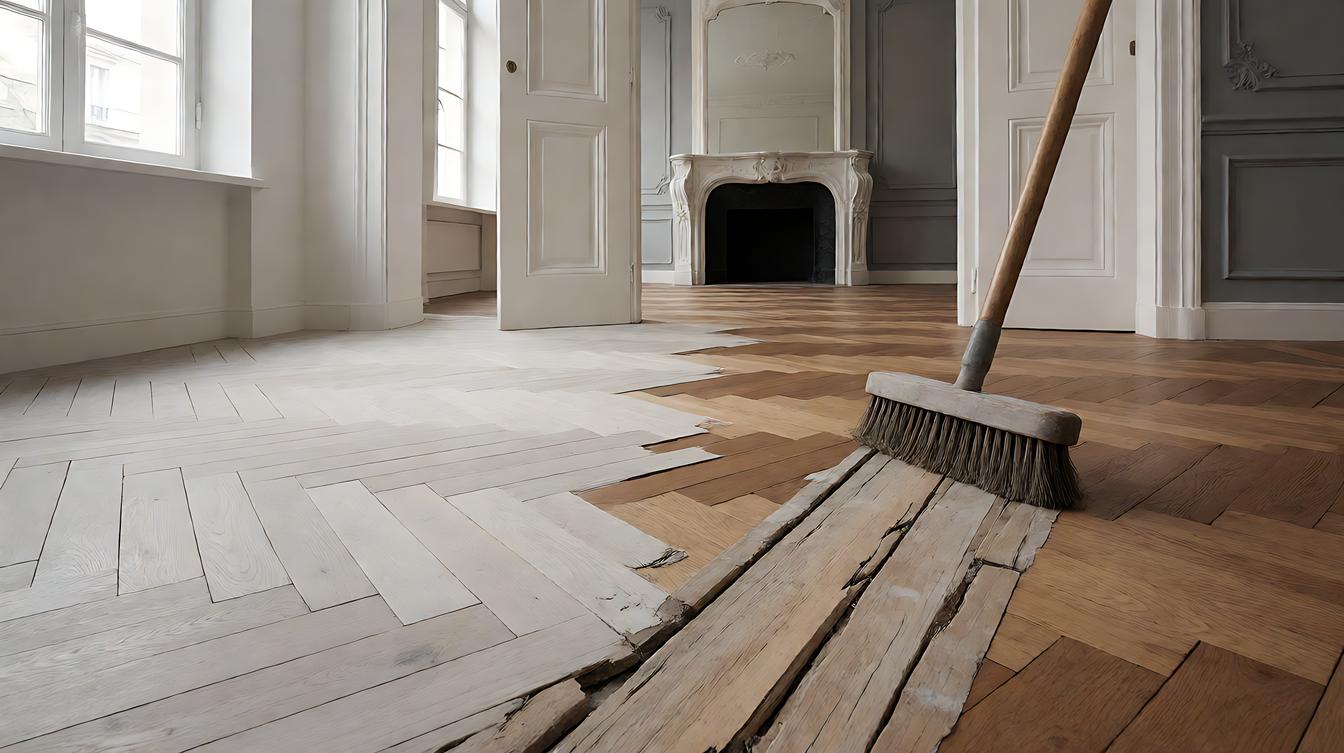
For most squeaky floors, a DIY repair with breakaway screws costs under $50 and eliminates noise in an afternoon. For soft spots from moisture damage, the repair is more involved: remove finished flooring, cut back subfloor to the nearest joists on either side of the damage, inspect joists for rot or mold, sister any compromised joists, and install new plywood matching the existing thickness. This typically requires a professional if you lack carpentry experience or if structural joists are affected.
Mold in subfloor requires professional remediation when coverage exceeds 10 square feet or when it extends into joists. Small surface mold—under 2 square feet on plywood—can be treated with a fungicide solution and the area dried thoroughly with dehumidifiers. However, mold inside wall cavities or spreading along joists needs professional assessment to ensure structural integrity is not compromised.
Preparation for New Flooring Projects
Before installing new flooring, always inspect the subfloor thoroughly. Remove a section of existing flooring and check for moisture damage, delamination, and fastener condition. Test moisture content with a pin-type meter—plywood should read below 12% moisture content before flooring installation. For concrete subfloor, perform a calcium chloride test per ASTM F1869; most flooring adhesives fail above 5 lbs moisture vapor emission.
Address any subfloor issues before new flooring goes down. Even minor squeaks become expensive problems after hardwood installation—you cannot access the subfloor without removing the finished floor. Take the time to screw down loose sheets, replace damaged areas, and verify flatness with a 10-foot straightedge. This preparation step prevents callbacks, complaints, and premature flooring failure that costs far more than the initial repair.
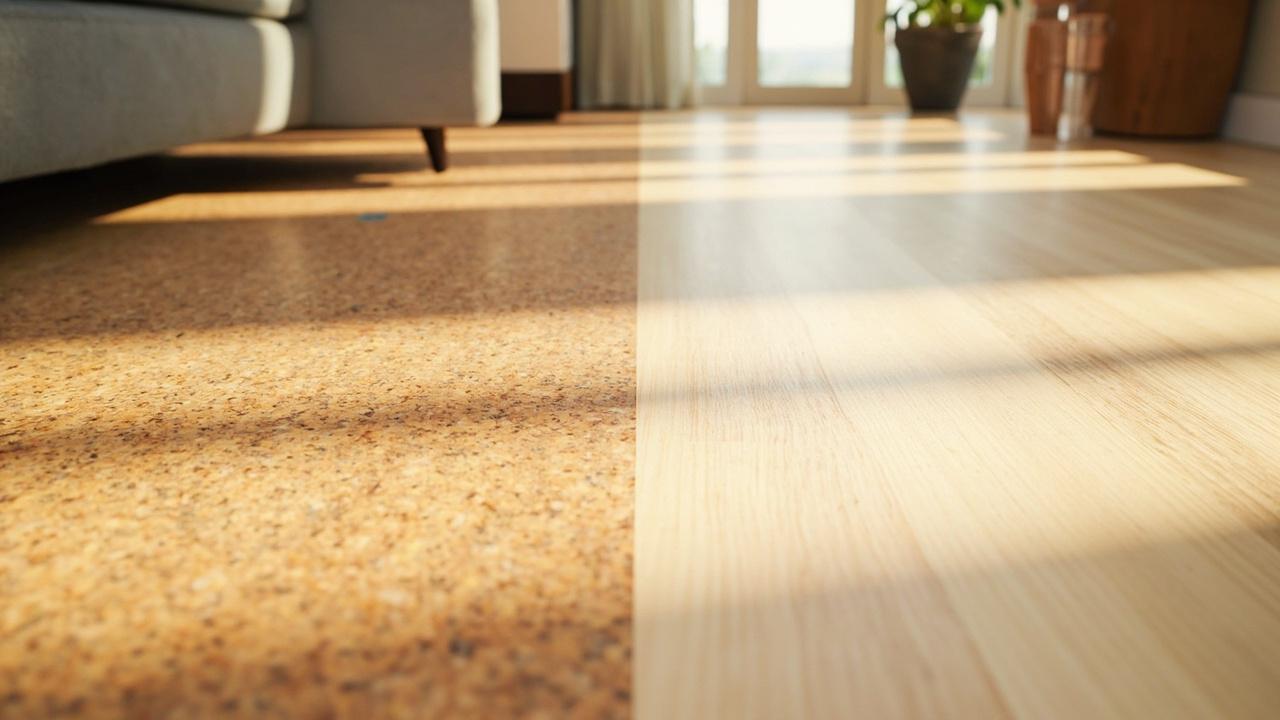
For concrete slab subfloor—common in basements and slab-on-grade construction—the challenges differ. Slabs cannot be screwed down; instead, address cracks with epoxy injection, control moisture with vapor barriers, and use self-leveling compound to achieve flatness. In these cases, floating flooring—laminate or luxury vinyl plank—adapts better to minor slab imperfections than glue-down or nail-down products that telegraph every unevenness through the finished surface.
Limitations and Next Steps
Subfloor repairs have practical limits. If more than 30% of the subfloor area shows damage, complete replacement is more cost-effective than piecemeal patching. Similarly, if joists are undersized or spaced wider than 24 inches, sistering new joists alongside the old ones provides structural support that subfloor replacement alone cannot deliver. Consult a licensed contractor or structural engineer when damage extends into the structural framing—this is not a DIY situation.
For new construction or major renovations, consider investing in 3/4-inch tongue-and-groove plywood subfloor rather than OSB. Plywood holds fasteners better, resists moisture damage more effectively, and provides a more stable base for finished flooring. The material cost difference is modest—typically $0.50-$1.00 per square foot—and the long-term performance improvement justifies the upgrade in any room with moisture exposure risk.
Once you have assessed your subfloor condition, explore our flooring installation guide for labor and material costs, or review the laminate flooring basics if you are considering floating floor options for a concrete substrate. For moisture-specific guidance, check our basement waterproofing guide before installing any finished flooring below grade.