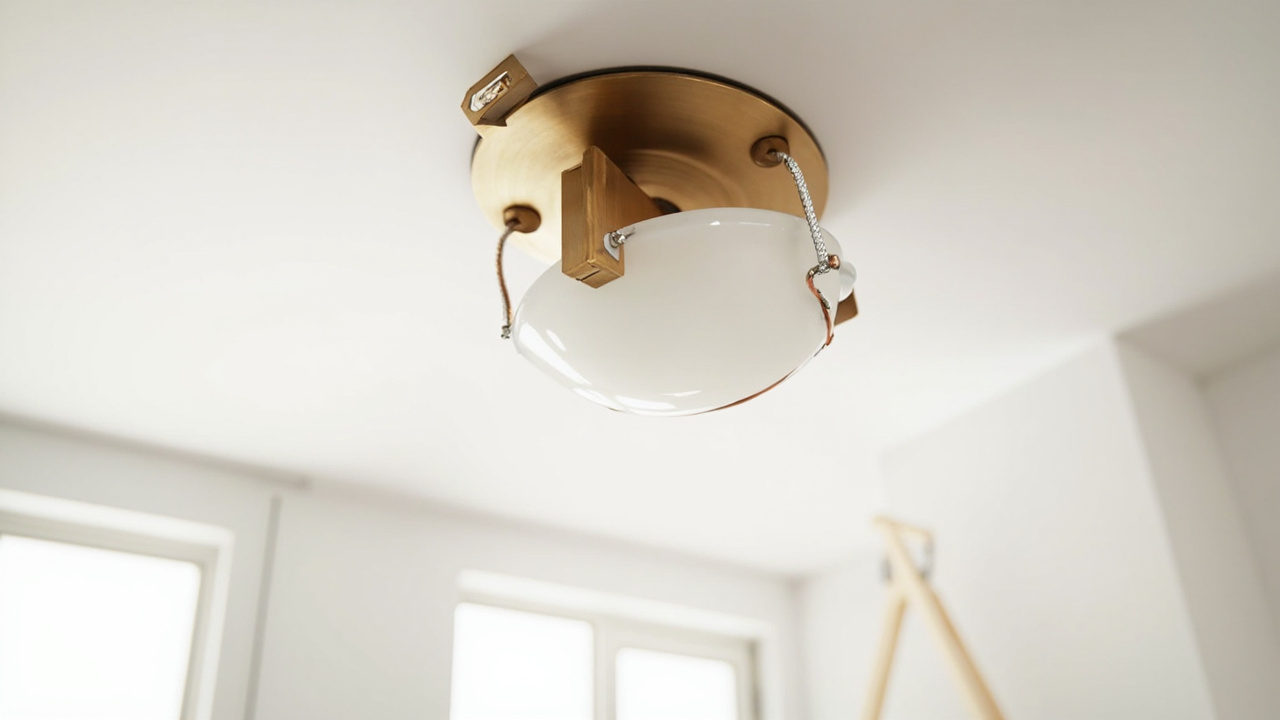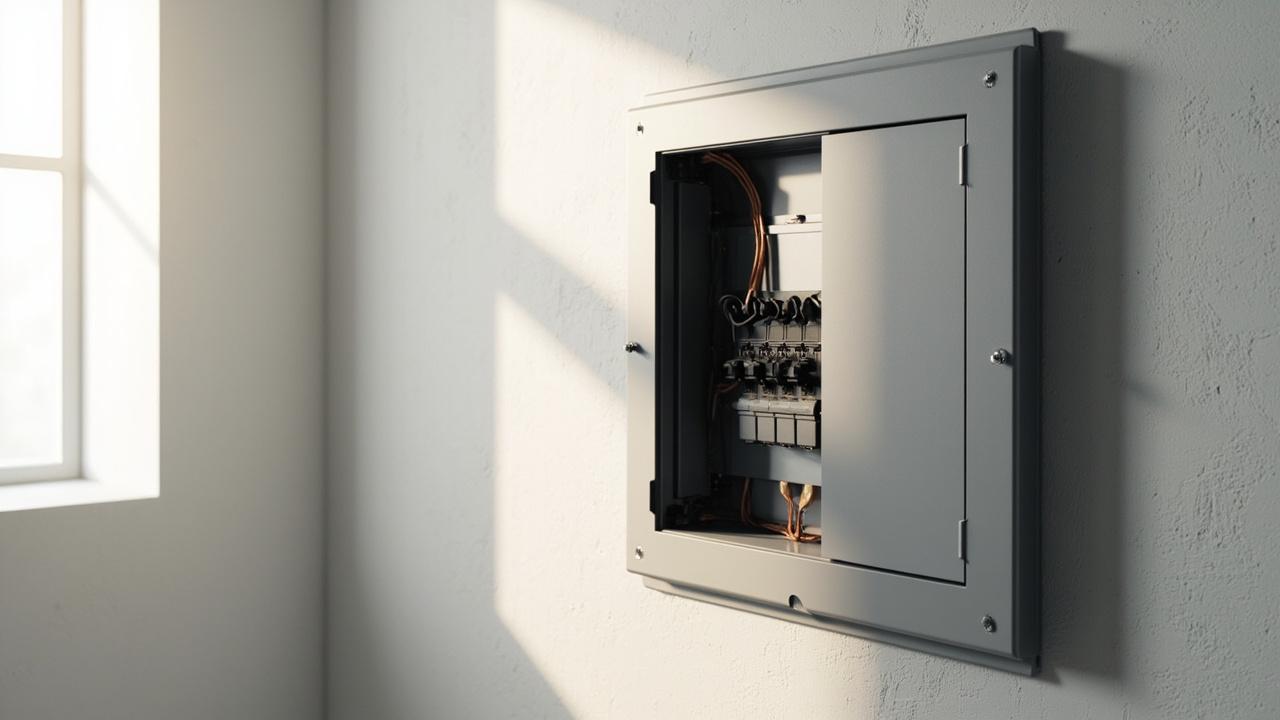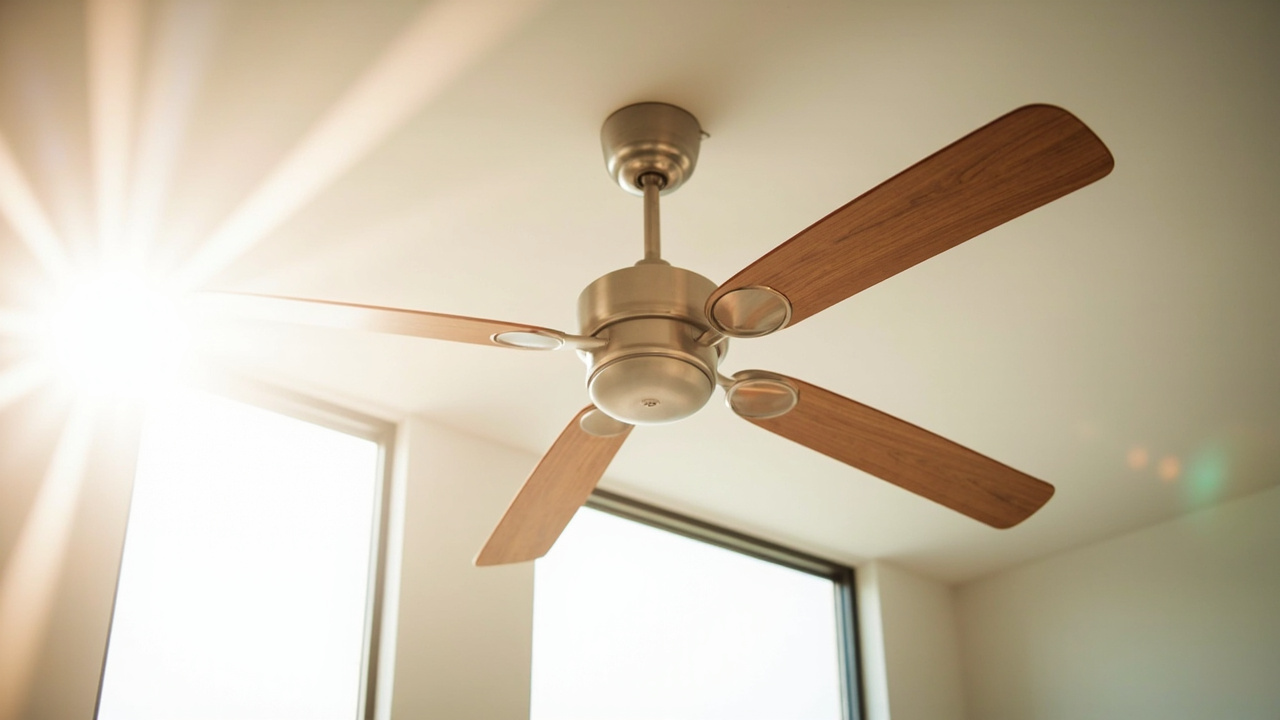

Knowing how to install ceiling fan safely is the part most weekend warriors get wrong, and it usually starts with the box, not the fan. A standard outlet box is only rated for 50 lb (23 kg) of static fixture weight, and a spinning fan applies oscillating torque the original listing never tested.
You flipped the breaker, climbed the ladder, and unscrewed the old light fixture. Underneath, the metal box feels light, stamped with a cubic-inch rating and nothing else. That moment is the silent killer of most ceiling fan installs.
The good news: the rest of the job is mostly about spotting the right box, picking the correct blade span, and wiring three conductor colors to the right places.
Is Your Existing Box Rated for a Ceiling Fan (The Silent Killer)
Before you buy a fan, kill the breaker and pop the canopy cover. Look for one of two stamps on the inside of the metal box.
- The words “Acceptable for Fan Support” or “For Fan Support” molded into the box.
- A weight rating of 35 lb (16 kg) or 70 lb (32 kg) stamped on the side.
Either marking means the box is listed under NEC 314.27(C) for ceiling fan support. A box with only a cubic-inch volume stamp (for example “16 cu in / 262 cm cubed”) is a luminaire box, fine for a chandelier, never for a fan. Many fans ship with mounting hardware that physically requires a fan-rated box or the included brace.
If your box is the wrong kind, do not stop the project, just shift the plan. The retrofit in H2-3 below takes about 15 minutes from below with no attic access. Two single-gang switches in the wall box, no ground wire on the cable, or aluminum conductors (pre-1972 homes) all mean stop here and call a licensed electrician. Those are not a weekend job.
Tools, Materials, and Picking the Right Fan for the Room
Buy or borrow these before you go up the ladder. The right tool list is short, and skipping the voltage tester is how people get hurt.
- Non-contact voltage tester (NCVT), plus a backup contact tester.
- Adjustable wrench, wire stripper, lineman’s pliers, Phillips #2 and flat #3.
- Old-work brace bar rated for fan support, 14-24 in (35-61 cm) joist spacing.
- Fan-rated outlet box if your existing one is not stamped for fans.
- Wire nuts rated for at least 75 degrees C, electrical tape, work light.
Match the blade span to the room. A fan that is too small will not move air, and one that is too big will overpower the space. The table below is the standard residential guide and lines up with what UL 507 certified manufacturers publish in their spec sheets.
| Blade span | Room size (sq ft / sq m) | Typical location |
|---|---|---|
| 29-36 in (74-91 cm) | Up to 75 sq ft (7 sq m) | Small bedroom, home office |
| 42-48 in (107-122 cm) | 76-144 sq ft (7-13 sq m) | Master bedroom, kitchen nook |
| 50-54 in (127-137 cm) | 145-225 sq ft (13-21 sq m) | Living room, large dining |
| 60-72 in (152-183 cm) | 225+ sq ft (21+ sq m) | Open plan, vaulted great room |
Pick a fan that is UL 507 listed for electric fans and a canopy that is UL 1598 listed if a light kit is included. Hugger (low-profile) fans are made for ceilings under 8 ft (2.4 m). Standard downrod fans are right for 9 ft (2.7 m) ceilings, and the downrod should leave blades 7-9 ft (2.1-2.7 m) above the floor.
Vaulted ceilings over 10 ft (3 m) need an extended downrod matched to the slope, so blades hang parallel to the floor and the motor vents correctly.

How to Install an Old-Work Brace Bar from Below (No Attic Access)
This retrofit makes a fan install possible in most 1960s-1990s homes where the original ceiling box was never rated for a fan. You do it from below, with no drywall cuts, in 10-15 minutes once the old fixture is down.
- Confirm the breaker is off and verify with the NCVT. The old hot wire should read zero.
- Remove the existing box from the joist by backing out the side screw or cutting the nail tab. The cable stays in the wall.
- Slide the brace bar up through the hole, rest its feet flat on the drywall, and rotate the bar until it spans the two joists. Most bars fit 14-24 in (35-61 cm) spacing.
- Push the threaded nipple on the bar through the hole and lock the brace by ratcheting the center screw until the feet bite into the joists. You will feel a firm resistance.
- Thread the fan-rated box onto the nipple and tighten the locknut so the box sits flush and cannot be twisted by hand.
- Pull the existing cable into the new box through a cable clamp, and you are ready to wire.
If the bar spins freely when you try to lock it, the joist span is outside the rated range, and you should not force it. For spans outside 14-24 in, switch to a fan-rated box with a side-mount bracket that screws directly into a single joist, or call a pro.
The goal is a box that will hold 70 lb (32 kg) of static load plus the fan’s dynamic wobble for the next 20 years.
Wiring the Fan: 2-Wire vs 3-Wire Ceiling Cable (The Part DIYers Get Wrong)
Look up at the cable coming out of the new box. Count the conductors other than ground. Two wires means the switch only controls the fan, and the light kit on a fan-switch combo will not work without a new 3-wire run.
Three wires (typically black, red, white, plus bare ground) means one switch handles the fan motor and a second switch handles the light kit. That is the case to plan for.
Wire colors follow a clear convention, and the order matters.
- Black on the fan body is the motor hot. Connect to the black conductor in the ceiling cable.
- Blue on the fan body is the light kit hot. Connect to the red conductor when a 3-wire run is present.
- White on the fan body is the neutral. Connect to the white conductor in the ceiling cable.
- Green or bare copper is the equipment ground. Connect to the bare or green conductor and to the box’s ground screw.
Strip about 5/8 in (16 mm) of insulation, twist like conductors together with a wire nut, and tug each splice to confirm a solid mechanical connection. Tuck splices into the box so the canopy cover sits flush.
If your home has aluminum branch wiring (most pre-1972 builds), the conductors will look silvery and feel lighter. Do not splice copper pigtails onto aluminum with a standard wire nut. The right connectors are COPALUM crimps or AlumiConn lugs, and they require a special tool plus a licensed electrician.
Mixing aluminum and copper with a regular nut is a fire risk and will fail NEC 210.23 on permissible loads.
For new circuit runs through finished walls, plan on NEC 210.12 AFCI protection in the panel, and NEC 404.2 governs how the wall switch is wired.
If the new fan needs a dedicated 15-amp circuit because it shares a 14-2 cable with a lighting load that is already near its limit, see our electrical panel upgrade cost guide. For a simpler swap that keeps the existing switch loop, the how to install a light fixture walkthrough covers the lighter end of the same ceiling work.
Mount, Balance, and When to Stop and Call a Licensed Electrician
Lift the motor assembly onto the downrod hook inside the canopy, then connect the wiring before you seat the canopy against the brace box. That order saves you from trying to make connections with one hand while holding 35 lb of motor above your head.
Once the fan is up, run it on high and watch from a distance. A small wobble in the first 24 hours is normal as blades seat.
Most fans ship with a balancing kit: a small clip that snaps onto a blade, plus adhesive weights. Move the clip blade to blade until the wobble drops, then stick the weight at the spot that fixed it.
If the wobble is still obvious after balancing, the mounting box is loose, not the blades. Re-torque the brace bar nipple and the canopy screws before you do anything else.
Some conditions mean you should stop and call a licensed electrician, no matter how handy you are.
- Aluminum branch wiring in the ceiling box (pre-1972 homes). Use COPALUM or AlumiConn, not a wire nut.
- No ground wire present and no metal conduit ground path back to the panel.
- No existing box at all, or a box that is crumbling, undersized, or buried in plaster.
- Two switches at the wall but only a 2-wire cable in the ceiling. That is a new circuit run, not a swap.
- Any reading of voltage on the supposed “neutral” when the breaker is on. That points to a switch-leg miswire.
Once the fan is mounted, balanced, and quiet, give the new motor a small upgrade. The fan’s electronics and LED driver are exactly the kind of sensitive equipment a whole house surge protection device at the panel is designed to defend.
A single surge from a nearby lightning strike or utility event can take out a $400 fan control board, and a Type 2 panel SPD costs far less than the fan it protects. For the broader panel-to-fixture chain, our home electrical system guide walks the full picture.
Run the fan for a full 24 hours before you call it done. If it is still quiet and the breakers are not tripping, you have a clean install and a fan that should run trouble-free for 15-plus years.