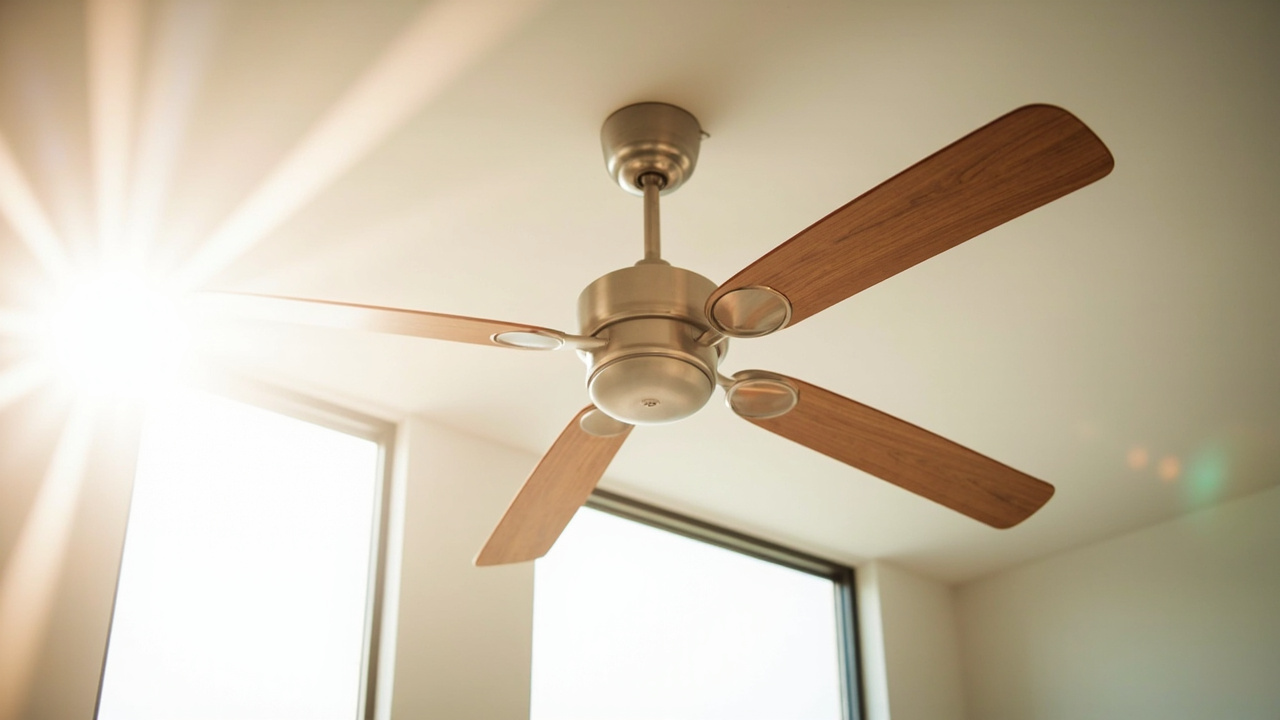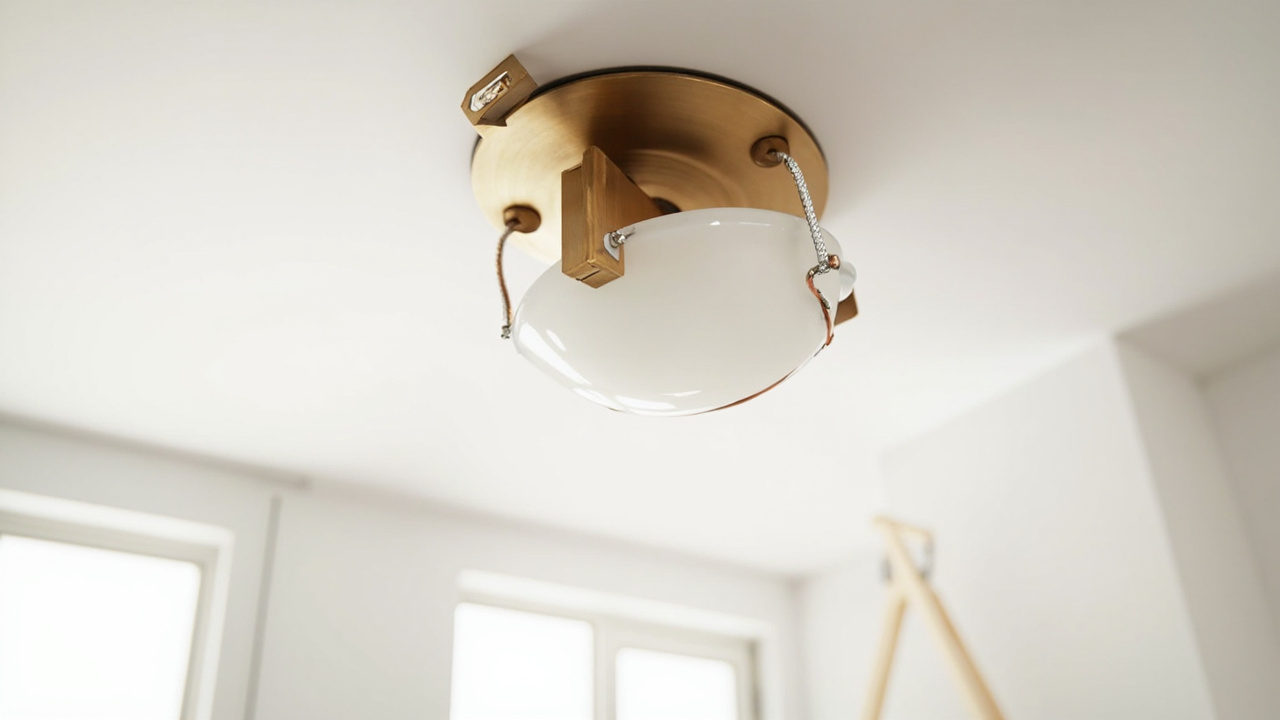

Replacing a light fixture is one of those jobs that looks simple until you’re standing on a ladder wondering which wire is which. The good news: it’s absolutely doable if you take the right safety steps and know what to watch for. The important part: this is not the job to learn what “live” means. Here’s how to do it safely, from killing the power to testing the finished work.
What You Need to Know Before You Start
You’re working with 120 volts, and it doesn’t forgive mistakes. If you can identify the correct breaker, verify power is off with a tester, and the wiring in your ceiling box is in reasonable shape, you can replace a fixture. If anything about the wiring looks wrong, aluminum conductors, crumbling insulation, a mess of connections you can’t make sense of, stop and call a licensed electrician. No fixture is worth a trip to the emergency room.
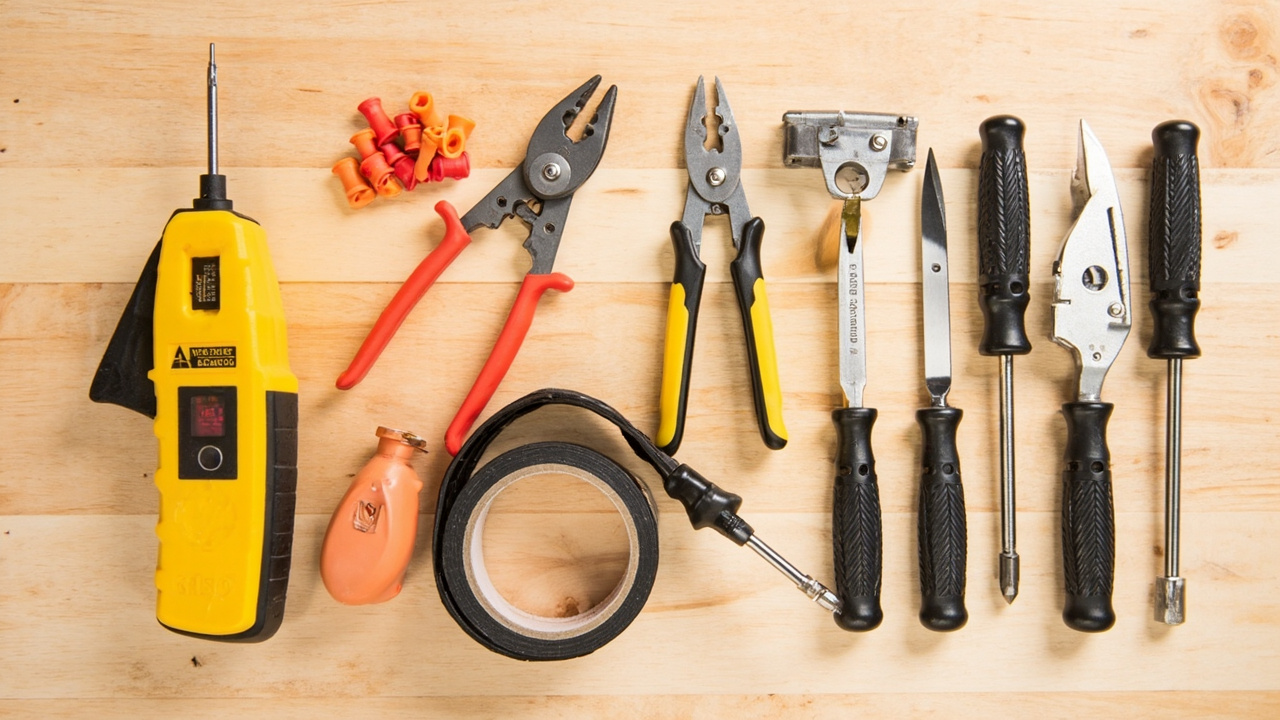
Tools you’ll want: a non-contact voltage tester, a multimeter (for definitive voltage confirmation), wire nuts in a couple of sizes, electrical tape, a screwdriver, a ladder that puts you at eye level with the box (not stretching above your head), and a phone to photograph the existing wiring before you disconnect anything.
Before you touch anything, locate your breaker panel. The breakers should ideally be labeled. If they aren’t, have someone flip breakers while you test the fixture (light should go off), or use a breaker-finding tool. Never assume the switch being off is enough, the switch only breaks the hot wire, and miswired switches leave the fixture energized even when off.
How to Turn Off Power and Verify It’s Off
Turn off the breaker you believe controls the fixture. Flip the wall switch to confirm the light is off. Then go back to the fixture and use your non-contact voltage tester near each wire in the box. The tester should show no voltage. This is your first confirmation.
Here’s where people get hurt: a non-contact tester can give false negatives. It detects voltage in a field around a wire, but if the wire is deep in the box or shielded, it might not alarm. After the non-contact test, set your multimeter to AC volts and test between the black (hot) wire and the metal box or ground wire. You should read 0 volts. If you read anything above a few volts, stop, the circuit may be energized through another path.
If your panel isn’t labeled and you can’t confidently identify the breaker, turn off the main breaker. Yes, the whole house goes dark, but you know the fixture is de-energized. If you’re uncomfortable with any of these steps, that’s the sign to call a pro.
How to Identify the Wires and Remove the Old Fixture
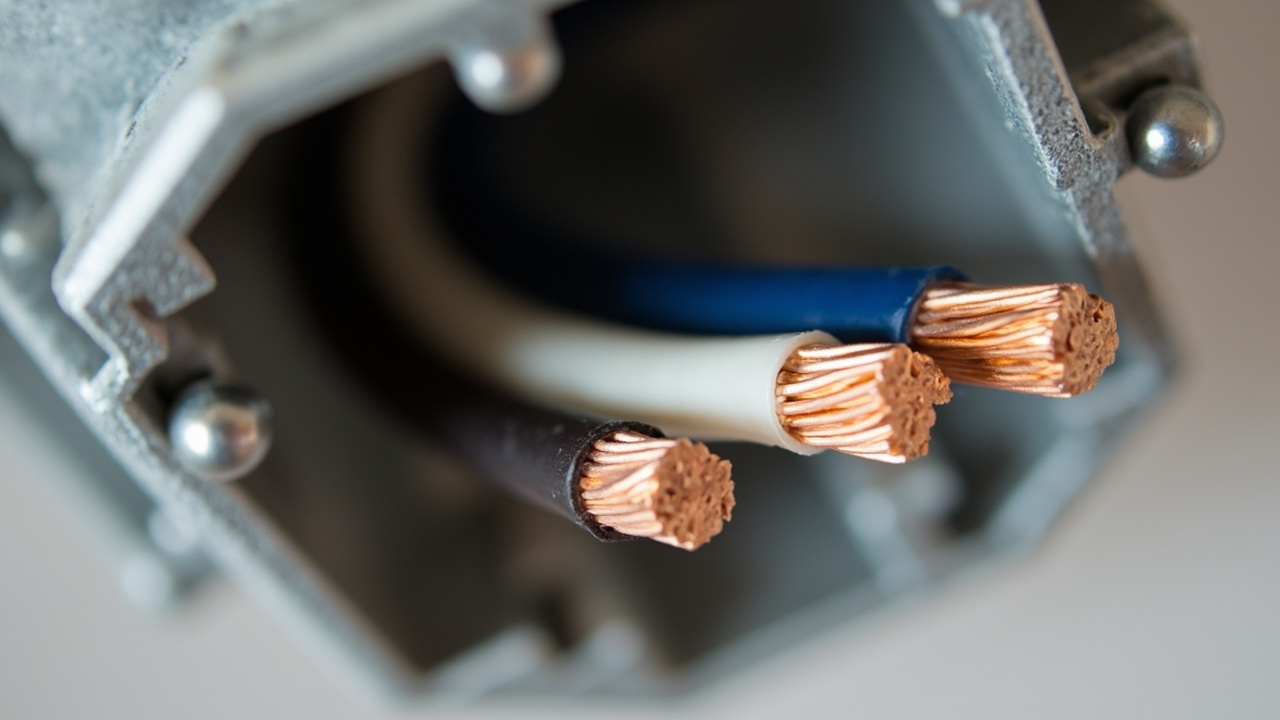
Most residential lighting circuits use NM-B cable: a black wire (hot), a white wire (neutral), and a bare copper wire (ground). The black connects to the fixture’s black lead, the white to the white lead, and the bare wire to the fixture’s green grounding screw or bare lead.
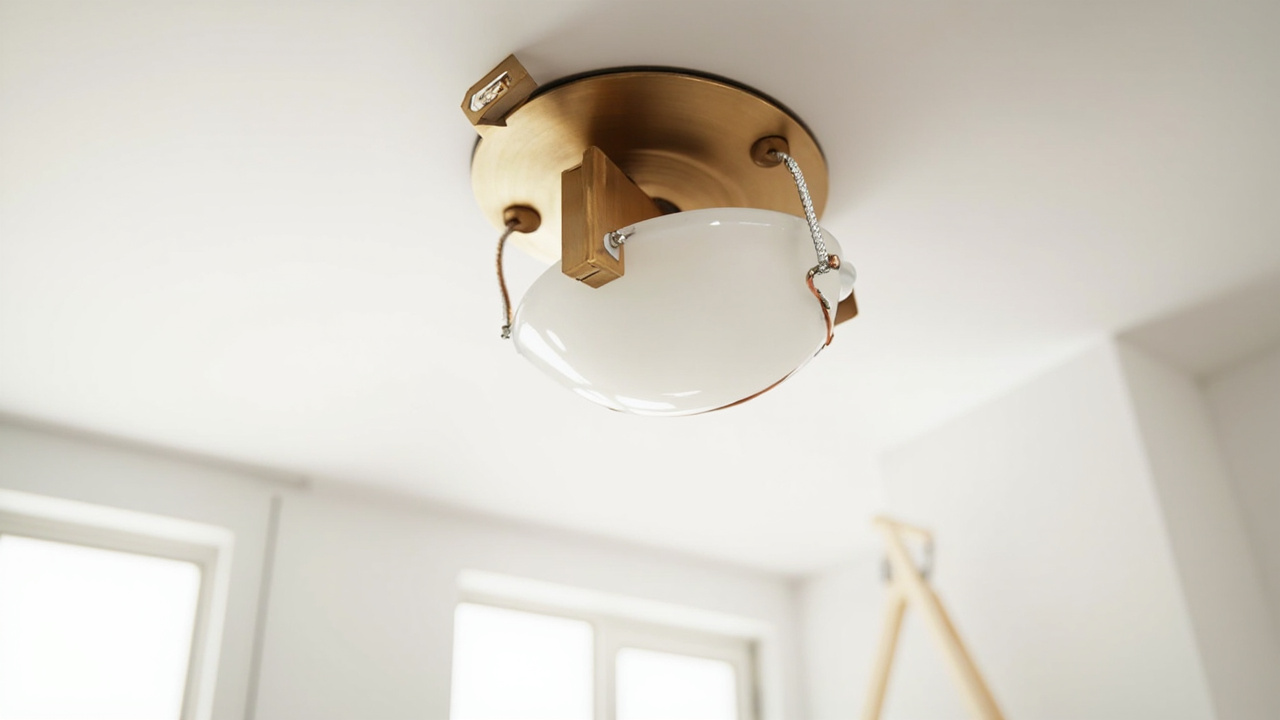
Photograph the existing connections before you unscrew anything. Disconnect the wire nuts, unscrew the mounting strap from the ceiling box, and lower the old fixture. Check the box: is it plastic or metal? Is it securely fastened to a joist or rafter, or just hanging from the drywall? A standard ceiling box is rated for fixtures up to about 6 pounds. Heavy fixtures need a fan-rated box, usually a metal box braced to the framing.
Watch for these deviations: in pre-1980 homes, there may be no ground wire in the box. That doesn’t mean the house is unsafe, but it means you can’t ground the fixture in the usual way. Many fixtures are double-insulated and don’t require grounding, but the instructions will say. If you find two white wires connected together with a black pigtail going to the switch, that’s a switch loop, the white is actually a hot in that case, not a neutral. Your multimeter will sort this out.
How to Connect and Mount the New Fixture
Attach the new fixture’s mounting strap to the ceiling box. Most fixtures come with a universal strap that fits standard boxes. Hold the fixture up (this is easier with a helper) and connect the wires: black to black, white to white, ground to ground. Twist the solid wires together clockwise, screw on a wire nut of the right size for the wire count and gauge, and give each wire a gentle tug. A wire that pulls out is a wire that will arc later.
If there’s no ground wire in the box, connect the fixture’s ground lead to the metal box if the box itself is grounded (test between the box and the neutral wire, continuity means the box is grounded). If the box is plastic and ungrounded, a double-insulated fixture (marked with a square-within-a-square symbol) doesn’t need a ground connection. Follow the fixture’s instructions here.
Tuck the wires neatly into the box. Overstuffing wires causes pinching and potential insulation damage. Screw the fixture canopy to the mounting strap, install the bulbs, and you’re ready to test. Don’t put the shade or glass on yet, you want to verify operation first.
When to Stop and Call an Electrician + Final Testing
Stop and call a licensed electrician if you find aluminum wiring (silver-colored conductors, typically AL or ALUM printed on the insulation). Aluminum requires specific connections and connectors that a DIY approach is likely to get wrong. Stop if the wire insulation is brittle and crumbling. Stop if you find more wires than the standard three and you can’t trace their function. Stop if the ceiling box is plastic and the fixture is heavy, you need fan-rated bracing installed.
To test: turn the breaker on, flip the switch. The fixture should work. Check the canopy and box for any buzzing, warmth, or smell. If any of those happen, turn the breaker off immediately, you have a loose connection or a short. If everything is quiet and cool, turn the breaker off again, install the shade or glass, and turn it back on for final use.
If you’re just replacing a fixture, you’re done. But if you’re looking at a panel that needs upgrading, or the wiring in this fixture is part of a larger system issue, our home electrical system guide explains how the pieces connect. If the panel is what needs attention, our electrical panel upgrade cost guide breaks down the real cost drivers before you request quotes. And if your project turns out to be more than a fixture swap, find an electrician who scopes the full job, including service entrance, grounding, and permit, before giving you a number.