
Thinking about insulating your basement? If the walls are dry and the space is usable, frame the walls, air-seal the rim joist first, then fill the cavities with the material that matches your moisture conditions and budget. For a wood-framed basement wall in a cold climate the minimum practical benchmark is R-13 wall cavity fill; the floor above should reach roughly R-38 attic. The real decision is which assembly handles moisture, air, and cost without trapping water inside the wall — not which product sounds best.
What Basement Attic and Wall Insulation Is — and the Direct Answer
Basement attic and wall insulation is the layer installed in below-grade wall cavities, rim joists, and subfloor assemblies to slow conductive and convective heat loss. But basement surfaces run close to ground temperature, so the installed R-value matters more than the thickness on the label.
In a dry, wood-framed basement: frame a 2×4 or 2×6 wall against the foundation, air-seal the rim joist and top plate — the largest thermal weak point — fill the cavities with the spec matched to your climate zone, and where code requires, add a vapor barrier on the conditioned side. For masonry walls, rigid foam bonded or fastened to the wall, covered with a finish respecting the permeance requirements of your climate, is the standard approach.
Two numbers: R-13 wall is the working minimum for a 2×4 framed basement cavity in most U.S. climate zones; R-38 attic applies to the floor above. The International Residential Code (IRC) sets minimum baselines by zone — confirm local numbers before buying material. The three families most homeowners weigh — fiberglass, cellulose, and spray foam — carry different R-values per inch and different stances on vapor and air sealing.
How Basement Insulation Works — Mechanism and What You Pay
Insulation works by trapping still air inside a matrix of fibers, cells, or particles; that trapped air resists heat flow. The R-value per inch quantifies that resistance. Because basement walls sit close to ground temperature rather than outdoor air, below-grade R-value thresholds matter more than nominal thickness on the label.
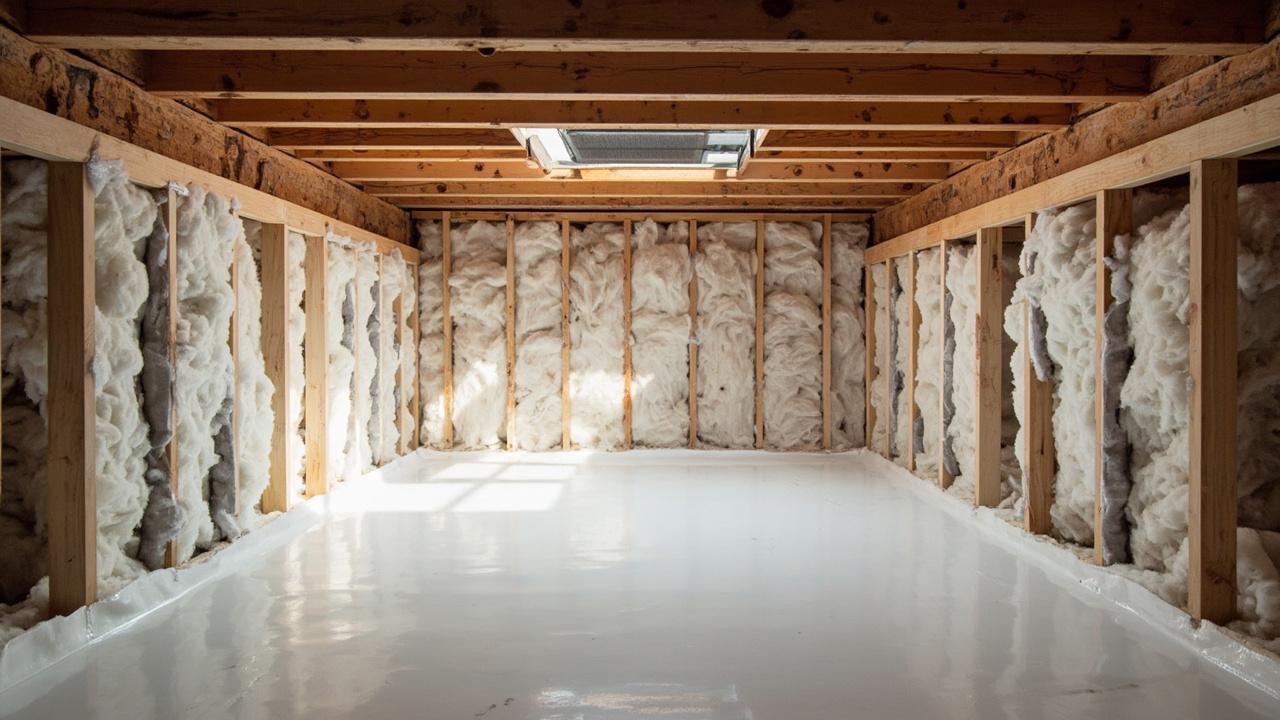
The mechanism differs by family. Fiberglass batts trap air between glass fibers; their R-value per inch sits around R-3.1 to R-3.4, so a standard 2×4 wall naturally holds R-13. Spray foam expands in place, adheres to the substrate, and creates an insulation layer plus an air sealing layer in one step. Open-cell foam rates around R-3.5 per inch; closed-cell foam reaches roughly R-6 to R-7 per inch and, at sufficient thickness, acts as its own vapor barrier.
A vapor barrier Class I-III classification describes a material’s permeance — how readily water vapor passes through it. Class I (≤ 0.1 perm) includes polyethylene; Class III — latex paint, plywood — sits above 1.0 perm. The wrong permeance layer on the wrong side traps moisture inside the assembly. Air sealing around the rim joist and top plate closes gaps that let cold air defeat even high-R insulation.
Installed cost ranges for basement insulation (USD, illustrative — confirm locally, no year anchor):
Fiberglass batts $1–$3/sq ft installed, DIY material-only $0.50–$1.50/sq ft; Cellulose $2–$4/sq ft installed, DIY equipment plus material $1–$2.50/sq ft; spray foam open-cell $3–$5/sq ft installed, closed-cell $4–$8/sq ft installed. Per square meter: fiberglass $11–$32; cellulose $22–$43; spray foam $43–$86.
Deciding Between Options — Comparison Criteria and When Each Fits
Every basement insulation decision is a trade-off among four things: the moisture environment, the budget ceiling, the air-sealing requirement, and the finish timeline. A superior R-value alone does not decide the best choice in a basement assembly, especially when moisture is present.
- Moisture environment: A dry basement with no water-intrusion history can take fiberglass batts or cellulose in framed cavities. Where there is water intrusion or dampness, closed-cell foam is the lower-risk choice — it doubles as a vapor barrier.
- Budget ceiling: Fiberglass is the lowest up-front cost per square foot. Cellulose sits in the middle for material and installation. Spray foam costs more, but its combined air-sealing performance can lower total installed cost.
- Air-sealing requirement: If the rim joist and top plate leak, spray foam or a dedicated air-sealing step before batts is worth the added cost — unsealed gaps can cut effective R-value substantially.
- Finish timeline: Batt and blown-in work proceeds once framing and air sealing are done. Spray foam requires professional installation, cure time, and a dry, clean substrate.
| Decision criteria | Fiberglass batts | Cellulose (dense-packed / blown) | Spray foam (open / closed cell) |
|---|---|---|---|
| R-value per inch | R-3.1–R-3.4 | R-3.2–R-3.8 | R-3.5 (open) / R-6–R-7 (closed) |
| Installed cost (USD/sq ft) | $1–$3 | $2–$4 | $3–$5 (open) / $4–$8 (closed) |
| Air sealing | No — separate step needed | Partial — dense-pack fills gaps | Yes — seals as it installs |
| Vapor control | None — needs separate vapor barrier | Moderate — absorbs and releases moisture | Closed-cell: acts as vapor barrier at sufficient thickness |
| Best for | Dry basement, framed cavity, tight budget | Irregular cavities, retrofit, mid-budget | Leaky rim joist, damp-prone walls, thin-profile R-value |
Table note: R-values are typical center-of-cavity values; installed costs are illustrative USD ranges — confirm locally. No year anchor is applied.
Two examples make the criteria concrete. A dry, unfinished basement in a cold climate with new 2×4 framing: fiberglass batts at R-13, installed after the rim joist is air-sealed, is cost-effective and code-compliant. See the blown-in vs batt insulation guide. A basement with rim joist dampness: closed-cell spray foam on the rim joist plus rigid foam against the lower wall handles air sealing and cavity fill in one pass.
Installation Sequence and Common Mistakes
The one rule for basement insulation is to manage moisture and air movement before any cavity gets filled. Put insulation in front of an unmanaged water path and you trap moisture, degrade R-value over time, and in wet conditions grow mold inside the assembly.
Check for active water intrusion, standing water, or chronic dampness first. If any are present, fix the source — drainage, grading, gutters, or an interior drainage system — before insulating. The basement waterproofing guide covers that. For a dry basement: (1) air-seal the rim joist cavities, (2) seal penetrations at the top plate and around pipes, (3) install cavity insulation — unfaced batts in a cold-climate interior arrangement, or with the vapor-retarder toward the warm side if a vapor barrier is required, (4) cover the rim joist with rigid foam or spray foam if not fully sealed.
Common mistakes: batts backward — vapor-facing side toward the cold wall — reverse the drying direction and trap moisture. Compressing a batt cuts R-value; a compressed R-13 performs closer to R-10. Skipping rim joist air-sealing leaves a continuous cold-air path. Polyethylene on the exterior side in a mixed-humid climate creates a condensation surface. Leaving rim joist cavities hollow or loosely filled leaves the largest thermal bridge unaddressed.
Spray foam itself has a substrate requirement: the surface must be dry, clean, and within the manufacturer’s temperature range. Foam applied over damp masonry will not adhere properly and can trap moisture against the wall. For the step-by-step that fits your scenario, the how to install attic and wall insulation guide walks the full process.
Limitations, Edge Cases, and When to Call a Licensed Professional
Basement insulation solves a heat-loss problem; it does not solve a water problem. If the basement has an active leak, chronic seepage, or hydrostatic pressure, insulating over the symptom produces a failed assembly. Waterproofing the envelope — grading, drainage, and where needed a membrane or coating — is the prerequisite, and sits outside the scope of any insulation product.
Some situations need more than a standard framed-cavity approach. Masonry walls without framing require rigid foam bonded or fastened to the surface, with the finish above respecting fire code for the occupied space. If the basement becomes habitable — bedroom, office, family room — the wall finish must meet the International Building Code (IBC) for fire-rated interior assemblies. Electrical runs through insulated cavities need clearance per National Electrical Code (NEC), and wiring inside a sealed foam envelope has its own access requirements. These are not DIY judgment calls.
High-humidity climates add another layer of judgment. In mixed-humid and hot-humid zones, a Class I vapor barrier on the interior side can trap summer moisture driving inward, leading to condensation inside the cavity. In those climates closed-cell spray foam directly against the foundation wall — at enough thickness to serve as both insulation and vapor control — is often the lower-risk choice.
Local building authorities may set minimum R-value requirements above the general R-13 wall and R-38 attic benchmarks, particularly in high-performance jurisdictions. When the project involves structural modifications, electrical rerouting through insulated cavities, or a conversion to habitable space, consult a licensed professional who can evaluate the full assembly against local code. For the broader cost picture — rim joist, cavity fill, and rigid foam layers together — the attic and wall insulation cost per square foot guide gives the full pricing context. For the fundamentals behind the materials here, the what is home insulation guide covers the core concepts.