
A deck or patio extends your living space outdoors — but the wrong choice between wood and composite decking, or an undersized joist span, leads to sagging, rot, or costly rework. This guide breaks down what decks and patios actually are, how framing and footings work, which materials suit wet versus dry climates, and how to plan your project so it lasts. By the end, you’ll know whether a raised deck, ground-level deck, or paved patio fits your yard, soil, and budget.
What a Deck or Patio Is — and Why the Distinction Matters
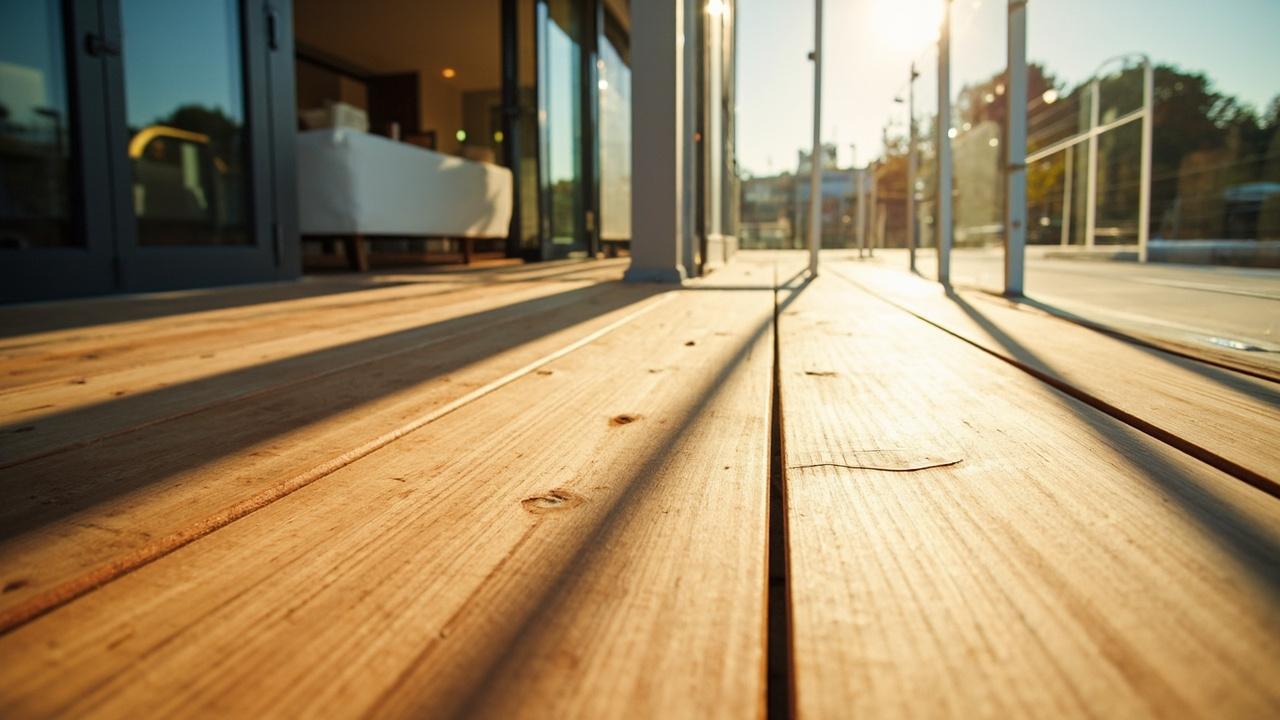
A deck is an elevated structure built from framing lumber — typically deck joists 2×8-2×10 spaced 16-in OC — supported by posts and footings that transfer load to the ground. A patio sits at grade, usually on a compacted gravel base with pavers, concrete, or stone. The distinction matters because decks need footings below frost line to prevent heave in winter, while patios rely on drainage slope 1/4-in per ft to shed water away from the house.
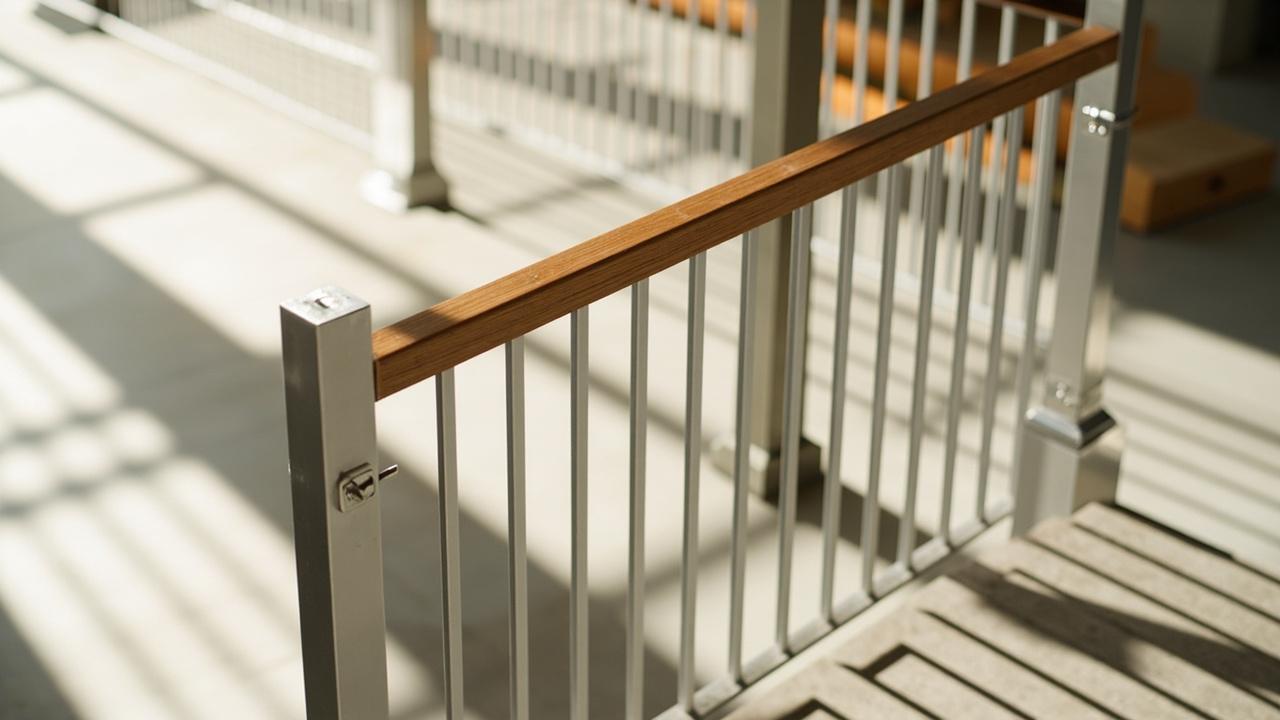
Deck heights under 30 inches above grade often skip the railing requirement (IRC R312.1), but anything taller needs railing height 36-42 in with balusters spaced no more than 4 inches apart. Patios avoid most railing concerns but may need retaining walls if the yard slopes more than 12 inches over the run.
Both structures share one requirement: water management. A deck without proper flashing where it meets the ledger board is the number-one cause of rot. A patio without a proper base washes out and heaves within two seasons. The right structure depends on your soil type, yard slope, local frost depth, and whether you want a space for grilling, entertaining, or just a quiet corner.
How Deck and Patio Framing Actually Works
Deck framing starts with the ledger — a doubled 2×10 or 2×12 bolted through the house rim joist with 1/2-inch lag screws every 16 inches. From there, beams (typically doubled 2×8 or 2×10) sit on posts anchored to concrete footings. The joists then hang between the ledger and beam at 16-inch centers, or 12-inch centers for composite decking that needs stiffer support to prevent bounce.
The deck joists 2×8-2×10 16-in OC rule covers most residential loads (40 psf live load + 10 psf dead load per IRC). For hot tubs or heavy planters, upgrade to 2×12 joists at 12-inch centers. The beam span depends on post spacing: a doubled 2×10 beam spans roughly 8-10 feet with posts every 6-8 feet. Go wider, and you need a doubled 2×12 or built-up beam.
Patios skip framing but need excavation. Dig 6-8 inches below grade, lay 4-6 inches of compacted gravel (3/4-inch crushed stone), then 1 inch of sand for paver leveling. For poured concrete patios, a 4-inch slab on 4 inches of gravel handles most residential loads. In clay soil, add a geotextile fabric between soil and gravel to prevent mixing and settling.
The key difference in cost: decks run $15-$35 per square foot for wood, $30-$60 for composite; patios run $8-$20 for concrete, $15-$35 for pavers. Both can spike if your yard needs grading, drainage tile, or retaining walls.
Wood vs. Composite Decking — and When Each Wins
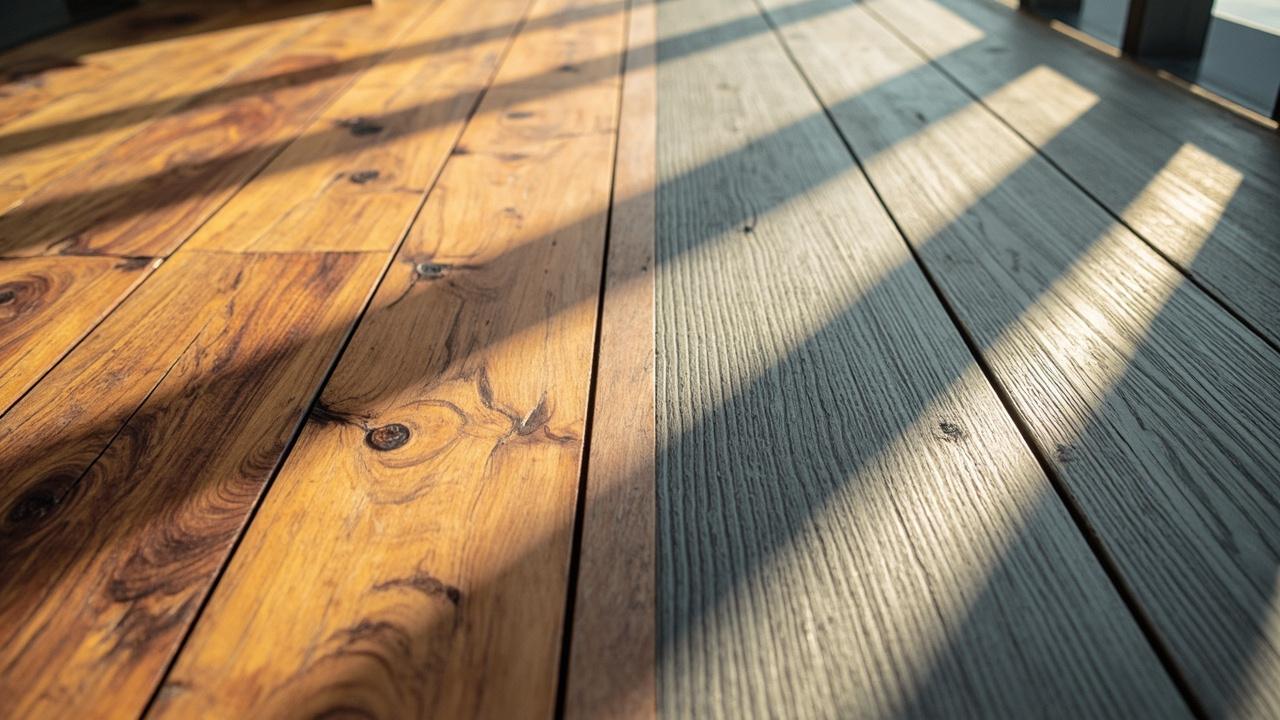
Pressure-treated pine is the default: it costs $3-$6 per square foot for material, takes stain well, and lasts 15-20 years if you reseal every 2-3 years. Cedar and redwood run $5-$10 per square foot, look better naturally, but need the same maintenance. Both woods cup, check, and split over time — that’s the trade-off for lower upfront cost.
Composite vs wood decking is the real comparison most homeowners face. Composite boards (Trex, TimberTech, Fiberon) cost $8-$15 per square foot, never need staining, and carry 25-year fade warranties. They’re heavier, so they need joists at 12-inch centers instead of 16-inch to prevent sagging. They also expand and contract more with temperature swings, so leave 1/8-1/4 inch gap at board ends and use hidden fasteners that allow movement.
Choose wood if: your budget is tight, you plan to stain a custom color, or you’re building a ground-level deck where weight and rot are less concern. Choose composite if: you want zero maintenance, your deck gets full sun (wood degrades faster), or you’re willing to pay more now to avoid sanding and sealing every other year.
For patios, the parallel choice is concrete versus pavers. Stamped concrete looks clean and runs $8-$18 per square foot, but cracks in freeze-thaw cycles. Pavers cost $12-$35 per square foot, crack less individually (you replace one paver, not the whole slab), and offer more design options. In heavy-clay soil with poor drainage, pavers on a deep gravel base outperform concrete long-term.
Common Installation Mistakes That Cause Failure
The biggest deck mistake is improper ledger attachment. Lag screws into the rim joist without a continuous flashing cap let water rot the house framing from the inside out. The fix: use ledger flashing that tucks under the house siding and over the deck rim, and use through-bolts (not just lags) every 16 inches with washers. If you can’t access the interior to through-bolt, use structural screws rated for withdrawal resistance — and add a free-standing deck frame instead.
Footing depth is the second killer. Footings below frost line isn’t optional in the North — in Minnesota, that’s 42 inches; in Maine, 60 inches. Shallow footings heave in winter, cracking the deck surface and pulling posts out of alignment. Even in frost-free zones, dig at least 12 inches to get below organic soil and into stable ground.
Stair construction trips up many builds. The stair slope rule: maximum riser height 7.375 inches, minimum tread depth 10 inches, and the total run should be level where it meets the patio or ground. Stringers need to be cut from 2×12 lumber (not 2×10) to leave enough bearing after the notches. Three steps or more need a handrail on at least one side.
Patio mistakes center on base prep. Skipping the gravel layer or using the wrong stone (rounded pea gravel instead of angular crushed stone) leads to settling. Not compacting in 2-inch lifts means the surface drops unevenly after one winter. And forgetting the drainage slope 1/4-in per ft toward the yard (not the house) causes water to pool against the foundation — the opposite of what you want.
When to Hire a Pro — and What to Budget for Next
Structural decks attached to the house need permit requirements and a stamped plan if you’re in a jurisdiction that enforces IRC. Ground-level decks under 30 inches and freestanding decks often skip permits, but check your local code — a permit protects you from having to tear it out if an inspector flags it later. For any deck over 30 inches, over 200 square feet, or with a roof, hire a structural engineer or experienced deck builder.
The next step after planning is cost: see our deck building cost per square foot guide for real material and labor ranges by region. Then compare options in our wood vs composite decking breakdown if you haven’t settled on material yet.
If you’re set on building, the minimum viable budget for a 12×16 wood deck with basic railing runs $3,500-$5,000 DIY, $8,000-$12,000 with a contractor. Composite pushes that to $12,000-$18,000. Patios are cheaper: $2,000-$4,000 for concrete, $4,000-$8,000 for pavers. Add 15-20% for grading, drainage, or retaining walls.
One honest note: decks and patios are structural. If you’re unsure about ledger attachment, footing loads, or soil bearing capacity, consult a licensed contractor. A $200 site visit saves you $2,000 in rework. The information here gives you the vocabulary and ranges to ask the right questions — not the final spec for your specific soil and climate.