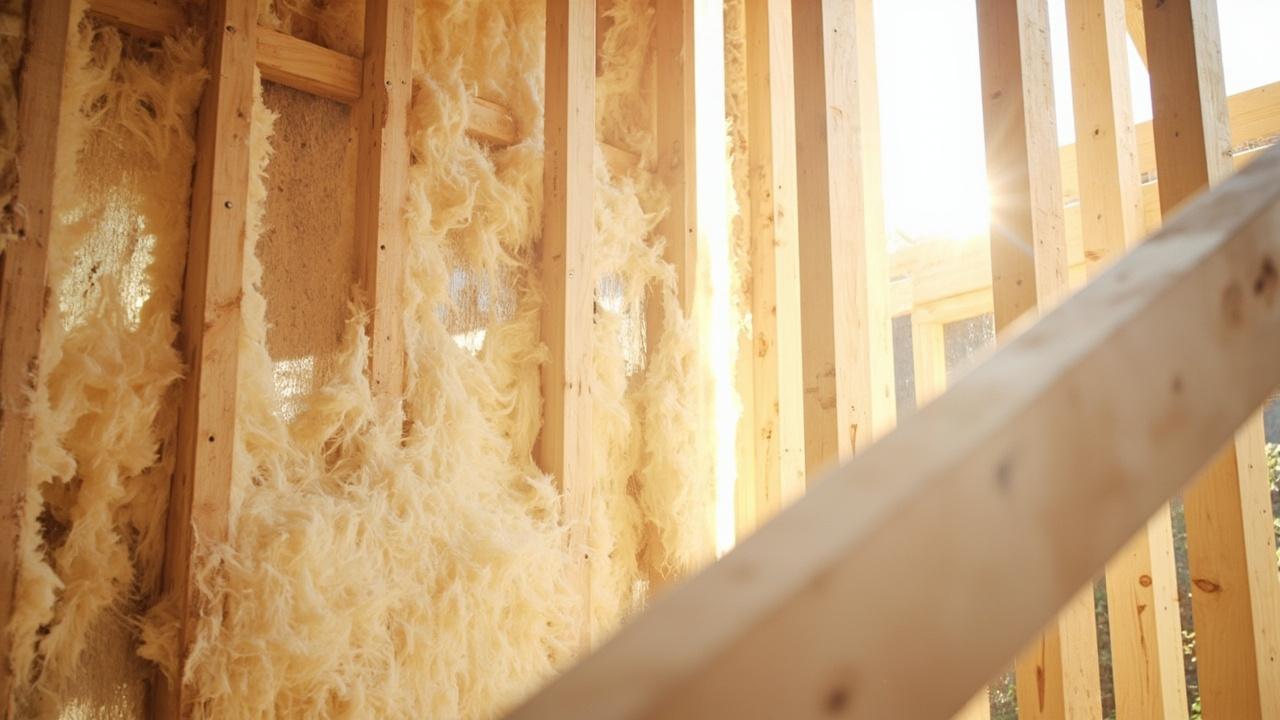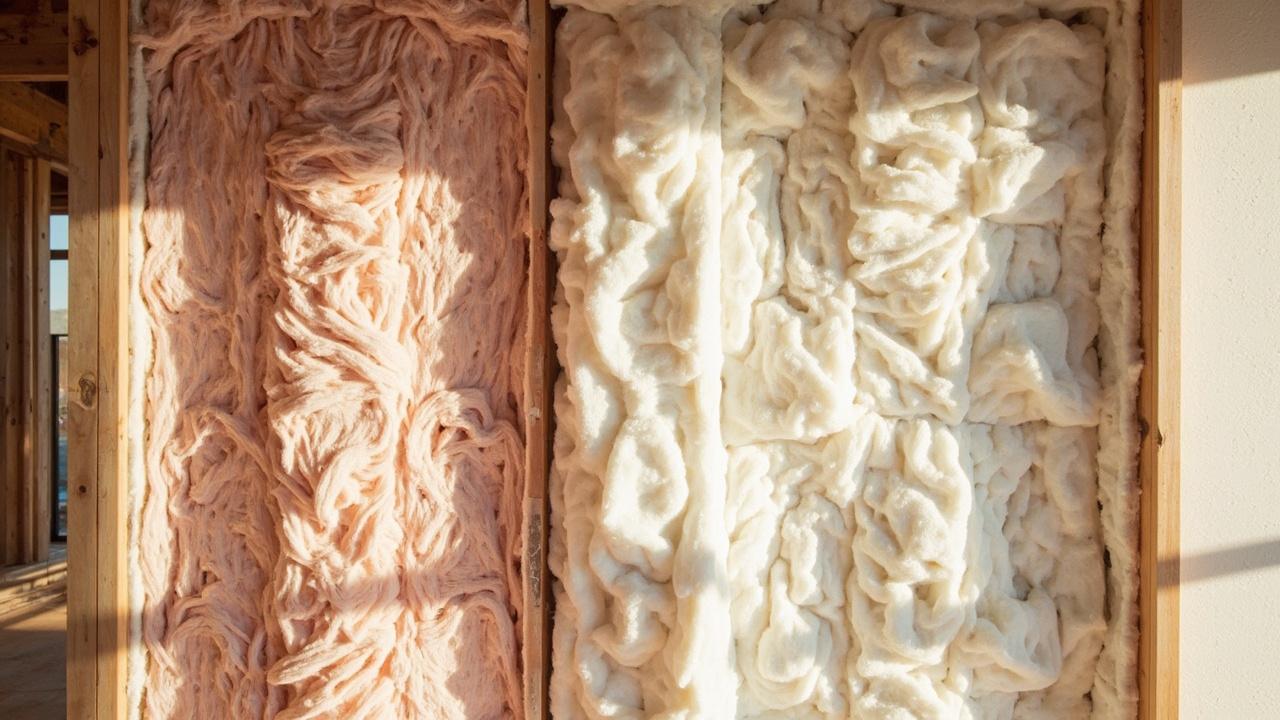

You see condensation on the cold-side face of your insulation, or a musty smell in the attic, and you wonder what’s really going on. Most insulation vapor barrier moisture problems start with one thing: warm, moist air migrating through a crack in the home’s air barrier, hitting a cold cavity, and condensing on or inside the insulation. The fix is never “add more insulation.” It is sealing the air leakage, correcting the vapor barrier’s side and class for your climate zone, and getting ventilation back to code.
Here is the direct answer: in most US/Canadian homes, the vapor barrier belongs on the warm-in-winter side of the insulation (inside face), and a cold attic with a Class I vapor barrier plus proper soffit and ridge vent airflow is the standard detail. If your drywall shows a damp ring or your batts are compressed wet at one corner, you have an air-seal failure, not a material failure.
Before you budget the repair, here’s what the parts actually run: acoustic sealant costs $3 to $5 per 28-ounce tube and covers a typical stud wall air-seal pass on its own. Low-expansion spray foam runs $15 to $20 per can, and one can handles the electrical boxes and top-plate gaps on a 12×16 room. Foil-faced or kraft-faced fiberglass batts cost $0.40 to $0.65 per square foot installed for stud walls and $0.35 to $0.50 per square foot for attic floors at R-30 to R-49 depth. A full air-sealing and vapor barrier correction on an average US home (3,000 sq ft floor area) lands between $250 for a DIY seal-and-flip pass and $1,800 to $3,500 if a licensed pro does the air barrier, vapor barrier re-orientation, and vent path restoration in one visit.
The Root Cause: Moisture Gets In, Then Can’t Get Out
Insulation itself rarely generates moisture. Moisture is transported by air. Each cubic foot of warm air carries more water vapor than cold air, and when that warm air leaks through a stud cavity, an eave, or a wall plate and meets the insulation, the vapor condenses on whatever surface is below the dew point. That’s why a single unsealed electrical box or a gap at the top plate can create a persistent damp spot that looks like a leak but isn’t.
Two failure modes dominate in the field:
- Winter-mode failure (cold climates, most of US/Canada/UK): warm interior air escapes into an uninsulated or under-insulated cavity. If that cavity also has a vapor barrier on the wrong side; the cold/attic side; condensation is trapped against the sheathing. This is the classic cause of interior-side condensation on cold walls and is the reason code (IRC/IBC climate zones 4–8) typically calls for the vapor barrier on the warm side.
- Summer-mode failure (high-humidity climates, southern US, coastal areas): warm moist outdoor air drives into an unvented or poorly vented cavity and condenses on the cool insulation or framing. Here the risk is sheathing moisture and mold on the exterior face, and some climate-zone details allow a two-sided vapor barrier or a smart (dynamic) vapor barrier that adjusts its vapor permeance seasonally.
The clue that separates the two: check which face of the insulation or sheathing is wet. Warm-side wetness points to interior air leakage; cold-side wetness points to summer-mode driving or a trapped air gap with no vent path.
How to Diagnose What You’re Actually Seeing
Before you buy anything, run a 30-minute diagnostic. The results determine whether the problem is air sealing, vapor barrier placement, or ventilation.
- Look for condensation on the warm side of the insulation. If the drywall or ceiling surface is wet but the insulation face is dry, the dew point is on the drywall; the insulation is just too thin for the temperature difference, and your fix is add R-value or tighten the air barrier, not replace the vapor barrier.
- Look for condensation on the cold side (attic or exterior face of sheathing). This is the classic trapped vapor signature. You likely have a vapor barrier on the wrong side for your climate zone, or you’ve sealed the attic so completely that the vent path is broken.
- Check for mold in the insulation itself. If the fiberglass batts are darkened or musty but the drywall looks fine, the air leakage is inside the cavity; you can see it with a flashlight in an attic with the lights off: a faint haze of dust particles moving across the beam means air is coming through a specific spot. Mark it with a pencil and seal it.
A Class I vapor barrier (permeance below 0.1 perm) blocks most vapor; a Class II barrier (0.1–1.0 perm) is “semi-permeable” and works well with a vented air gap; a Class III barrier (1.0–10 perms) is essentially a membrane that lets vapor through slowly. The right class depends on whether you can guarantee the other side of the insulation is dry. If you can’t, default to Class I on the warm side.
Choosing the Right Detail: Climate Zone Determines the Rule
The one-predicate question that drives every decision: can your cavity dry to the outside? If yes, a Class I barrier on the warm side is the safe default. If no; because you’ve got a sealed crawlspace, a slab-on-grade, or a tight air barrier that has no path to the outdoors; you need a Class II or Class III barrier, or a smart membrane.
| Cavity condition | Barrier class | Why | What to check |
|---|---|---|---|
| Vented cold-climate attic | Class I (warm side) | Attic is below dew point in winter; interior air is the moisture source | Soffit/ridge vent gap ≥ 4 in.; no attic soffit gaps wider than ¼ in. |
| Sealed cavity (I-joist, crawlspace) | Class II with vented side | Cavity can’t dry; semi-permeable barrier lets trapped vapor escape | Gap at top of cavity ≥ 2 in. to air; check for standing water at bottom |
| High-humidity summer driving (coastal US, Gulf Coast) | Two-sided barrier or smart membrane | Moisture comes from outside in summer; interior in winter | Exterior face of insulation is dry; interior face is dry; check RH with a meter |
| Slab-on-grade with no vapor barrier on slab | Class I under slab + Class I on warm side of stud wall | Ground moisture is the source; both faces must be sealed | Slab penetrations (pipes, cords) are sealed; stud wall cavity is air-sealed |
If you’re not sure your climate zone, the US DOE climate zone map is the starting point; IRC climate zones 4–8 are the cold-weather defaults where the warm-side barrier rule is the standard.
How to Seal It: What Actually Fixes the Problem
The repair sequence matters. Do it in this order and you’ll save a second visit:
- Air-seal first, insulation second. Before adding or touching insulation, seal the top plate, electrical boxes, and every stud gap with acoustic sealant or low-expansion foam. Sealing a wall that’s already wet with insulation is the fastest way to make it worse.
- Verify the vapor barrier’s side. If it’s on the cold side, you have a design error. In most cold-climate repairs, that means removing the batt, reinstalling with the barrier face pointing interior, and re-air-sealing.
- Restore the vent path. A blocked soffit or a missing ridge vent turns a vented cavity into a sealed one, and the cavity stops drying. The minimum practical path is soffit to ridge with a continuous 4-inch gap, and the vent opening area should be at least 1/150 of the attic floor area for both soffit and ridge.
- Add R-value only after the air barrier is closed. The goal in cold climates is R-49 to R-60 for attic floors and R-13 to R-21 for stud walls (depending on zone), but the R-value only works if the cavity is dry.
Field traps that cause rework: using foil-faced insulation with the foil on the wrong side (foil must face the air gap in a vented cavity, not the insulation), leaving a gap at the top of a stud wall that creates a chimney effect, and blocking the soffit with exterior siding or house wrap.
When to Call a Pro; and What to Ask
You can DIY the air sealing and vapor barrier check. You should call a licensed pro when the moisture has already damaged the framing, when the sheathing is visibly cupped or delaminated, or when you can’t find the source of the air leakage after a full attic inspection. The one question to ask any pro: “Where is the dew point in this cavity, and what class of vapor barrier does your detail call for?” If they can’t answer it, they’re not thinking in the same system as you.
Next, if you’ve sealed the cavity and you’re now wondering whether to add insulation or leave it: check out attic insulation types and cost per square foot to size the R-value, and what home insulation actually is for the R-value definitions. If your HVAC system is the reason the attic is staying warm in summer, the HVAC maintenance checklist covers the duct leakage side of the equation.