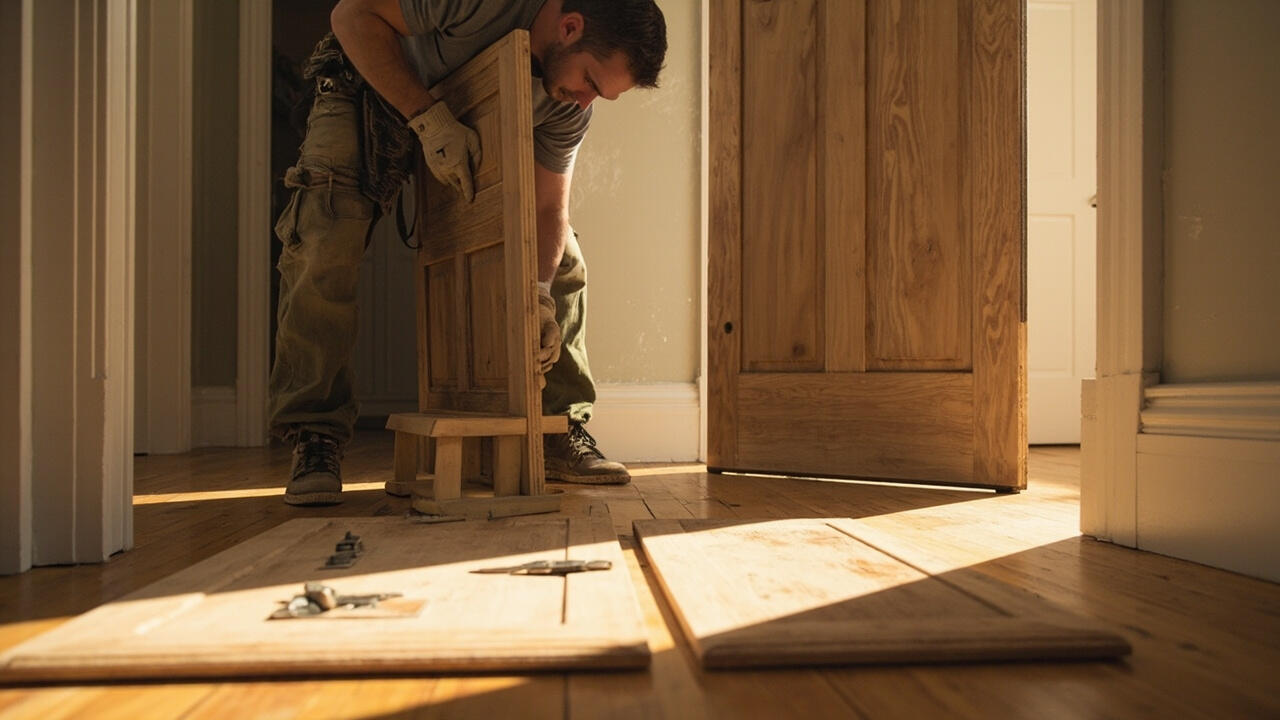

Hanging a door slab is the most satisfying job in a house and the most likely to end in a door that will not close. The reason is that a slab has no margin for error.
A prehung unit arrives with its frame already squared, so a small mistake gets absorbed. A slab arrives as a bare panel, and every assumption you make about the frame, the hinges, and the hardware becomes visible the moment you hang it.
This guide covers replacing the door panel in an existing frame while keeping that frame. If you are putting in a whole new frame along with the door, how to install a door frame is the one you want, you want how to install a prehung interior door instead.
Before you commit to that path, work out whether the frame should stay at all: how to replace an interior door slab without replacing the frame covers the inspection that decides it.
If you have not measured yet, how to measure an interior door covers the numbers you need. It also explains the difference between a slab, a unit, and a rough opening, which is where most buying mistakes start.
Know What You Are Working With Before You Buy a Slab
A slab is only the door panel. It does not include the frame, the hinges, the door stop, or the lock set. Some slabs arrive with the lock bore already cut, and many do not, so this is the first thing to verify with the specific product you are buying.
Most hollow-core slabs ship with an inked stamp on the top edge, reading something like “LB, LB” or “LB.” That mark identifies the lock block, the internal wood reinforcement that lets you bore a lock hole into a hollow-core door without crushing it. The arrow next to the stamp shows where the lock block runs.
If you have a hollow-core slab with no lock hole and no lock block stamp, you cannot install a knob without a reinforcing plate or a solid-core replacement.
Slabs also come in two material families, and the distinction governs how much you are allowed to trim.
- Hollow core is a hollow panel with a thin face veneer and an internal honeycomb or rib grid. It is light, inexpensive, and the default for interior bedrooms. It chips easily when you cut it.
- Solid core is a thicker, stiffer panel. It is heavier, holds a latch better, resists warp, and tolerates trimming better than hollow core.
The RELIABILT slab range sold at Lowe’s is a useful reference point on the hinge side of this decision: those slabs do not come with hinge mortises precut, and the buyer must match the hinge spacing to the existing frame. That is a detail worth confirming before you order, because it determines whether you are chiseling three fresh mortices by hand.
The Pre-Install Gate: Check the Frame Before You Order
The Lowe’s slab instruction sheet is unusually direct about this, and it is worth following to the letter. It states: do not install the slab unless the jamb meets the stated conditions.
That is not installer caution for its own sake. A slab is a rigid panel that must sit inside a frame with consistent gaps, and if the frame is out of spec, no amount of careful work will produce a door that closes properly.
Here is the gate, with the tolerances from the manufacturer sheet.
| Check | Requirement |
|---|---|
| Jamb width vs slab width | Jamb must be 3/16 inch wider than the slab |
| Jamb height vs slab height | Jamb must be at least 3/8 inch taller than the slab |
| Jamb squareness | Measurements A and B must be equal, with a maximum deviation from square of 1/8 inch |
| Rough opening plumb | Maximum allowable deviation of 1/8 inch |
| Face of the opening | Must be in a single plane, with less than 1/8 inch of twist corner to corner |
| Floor | Must be flat and level |
That last row is the one people skip. If the floor across the opening is not level, the slab will ride up on one corner. You will spend the rest of the afternoon trimming a door that was never the problem.
The gap you need between the frame and the slab is also specified, and it tells you how much adjustment you have. The frame should give you 1/16 inch of clearance at the hinge jamb and 1/8 inch of clearance at the strike jamb.
That is on top of 3/8 to 1/2 inch of extra height, so there is a gap at the head and room above the flooring.
Notice how that clearance is not symmetrical. The hinge side is tighter than the strike side on purpose, because the hinge side carries the load and the strike side needs to be able to swing past the stop.

Matching the Slab to the Frame: The Four Failure Modes
Most slab replacement guides assume the new door matches the old one exactly. In practice, four things vary, and each one produces a distinctive symptom.
Thickness is the first and most common. A hollow-core slab is typically 1-3/8 inches thick and a solid-core slab is 1-3/4 inches.
The frame has a fixed distance between the inside face of the jamb and the door stop. If your new slab is thicker than the space allows, it will bind at the closed position no matter how well it hangs.
If the new slab is thinner than the old one, you need filler strips on the hinge side so the hinge leaves sit flush and the door closes flat against the stop.
Swing and bevel are the second. The latch edge of an interior slab is beveled, usually 2 or 3 degrees, so the door can swing clear of the stop. A slab with the wrong hand or the wrong bevel direction will not close, and no amount of adjustment will fix it.
The bevel is also why the manufacturer tells you to keep a 1/8 inch clearance between the strike jamb and the latch stile.
Hinge route position is the third. If the new slab’s hinge mortices do not line up with the existing hinge locations in the frame, you have three options: line the new mortices up with the old ones, move the frame hinges, or re-route the hinge leaves.
Moving the frame hinges is the usual answer when the existing locations are good, because it preserves the door’s reveal.
Overall size is the fourth, and the least dramatic. A slab that is too wide will not fit in the opening. One that is too narrow will have a gap you cannot close without filler strips. This is why measuring matters, and why how to measure an interior door is worth reading before you buy rather than after.
Trimming the slab to fit
Trimming is where hollow-core slabs get hurt, so the rules are specific.
A hollow or solid core molded and flush slab can be trimmed, and the limit is 1/4 inch per edge. Trim an equal amount from opposite sides so the door looks right in the frame, and apply masking tape along the cut line on both faces to reduce chipping. Use a fine-toothed circular saw for the height and a wood plane for the width.
Two warnings come straight from the manufacturer sheet. First, trimming a beveled edge may require re-beveling it afterward. Second, and more bluntly: trimming any other type of slab is not recommended. If you have a panel that is not a standard molded flush door, measure twice and be very sure before the saw comes out.
A note on order of operations, because it saves real time: trim the slab before you install any hardware. Boring a lock hole into a panel you still intend to trim means working on it twice and handling a heavy door twice.
Transferring the hinge locations
Here is the technique most guides skip, and it is the one that makes a slab replacement go smoothly. Your old door is a free, perfectly accurate template. It already sits in the frame at the correct height, the correct swing, and the correct hinge locations.
Lay the old slab face down on a soft surface and place the new slab on top of it, aligning the top edge and the hinge edge. Mark through the old hinge locations onto the new slab. You now know exactly where the mortices go without measuring anything twice.
Two details from the manufacturer sheet matter when you mark. The distance from the top of the slab to the top of the hinge route is set 1/8 inch smaller than the corresponding distance on the frame, which leaves the gap you need between the slab and the head jamb.
The depth of the hinge route on the slab is set 1/16 inch less than the depth of the route in the frame.
If you are installing into a new frame rather than reusing one, the manufacturer gives standard hinge positions instead: the top of the top hinge sits 7 inches down from the underside of the head jamb, and the bottom of the bottom hinge sits 10 inches up from the bottom of the slab. The middle hinge goes halfway between.
On hinge count, the sheet recommends three hinges for slabs up to 84 inches tall and four for slabs over 84 inches. That 84 inch threshold is where you cross into the tall heavy doors, usually a 96 inch slab, that a three-hinge setup starts to struggle with.
Hanging the door: mortising, hinge leaves, and the pin
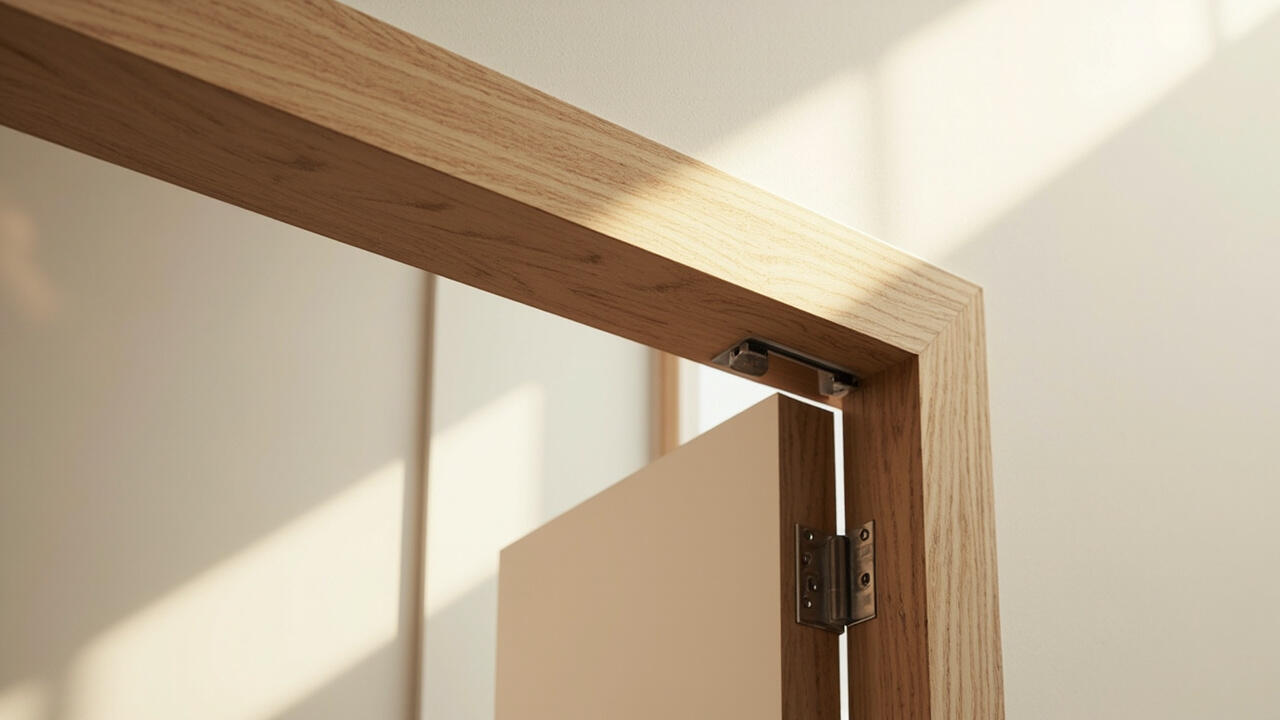
Now you cut. Use the hinge itself as a template to mark both the jamb and the slab, then notch with a chisel or a router. The rule that saves the panel: notch no deeper than the thickness of the hinge leaves. Cut too deep and the slab has nothing left to hold the screws.
Work in this order, and it is the order that keeps the door manageable.
- Mark both the jamb and the slab with the hinge as a template, checking that the hinge route lines up vertically through the full height of the frame.
- Notch the hinge locations with a chisel or router, no deeper than the leaf thickness.
- Drill pilot holes before driving any screw. Splitting a hollow-core panel around a screw is a common and avoidable failure.
- Install the hinge leaves separately, then hang the slab by aligning the leaves and reinstalling the pins. Tap the pins out with a hammer and a punch to separate the two halves.
- Test fit the slab before any hardware goes on. With the door closed and viewed from the hinge side, there should be at least 1/16 inch between the slab and the head jamb, and at least 1/8 inch between the slab and the strike jamb.
That test fit is the manufacturer’s own checkpoint, and it is the one most people skip because they are in a hurry to get the knob on. It takes a minute and it catches a misaligned route before you have a door hanging crooked with hardware already fitted.
Fasteners, Hardware, and the Top Hinge Fix
Fastening a slab takes more care than fastening a frame, because the slab is the part that fails. The manufacturer sheet specifies wood screws of 3/4 inch minimum through the hinges into the slab and frame, and 1 to 2-1/2 inch screws through each of the top two hinges into the framing for solid core, premium composite, and stile-and-rail doors.
For hollow-core doors, there is an additional step. After fitting the hardware, install a number 9 by 2-1/2 inch screw in the center hole of each of the top two hinges, driven through the hinge leaves toward the jamb. This pulls the slab tight against the hinge, which is exactly what you do not want with a hollow-core panel, because the face veneer can crush.
For solid core, premium composite, or stile-and-rail doors, the reverse is true. Drive the longer screw into the framing through the top two hinges so the door is held at the top of the frame rather than only at the jamb.
This is the standard fix for a door that sags over time, and it is worth doing at install rather than a year later when the door starts dragging on the floor.
Installing the lock set
If your slab does not have a pre-bored lock hole, you are cutting it yourself. The manufacturer gives the standard layout, and it matches what nearly every interior knob on the shelf expects.
- Lock hole center: usually 36 inches from the bottom edge of the slab.
- Backset: either 2-3/8 inches or 2-3/4 inches on center from the latch edge, depending on the lock set you bought.
- Lock bore diameter: generally 2-1/8 inches.
- Latch hole: a 1 inch hole drilled through the edge of the slab into the center of the lock hole.
Before you drill, check for a rail across the center of the slab. If there is one, center the lock set on that rail, because a bore that lands on the hollow section between rails will not hold a lock properly.
Which backset you need is not a preference. The lock set has to match the hole. Measure the distance from the edge of your door to the center of the existing strike plate on the frame, and order the lock set to match that number.
Buying the knob first and hoping it fits is how people end up with a door that latches on the second try and never after.
Finishing, acclimating, and the last checks
Wood doors move with humidity, and the manufacturer is specific about this. Acclimate the door to the prevailing humidity and temperature for at least 48 hours before hanging it, or 72 hours if you are installing in below-zero or extreme temperatures. The recommended storage range is 25 to 55 percent relative humidity and 50 to 90 degrees Fahrenheit.
Hollow-core doors are more prone to warp than solid-core ones, and if you have to stack them, cover the top door with plywood or cardboard. When you finish the door, apply the same number of coats to all six sides, and do it after routing, trimming, boring, and touch-ups are complete.
Before you hang the hardware permanently, close the door and check it three times. The gap at the strike side should match the gap at the hinge side within your own eye. The door should swing without stopping at any point in its arc. And the latch bolt should enter the strike by hand with no force at all.
If the bolt does not enter cleanly, the fix is the strike plate, not the door. Moving a strike plate takes a few minutes. Scribing a new slab to make a misaligned latch work is a couple of hours you will regret.
One last consideration on sequencing. If you are hanging several doors in a project, get the swing directions right on paper before you order. Doors that open into a drawer or collide with a wall are an ordering error, and an ordering error is much cheaper to fix than a slab error.
The windows and doors guide covers how interior and exterior doors fit into a wider renovation. DIY vs professional renovation is useful reading if the project is bigger than a single door.