

Should you patch what you have or tear it out and start over? That question stalls more home projects than budget does, because a cheap repair that fails in a year costs more than a replacement done once. The practical answer is simple. Repair makes sense when structure is sound, damage is local, and remaining life is long, replace makes sense when structure is compromised, damage is systemic, or code now requires an upgrade. Home renovation is a change to a building system that improves performance or layout, and the repair vs replace decision is the method you choose to deliver that change within budget, lifespan, and code constraints.
What Repair vs Replace Means and How to Decide Fast
Repair vs replace is not about preference. It is about condition, and condition decides cost. Repair restores an existing assembly to its intended function without changing its size, layout, or system type. You keep the same drywall, the same subfloor, the same cabinet box, and you fix the failed part. Replace removes the assembly and installs a new one that should meet current performance and code expectations.
That distinction matters because labor and permits follow the method, not the room. A repair often needs one trade, retail materials, and no permit review. A replacement often triggers demolition, disposal, new materials, sequencing of trades, and inspection. If you mislabel a replacement as a repair, your quote will double once walls open.
Use a quick filter before you price anything. If damage is smaller than about 25 percent of the assembly surface, isolated to finish or trim, and underlying structure tests dry and flat, repair usually wins. If damage covers more than 30 percent, repeats after a prior repair, or sits on a system past 60 percent of its rated life, replacement usually wins. The filter is not perfect, but it prevents the common error of paying for the same patch twice.
Budget tells you the same story from the other direction. Most homeowners frame the choice as save now versus spend later. In practice, the budget $100 to $350 per sq ft range for full renovation work shows why timing matters. Repairs cluster at $5 to $45 per sq ft, targeted replacements at $45 to $120 per sq ft, and full system replacements rise beyond that when structure, mechanicals, or layout change. If a repair approaches two thirds the cost of replacement without adding lifespan, you are buying short comfort at long cost.
How Each Path Works, What It Costs, and Why It Lasts
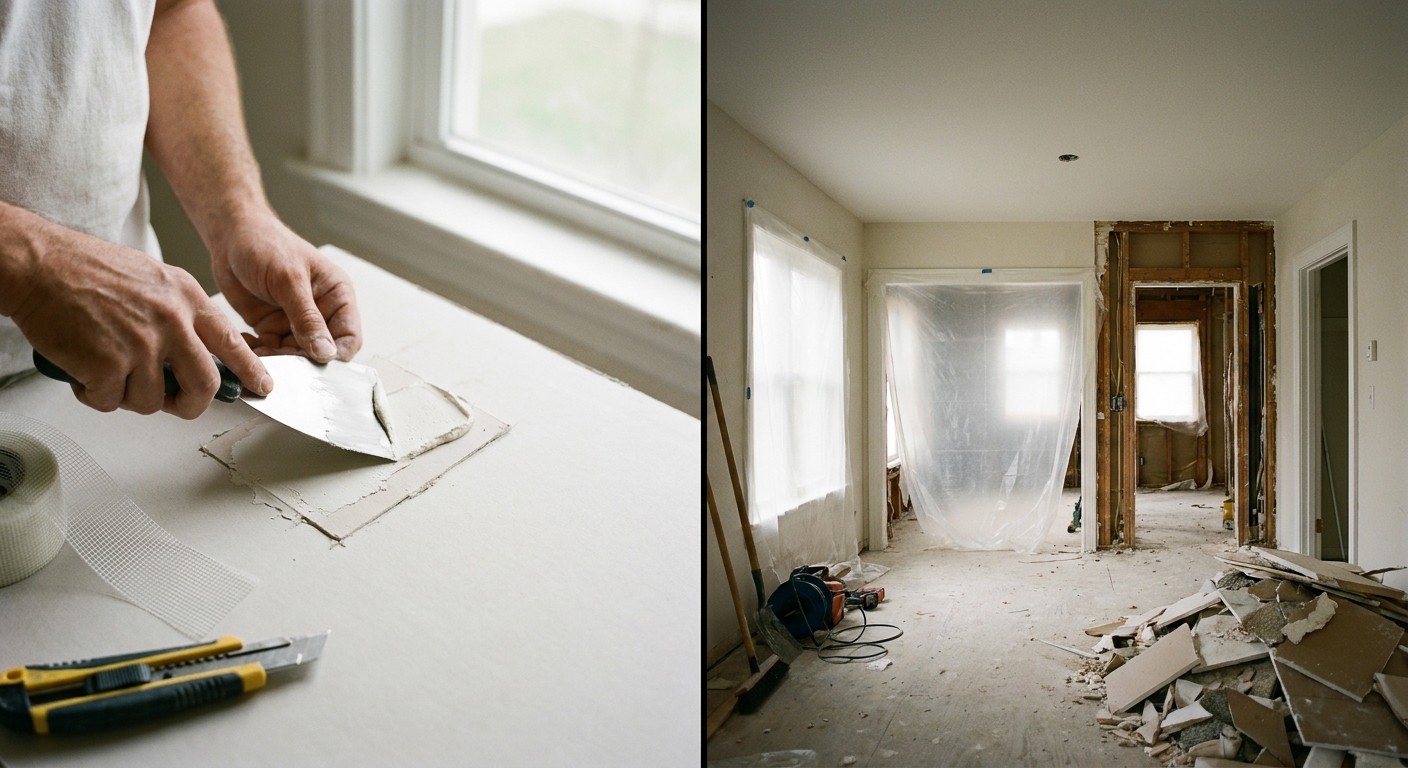
Repair works by conserving what still performs. You cut out the failed section, stabilize the edge, and patch with matching material. A drywall crack gets taped with paper tape and compound, a soft spot in subfloor gets a sistered patch over solid joist bearing, a leaking flashing at a window gets resealed and counter flashed. Mechanically, repair succeeds when the load path and moisture barrier remain intact. The patch does not need to be stronger than original, it needs to restore continuity.
Replacement works by resetting lifespan. You remove the assembly to the framing or substrate, correct hidden defects, and install a new system with full warranty. That reset is why replacement costs more upfront and less over time in failing systems. A new shingles roof at $4 to $7 per sq ft installed, new vinyl plank at $4 to $8 per sq ft installed, or a full bath assembly at $90 to $180 per sq ft all buy you a new clock. Repair extends the old clock, replacement starts a new one.
Cost drivers split cleanly between the two. Repair cost is driven by diagnostic time and access, not material quantity. Cutting a neat 2 ft by 2 ft drywall patch, blending texture, and repainting an entire wall for color match can cost $400 to $900 even though material is under $60. Replacement cost is driven by square foot quantity, material tier, and project sequence. Demolition, disposal at $30 to $80 per cubic yard, plus new underlayment, fasteners, and finish layers scale with area. That is why small defects favor repair and large areas favor replacement, the fixed cost of setup either dominates or disappears.
Lifespan explains the tradeoff. A well executed repair on a mid life assembly typically adds 3 to 7 years before the surrounding material shows age. A replacement on the same assembly adds 15 to 30 years depending on material choice and exposure. In a dry hallway, that extra life is a nice bonus. In a wet area with daily water contact, it is the whole point, because a patch that cannot keep water out will fail where it matters most.
Repair vs Replace Compared on Cost, Lifespan, Structure and Code
SERPs love a universal winner. Jobsite reality does not have one. The right choice flips when conditions change, so compare on the same four criteria every time and let the home decide. The table below keeps repair and replace symmetric so you can see tradeoffs side by side.
| Criterion | Repair | Replace |
|---|---|---|
| Cost | $5 to $45 per sq ft, one trade, low disposal, often no permit fee | $45 to $180 per sq ft depending on system, multiple trades, disposal and permit fees included |
| Lifespan | Adds 3 to 7 years, tied to age of surrounding material, warranty limited to patch | Resets to 15 to 30 years, full system warranty, life depends on material tier and exposure |
| Structural integrity | Works when framing is sound, flat within 3/16 in per 10 ft, and dry below 16% moisture | Required when framing is soft, deflects beyond L/360, or shows rot over 30% of section |
| Code compliance | Usually no permit, must still meet IRC repair provisions for same for same work | Permit and inspection likely when structure, electrical, plumbing, or egress changes, must meet current IRC/IBC |
| Disruption and sequence | 1 to 3 days for localized work, room stays usable | 1 to 4 weeks for room scale replacement, needs ordered project sequence and inspections |
| Risk of rework | Higher if moisture source or structural cause was not fixed, patch repeats | Lower when substrate is corrected, but higher upfront cost if cause was minor |
A drywall ceiling with a single crack from a truss uplift in winter is a repair story. Tape, screw, compound, prime, paint, done for $3 to $6 per sq ft. A ceiling with sagging between joists, brown staining, and soft probe readings is a replace story. You open it, find a slow plumbing leak, replace compromised sheathing and insulation, fix the pipe, then close with new board. Same room, opposite answers, and both are correct under their conditions.
Flooring shows the same logic. A scratched plank field with solid flat subfloor wants repair or single board replacement at $8 to $15 per sq ft. A bouncing floor that deflects under a 180 lb load, with squeaks along every joist line, wants subfloor replacement and joist hanger correction at $35 to $75 per sq ft. Covering a moving floor with new finish is the fastest way to buy the same problem in a prettier color.
If you want pricing context before you choose, the home renovation cost guide breaks down where each dollar goes by scope tier so you can map your estimate to a realistic range. For category clarity when layout change is on the table, the home renovation vs repair comparison separates cosmetic refresh from structural renovation with permit and budget cues.
Installation Realities and Mistakes That Force a Second Fix
Both paths fail for the same reason. The visible finish gets attention while the hidden condition gets ignored. Good installation respects tolerances that are not glamorous but decide whether work lasts.
Flatness controls most finish success. Laminate and vinyl plank need subfloor flatness within 3/16 in over 10 ft, tile needs 1/8 in over 10 ft, and any floating floor needs a stable vapor barrier and proper expansion gap of 8 to 10 mm at perimeters. Install over a wavy slab and every plank telegraphs the bump, every grout line cracks. Grind high spots, fill low spots with leveling compound, and screw down loose sheathing before you spend on finish. It is boring work that prevents callbacks.
Moisture control is the second gate. In wet areas, a repair that leaves a failed pan, a missing flashing lap, or an unvented cavity will return as mold or swelling. Replacement that rebuilds the waterproof layer, laps flashing correctly, and provides ventilation at 1 sq ft per 150 sq ft of attic area with balanced intake and exhaust, solves the cause instead of the symptom. For a bathroom specifically, fix the drain assembly and pan before you pick tile, ventilation before you pick paint.
Load and span form the third gate. Sistering a notched joist with a full length sister glued and screwed, adding a proper hanger at the rim, or replacing a rotted sill plate with pressure treated lumber are not overbuilding, they are restoring the structural integrity that finish depends on. A firm floor and a crack free ceiling both start with structure, not surface.
Common mistakes follow a pattern. One, patching drywall without finding why it cracked, usually truss movement, framing shrinkage, or point load above. Two, regrouting tile over a failed membrane, water still gets in, it just hides longer. Three, installing new flooring tight to walls with no expansion gap, it buckles in humid months. Four, skipping contingency of 10 to 15 percent, then raiding material budget when hidden rot appears and finishing with cheaper product that cuts lifespan. Five, treating a permit as optional when a wall moves or a circuit is added, then paying for rework at sale or inspection.
Limits, Trade Offs and Choosing the Right Path for Your Home
Every repair carries a limit you should name before you commit. Repair cannot extend life beyond the surrounding assembly. Patching a 22 year old asphalt roof buys time, but the field above it still ages at the same rate, and patch warranties rarely cover adjacent failure. Repair also cannot fix geometry. If a doorway is too narrow for access, a shower curb is a fall risk, or a kitchen triangle forces daily collisions, no finish patch changes the layout constraint.
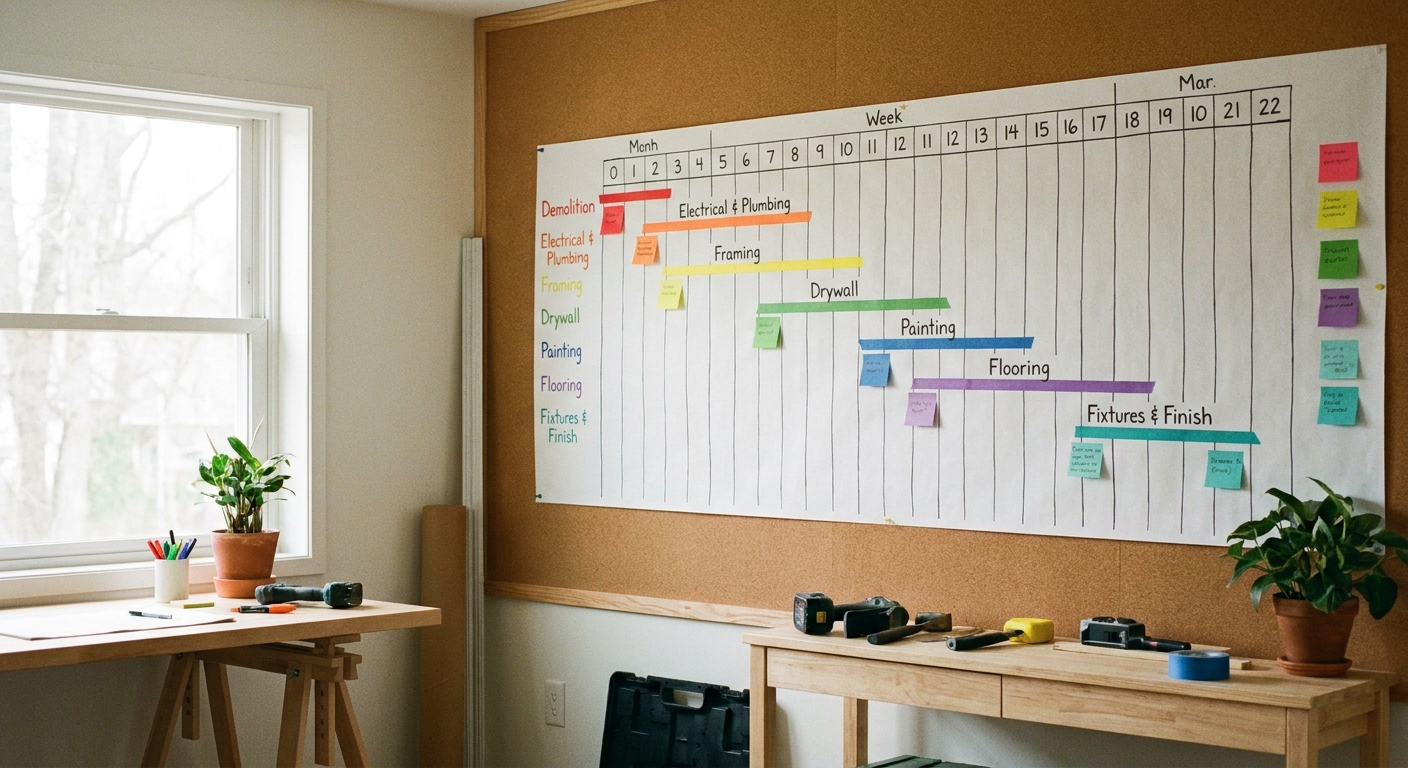
Replacement carries the opposite tradeoff. It solves limits but adds cost, time, and coordination. A full replacement introduces building code updates you did not ask for but must meet once you pull a permit, such as adding egress, upgrading electrical service, or correcting insulation. It also introduces sequence risk. Drywall before plumbing inspection, or flooring before drywall is sealed, creates rework that looks sloppy and invites damage. That is why replacement benefits most from a written scope and a clear project sequence, even for a single room.
Decision guidance works best as if then statements tied to conditions you can check.
If damage is under 25 percent of the surface, framing is solid and dry, and material is mid life, choose repair. You save $30 to $90 per sq ft, keep disruption low, and retain sufficient lifespan. Recaulk flexible joints with sealant, not grout, and repaint the whole wall plane for a blend that does not flash.
If damage repeats, moisture reads high, or structure deflects or shows rot, choose replace. You reset the clock, correct the cause, and avoid paying for the same repair again next season. Build contingency of 10 to 15 percent into the bid for hidden conditions and keep it reserved for substrate fixes.
If remaining life is under 7 years or the system is past its rated service life, choose replace even if repair is cheaper today. A $600 patch on a system with two years left is $300 per year of borrowed time. A $2,400 replacement with 18 years left is $133 per year of owned time, and that math holds before you count the second disruption.
If code, insurance, or safety is involved, choose replace or at minimum a repair that meets current code with professional review. Electrical, plumbing load, guard heights, and emergency egress are not aesthetic choices. For any structural, electrical, or waterproofing work, consult a licensed professional for final sizing and code approval in your jurisdiction and reference current IRC/IBC as adopted locally.
Context changes the math. In high humidity or wet areas, lean toward replacement sooner, because moisture punishes temporary seals. In dry, low sun exposure areas, a careful repair can last longer than its textbook range. On tight budgets, a phased plan often wins. Fix the moisture path and structure now, refresh finishes next phase, defer layout changes until funding and permits align. For sequencing help once you have chosen a path, the home renovation order guide maps the trade order that prevents rework, and the home renovation planning guide connects scope decisions to timeline.
You do not need a perfect prediction. You need a clear test. Check percentage of damage, test structure with a probe and level, check moisture, check age, check code trigger. Three checks pointing to sound and dry means repair with confidence. Two checks pointing to systemic, wet, or end of life means replace and fix the cause once. That is how you avoid the most common regret, paying for repair and later paying again for replacement.