
Most drywall repairs fail on the second or third attempt because the patch was rushed, not because it was hard. Real drywall repair is a four-step procedure that decides the durability on the first attempt, not the second. Damage happens, but the right drywall repair matches the patch to the hole, primes the patch correctly, and blends beyond the edge. This page owns the side-by-side guidance so the drywall fundamentals and the finishes pages can stay at the system level. For the broader wall context, the drywall fundamentals wrap what lives behind the paint, and the drywall thickness and fire rating page explains the type and gauge. For wet-area walls where the repairs are different, the waterproofing failure page is the partner.
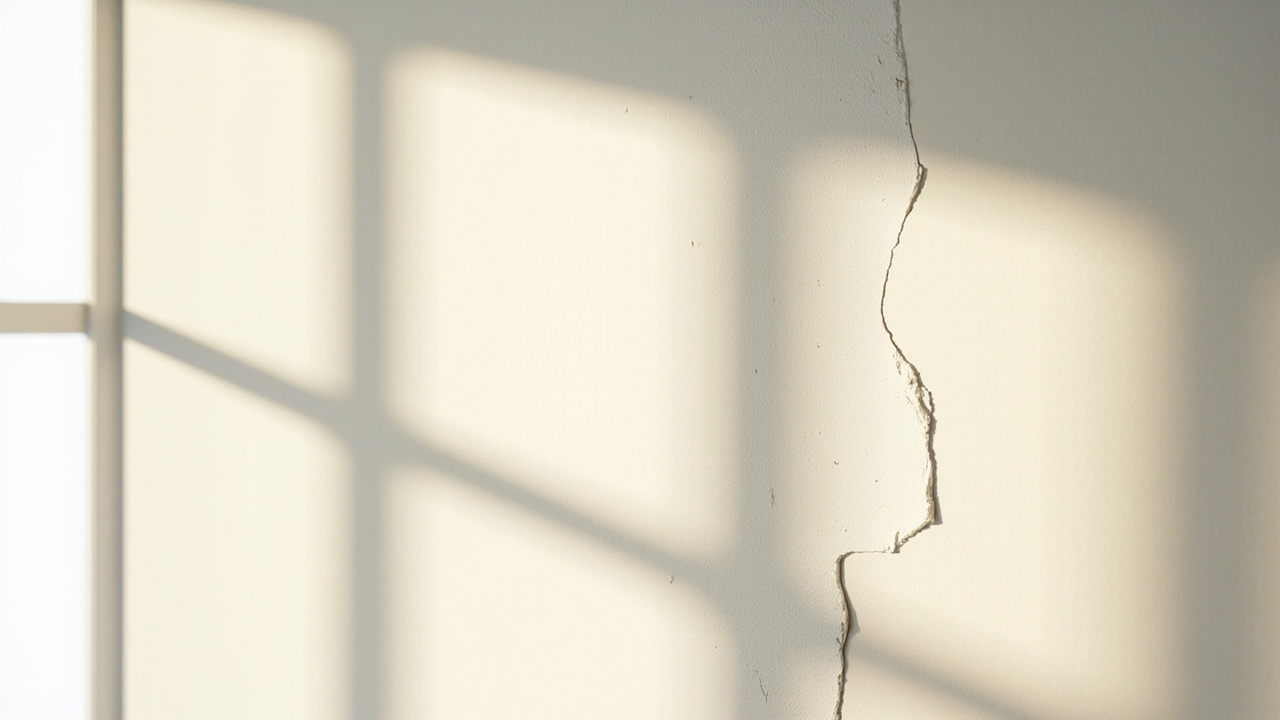
What Drywall Repair Actually Means and What Most First Attempts Get Wrong
Drywall repair is the procedure for restoring a damaged gypsum wall surface back to a paintable, untextured, flat plane. Most first attempts fail because the homeowner skips one of three steps. First, they fill a hole that needs a backing with joint compound alone, and the patch sags into the void on the second coat. Second, they feather only to the edge of the patch, and the patch shows as a hard edge under any light angle. Third, they skip primer over the patch, and the repair flashes through the paint as a dull spot. None of these are hard to fix, but all three are common and they cost the same on a 5 minute patch as on a 5 hour patch.
The repair fits the damage. A nail hole up to 1/8 inch gets one coat of lightweight spackle, sand, prime, paint. A small hole 1/4 to 1 inch gets a self-adhesive patch or a California patch, two to three coats of compound, sand, prime, paint. A medium hole 1 to 4 inches gets a backing piece of wood, a paper tape joint, and three coats of compound. A large hole 4 inches or more gets a full drywall plug with paper tape on all four seams. Understanding the size decides the right approach and saves the cost of over-building small holes.
Cost, Materials, and Tools Across the Drywall Repair Family
A 1/8 inch nail hole patch runs $0.50 in materials, with a tube of lightweight spackle at $4 to $8 covering 20 to 30 holes. A small 1/4 to 1 inch patch runs $3 to $10 in materials per patch with self-adhesive patches at $5 to $8 for a 6 by 6 inch size, plus the compound, the tape, the sandpaper, and the primer. A medium 1 to 4 inch patch runs $15 to $30 in materials per patch. A large 4+ inch plug runs $30 to $80 in materials, mostly the new drywall, the tape, and three to four coats of compound. Labor adds $75 to $200 per hour for a professional if the homeowner does not want to do it themselves, with most repairs fitting a one-trip service call.
| Hole size | Materials USD per patch | Coats of compound | Tape | Time to finish |
|---|---|---|---|---|
| Nail hole up to 1/8 inch | $0.50 | 1 | None | 10 to 20 minutes |
| Small hole 1/4 to 1 inch | $3 to $10 | 2 to 3 | Self-adhesive patch | 30 to 60 minutes |
| Medium hole 1 to 4 inches | $15 to $30 | 3 | Paper tape | 2 to 3 hours |
| Large hole 4 plus inches | $30 to $80 | 3 to 4 | Paper tape all seams | 4 to 8 hours over 2 days |
The right compound depends on the job. Lightweight spackle is for nail holes and minor dings only. All-purpose joint compound is for taping and filling, easy to sand and forgiving on the second coat. Setting-type joint compound (also called hot mud) is for repairs that need to set fast and build depth, typically used by pros for first coat on a deep patch. Lightweight all-purpose is the easiest to sand, and that’s what most first-timers should use. Sand is part of the procedure, not an afterthought, and 120 grit on a sanding block beats a power sander because dust control matters in drywall work.
Conditions That Change the Right Approach Within Drywall Repair
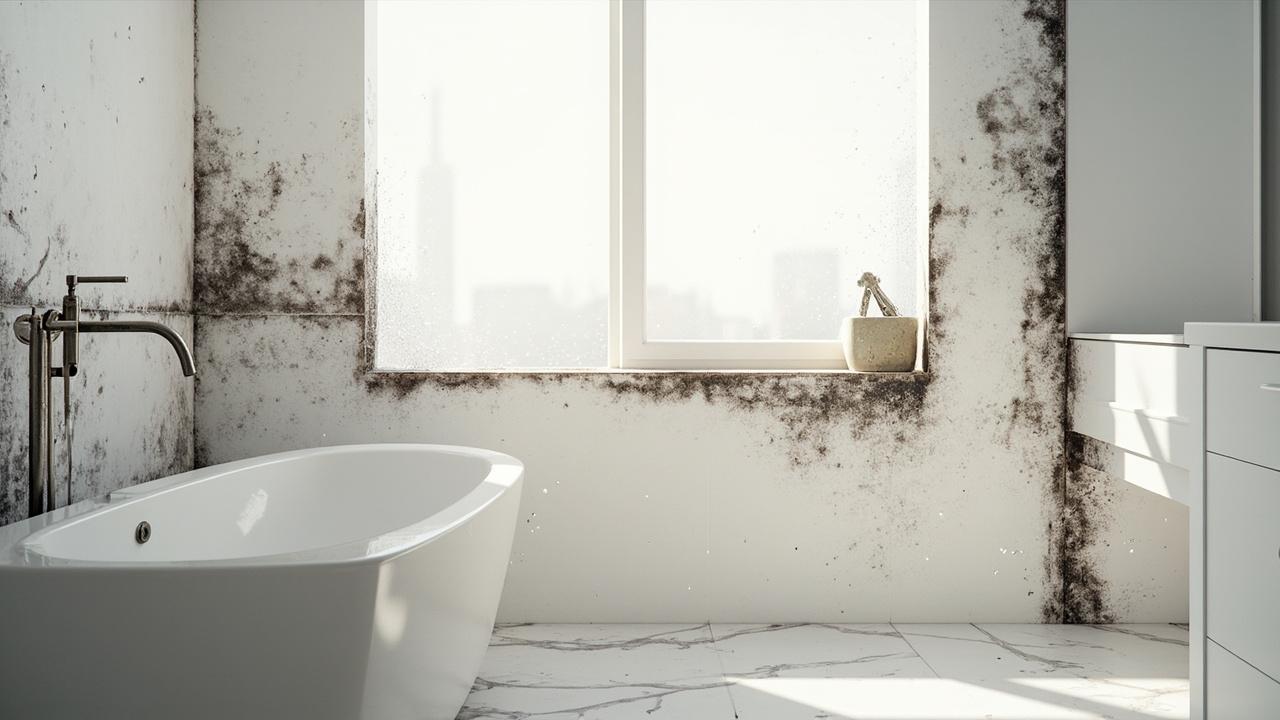
Three conditions decide the right approach for a hole or crack. Hole size is the first, as covered above. Crack pattern is the second. Hairline cracks at the corner of a wall and ceiling can be a seasonal expansion issue and recur even after repair. The right fix is paper tape with setting compound, not just a fill. Settlement cracks at door corners are the same. Stress cracks from impact need a backing. Moisture exposure is the third lever. Bathroom and kitchen walls need mold-resistant drywall backing. A repair in a wet area that uses standard drywall fails again in 2 to 5 years. For tile backing that meets the drywall plane, the waterproofing application page is the structural partner.
Two practical examples make this concrete. A 1/4 inch nail hole in a bedroom wall is a single-coat spackle repair, 10 minutes, 1 trip. A 1 foot hole from a doorknob in a hallway is a medium patch with backing, paper tape, three coats, and an afternoon of work spread across two days. A 3 foot wall section that was removed for plumbing needs a full patch with paper tape all four seams, three to four coats, and finishing to match the wall texture. For matching texture, the paint sheen page rounds out the finish after the patch is flat.
Step-by-Step Procedure for a Medium Drywall Repair
Five steps carry the medium hole repair from damage to paintable. Cut the damage back to a clean square or rectangle, an inch or two larger than the hole on every side, so the patch fits on solid gypsum. Cut a backing piece of 1×2 or 3/4 inch plywood, slide it inside the wall through the hole, and screw it to the back of the existing drywall so the backing crosses the opening and provides a fastening surface. Cut a patch of 1/2 inch drywall to fit the opening, screw or screw-and-tape it to the backing. Tape the four seams with paper tape and all-purpose joint compound, feathered 6 to 8 inches beyond each side of the seam. Apply second and third coats, each wider than the last, sanding between coats with 150 to 220 grit on a flat block. Prime with a PVA primer over the entire patch area, not just the seams, and finish to match the surrounding texture.
The five keys to a 1 trip drywall repair are correct backing for any hole over 1 inch, paper tape on every seam, feathered coats wider than the patch, full prime across the patch area, and texture to match the wall before paint. The same procedure runs a smaller patch without a backing, and a larger patch with a full panel replacement. For owners still planning how the walls and the floor tie together, the interior design guide and the interior lighting and materials page round out the room finish story.
Frequently Asked Questions About Drywall Repair
Do I need to remove damaged drywall? Yes if the gypsum is crushed, wet, or mold-contaminated. The patch has to sit on solid, dry material.
Can I use spackle for a hole bigger than 1/4 inch? It will crack and sag. Use joint compound with a self-adhesive patch or paper tape.
Why does the patch show through the paint? The patch was not primed, or the patch was not feathered wide enough. Both fix the same way on the next attempt.
How long do drywall repairs last? When done correctly, decades. When rushed, a year or two before visible re-cracking.
Is drywall dust dangerous? Yes. Use a dust mask, eye protection, and a HEPA vacuum during sanding. Do not sweep drywall dust.