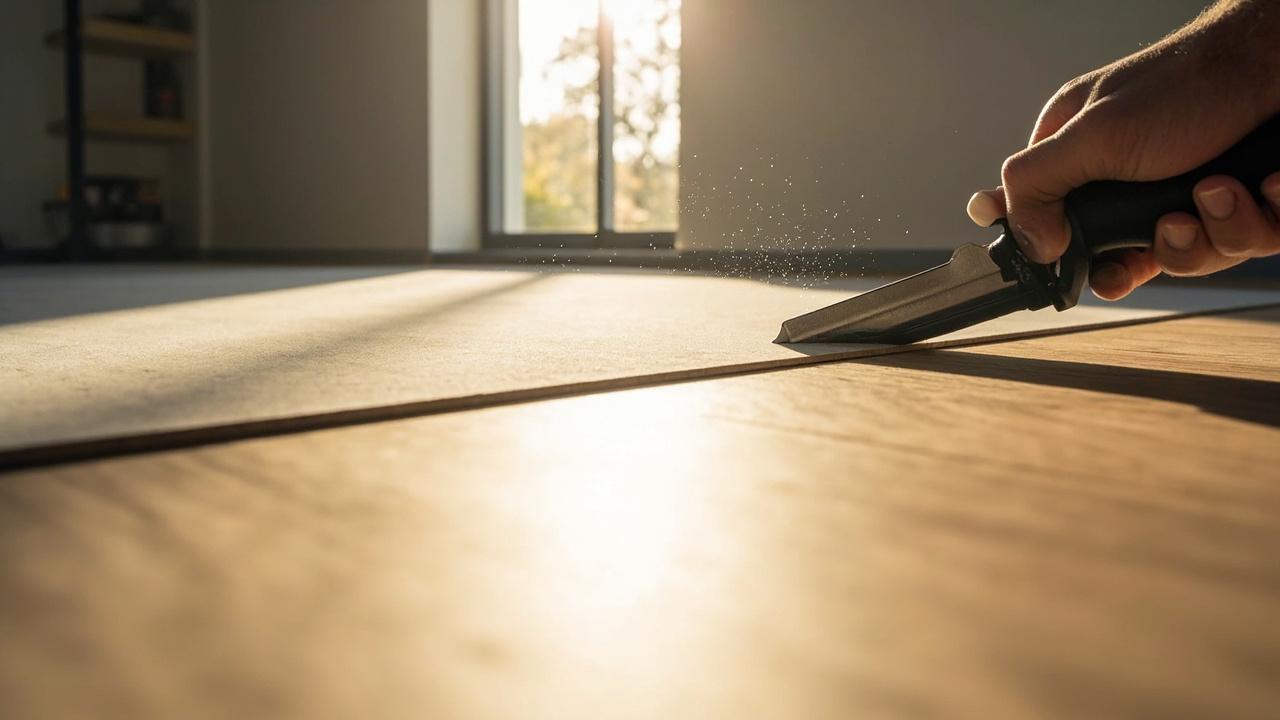

You are standing in the doorway with a plank in one hand and a jigsaw in the other, and you want the cut to land clean on the first try. Here is the short answer: how to cut laminate flooring well comes down to sharp fine-tooth blades, scoring the melamine face, and respecting the 8 mm expansion gap the floor needs to breathe.
Pick the right tool, mark the finished side up, and the job goes from loud and dusty to quiet and quick. If you are weighing your first room, the broader laminate flooring guide covers the basics. For wet zones like baths and mudrooms, settle the moisture question first by reading laminate flooring moisture resistance before you slice a single plank.
What Laminate Flooring Is, and Why Cutting It Differs from Wood
Laminate flooring is a layered board built around an HDF core of 8 to 12 mm, a printed design sheet, and a transparent wear layer rated AC3 to AC5, about 0.3 to 0.7 mm thick. The core is dense fiber, not solid lumber, which changes the cut you make.
The boards also lock together with a click system that has to stay intact across every cut you make. That density means two things for your saw.
First, a fine-tooth blade stays sharp longer than on oak or pine. Second, the top is a photograph sealed under melamine, so chips on the face are forever. Cut from the back when you can, score the face when you cannot, and never force the board through the blade.
For a clearer picture of which boards hold up longest under daily traffic, the best laminate flooring brands roundup lines up AC ratings, core density, and price in one place.
How Laminate Cuts: Mechanism, Tolerances, and the Numbers That Matter
A laminate plank is a sandwich you are slicing through. The melamine face chips if the blade exits the top, the HDF core scorches if the blade runs slow, and the bottom balancing sheet flakes if you back-cut without support.
Three tolerances drive the outcome:
- Subfloor flatness: no more than 1/8 to 3/16 in over 10 ft (3 to 5 mm over 3 m). Outside that band, even a perfect cut will rock.
- Expansion gap: 8 mm (about 5/16 in) along every wall, around pipes, and at thresholds. The click system needs room to slide with humidity.
- Underlay thickness: 2 mm foam or combo underlay, sometimes with a 6 mil moisture barrier taped at the seams.
Skip the acclimation step and the planks move after install, opening gaps right where you cut so carefully. Lay the unopened cartons in the room for 48 hours, and keep the climate near the conditions the floor will live in.
Pick the Right Tool: Comparison by Cut Type, Speed, and Dust
Most rooms need two tools, not one. A miter saw or laminate cutter handles the long straight cuts. A jigsaw handles the curves around door jambs, vents, and toilet flanges.
| Method | Best tool | Best for | Dust and risk |
|---|---|---|---|
| Straight rip or crosscut | Laminate cutter (guillotine) | Rooms under 200 sq ft, indoor only, no power access | Zero dust, silent, slow on thick planks |
| Straight cut, high volume | Miter saw with 80-tooth blade | Whole-house installs, outdoor or garage power | Heavy fine dust, wear a mask |
| Curve or notch | Jigsaw with fine-tooth blade | Door jambs, vents, pipes, odd corners | Moderate dust, risk of face chipping |
| Score and snap | Utility knife and straightedge | Thin 6 to 7 mm boards, short crosscuts only | Almost no dust, weak on long rips |
| Flush cut at baseboard | Oscillating multi-tool | Under door casings, against installed trim | Low dust, slow, very clean finish |
Match the tool to the room, not the other way around. A basement with one window and no outdoor outlet begs for a guillotine cutter. A sunlit great room with eight doorways begs for a miter saw plus a jigsaw.
Use a laminate cutter if you are cutting inside a finished home with no dust control. Use the miter saw if speed matters and you can vent the room or run a shop vac to the blade port. Skip the circular saw for finish cuts, the chipping on the face is almost impossible to hide.

The Step-by-Step Cut, and the Mistakes That Undo a Whole Floor
Plan the layout before the first cut. Measure the room, subtract two expansion gaps of 8 mm, and split the difference so the last row is at least half a plank wide. If it is not, rip the first row narrower so the last row lands in a balanced place.
Then walk this sequence for every board:
- Mark the cut on the face with a pencil and a square, not a tape measure held in the air.
- Flip the board face-down for a jigsaw, face-up for a miter saw, so the blade enters the side that tolerates chips.
- Score the melamine face with a utility knife on deep cuts. The score keeps the surface from flaking.
- Support both sides of the cut so the offcut does not fall and snap at the end of the stroke.
- Dry-fit before you click. A 1 mm gap now is a 5 mm gap after eight rows.
- Stagger end joints by at least 200 mm (8 in) between rows. Stair-step seams lock the floor against racking.
- Recheck the 8 mm expansion gap at the wall every five rows. Planks drift as you build outward.
The common mistakes look small and cost the most:
- Cutting the wrong side up. Face-down for jigsaws, face-up for miters, every time.
- Forgetting the expansion gap, then watching the floor buckle at the first humid week.
- Using a dull blade or a coarse 24-tooth framing blade. Chips will follow.
- Skipping the acclimation period. The floor moves after you leave, not while you work.
- Pushing the saw instead of letting it feed. Burned HDF smells bad and cuts crooked.
Stop and remeasure if the offcut is shorter than 150 mm (6 in). A tiny offcut at the end of a row telegraphs a bad layout back through every joint you have already locked.
Edge Cases, When to Call a Pro, and Your Next Step
Some rooms punish the best cut. A bathroom, laundry, or entry with a floor drain needs a moisture-rated board and a sealed click system. The HDF core swells past 60 percent relative humidity, so if the room runs wet for half the year, switch to a waterproof SPC core of 4 to 6 mm or pick a different floor.
Call a licensed flooring pro if the room exceeds 1,000 sq ft in one continuous run without a break, if the subfloor reads above 3 percent moisture on a pin meter, or if the planks need to bend around a curved stair nosing. A pro can also refloat a bad acclimation in a day, which a DIYer usually cannot.
Once the cuts are clean and the floor is down, the next decision is the budget. Walk over to the laminate flooring cost per sq ft page for current price ranges by board type, and if you have not installed yet, the how to install laminate flooring guide covers the full click-and-roll sequence from first row to last.
Cut once, cut well, and the floor will forgive the rest.