
Your roof isn’t just shingles and plywood — the soffit and fascia are the two components that control how air moves under your roof and how water gets directed away from your walls. Get them wrong and you’re looking at rot in the roof deck, ice dams in winter, and gutters that pull away from the house by the time the next heavy storm hits. Get them right and they quietly do their job for 15-25 years without you thinking about them. The question isn’t whether you need them — it’s which materials and dimensions actually fit your climate, your budget, and the way your roof is built.
What Soffit and Fascia Are — and Why the Distinction Matters
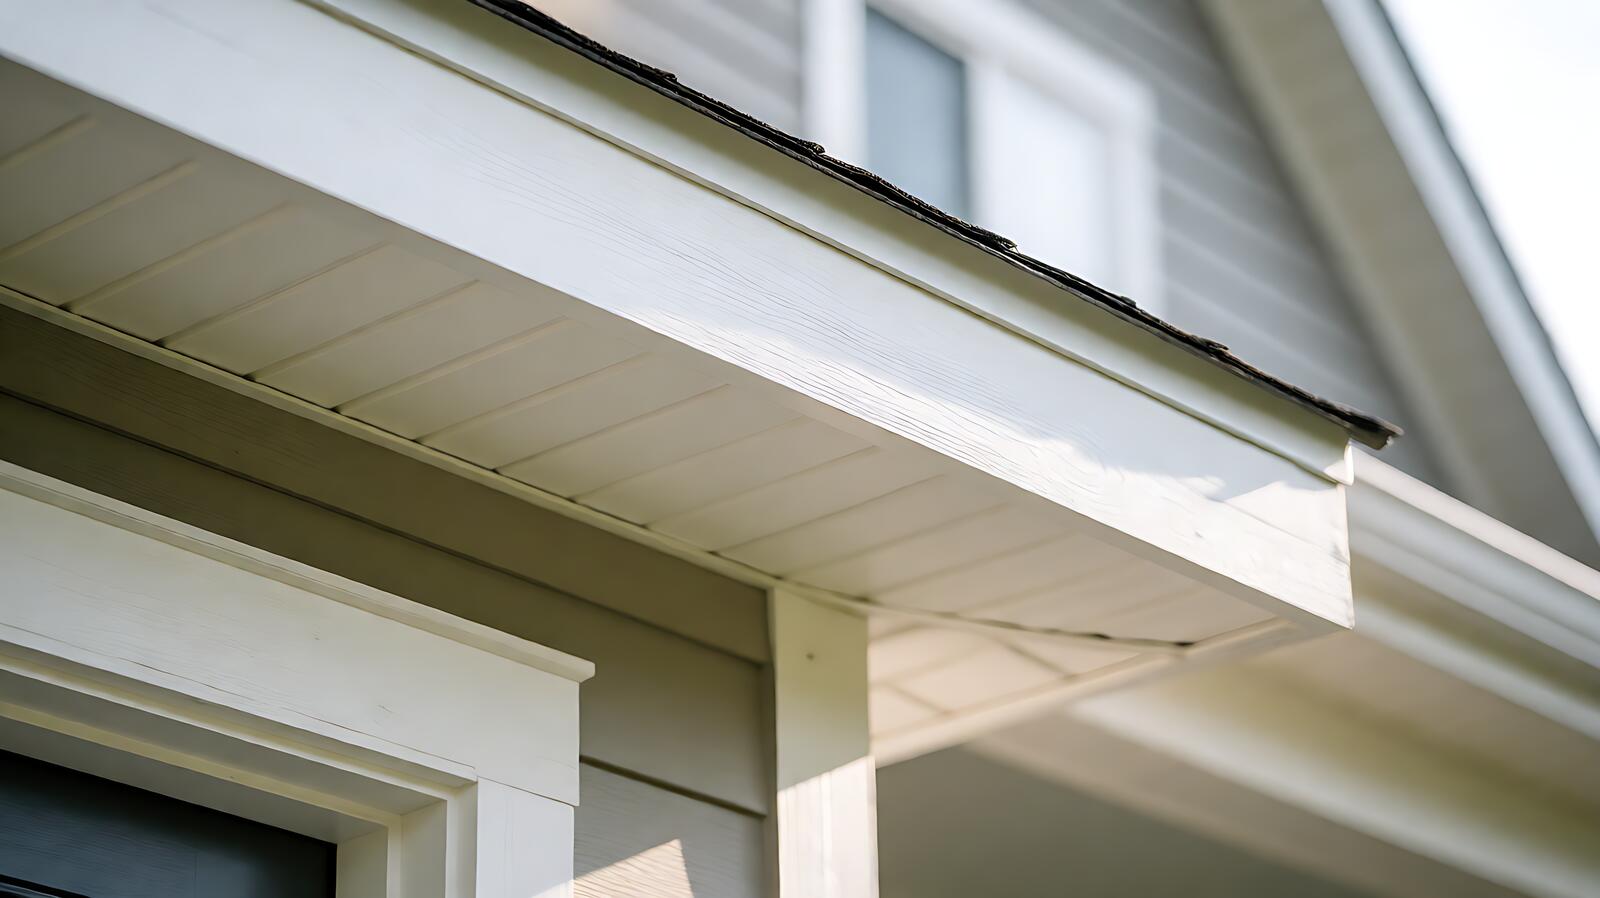
Soffit is the material that covers the underside of your roof’s overhang — the part you see when you stand below and look up at the edge of the roof. It’s not just cosmetic. In most modern builds, soffit contains ventilation openings (continuous slots or individual vents) that let outside air flow into the attic space, which is what keeps the roof deck from overheating in summer and forming ice dams in winter. A solid, unvented soffit on a house that needs attic ventilation is a problem waiting to happen.
Fascia is the vertical board that runs along the edge of the roof, capping the ends of the rafters or trusses. It’s what your gutters mount to, and it’s the last line of defense between rain running off the roof and the exposed ends of your roof structure. Fascia takes the direct hit of weather — wind-driven rain, ice, UV exposure — and when it fails, the rafters behind it start to absorb moisture.
The two work as a system: soffit feeds air in, fascia seals the edge and holds the gutter. You can’t pick one without thinking about the other, because the gap between them — typically a 3/4-inch rainscreen gap between the top of the fascia and the roof deck — is what lets the soffit ventilation actually reach the attic. Close that gap with caulk or solid trim and you’ve defeated the whole point of vented soffit.
How Soffit and Fascia Work Together — The Mechanics
The mechanism is straightforward but the tolerances are what separate a lasting install from a callback. Air enters through the soffit vents, flows up and across the underside of the roof deck, and exits at the ridge or through gable vents. This continuous flow is what keeps the deck temperature close to ambient — critical in climates where winter snow melts unevenly and refreezes at the eaves, backing up under the shingles.
The rainscreen gap is the detail that makes this work. A 3/4-inch gap between the top of the fascia board and the roof sheathing gives air a clear path from the soffit into the attic without being blocked by the fascia itself. Some builds use a drip edge that integrates this gap; others use a separate ventilation baffle tucked into the gap before the fascia goes on. Either way, the gap has to stay open — paint, caulk, or a fascia that’s too wide for the overhang will seal it shut.
Material choice changes how the system ages. Fiber cement soffit and fascia handles moisture well and resists rot, but it’s heavier and requires pre-drilled holes for fasteners because it splits under driven nails. Vinyl is light, cheap, and crack-resistant in freeze-thaw cycles, but it can sag over long runs if the hanger spacing is too wide, and it expands noticeably in direct sun — a 12-foot run on a hot July afternoon can grow several millimeters, which is why vinyl installs use expansion gaps at the ends. Engineered wood (like LP or AZEK-composite trim) sits between the two on cost and durability, with better paint retention than raw wood but less impact resistance than fiber cement.
The paint cycle matters more than most homeowners realize. Fascia boards take full UV exposure and rain — even protected ones. A quality paint job on wood or fiber cement typically lasts 10-15 years before it needs scraping and repainting. Vinyl doesn’t need painting but can’t be painted either — if you want a color change on vinyl fascia, you’re replacing it, not refreshing it.
Choosing the Right Materials — Comparison by Climate and Budget
The decision comes down to three axes: your climate, your budget, and what you’re willing to maintain. There’s no single best material — there’s the one that fits the conditions you actually have.
| Material | Best climate | Upfront cost (relative) | Maintenance cycle | Weakness |
|---|---|---|---|---|
| Fiber cement | High humidity, wet climates, coastal salt air | Medium-high ($8-15/linear ft installed) | Paint every 12-15 years | Heavy, requires pre-drilled fasteners, cracks if struck hard |
| Vinyl | Dry to moderate climates, wide temperature swings | Low-medium ($4-8/linear ft installed) | None — don’t paint | Can sag on long runs, expands in heat, not paintable |
| Engineered wood / composite | Moderate climates, budget-conscious who want wood look | Medium ($6-12/linear ft installed) | Paint every 8-12 years | Less impact-resistant than fiber cement, can swell if water gets behind paint |
| Wood (solid) | Dry climates, historic/restoration work | Medium-high ($10-20/linear ft installed) | Paint/stain every 5-8 years | Rots if ventilation or paint fails, highest maintenance |
In a high-humidity or coastal area, fiber cement is usually the right call because it won’t absorb moisture the way wood does, and it resists the salt-driven corrosion that eats metal fasteners. Vinyl is a reasonable second choice if budget is tight — it won’t rot — but check that the specific product line has UV-stabilized color, because cheap vinyl fades and chalks in full sun within a decade.
In a dry climate with big seasonal temperature swings, vinyl’s expansion and contraction become the main thing to get right during install. An 8 mm expansion gap at each butt joint or corner keeps the material from buckling when it heats up. Skip that detail and you’ll see waves in the fascia by midsummer.
For historic or restoration work where matching existing trim matters, solid wood or a high-quality engineered wood composite that takes stain the way real wood does is the choice — but only if you’re willing to repaint on a 5-8 year cycle. The “low maintenance” promise of other materials doesn’t apply when appearance matching is the priority.
One decision that surprises people: housewrap vs. felt paper behind the siding and trim matters here too. Fascia installs over the roof edge where the housewrap or felt terminates. If the wrap isn’t flashed properly behind the fascia, water running down the wall finds the gap and gets into the roof edge. Housewrap (the synthetic, spun-bonded kind) handles this better than traditional felt because it doesn’t absorb water and wick it into the framing — but only if it’s taped and integrated with the roof’s drip edge correctly. Felt works if it’s shingle-lapped and the laps are above, not below, the next course, but it degrades faster in wet conditions.
Installing Soffit and Fascia — What Actually Goes Wrong
The install sequence matters more than the material choice on most jobs, because the mistakes that cause callbacks are almost always about sequence and tolerance, not about which product was used.
Get the rainscreen gap right first. Before the fascia goes on, the gap between the top of where the fascia will sit and the roof sheathing needs to be clear — typically 3/4 inch — and it needs to stay clear after the fascia is installed. This is where baffles or integrated drip edges earn their keep. A fascia board that’s 1 inch thick on a roof with a 1/2-inch overhang will close this gap automatically. Measure the actual overhang before ordering material.
Flatness matters. Fascia that’s not flat — twisted, bowed, or installed with a 1/8 to 3/16 inch irregularity over a 4-foot span — will show every imperfection once the paint goes on, and gutters mounted to it will gap or overflow at the low spots. Check the board with a straightedge before fastening, and don’t force it flat with extra screws — that just creates stress points that crack later. Replace the board instead.
Slope the gutters, not the fascia. A common mistake is trying to slope the fascia board itself to make the gutters drain — fascia should be level, and the gutter gets its slope from how it’s hung (typically 1/4 to 1/2 inch per 10 feet toward the downspout). Sloping the fascia introduces an uneven gap at the soffit joint and makes the gutter noisy.
Fastener spacing and type. For vinyl, follow the manufacturer’s hanger spacing — usually 24 to 36 inches on center for fascia, tighter for long runs or windy sites. For fiber cement, pre-drill every fastener hole and use corrosion-resistant nails or screws — standard galvanized nails will rust-streak the cement within a few years in wet climates. For wood, hot-dipped galvanized or stainless fasteners only; electroplated zinc will fail in the same timeframe as the paint.
Don’t caulk the top of the fascia. This is the single most common mistake. The top edge of the fascia where it meets the roof sheathing is where the soffit ventilation needs to flow. Caulk there and you’ve turned vented soffit into solid soffit. Seal the bottom of the fascia where it meets the wall or the gutter, but leave the top open or integrated with a designed vent path.
When Soffit and Fascia Need More Than a Material Swap
Sometimes the problem isn’t the soffit or fascia — it’s the structure behind them.
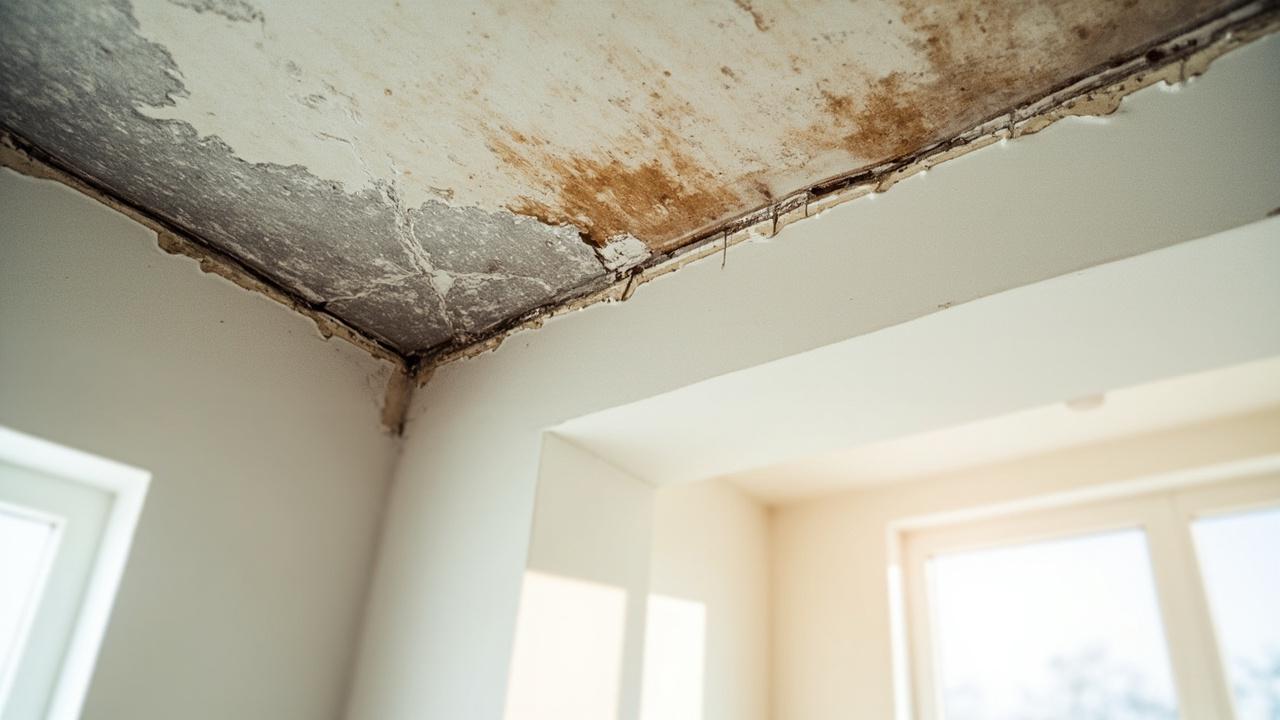
If the rafter tails or truss ends are already rotted, new fascia over old framing just hides the decay. A visual check before the fascia goes on — probe the wood with a screwdriver, look for dark staining at the ends, check for cracked or buckling paint that signals moisture behind it — takes 10 minutes and saves the callback. If you find soft wood, that’s a repair job first, fascia second. In serious cases this means opening the roof edge and replacing framing, which is a job for someone with the scaffolding and structural knowledge to do it right.
Ice dam history is a signal that the soffit-to-attic ventilation path is blocked somewhere, not necessarily at the soffit itself. The issue could be insulation dams at the eaves that cut off airflow, or knee walls in an attic that create dead air pockets. A new soffit with perfect vents won’t fix ice dams if the insulation is blocking the air that gets in. Check the full ventilation path — soffit intake, attic clearance, ridge or gable exhaust — before assuming the soffit is the problem.
Painted-over vents are a post-install failure mode that shows up years later. A previous owner or contractor caulks or paints over the soffit vent openings, killing the airflow. When diagnosing attic heat or moisture issues, verify the vents are actually open before replacing the soffit — sometimes the fix is a putty knife and a heat gun, not new material.
For houses in severe coastal or high-UV environments, even the right material choice benefits from a professional assessment of fastener corrosion, flashing integration with the roof edge, and whether the existing roof overhang is deep enough to protect the fascia from direct wind-driven rain. A licensed contractor can evaluate whether the roof structure, gutter capacity, and fascia spec work as a system — something that’s hard to judge accurately from a photo or a ground-level walkaround.
After you’ve got the soffit and fascia sorted, the next questions are usually about cost — how much the materials and labor actually run per linear foot for your house — and about the rest of the exterior system: gutters, siding, trim details. The exterior siding overview covers how siding, trim, and the roof edge work together, and there’s more on the gutter side of this in the gutter installation cost guide if you’re planning the full edge rebuild at once.