Wondering how to insulate a garage without wasting money? A garage that stays warm in winter and cool in August starts with one decision: matching the insulation material and R-value to your actual use. Garage insulation is the practice of adding thermal resistance to the walls, ceiling, and door so the space stays closer to the temperature you want without high energy bills.
What Garage Insulation Is and the Short Answer
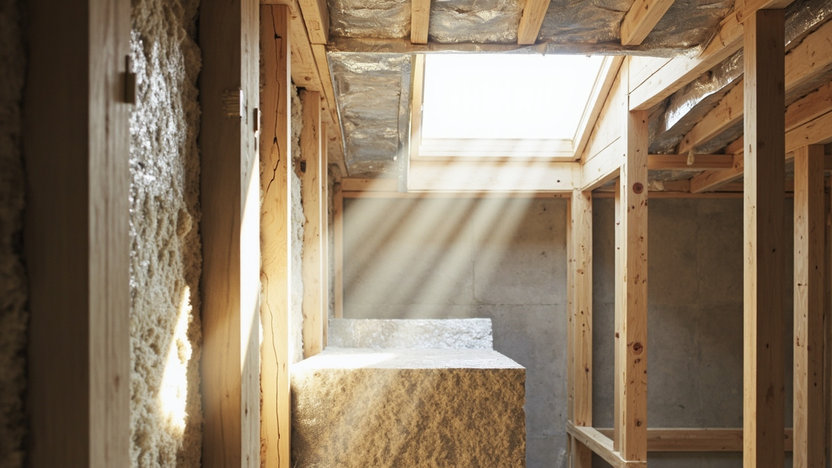
Most garages start cold because they are built with little or no insulation in the walls and almost never in the ceiling. Adding attic and wall insulation means doing two jobs at once: slowing heat loss through the walls and ceiling in winter, and slowing heat gain through the same surfaces in summer.
The short answer: target R-13 on the walls and R-38 in the ceiling for a typical attached garage in most US climate zones. Those numbers line up with common IRC and IECC guidance for conditioned or semi-conditioned garages, and they give you a concrete number to take to the supply house.
If your winters run deep, push the ceiling toward R-49. If you only park and skip the workshop, R-19 walls and R-30 ceiling may be enough. Two things change the number fast. A vapor barrier on the warm side of the wall controls moisture drive, and the class you pick, Class I, Class II, or Class III, depends on your climate and how airtight the garage already is. Get the vapor strategy wrong and you can trap moisture inside the wall cavity even when the insulation itself looks fine.
How Garage Insulation Works: Materials and Prices
Insulation traps pockets of still air so heat moves through the assembly more slowly. The R-value measures how well a material resists heat flow per inch, and total R depends on material and depth. Compress a batt into a too-shallow cavity and the air pockets collapse, cutting the effective R.
Three materials dominate garage work, and each fits differently into the wall cavities behind the drywall. Typical cavities are 3.5 inches (89 mm) for a 2×4 wall or 5.5 inches (140 mm) for a 2×6. The right pick depends on your cavity, budget, and whether you value speed or air sealing.
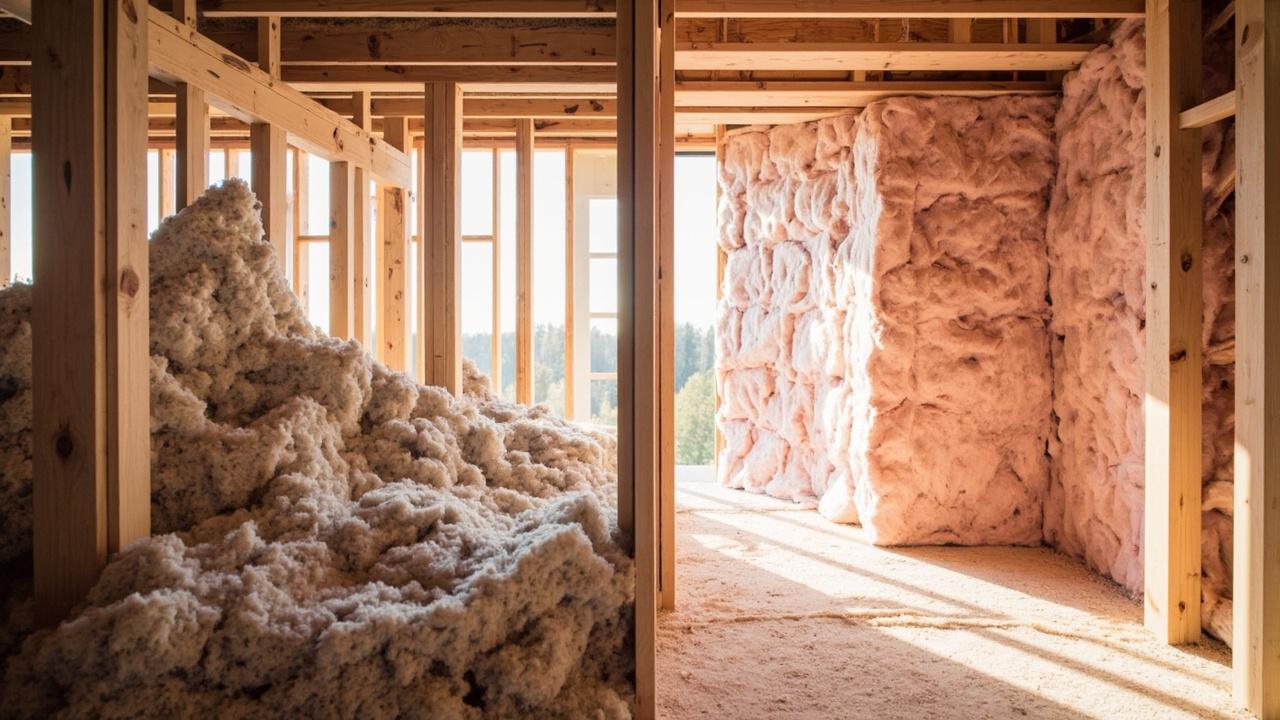
Fiberglass: Low Cost, No Air Seal
Fiberglass batts are the familiar pink or yellow rolls and pre-cut strips. They cost the least up front, run roughly $0.70 to $1.50 per sq ft for material alone, and land around R-3.1 to R-4.3 per inch depending on density. Fiberglass breathes, which helps in a garage that sees occasional moisture, but it does almost nothing for air leakage unless you also seal the gaps.
Cellulose: Settles Into Irregular Cavities
Cellulose, shredded recycled paper treated for fire resistance, blows into open wall cavities and settles into corners batts miss. It runs about $1.00 to $2.00 per sq ft installed for blow-in, delivers around R-3.2 to R-3.8 per inch, and likes a 1 to 2 percent slope for drainage when used in any horizontal assembly. Dense-packed cellulose also slows air movement better than loose fiberglass.
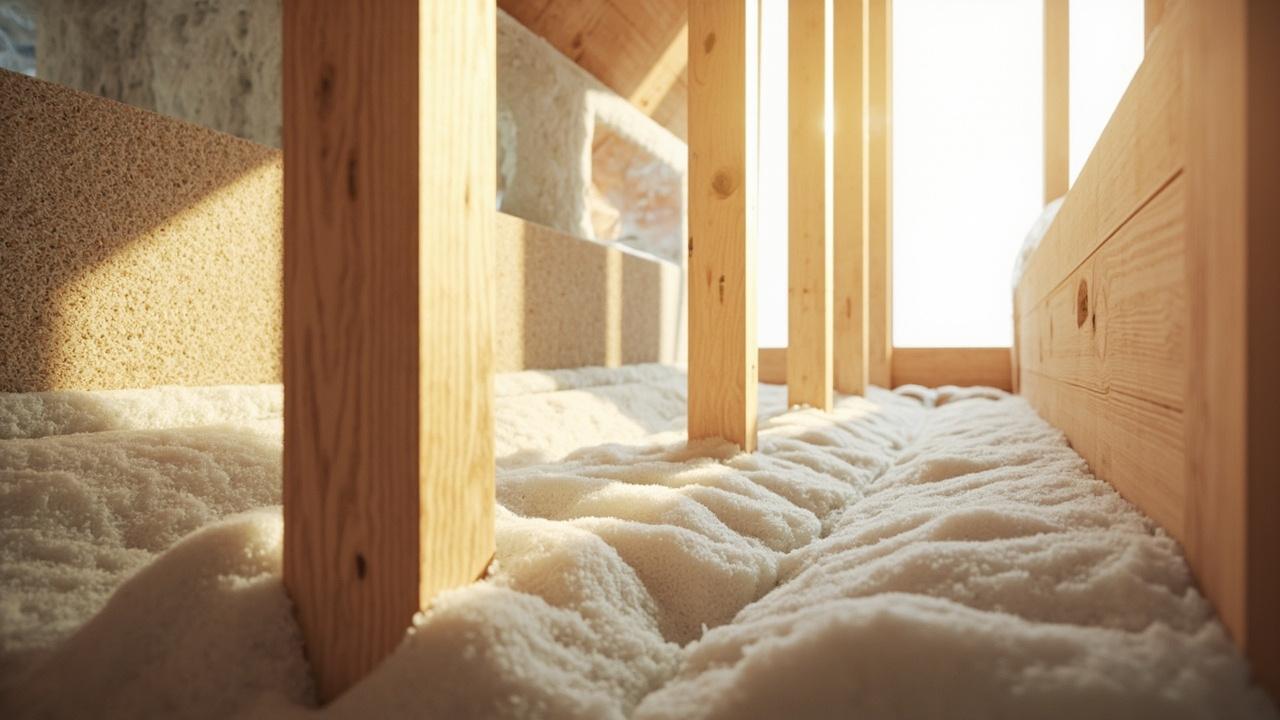
Spray Foam: Air Seal Plus R in One Step
Spray foam hits air sealing and R in one step. Open-cell foam lands around R-3.5 per inch and costs roughly $1.50 to $3.00 per sq ft installed; it lets some moisture pass.
Closed-cell foam hits R-6 to R-7 per inch, stiffens the wall, and blocks vapor, but runs $2.50 to $5.00 per sq ft installed and needs a pro. Pick closed-cell when you want the insulation and vapor control to be the same layer; pick open-cell when you want a lower-cost air seal that still breathes.
Vapor Control: The Right Class for Your Climate
A garage in a wet climate or against a shaded wall needs a different vapor strategy than a dry, sun-exposed garage in Arizona. In cold climates the warm side is the interior, so the vapor retarder goes on the inside face of the wall.
In hot-humid climates the drive can flip, and a Class III retarder or a carefully detailed exterior drainage plane may be the safer call. When the assembly includes both insulation and a separate vapor barrier, the two must stay on the correct sides of each other, or you risk condensation inside the cavity.
Choosing Between Insulation Types for Your Garage
Picking a material is really picking a set of trade-offs: cost, R per inch, air sealing, moisture handling, and how much fuss you want during install. The table below lines up the four common choices against the same criteria so you can compare them without flipping between product pages.
| Material | Cost (material only, USD) | R-value per inch | Best for | Watch out for |
|---|---|---|---|---|
| Fiberglass batts | $0.70 to $1.50 per sq ft | R-3.1 to R-4.3 | Tight budget, open 2×4 or 2×6 cavities, DIY | Compression cuts R; does not seal air leaks |
| Blown cellulose | $1.00 to $2.00 per sq ft installed | R-3.2 to R-3.8 | Irregular framing, top-ups, air infiltration | Needs a blower; settles if overfilled |
| Open-cell spray foam | $1.50 to $3.00 per sq ft installed | R-3.5 | Air sealing plus insulation in one pass | Not a vapor barrier; lower R per inch |
| Closed-cell spray foam | $2.50 to $5.00 per sq ft installed | R-6 to R-7 | Wet climates, thin cavities, high R in little depth | Highest cost; needs licensed professional |
Match the Material to Your Garage
Use the table as a first filter, then narrow by your actual garage. If you park in a dry garage that only needs to stay above freezing, fiberglass batts on the walls and blown cellulose on the ceiling are a plain, durable pairing that most DIYers can finish in a weekend.
If your garage doubles as a workshop and you want it to hold temperature through a cold night, open-cell foam on the walls gives you air sealing and R together, and you can top the ceiling with blow-in to hit the higher R. For the broader thermal picture across all insulation types, the home insulation types overview explains how R-value, air sealing, and vapor control fit together first.
Pick the Vapor Strategy for Your Climate
Choose closed-cell foam when the cavity is shallow and you still want a high total R, or when the garage sits in a wet climate and you want the insulation itself to act as the vapor control layer.
Pick a separate vapor barrier under the drywall instead when you want a lower-cost wall that still manages moisture. Make sure the class matches the climate. A Class I poly sheet belongs in a cold climate on the warm side. A Class III latex primer on drywall may be the better call in a mixed or hot-humid zone.
Don’t Forget the Garage Door
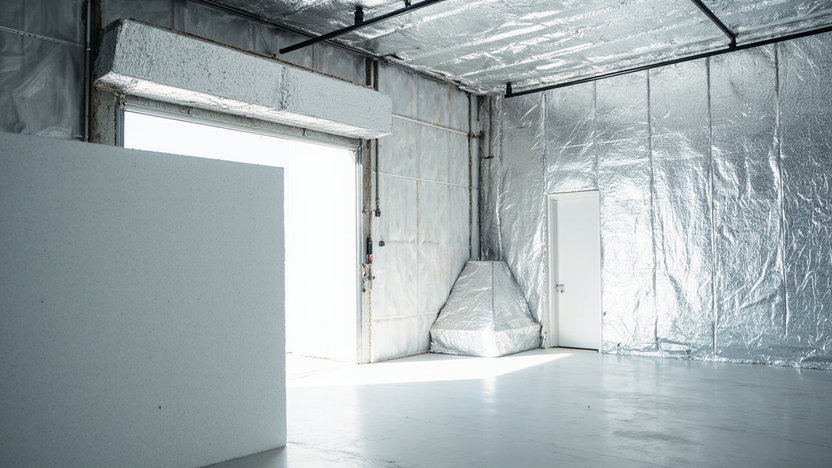
A garage door deserves its own line item. An uninsulated metal door is a massive thermal bridge and a condensation surface. An insulated garage door with R-10 to R-18 built-in panels or a retrofit insulation kit changes the feel of the whole space, and it usually costs less than you expect because the door is a small area compared with the walls and ceiling.
How to Insulate a Garage: Steps and Mistakes to Avoid
A clean garage insulation job follows the same sequence as any small cavity: seal air leaks, place vapor control on the right side, then fill to target depth without compressing. Skip the first step and the insulation works harder; skip the second and you risk moisture inside the wall.
Seal the Air Leaks First
Start with air sealing. Walk the garage with a bright light and mark every gap around the door frame, the wall plates, any utility penetrations, and the seams where the walls meet the ceiling. Small gaps under a quarter inch take fire-rated caulk. Larger gaps take expanding foam. Big chases and the door perimeter need a cut piece of rigid foam or a backing rod plus sealant.
Place the Vapor Barrier on the Correct Side
Then fit the vapor barrier on the correct side for your climate. In a cold climate that means the interior face of the wall, with seams overlapped and taped, and any penetrations sealed.
In a mixed or hot-humid climate, pause and reconsider. A Class II or Class III retarder, or a carefully detailed exterior drainage plane, may be the safer design. If you are unsure which side the moisture drive favors, ask a licensed professional or your local building department before you close the wall.
Fill to Depth Without Compressing
Finally, fill to depth. For batts, cut them to friction-fit the cavity without stretching or compressing. Split batts around wires and electrical boxes instead of stuffing one batt over everything.
For blow-in cellulose, set a depth marker every few feet so you can confirm the installed thickness matches the target R. For R-38 in the ceiling, that is about 12 to 14 inches (300 to 350 mm).
For spray foam, leave the spraying to a licensed professional. The chemicals, the expansion, and the ignition-barrier rules under the IRC all point to a job for someone with the right gear.
Avoid Mistakes That Look Fine on the Surface
The mistakes that show up most are the ones that look fine on the surface. Compressing a batt cuts the real R by 15 to 30 percent and leaves gaps at the edges. Putting a Class I poly sheet on the wrong side of the wall in a hot-humid climate traps moisture where you cannot see it. Leaving the garage door uninsulated while you insulate every wall makes the door the coldest surface in the room, exactly where condensation shows up first.
When Garage Insulation Needs More Help
Garage insulation works best as part of a larger plan. Some garages need more than batts and a vapor sheet before they will hold temperature or stay dry.
When the Problem Is Not the Insulation
If your garage floods, sweats heavily in summer, or smells musty even after you insulate, the problem is probably not the insulation. It is drainage, ventilation, or a leak you have not found yet.
Attached Garages and Fire Separation
Attached garages that share a wall with the house raise the stakes a little. That shared wall carries fire separation requirements under the IRC, and any insulation or air-sealing work there needs to respect the rated assembly.
If you are insulating a wall that separates the garage from the living space, treat it as a fire-rated assembly and check the local code before you cover it.
When to Call a Licensed Professional
A few conditions push the job out of DIY range entirely. Active leaks from the roof or the slab, widespread mold, a floor that slopes or feels soft, and any sign of asbestos in old tile or vermiculite all mean stop and call a licensed professional.
Spray foam at the roofline, any foam near a flue or a recessed heat source, and any job that touches the fire separation wall also belong to someone with the right licenses and gear.
When the garage is dry, the framing is sound, and the cavity is simple, you can insulate it yourself with a clear target R-value and a material that fits your climate and budget. When the assembly is more complicated, shared walls, wet climates, shallow cavities, and heated workshops all fall under the same decision framework, but the margin for error gets smaller.
If you are still figuring out which material fits your garage, the home insulation types overview breaks down the options by use case. If you are deciding between blown-in and batt insulation specifically, the blown-in versus batt insulation comparison lays out the trade-offs side by side. For the broader cost picture across all insulation types, the attic and wall insulation cost per square foot guide gives the full pricing context. When you are ready for the hands-on sequence, the how to install attic insulation guide covers the same sealing, baffling, and depth-check habits that carry over to a garage ceiling.