
That steady drip under the sink can soak a cabinet floor in one night. The good news is the sequence is simple. Shut off the water, drain the pressure, dry the pipe, then apply a clamp, epoxy, or coupling matched to the pipe material. Most small supply leaks take 30 to 60 minutes to stabilize once the water is off. A leaking supply pipe is a pressurized distribution line that loses water through a breach in its wall or joint and keeps flowing until pressure is removed.
The Short Answer: Stop the Pressure, Then Match the Repair to the Pipe
A pipe clamp repair holds normal household water pressure of 40 to 80 psi when the surrounding pipe wall stays solid and installation happens with the line depressurized. That sentence is the whole strategy. Remove the pressure first, then choose a repair the remaining wall can support.
Start at the nearest shutoff valve. Under sinks and behind toilets you will find a small oval or lever valve. Turn it clockwise until it stops, open the faucet to confirm the flow dies, and put a bucket and towels under the leak. If no fixture valve exists or it spins without stopping, use the main shutoff near the meter or where the line enters the home.
Next, identify the pipe. Rigid copper pipe in 1/2 inch (15 mm) or 3/4 inch (19 mm) sizes shows green or dark spotting near a pinhole. PEX tubing feels slightly flexible, usually red, blue, or white, and leaks most often at a fitting rather than mid wall. Knowing which one you have decides everything after this point, because epoxy grips differently than a mechanical coupling, and heat near PEX is a fast way to turn one leak into two.
If water is spraying rather than dripping, skip diagnosis and kill the main. A pinhole at 60 psi can release several gallons per hour into a wall cavity. The home plumbing system overview shows how supply branches and shutoffs relate, so you can find the right valve fast.
Why Pipes Leak and What Shutoff Actually Changes
The culprit behind most pinholes is pipe corrosion, which removes wall thickness at a rate set by water chemistry and age when dissimilar metals meet or flux residue stays inside copper joints. That mechanism explains most pinholes in copper that is 20 to 40 years old, and it is why the leak location predicts the right fix.
Supply pipe lives under constant pressure, typically 40 to 80 psi (275 to 550 kPa) in US homes, with brief spikes to 100 psi or higher when a valve slams shut. IRC P2904 frames distribution design around keeping that pressure controlled across branches. A pinhole leaks continuously because pressure pushes water out around the clock. A drain line only leaks while water runs through it.
Four causes cover nearly every residential leak. Internal corrosion pits copper from the inside where aggressive water or leftover flux concentrates. Freeze expansion splits both copper and PEX in unconditioned runs when standing water turns to ice and grows about 9 percent in volume. Mechanical stress cracks joints where a pipe was bent too tight, hung with too few supports, or nicked by a screw. And joint failure opens soldered joint connections that were underheated, overheated, or moved before they cooled.
Closing a valve isolates the leak from street pressure. Opening the lowest faucet afterward drains residual head, usually 1 to 5 gallons, and drops the line to near zero. Leave the faucet open while you work. It vents the line and confirms the valve truly holds.
Which Repair Fits Your Leak: Four Options Compared
A slip coupling repair restores near original strength for years when the damaged section is cut out fully and pipe ends are cleaned and seated to full depth. Clamps and epoxies stabilize faster but carry shorter horizons, so the table below maps each method to the leak it suits.
Think in horizons. A clamp buys months to years on a sound wall. Epoxy buys days to months on a dry, accessible pinhole. A cut out coupling is the durable fix. Full section replacement is the answer when damage repeats or spreads. The PEX versus copper piping comparison shows how each material fails and which fittings suit it.
| Repair method | Best for | Typical hold | Typical cost | Skill needed |
|---|---|---|---|---|
| Rubber lined repair clamp | Single pinhole on straight copper or PEX run | Months to years if wall stays solid | $8 to $20 | Beginner, one wrench |
| Two part epoxy stick | Tiny seep on accessible straight pipe | Days to months, temporary | $6 to $15 | Beginner, no tools |
| Push fit or compression coupling | Split, crack, or failed joint section | Years, near permanent | $10 to $30 per fitting | Intermediate, pipe cutter |
| Soldered section replacement | Repeated pinholes, corroded run, joint rebuild | Decades when done correctly | $25 to $80 in parts | Advanced, torch and solder |
Parts run $6 to $80 depending on method, while a plumber visit for a simple exposed repair typically lands between $150 and $400. The plumbing leak repair cost guide breaks down when a $12 clamp is smart and when a permanent coupling saves a second visit.
How to Fix the Leak Step by Step Without Making It Worse
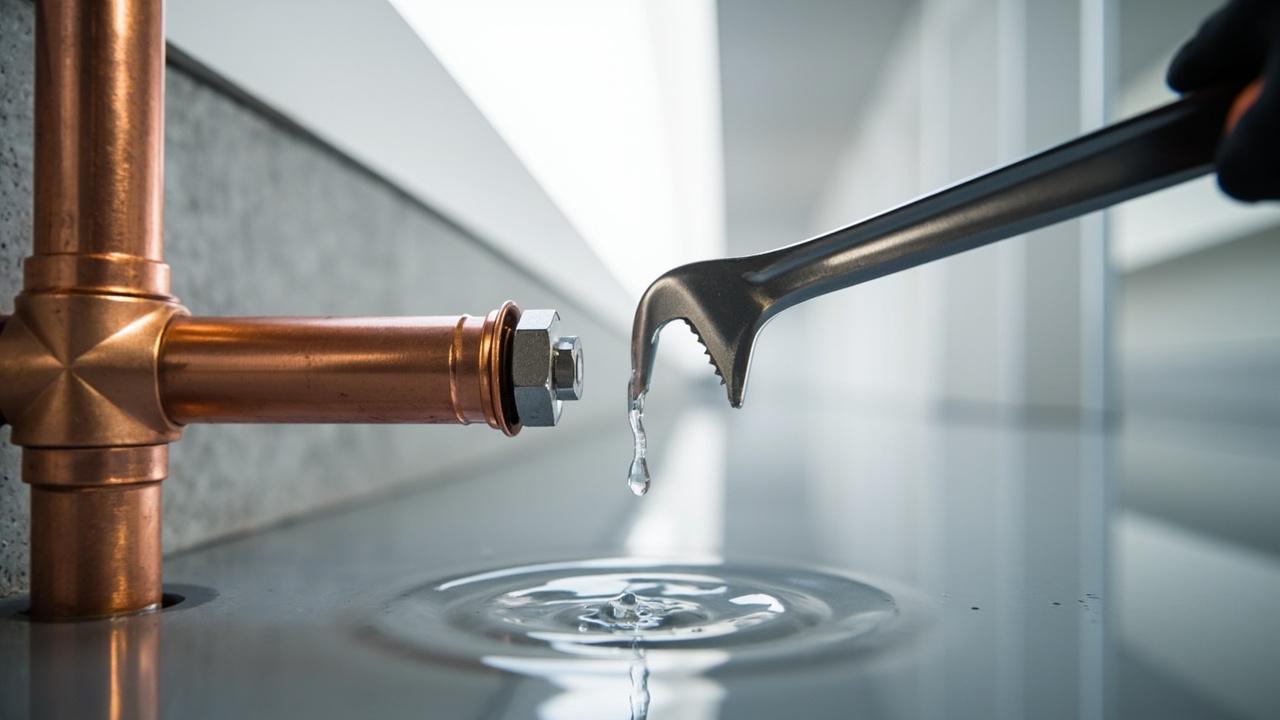
A compression fitting seals reliably at full line pressure when the pipe end is cut square, deburred, and inserted to the marked depth while the line stays dry. Most DIY failures trace to skipping one of those three conditions, so treat prep as the repair.
Gather a pipe cutter, two adjustable wrenches, sandpaper, a deburring tool, a bucket, and towels. Confirm the water is off and the faucet runs dry before you touch the pipe.
For a clamp, dry and lightly sand the area, center the rubber gasket over the hole, and tighten the bolts evenly in small alternating turns until snug. Overtightening on old copper crushes the wall and creates a second leak beside the first. For epoxy putty, knead the stick until the color is uniform, press it firmly over and 1 inch beyond the hole in all directions, and leave it undisturbed for the full cure time on the label, usually 20 to 30 minutes before gentle pressure and 24 hours before full rating.
For a cut out coupling, mark 1 to 2 inches beyond visible damage on each side, cut the section out, and deburr inside and outside edges. Slide a push-fit coupling or compression nut and ferrule onto each end, seat the pipe to the depth mark, and tighten per the fitting instructions. Restore pressure slowly. Open the main valve a quarter turn, watch the repair for two full minutes, then open fully and check again after 15 minutes with dry tissue wrapped around the joint. Any dampness means reseat, not more torque.
Three mistakes cause most callbacks. Repairing under pressure ranks first, because sealant applied against a live jet channels and never bonds. Heating PEX or a wet copper joint ranks second, since steam blows solder out of the cup and melts plastic barbs nearby. Reusing a corroded ferrule or skipping pipe supports ranks third. Support the pipe within 6 to 12 inches (150 to 300 mm) of the repair so daily vibration does not flex the new joint loose.
When a DIY Repair Is Enough and When to Call a Pro
A house with water damage beyond about 10 sq ft (1 sq m) of soaked drywall or a sagging ceiling needs a licensed professional when structural drying or mold control enters the picture. Small contained drips are DIY territory. Spread, sag, and smell are not.
Call a licensed plumber when the leak sits inside a wall cavity you cannot fully dry, when the main shutoff will not close completely, when pressure reads above 80 psi on a $10 gauge threaded onto a hose bib, or when pinholes recur within months on the same run. Recurrence signals systemic wall loss. Patching the third hole while the whole branch thins is delay, not repair.
Frozen pipes that split in one visible spot often have a second split further along the run, so inspect the full exposed length before closing walls. Leaks at a gas water heater connection, inside an electrical panel zone, or under a slab add hazards no clamp solves, and concealed work may need permits and an inspector sign off.
After the fix, protect the run. Add pipe insulation sleeves on exposed lines in garages, crawl spaces, and exterior walls, keep cabinet doors ajar during hard freezes, and confirm supports every 4 to 6 feet on horizontal copper and per manufacturer spacing on PEX. Check pressure with a gauge, and if it holds above 80 psi, ask a licensed professional about a pressure reducing valve and thermal expansion control. Then consult a licensed professional for any repair that involves soldering near framing, relocating supply branches, or opening a wall that may carry load. A dry tissue check today and another look in a week closes the loop.