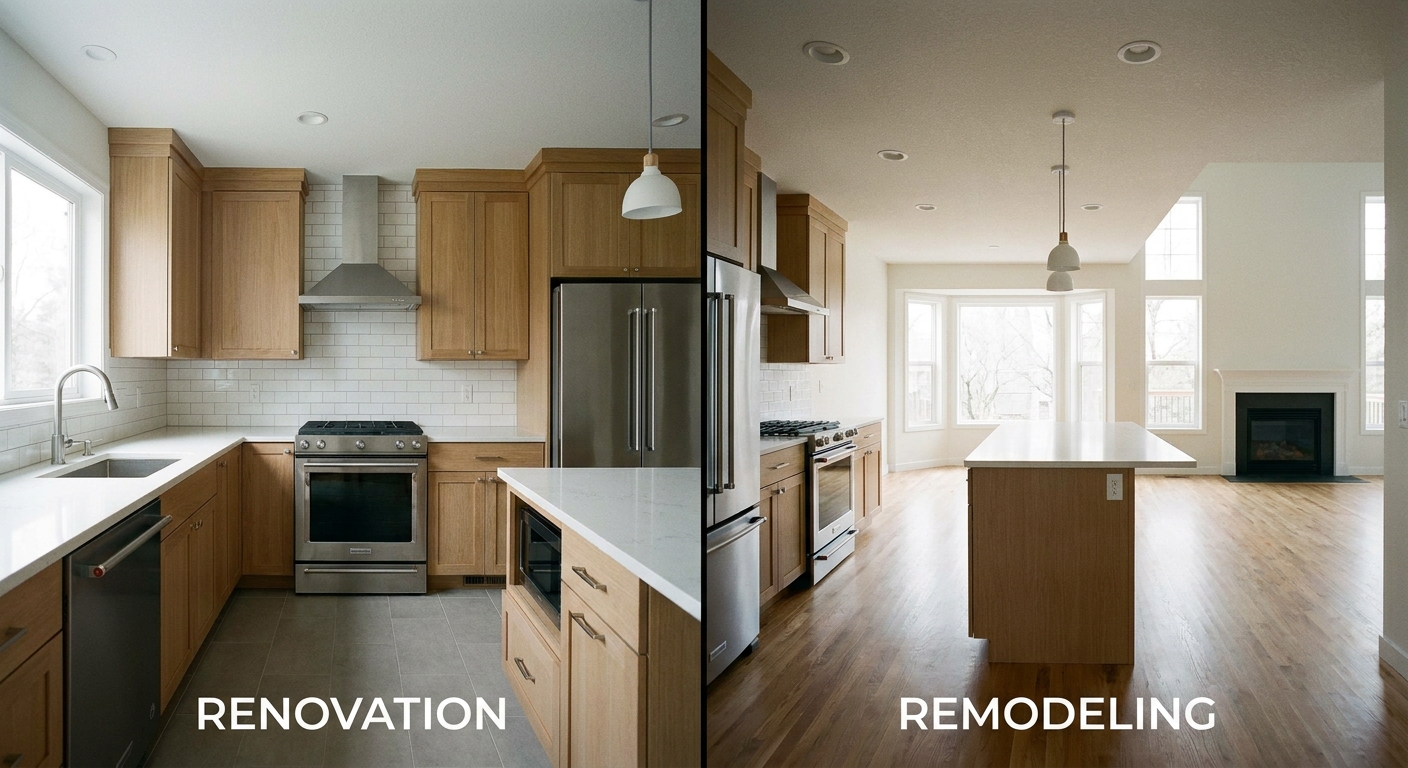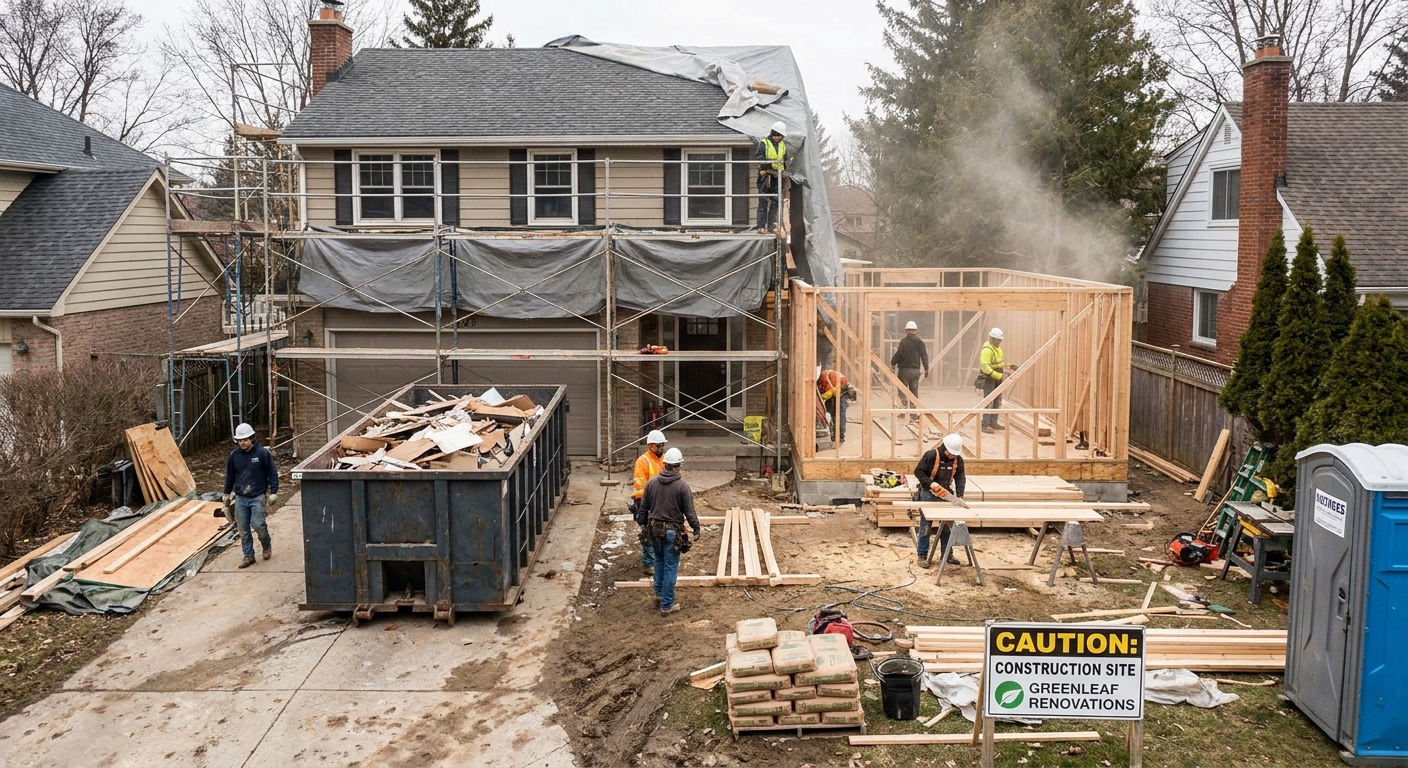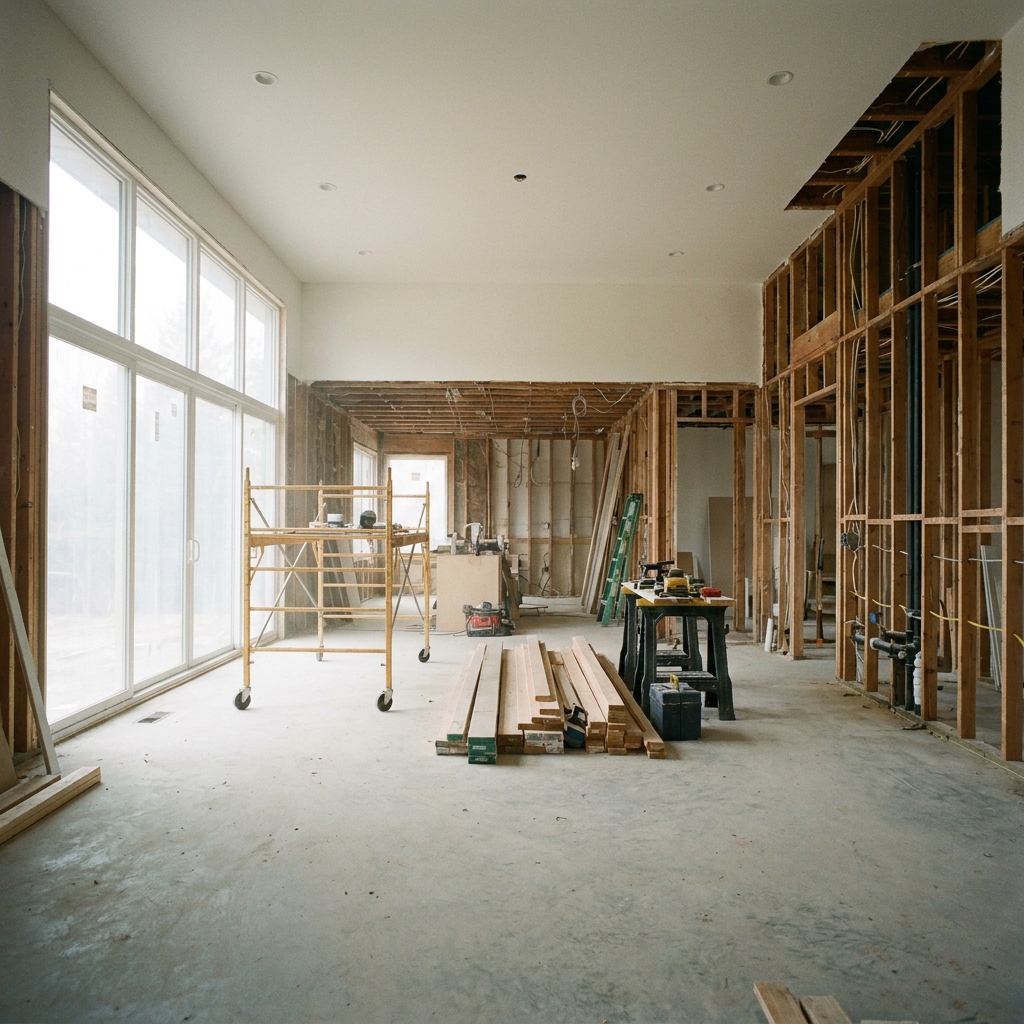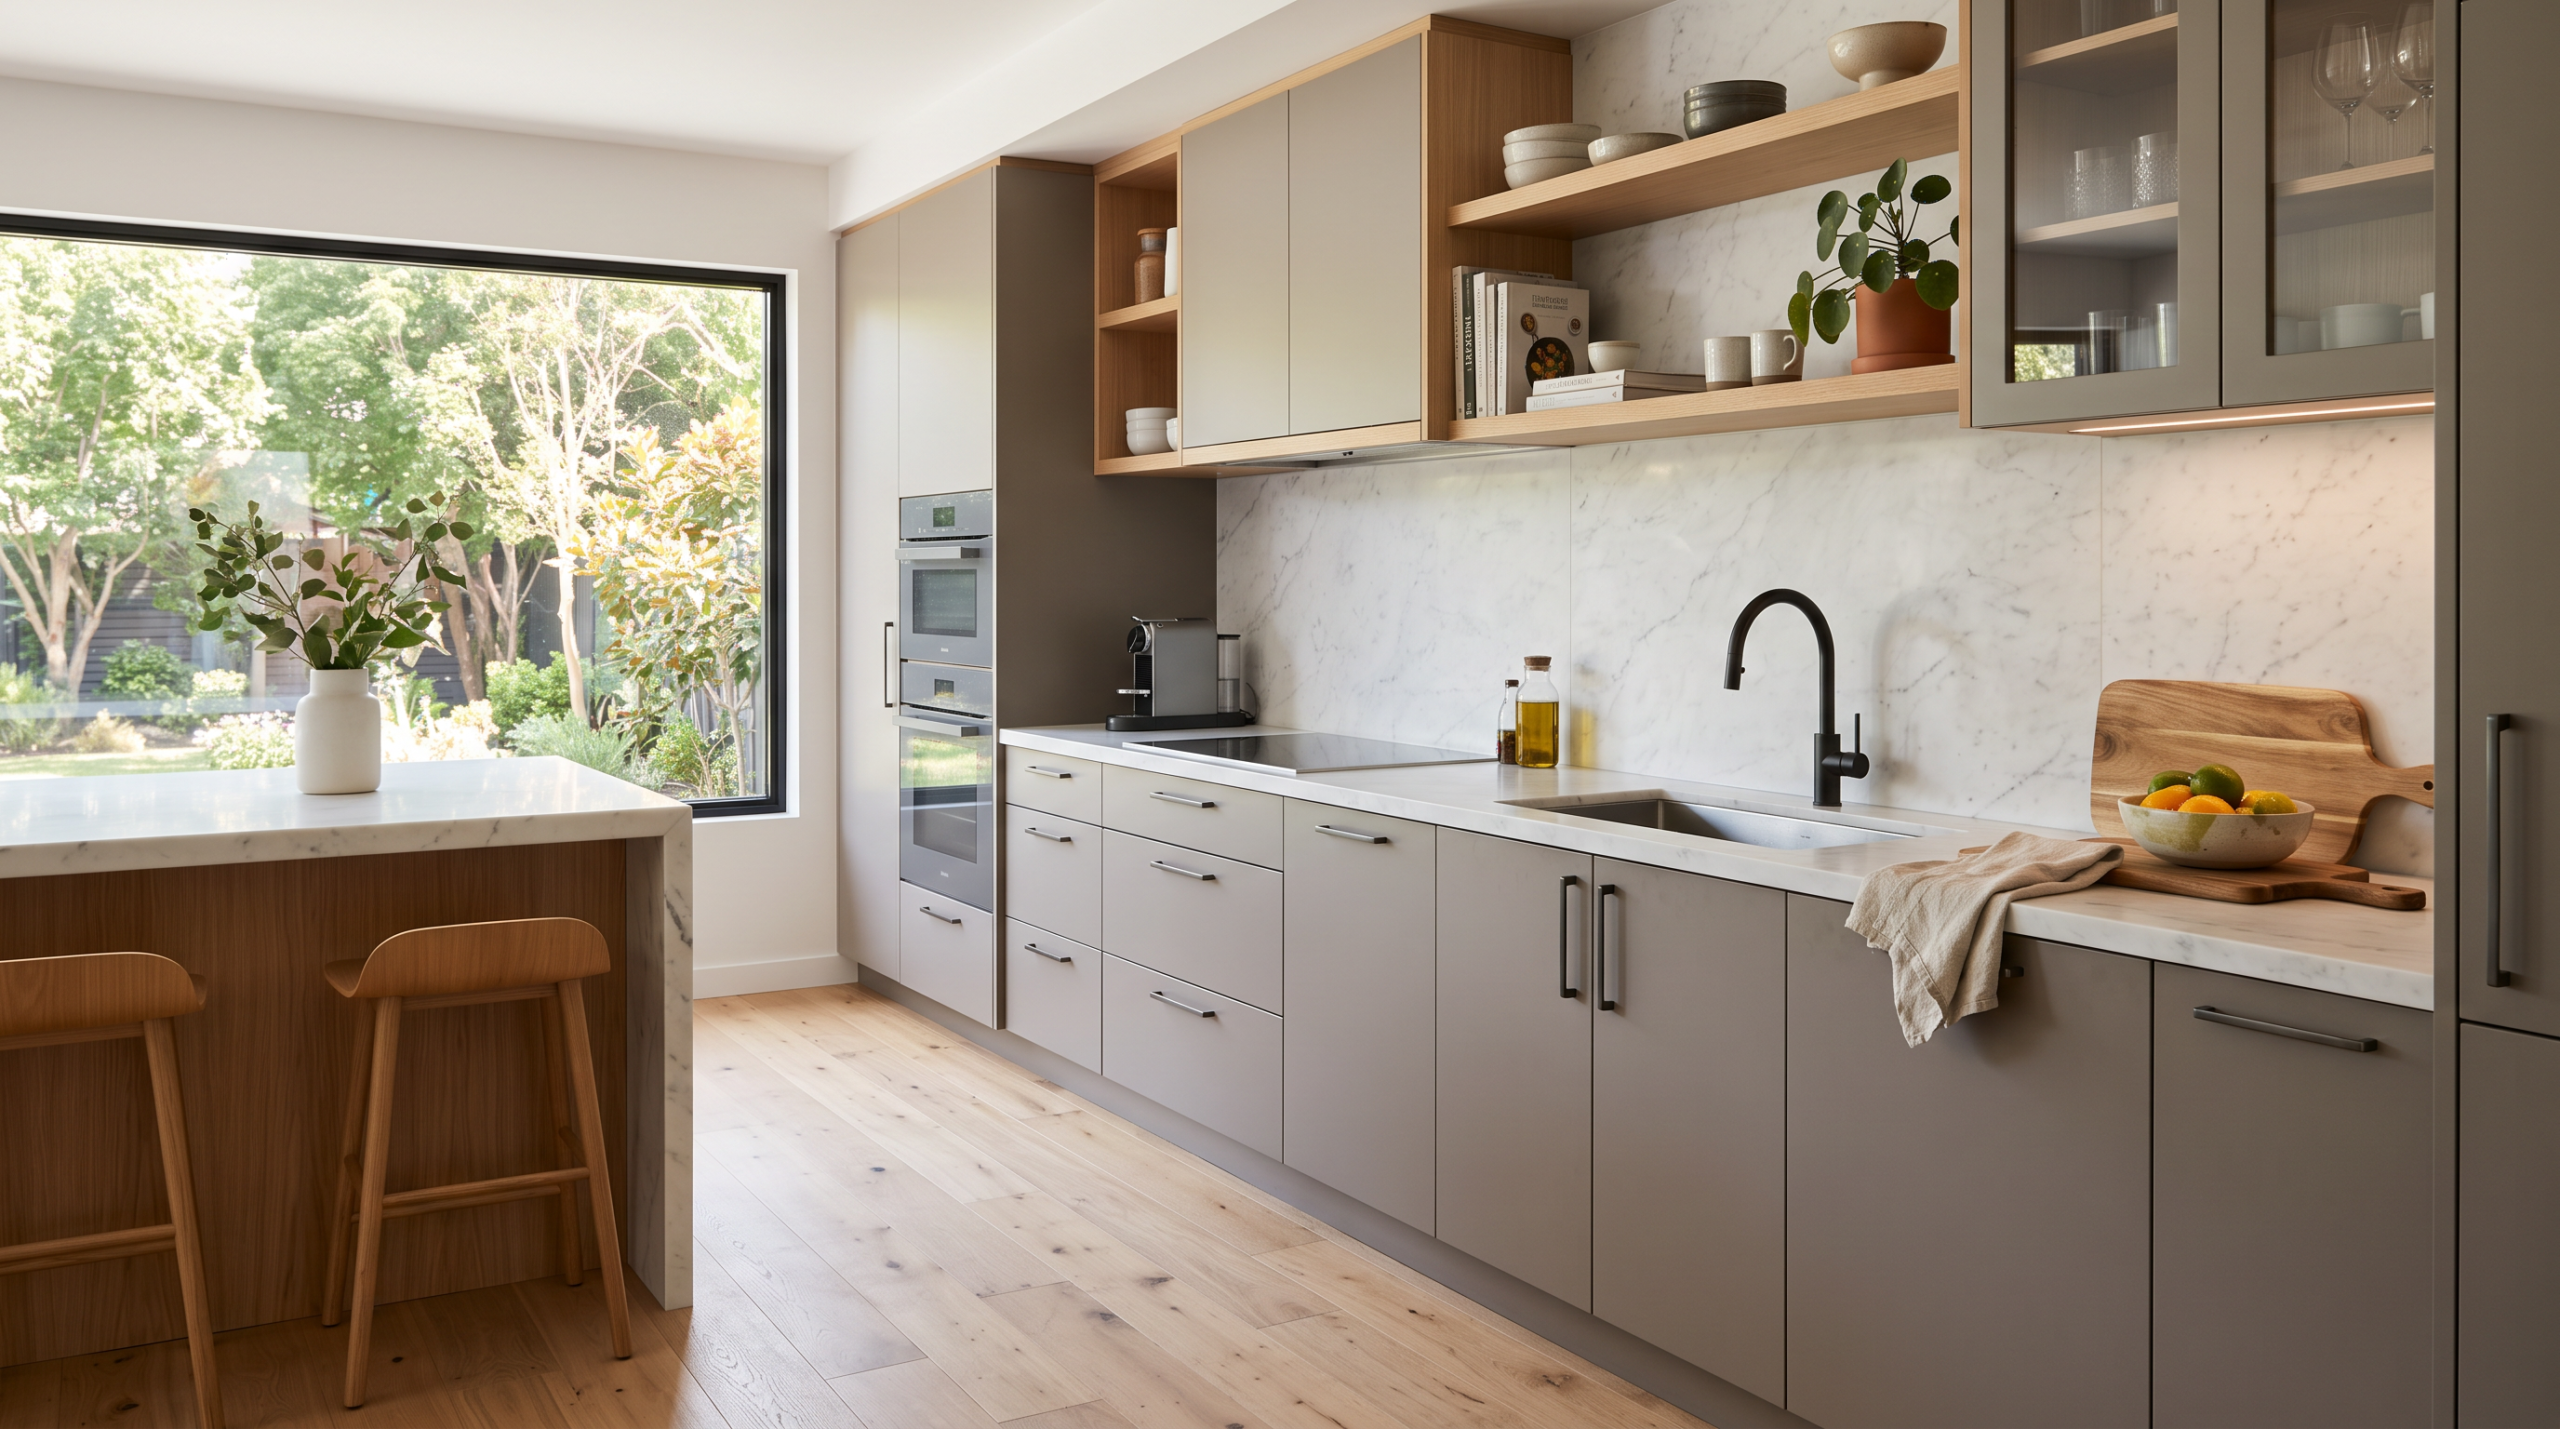
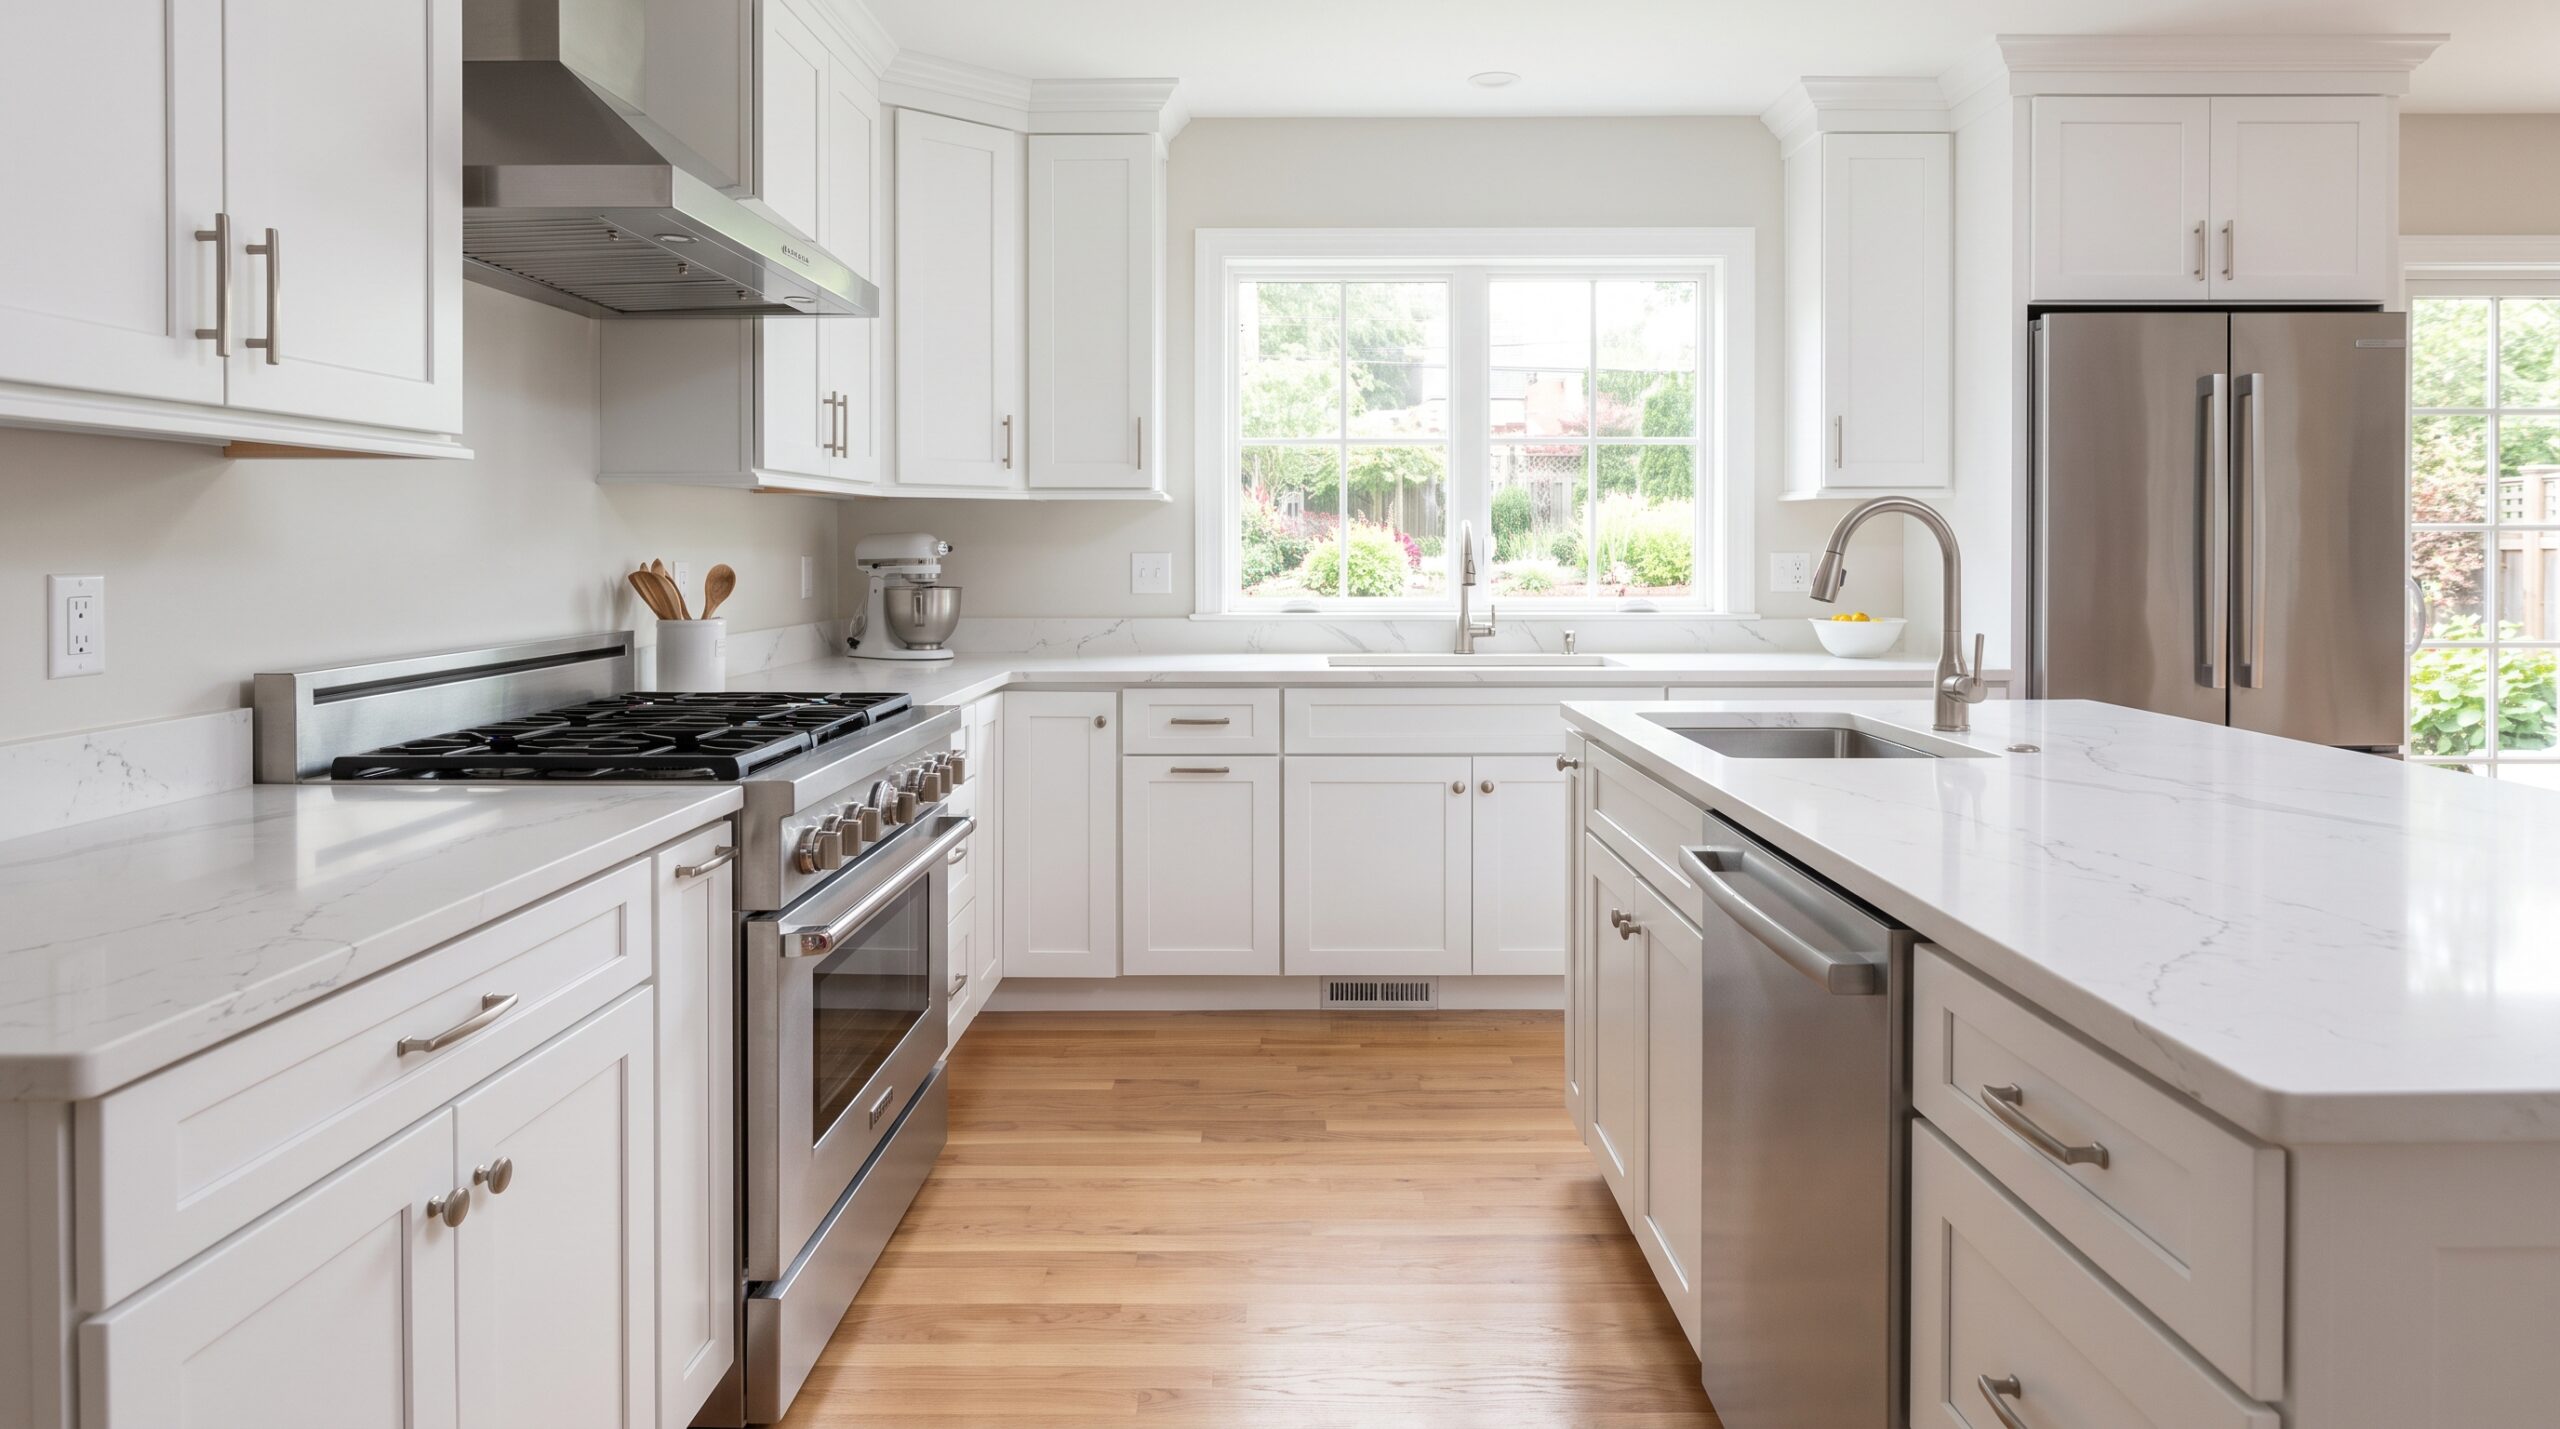

Most kitchen frustrations come from a small set of mismatches, a layout that fights how you cook, storage that wastes corners, and surfaces that stain before the first year is up. Fixing one without the others rarely holds. A kitchen renovation is a coordinated update of layout, cabinet system, countertop and backsplash, appliances, plumbing and electrical, and ventilation that improves workflow, storage, and durability together.
What a Kitchen Renovation Actually Includes
Kitchen renovation scope is the defined set of changes that separate a refresh from a full remodel, and scope determines cost and permit path. A full kitchen renovation typically includes a cabinet box system with doors, drawers, and hardware, a countertop with backsplash, sink and faucet, appliances, flooring, lighting, and the plumbing, electrical, and ventilation behind them. When layout changes move a sink, range, or wall, the work triggers permit review under IRC/IBC mechanical, plumbing, and electrical chapters. When finishes change in place, permits may be limited to electrical or plumbing connections.
The important distinction is not cosmetic. A refresh that paints boxes, swaps doors, and replaces laminate with quartz keeps the footprint and service locations. A renovation that reconfigures the work triangle, adds an island, or moves the dishwasher drain changes waste and vent routing, circuit loads, and clearances. That is why the first decision is scope, not style. Define what moves, what stays on its current supply and drain, and which walls carry structure or mechanicals before you price a single finish.
In US practice, kitchens fall into three bands. A surface refresh that keeps the footprint runs $8,000 to $18,000 for stock cabinets or refacing, new quartz countertop 20 to 30 mm, and appliance swap in a 100 to 150 sq ft space. A mid-range renovation with semi-custom boxes, quartz or granite, new sink and faucet, tile backsplash, and lighting updates runs $18,000 to $45,000 installed. A high-end reconfiguration with custom cabinet box plywood 15 to 18 mm, premium hardware, full-height stone or slab, panel appliances, and layout changes runs $45,000 to $85,000 and up, with urban coastal markets 10 to 20 percent higher. Those are 2024 to 2026 labor conditions, not material quotes alone.
How the Core Systems Work Together
Cabinet construction determines how the kitchen carries load, tolerates humidity, and holds alignment year after year. A well built cabinet box plywood 15 to 18 mm with a 3/4-in (19 mm) plywood back, solid or plywood shelves at 3/4-in, and dowel or dovetail joints resists racking better than thin particleboard sides. Frameless boxes maximize interior width and rely on precise side panels and adjustable soft-close hinges. Face-frame boxes add a hardwood frame that squares the opening and helps doors align on imperfect walls. Both work when the box is stable. Neither can rescue a wall that is out of plumb by more than about 1/8 inch over 8 feet without shimming and scribe.
Countertop performance is about hardness, heat, and seam logic. Quartz 15 to 20 mm fabricated at 20 mm or 30 mm with eased edges offers consistent color and low porosity, but it requires heat protection near ranges and careful seam placement away from sink and cooktop stress points. Natural stone at 2 or 3 cm brings heat tolerance and unique veining with higher porosity and periodic sealing. Countertop load 50 lb per sq ft is a useful planning figure for stored small appliances and stone weight, but the real limit is span. Unsupported overhangs beyond 10 to 12 inches need bracket or steel support per fabricator spec, not just adhesive.
The link between those two systems is alignment. Cabinets set level within 1/16 inch over 4 feet create a flat plane for stone to bear evenly. A bowed wall or out-of-level run telegraphs into a countertop seam that opens with seasonal movement. That is why sequencing matters. Level the boxes first, confirm diagonals match within 1/16 inch, shim to wall, and fasten through studs with cabinet screws, not drywall screws. Add ledger and blocking for island and peninsula anchoring. When kitchen countertops meet that true plane, setting goes faster and caulk joints stay narrow, which is how you avoid the hairline that collects coffee on day three.
Decisions That Change Cost, Durability, and Daily Use
Three choices carry the kitchen. Each has a clear conditional logic that beats a universal best.
Cabinet material closes or opens the humidity problem. Plywood cabinet boxes at 15 to 18 mm handle kitchen humidity and occasional splash better than standard particleboard, and they hold screws for hinges over time. Solid wood doors move seasonally and can crack in dry winter air if not finished on all faces. Aluminum framed systems resist moisture entirely but transfer sound and show fingerprints. If your kitchen runs humid, sits near an exterior wall with condensation risk, or needs long screw-hold for heavy drawers, plywood is the workhorse. If your priority is a wet-zone utility cabinet that gets mopped, aluminum earns its price.
Countertop choice trades porosity, heat, and repairability. Quartz resists staining from wine and citrus without sealing and stays consistent across slabs, which simplifies a long run with few seams. Granite tolerates a hot pan better but asks for annual sealing and accepts that two slabs rarely match exactly. For busy families where staining is the fear, quartz wins. For cooks who routinely set hot sheet pans down, stone with trivets wins. Neither changes the need for support at overhangs or for a subfloor and base that does not deflect.
Layout decides whether storage actually works. A single wall under 12 feet benefits from tall pantry cabinets and deep drawers over lower doors, because drawers convert 24-in depth into visible layers. An L shape above 150 sq ft often needs an island or peninsula to shorten the work triangle below about 26 feet perimeter, or steps multiply. A galley with 42 to 48 inches between opposing counters allows two cooks to pass without collision, while 36 inches forces single-file traffic. Choose tall storage if floor area is tight. Choose an island if circulation allows 42 inches on working sides and 36 inches on seating sides per NKBA guidance, otherwise the island becomes the obstacle.
| Decision | Best When | Trade-off | Cost Signal |
|---|---|---|---|
| Plywood boxes 15-18 mm | Humidity, heavy drawers, long hold | Higher than particleboard | $180 to $420 per linear foot box cost |
| Quartz 20-30 mm | Stain worry, consistent seam | Heat sensitive, seam planning | $55 to $95 per sq ft installed |
| Solid wood doors | Paintable, repairable look | Seasonal movement | $120 to $300 per door |
| Aluminum system | High moisture zone | Industrial look, acoustics | $250 to $550 per linear foot |
For deeper comparison of boxes and surfaces before you lock budget, see plywood vs aluminum vs solid wood cabinets and kitchen cabinet vs countertop comparison to match material to condition rather than to marketing.
Installation Sequence That Prevents Rework
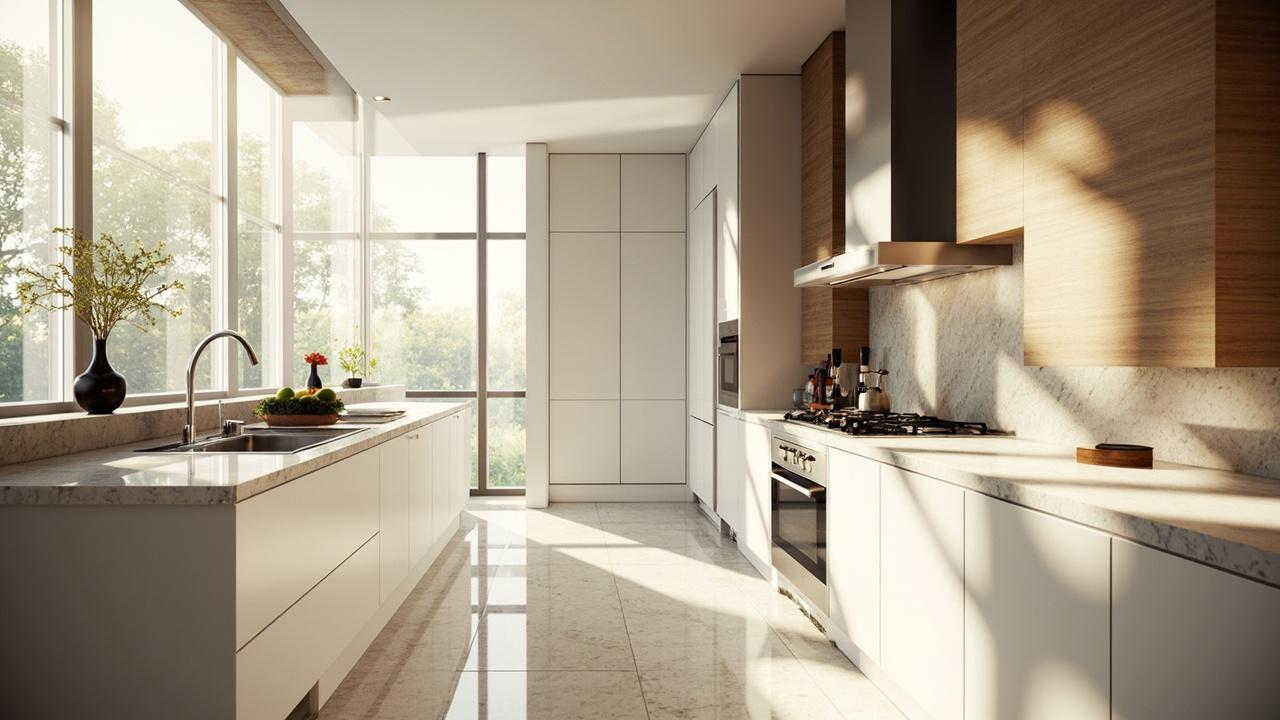
Kitchen installation sequence is the order that protects finished surfaces and confirms utilities before they disappear behind stone. Start with demolition and protection, then framing, rough mechanical, and inspection. Verify that wall, floor, and ceiling planes are within tolerance. Flatness of 3/16 inch per 10 feet for flooring and plumb within 1/8 inch over 8 feet for cabinet walls prevents the scribe and shim cycle that opens gaps later. Confirm stud locations and add blocking for uppers, hood, and island, using 3/4-in plywood backing where studs do not land where cabinets need them.
Set cabinets before final flooring in most replacement work, or set to finished floor height if flooring runs continuous. Level the base run with a laser, shim at stud points, and clamp faces flush before fastening. Hang uppers on a leveled ledger, check reveal lines across doors, then adjust soft-close hinges for consistent 1/8 inch gaps. Template countertops only after boxes are permanently set and appliances are on site for true cutout dimensions. This avoids the classic error of templating to an unlevel box and then grinding stone on site to fit a lie.
Common mistakes are predictable and avoidable. Templating before appliances arrive creates a sink cutout that misses by 1/4 inch. Skipping a dedicated 20-amp small-appliance circuit per NEC Article 210 leaves the toaster and microwave sharing a breaker that trips at breakfast. Omitting a quiet exhaust hood ducted outdoors with rigid metal leaves humidity and grease to settle on new paint and drywall. Rushing grout or stone seam adhesive before substrate moisture drops below manufacturer limits traps movement that later reads as a crack. Each of these is a sequencing error, not a material failure, which is why the schedule needs inspection holds and a 24-hour pause after setting before heavy use.
Limitations, Budget Holds, and When to Call a Professional
Kitchen renovation limits show up where structure, plumbing, and air intersect, and candor here saves more than optimism. Particleboard boxes at 12 to 15 mm may survive a dry, climate-controlled condo but swell at toe kicks and sink bases in a house where humidity swings 30 to 60 percent seasonally. Long unsupported stone overhangs without steel will eventually deflect even if they look fine on install day. Relocating a sink across floor joists often means notching limits per IRC R502.8 and may require an engineered header or soffit for vent routing, not just a longer flex line. These are not upgrade opportunities. They are constraints that change what is sensible.
Hold budget with the same discipline you hold level. Carry 10 percent contingency if layout stays, 15 to 20 percent if drains, gas, or walls move. Price allowances explicitly, for example tile at $4 to $9 per sq ft material, faucet at $180 to $450, hood at $400 to $1,200, so selections do not become change orders mid-demolition. Confirm lead times for cabinets, quartz, and appliances before demolition. A six week cabinet delay with an open kitchen is not a scheduling footnote. It is living without a sink.
Consult a licensed professional when the work touches structure, gas, or new circuits. A contractor or structural engineer should review wall removal, joist notching, and island beam sizing. A licensed plumber should route waste and vent to code, and a licensed electrician should size dedicated circuits and GFCI/AFCI protection per local adoption of NEC. If your budget planning is still open, align scope with numbers using home renovation cost and the shared sequencing logic in kitchen remodel before you sign, so the design you love is the kitchen you can actually live through building.