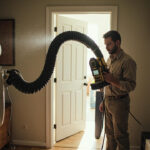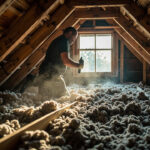
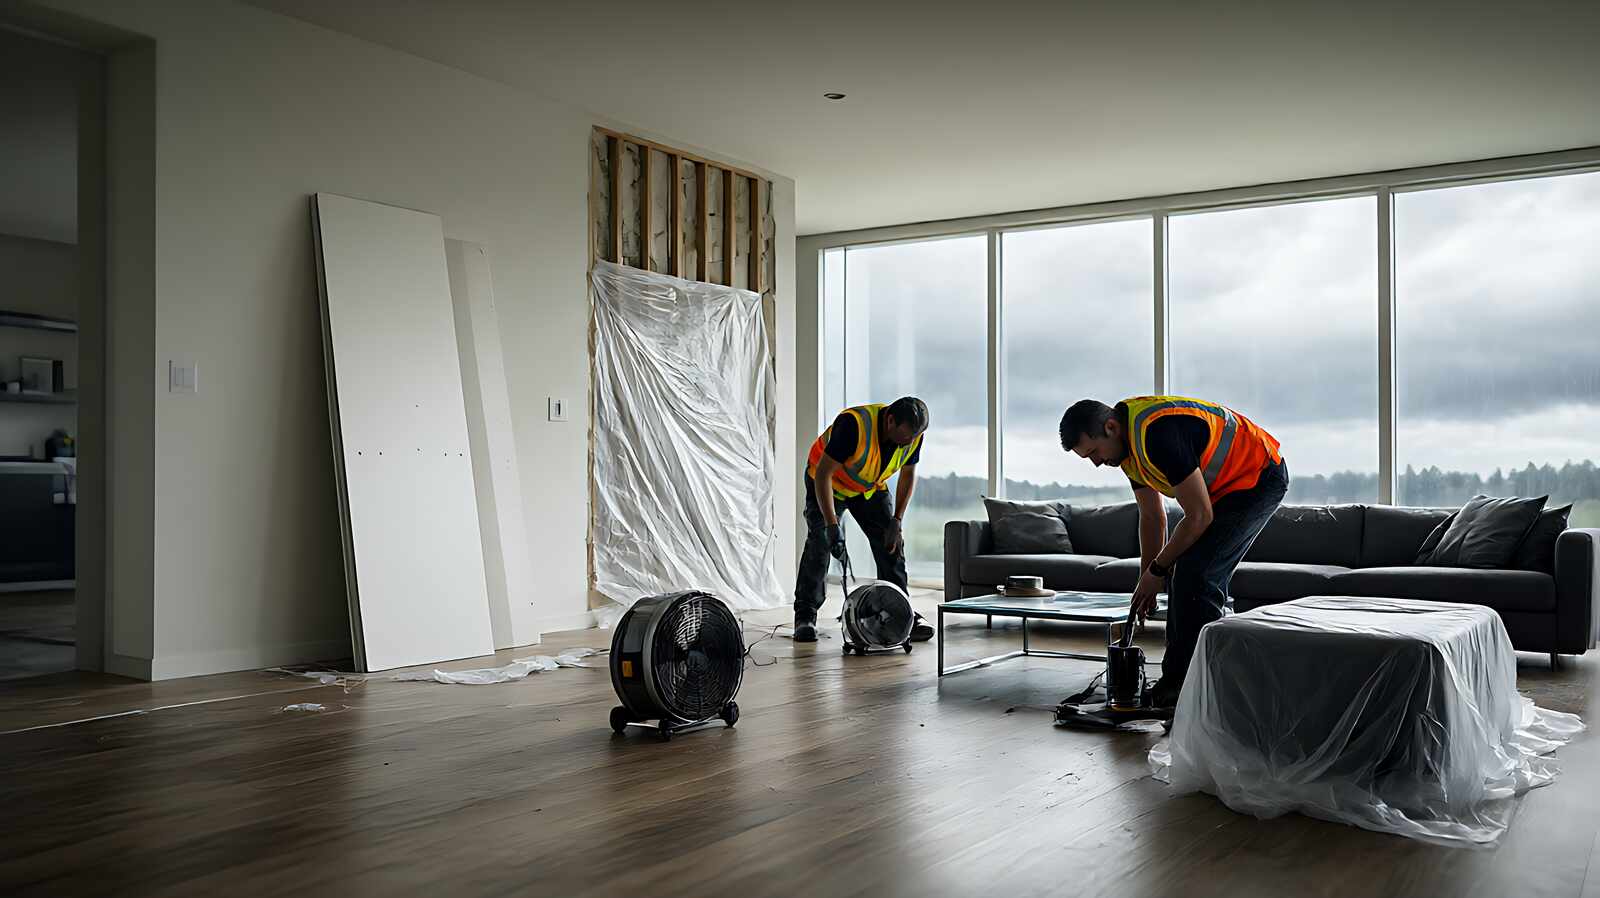

The storm has already happened. What you do in the next few hours decides how much damage you are looking at when the adjusters arrive, and how much of the bill you end up paying yourself. A tarp on the roof tonight costs a few hundred dollars. A soaked second floor because nobody vented the attic costs tens of thousands.
There is a sequence here, and it matters more than any single repair.
Protect people, then protect the claim, then stop the water, then do the work you are allowed to do, then dry everything properly. Skip a step and you either create damage you did not have or hand the insurer a reason to argue.
Some of this work is yours to do. Some of it is licensed work in every US state, and doing it yourself can be both unsafe and a problem for your claim. Knowing where that line sits before you pick up a tool is the single most useful thing on this page.
Before You Touch Anything: Make the House Safe to Be In
Your first job has nothing to do with repairs. It is to work out whether the building is safe to enter, and that is a different question from whether it is safe to live in.
Walk the perimeter before you walk inside. Look for downed power lines, gas service damage, and standing water near the service entrance. A house that has been flooded can shift, so check for sagging ceilings, popped drywall seams, and floors that feel spongy underfoot. If any of that is present, stay out and call your local emergency services or a structural engineer.
Inside, the first switch is off. Turn off the main electrical panel and the main water if you have standing water.
Do not use gas appliances until a professional has inspected them. Standing water in contact with a live electrical system is the fastest way to turn a bad day into a dangerous one.
Then equip yourself properly. Long sleeves, long pants, rubber or waterproof boots, gloves, eye protection, and a good light.
Sharp objects cause most injuries in post-storm cleanup: protruding nails, broken glass, twisted flashing, and sheet metal edges that look finished right up until they cut you.
Two warnings worth stating plainly. If your home was closed up for more than a day or two, air it out before you spend real time in it, because mold spores and sewer gas concentrate in a sealed space.
And if your home was built before 1978, assume lead-based paint and asbestos are present until a professional verifies otherwise. Wet drywall demolition is exactly how those materials become a household exposure.
Protect the Claim: Photograph, Log, and Receipt Before You Clean
Documentation is the step people skip because it feels like paperwork instead of repair. It is actually the step that pays for the repair.
Photograph and video everything before you move a single object. Wide shots of every room, then close shots of each damaged item, then the exterior from the street, the roof from the ground, and every damaged appliance with its serial number plate visible. Label your files by room so the inventory reads cleanly later.
Then pull damaged items away from undamaged ones and set them aside. The adjuster may need to document specific items during an inspection, and a pile of mixed debris makes that harder.
Keep samples of carpet, flooring, and drapes if you have them, because matching a replacement later depends on what was there before.
Keep every receipt from this point forward, including receipts for tarps, plywood, pumps, dehumidifier rental, and temporary living expenses. A deductible waiver is a common part of a settlement, and it is easier to claim with paperwork than without it.
One rule from the insurance side that most people learn late. Make temporary repairs, not permanent ones, until the adjuster has seen the damage. Tarping a roof is mitigation and it is fine. Replacing a section of drywall before the inspection is a problem, because it removes the evidence the claim is built on.
If you want the paperwork side handled well, how a storm damage insurance claim actually gets paid walks through what the adjuster needs to see.
Stop the Water: Tarping, Board-Up, and the Pumping Rate That Matters
Once the house is safe and documented, the job is to stop more damage. In practice that means getting water out and keeping water out.
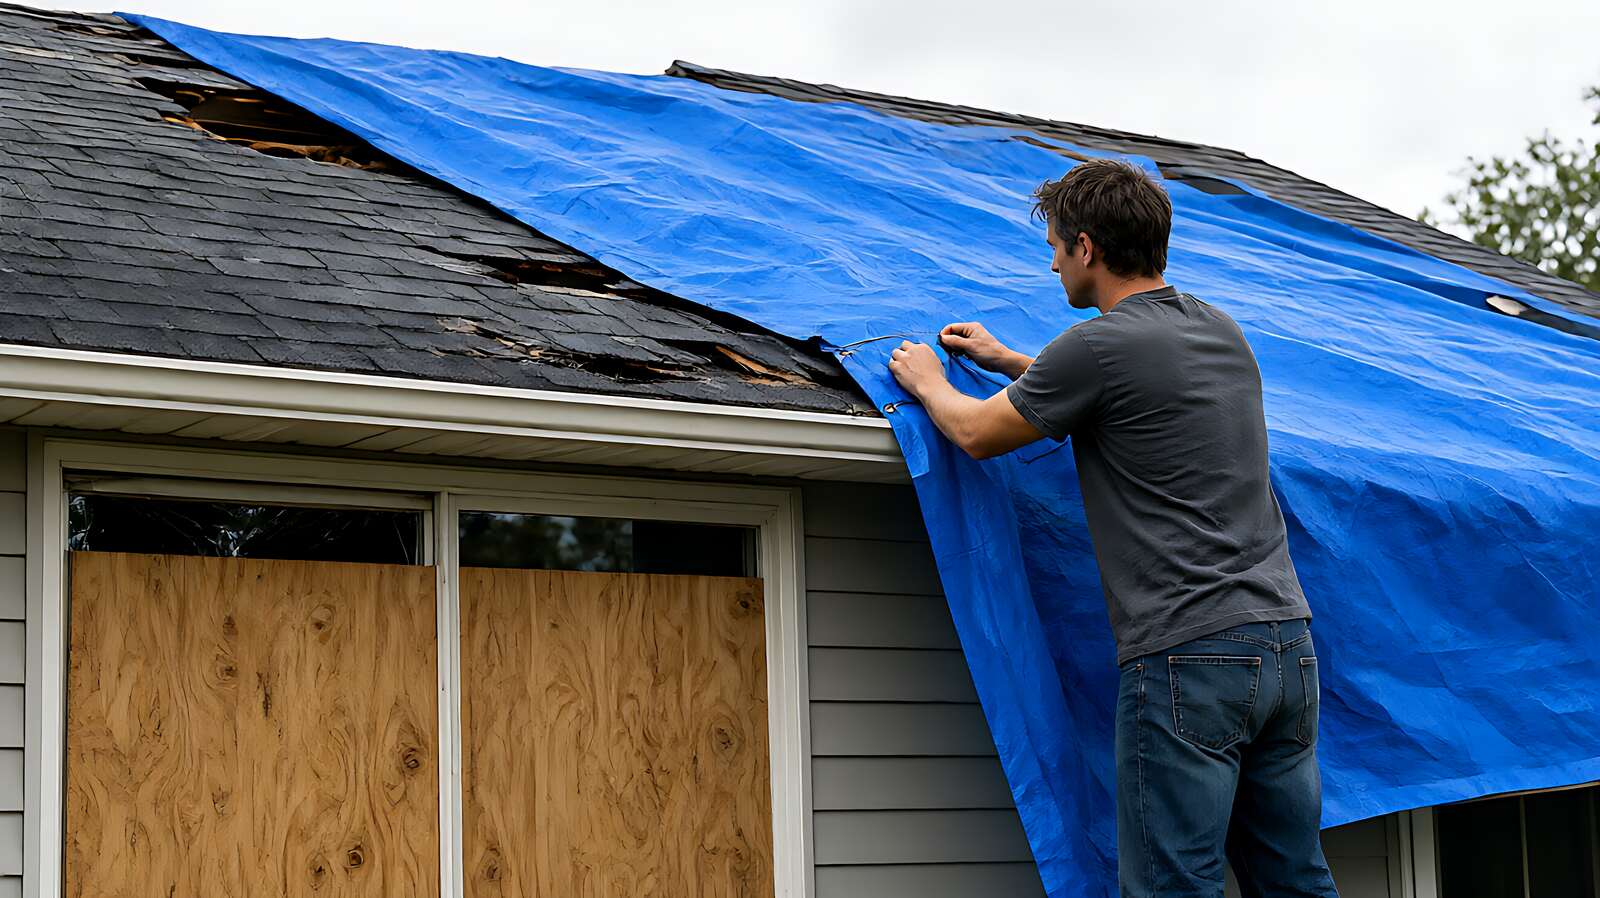
Start with the envelope. A blue tarp over a missing shingle section or a broken roof panel, secured at the edges, keeps most of the rain out. Plywood over a broken window does the same.
Both are cheap relative to the damage they prevent, and both count as mitigation your insurer will generally reimburse alongside the repair.
Then handle the water. If there is standing water, get it out, but slowly. Pump a flooded basement at roughly one-third of the volume per day.
That rule is not superstition. Saturated soil on the outside of your basement wall is pushing inward with a force that grows as the water level inside drops.
Empty the basement fast and you remove the counter-pressure while the soil is still pushing, and the wall can bow or collapse inward. Slow the pumping and the soil drains at a similar rate, so the hydrostatic pressure stays balanced.
Inside, remove wet carpets, rugs, bedding, and upholstered furniture. Take soft goods outside if you can, because sun and wind dry them faster than any machine. Throw out anything that absorbed water and cannot be cleaned, including mattresses and carpeting.
Do not forget the appliances. A flooded HVAC system or an air conditioner condenser that took standing water needs a professional inspection before you switch it on, because the damage is inside the unit where you cannot see it.
That sequence is the one most homeowners get wrong, and it is why so many storm claims end in a dispute. The order of operations is the evidence that the loss was mitigated. You documented it, you tarped it, you pumped it slowly, and you pulled the wet materials out. the restoration process overview covers what happens on the other side of that sequence.
What You Can Legally Repair Yourself, and What Needs a Licensed Trade
Here is the line most post-storm guides leave vague, and it is worth being precise about because getting it wrong is either illegal or expensive.
Yours to do: clearing debris from the yard and away from drainage paths, tarping and temporary boarding, pumping standing water at the safe rate, removing wet carpets, rugs, bedding, and other soft goods, removing saturated insulation and drywall that has been in contact with flood water, cleaning and sanitizing hard surfaces, and drying the structure with fans and dehumidifiers.
Licensed work in most US jurisdictions: any electrical work, including re-energizing a panel or replacing a breaker that flooded. Any gas work, including testing a water heater or furnace that sat in water. Any structural evaluation or repair.
Also mold remediation past simple cleanup, and anything involving asbestos or lead-based paint.
Do not read the licensed column as optional because you are handy. Flooded electrical work is where most of the serious injuries happen in post-disaster cleanup, and the technical reason is that floodwater carries conductivity that a dry circuit never has. A panel that looks fine can still be energized through a path you cannot see.
There is a second reason to respect the line, and it is about money rather than safety.
Insurance settlement is based on licensed, documented work performed to code. A homeowner rebuild that an adjuster cannot verify may be treated as a repair you chose to make and paid for yourself, and that difference can be the whole claim.
Ask your insurer what they require before you start anything that touches wiring, gas, or structure. Some carriers have their own requirements about who does the work and what documentation they want.
Before 1978 homes carry their own rule. If the drywall or paint is being disturbed, assume lead and asbestos are present until a professional tests and says otherwise. Wet demolition of those materials turns a repair job into an exposure problem for everyone in the household.
If you want a check on the repair side rather than the cleanup side, how to avoid storm chaser contractors covers how to vet the trades that will quote the permanent work.
Drying It Out: Why Mold Appears in 48 Hours and How to Beat It
Mold is the clock that runs behind every water intrusion. Visible growth on wet drywall can begin in about 48 hours, and by then the material underneath is compromised in ways that no amount of surface cleaning reverses.
So drying is not the last step. It is the step that races the mold.
The choice is between air drying and mechanical drying, and it depends on the weather rather than on preference.
If the outdoor air is dry, open the windows and run air movers to move air through the house. If the outdoor humidity is high, which is common in the days after a storm, keep the house closed and run dehumidifiers, because you would be importing moisture instead of removing it.
Size the equipment to the space. Roughly one air mover per 50 to 100 square feet of affected area.
A dehumidifier rated in the range of 150 to 220 pints per day handles a house of normal size. Check the collection bucket or drain line, because a unit that fills overnight and switches off has not dried anything.
And measure, do not guess. A moisture reading on the wood framing is the objective test, and the target is a reading below 16 percent.
If you are reading 22 percent and the surface feels dry, the wood is still wet, and closing the walls at that point traps the moisture inside where it will do more damage.
Remove materials generously rather than conservatively. Drywall typically comes off about 2 feet above the highest visible water line, or above the highest moisture reading, whichever is higher.
The visible stain is a floor on the removal line, not a ceiling on it.
All wet insulation and foam padding comes out, even when it looks and feels dry on the surface. If there is vinyl floor covering or tile over the substrate, consider removing it so the subfloor underneath can actually dry.
The repair bill, roughly
It helps to know the order of magnitude before the first estimate arrives. Emergency tarping runs about $500 to $1,500 and board-up about $400 to $1,200. Water extraction is usually billed at $3 to $8 per square foot of affected area, and a full mold remediation job runs $1,500 to $5,000. Reinstalling drywall once everything behind it is dry generally runs $1.50 to $3.50 per square foot.
Those numbers are for planning, not for shopping. Your policy sets what is actually reimbursable, and the water damage restoration cost breakdown explains how they are put together.
Expect the calendar to be longer than your patience suggests. A typical dry-out runs three to seven days, and a full rebuild after significant water damage runs three to six weeks.
That is not delay. It is the schedule the drying science actually takes, and rushing it is what turns a repair into a mold job.
how water damage restoration costs are calculated breaks down where the money goes on the way from a wet subfloor to a finished wall.
Your next step is deliberately small. Right now, before you read another page: walk the perimeter, look for lines and standing water, and decide whether anyone can safely go inside. Then photograph everything before you touch it.
Those two steps cost an afternoon, and they protect the entire claim.