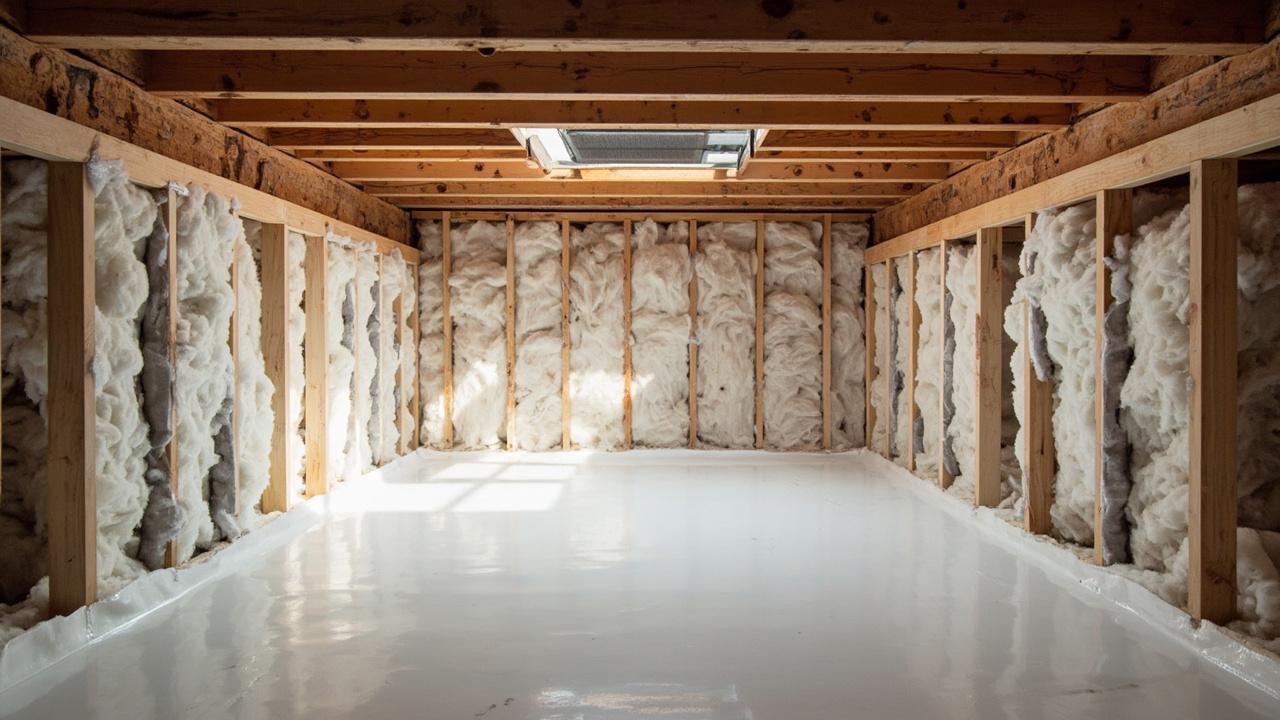

A crawl space is not a small basement, and the way you insulate it is not how you insulate a wall. The floor above you is the heated room, the ground below is wet soil, and outside air is moving through vents you forgot to seal.
Get the order wrong and you end up with a damp cavity that costs more to fix than the original insulation. This guide walks through how to do it correctly: inspection first, air seal and vapor barrier second, then the insulation itself.
Inspect the Crawl Space Before You Buy a Single Batt
Most failed crawl space projects fail in the same place: someone opened the hatch, saw bare block walls, and ran to the home center for fiberglass. The inspection phase decides whether insulation belongs in the picture at all. Skipping it is the single most expensive mistake a homeowner can make here.
What you are looking for is moisture and standing water. Enter the crawl space with a headlamp and a pair of nitrile gloves. Note any of the following:
- Standing water or water staining on the floor or block walls. If water is pooled through a trickle that returns after every rain, drainage and grading need to be fixed before any insulation work.
- Efflorescence (white powder) on block walls indicates water is wicking through the masonry and evaporating on the inside surface. Adding insulation against a wet wall traps that moisture.
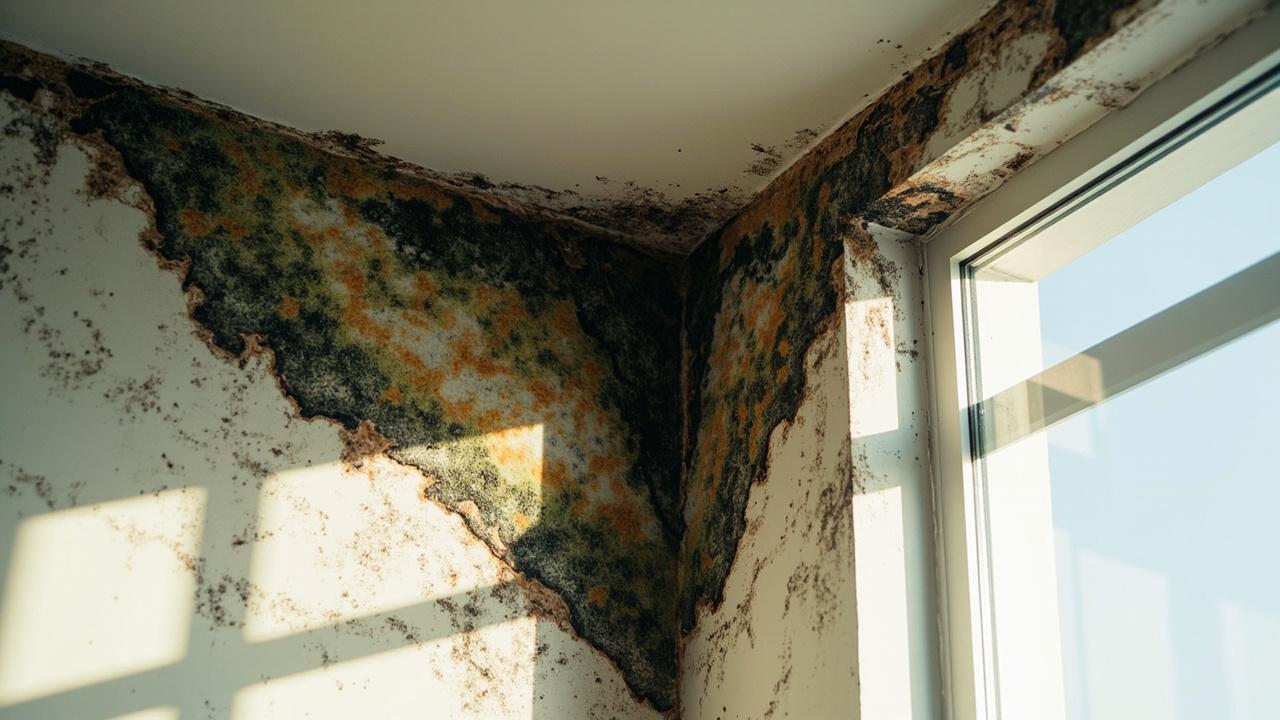
- Active mold growth on joists, subfloor, or insulation. Anything more than a small spot needs a remediation step first.
- Visible plumbing leaks, dryer vent terminations inside the cavity, or open combustion flues. Each one changes the work that follows.
- Insect or rodent activity. A sealed crawl space with pests inside is a worse problem than the original vented one.
Use a pin moisture meter on the subfloor above the sill plate and on the rim joist. Anything above 16 percent moisture is too wet to encapsulate. The inspection usually takes 30 to 60 minutes and saves the next phase from being a waste.
Choose the Right Approach: Encapsulated, Vented, or Conditioned
There are three credible ways to handle a crawl space today, and the right one depends on your climate zone, your soil, and how the house above uses the space. The IRC (International Residential Code) has shifted heavily toward sealed, conditioned crawl spaces, but vented crawl spaces are still acceptable in many jurisdictions and still common in existing homes.
Encapsulated crawl space. The dirt floor is covered with a 20 mil (or thicker) vapor barrier, sealed at the seams and at the perimeter. Foundation vents are blocked and insulated. The perimeter walls are insulated with closed-cell spray foam, rigid foam board, or spray foam plus a thermal/ignition barrier. This is the 2024 IRC default for new construction in most climate zones. It also performs best in hot-humid and mixed-humid climates where vented crawl spaces are notorious for mold.
Vented crawl space with insulation. The traditional approach: vents stay open, the rim joist is insulated with fiberglass batts or rigid foam, and the floor above stays warm by holding heat in the living space. This works best in dry climates (IECC zones 4 through 6 with low groundwater). It does not work well in hot-humid or marine climates because outdoor humid air is drawn into the crawl space, condenses on cold surfaces, and grows mold.
Conditioned crawl space with partial encapsulation. A middle ground: the floor is fully covered with a 10 to 20 mil vapor barrier, foundation vents are sealed, and the rim joist is insulated with rigid foam or spray foam. The perimeter walls may or may not be insulated depending on whether the HVAC system is extended into the space. This is a common retrofit for homes where the dirt floor is irregular or full encapsulation is impractical.
The decision matters because each approach has a different insulation spec. For an encapsulated crawl space, closed-cell spray foam at R-21 to R-30 on the walls (about 3 to 5 inches) usually meets IECC requirements.
For a vented crawl space, the floor above should be insulated with R-19 to R-30 fiberglass or mineral wool between the joists. Installing the wrong system for the climate is how you grow mold under a brand-new insulation job.
Air Seal First: The Rim Joist, Penetrations, and the Hatch
Air sealing is the work that decides whether the rest of the project actually performs. Crawl spaces move a surprising amount of air because stack effect pulls air down through the house and out through foundation vents or rim joist gaps. A vented crawl space with unsealed plumbing and wiring penetrations is essentially a slow fan moving outdoor air across cold surfaces. Insulation without air sealing just makes the surfaces colder.
The work follows a sequence.
1. Seal the rim joist. The rim joist is the band of framing that sits on top of the foundation wall. It is the largest air-leak path between the crawl space and the living space. Seal the gap between the sill plate and the top of the foundation with a bead of construction adhesive or sealant. Then either fill the cavity with closed-cell spray foam or cover it with rigid foam board (R-10 minimum, taped seams).
2. Seal every penetration. Plumbing penetrations, wiring runs, HVAC boots, dryer vents, and any other opening through the subfloor or rim joist get a bead of caulk or canned spray foam. A single unsealed bath drain can move more air than all the rest of the rim joist combined.
3. Insulate and seal the hatch. The access hatch is typically an uninsulated plywood panel that loses as much heat as a single-pane window. Add rigid foam board (R-10 to R-15) to the inside of the hatch with adhesive and weatherstripping around the perimeter. A magnetic or compression latch holds it tight.
4. Seal the foundation vents (if encapsulating). Closed-cell spray foam or rigid foam board cut to fit, sealed at the edges with caulk. The vents do not need to be removed; they need to not be able to move air.
A typical 1,000 to 1,500 sq ft crawl space takes a homeowner one full day to air seal, working in short stretches to manage dust and PPE.

Install the Vapor Barrier and the Insulation
With air sealing done, the vapor barrier and insulation follow.
For an encapsulated crawl space, lay a 20 mil vapor barrier across the entire dirt floor with 12 inches of overlap at seams. Tape the seams with a compatible seam tape (most manufacturers make one). Extend the barrier up the foundation wall 6 to 12 inches and seal it to the wall with termination bar and sealant or foam-in-place. Cut around piers and penetrations and tape every edge.
Once the floor is sealed, insulate the perimeter walls. Closed-cell spray foam at 3 to 5 inches delivers R-21 to R-30 and acts as its own vapor retarder at 2 inches.
Expect to pay $4 to $8 per board foot for spray foam. Rigid foam board (XPS R-5 per inch, polyiso R-5.6 to R-6 per inch) is a less expensive alternative. Two layers of R-10 polyiso, seams staggered and taped, achieves R-20 with the air-sealing benefit built in.
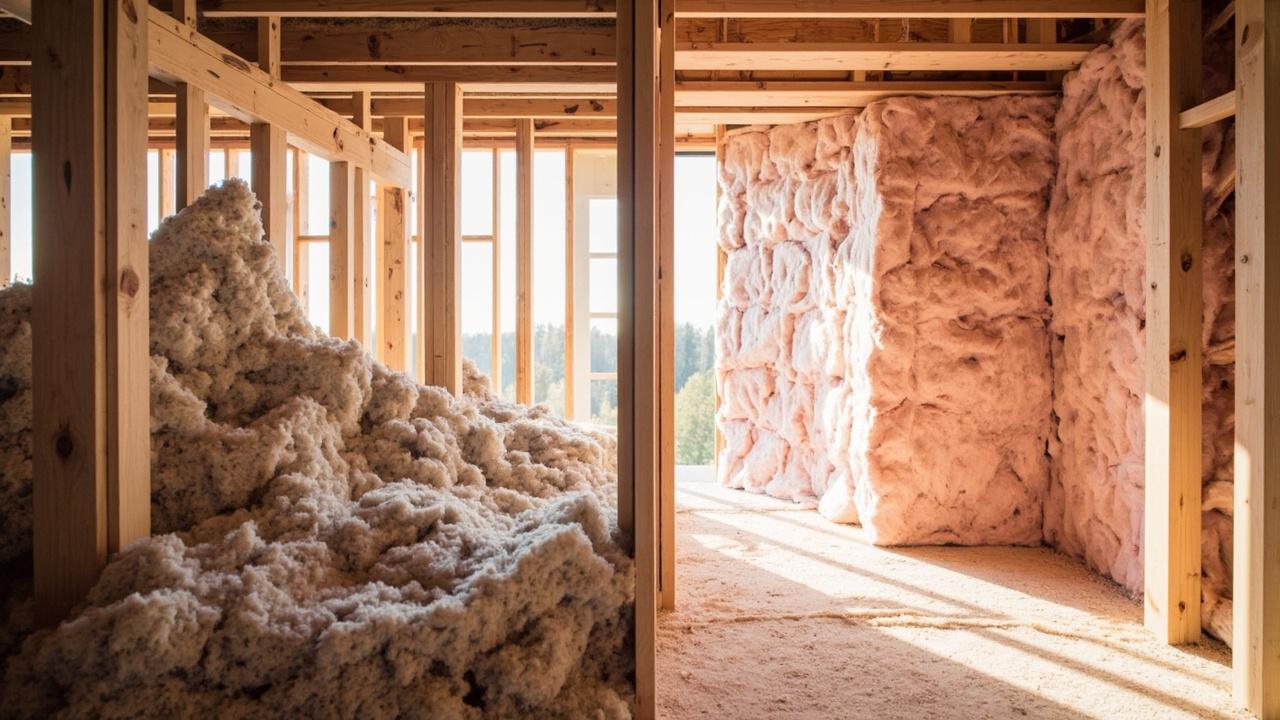
For a vented crawl space, skip the floor vapor barrier (it would trap soil moisture) and insulate the floor above the cavity. Fiberglass batts (R-19 to R-30) or mineral wool (R-22 to R-30 per 10 inches) fit between the floor joists, supported by wire rods or friction-fit.
The kraft facing on the batt should face up toward the heated space. If the joist cavities are open to a vented space below, install unfaced batts with a separate 6 mil polyethylene sheet on the warm side.
For a partially encapsulated crawl space, cover the dirt with a 10 to 20 mil vapor barrier (lighter than full encapsulation but tighter than vented) and insulate the rim joist with rigid foam board to R-10 or R-15. The perimeter walls are typically left uninsulated in this approach; the goal is to keep soil moisture out of the joist cavity, not to bring the walls into the conditioned envelope.
Limits, Edge Cases, and When to Bring In a Specialist
A crawl space that meets any of the following conditions is outside a DIY scope:
- Standing water or hydrostatic pressure. A sump pump, perimeter drain, or grading fix comes first. Insulation and absorption are two different conversations.
- Asbestos in old insulation or pipe wrap. Disturbing it without abatement creates a health hazard.
- Knob-and-tube wiring. Insulation in contact with knob-and-tube is a code violation in most jurisdictions and a fire risk. An electrician needs to address the wiring first.
- Active radon levels above 4 pCi/L. A sealed crawl space changes the pressure relationships in the soil and can affect radon entry. Test before and after; add sub-membrane depressurization if levels rise.
- Significant mold growth on joists or subfloor. Anything beyond a small spot should be handled by a remediation contractor before encapsulation, which can lock moisture in.
Even on a clean crawl space, hire a licensed professional if you plan to use spray foam. The chemistry is fussy and the equipment is rented by the day.
Closed-cell spray foam at $4 to $8 per board foot adds up fast for a 1,000 sq ft perimeter. Many homeowners get more reliable results by paying a foam contractor for the walls and doing the air sealing and vapor barrier themselves.
If you are deciding whether to insulate at all, the right comparison is the current energy loss through the floor against the cost of the work. In most climates, an encapsulated crawl space with closed-cell spray foam pays back the energy savings in 5 to 10 years.
In dry climates with already-good subfloor insulation, the payback can be much longer and the work may not be worth it.
To see what the work costs in your area, the insulation installation cost guide breaks out materials and labor per square foot by insulation type. To understand why insulation without proper moisture control can backfire, the insulation and mold guide walks through the moisture-side failures that show up in walls and ceilings when vapor control gets skipped.