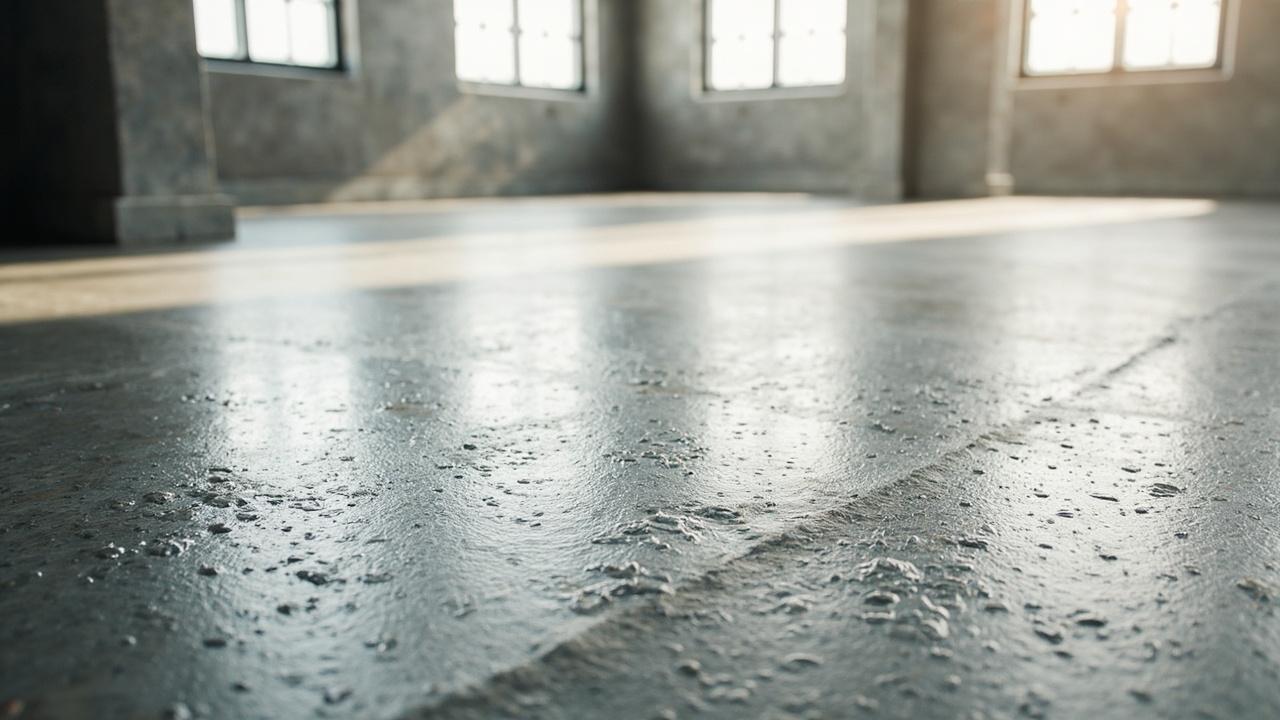

You poured the slab, finished the basement, parked the car. Now a damp patch darkens the concrete every spring. So how to waterproof concrete floor so the problem actually stops? The honest answer is conditional, because floors fail in two very different ways, and the right method depends on the diagnosis before any bucket gets opened.
What Waterproofing a Concrete Floor Actually Is
Waterproofing a concrete floor is a layered system that stops liquid water and water vapor from passing through the slab into the space above. It is not damp-proofing, which only resists slow moisture wicking. It is not sealing, which slows surface dust and staining.
A real assembly combines a substrate that meets profile and moisture specs, a primer, the waterproofing layer, and joint detailing at the wall-to-floor cove and any control joint.
Most floor failures share one of three water entry types. Hydrostatic pressure pushes water through any gap when the water table sits above the slab. Capillary action wicks moisture up through the concrete paste. Vapor emission moves invisible water vapor through the pore structure even when no liquid shows.
Two broad buckets exist. Damp-proofing uses a thin asphalt or polyethylene layer at 4 to 10 mil and slows vapor only. Waterproofing uses a true membrane or crystalline system at 60 to 400 mil, bridges cracks, and resists pressure.
A garage slab on grade with no water in sight usually needs damp-proofing plus a penetrating sealer. A basement slab below the water table needs a full membrane designed for hydrostatic head. The wrong bucket is the most expensive mistake on a floor.
How the Methods Work and What Numbers Matter
Every method has a tolerance window, and ignoring it is what makes the work fail. Concrete must cure at least 28 days before any sealer or membrane goes down. Surface moisture gets checked with a plastic sheet taped to the floor for 24 hours.
For new pours, the moisture vapor emission rate (MVER) needs to land under 3 lb per 1000 sq ft per 24 h per ASTM F1869, and the surface pH under 9, or most coatings will lift or blush within months.
The substrate profile also has a spec. The Concrete Surface Profile (CSP) needs to land between 3 and 5 for liquid-applied systems so the coating can mechanically key into the surface. Smooth steel-troweled slabs need a light grind or acid etch to hit that range.
Joints get a cove fillet at 20 to 25 mm radius. Any control joint gets a backer rod plus flexible sealant before the membrane covers it. Sheet laps run 100 mm on the sides, 150 mm on the ends, with every seam rolled.
For sheet and torch-applied systems, the membrane thickness matters. Modified bitumen sheet lands at 3.0 to 4.0 mm after the torch welds the laps. Peel-and-stick HDPE or butyl sheets sit at 1.0 to 1.5 mm and trade some puncture resistance for faster install.
Liquid-applied membranes build up in two coats with reinforcement fleece at corners and drains, total 1.5 to 2.0 mm dry film. Cementitious crystalline reacts with free lime to grow crystals inside the pore structure, but only bonds to a sound, saturated-surface-dry substrate.
Penetrating sealers are a different family. Silanes and siloxanes soak 2 to 5 mm into the concrete and form a hydrophobic barrier inside the pores, so the surface still breathes but liquid water beads up.
They do not bridge cracks and they do not stop hydrostatic pressure, so they fit a garage or workshop slab where moisture is vapor and splash. Film-forming sealers (acrylic, polyurethane, epoxy) sit on the surface, look like a floor finish, and resist both vapor and light splash, but peel if moisture pushes from below.
Decisions and Comparison: Which Method Fits Your Floor
Match the method to the slab before you buy anything. The table below lines up the realistic choices against cost, cure time, durability, and DIY difficulty.
| Method | Cost per sq ft installed (USD) | Cure before next trade | Expected service life | DIY difficulty |
|---|---|---|---|---|
| Penetrating silane or siloxane sealer | $0.50 to $1.50 | 12 to 24 h foot traffic | 5 to 10 years, reapply | Easy, two wet-on-wet coats |
| Acrylic film-forming sealer | $1.00 to $2.50 | 24 h foot, 72 h vehicle | 3 to 7 years, recoat | Easy, roller and back-roll |
| Liquid polyurethane membrane | $3.00 to $6.00 | 24 h per coat, 7 d full cure | 10 to 20 years | Moderate, fleece at details |
| Sheet or torch-applied modified bitumen | $4.00 to $8.00 | Walk next day | 15 to 25 years | Hard, torch safety plus laps |
| Cementitious crystalline (positive side) | $3.50 to $7.00 | 24 h, keep wet 48 h | Lifetime of the concrete | Moderate, slurry then cure water |
| Bentonite clay under-slab blanket | $2.50 to $5.00 (new pour only) | Continuous under slab | Lifetime, if confined | Pro install during pour |
A few field shortcuts save real money. Use penetrating sealer if the slab is on grade, no water shows, and the goal is vapor plus stain control. Use liquid polyurethane if the basement shows damp patches but no standing water, you can work on the interior side, and you want 10 to 20 year service life without torch work.
Use sheet or torch-applied membrane if the slab sits below the water table, you can reach the positive side during construction, and you want a single 15 to 25 year pass. Use crystalline if the slab is accessible from the positive side and the concrete is sound.
Where the choice actually matters is the interior vs exterior decision. If you cannot dig up the exterior (next to a neighbor’s foundation, under a driveway, under a porch), you are limited to interior systems. If the exterior is open, an exterior membrane is almost always better because it stops water before it reaches the concrete.
That trade-off is the spine of the decision, and it is worth a closer look in our interior vs exterior waterproofing comparison.

Installation Steps and the Mistakes That Undo the Work
Prep decides everything. A slab that looks clean but reads high pH, or holds moisture, will reject any coating within months. Run the tests first, then choose the system, then prep to the spec the manufacturer publishes, not a generic.
Prep, Test, and Prime
- Let new concrete cure at least 28 days before any sealer or membrane.
- Run the plastic sheet moisture test: tape an 18 in square of clear plastic to the floor, wait 24 h, look for darkening underneath.
- Measure MVER with a calcium chloride kit per ASTM F1869. Target under 3 lb per 1000 sq ft per 24 h.
- Check surface pH with distilled water and pH paper. Target under 9 for most coatings.
- Grind or shot-blast to a Concrete Surface Profile of 3 to 5, then vacuum clean.
- Mask walls 6 to 8 in above the floor and protect drains before any primer goes on.
Once prep passes, prime per the product data sheet. Most liquid membranes want a 0 to 2 h flash window where the primer goes from wet to tacky and the first coat goes on while still reactive. Skipping the primer is one of the top reasons floors fail.
Apply, Detail Joints, and Cure Right
- Pre-cut coves, inside corners, drain reinforcement patches, and pipe penetrations before the field goes down.
- Apply the first coat or first sheet, working out of the room so you never box yourself in.
- Maintain 100 mm side laps and 150 mm end laps on sheet systems, and roll every seam.
- Build the second coat perpendicular so seams do not stack and water cannot run sideways.
- Cove the wall-to-floor joint up 6 to 8 in and detail the floor drain with a clamping ring.
- Honor the cure window before any finished floor goes on top: 7 days for polyurethane, 24 h for modified bitumen, 48 h of misted water for crystalline.
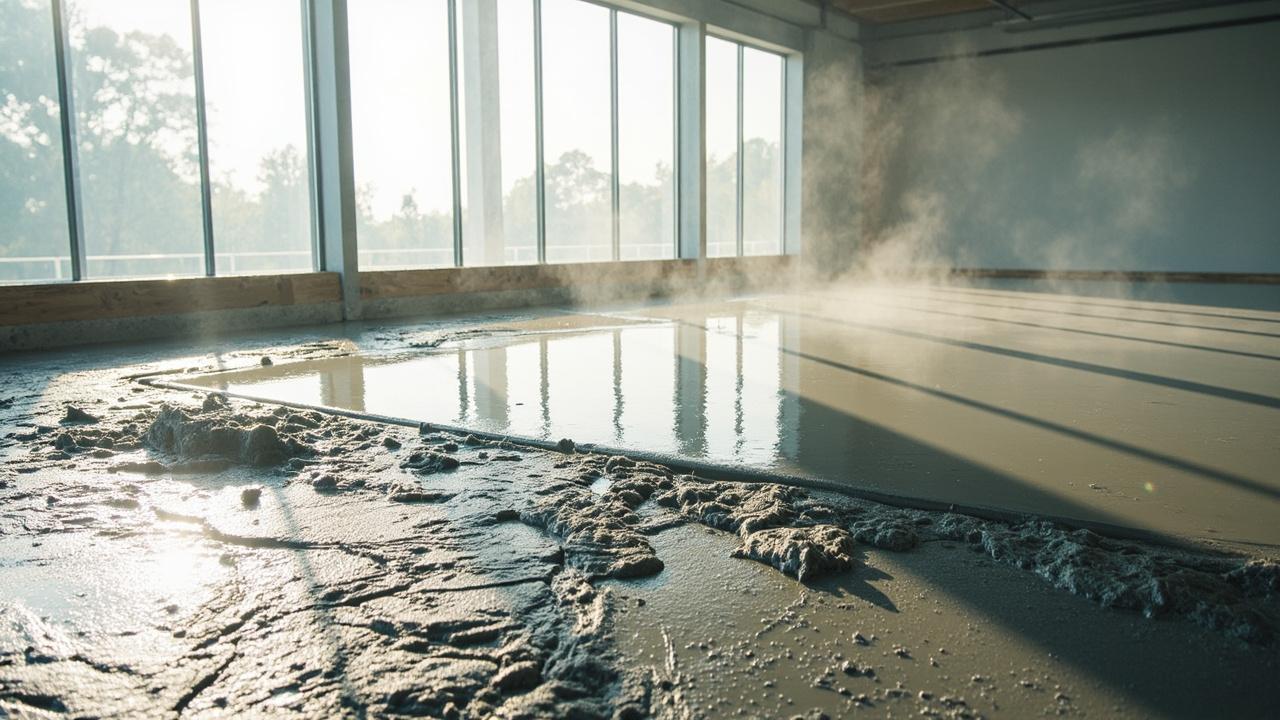
The most common mistakes are predictable. Coating over a damp slab traps moisture and the coating blushes white. Skipping the cove detail at the wall-to-floor joint leaves the most common leak path exposed.
Letting primer flash too long makes the first coat sit on a slick film instead of bonding. Walking on a half-cured membrane breaks the film. Covering the membrane before full cure traps solvents and the finish clouds or fails.
Limitations, Edge Cases, and Where to Go Next
Waterproofing has real limits. A surface sealer will not stop active water entry. A negative-side membrane will not fix a foundation crack that is structurally moving. Bentonite does nothing if the clay can dry out or wash away, so it only works fully confined under a new slab.
Cementitious crystalline will not bond to a previously sealed or painted slab without heavy mechanical prep. Sheet membranes need a torch-certified installer in tight spaces, and DIY torch work in an enclosed basement is a fire risk you do not want.
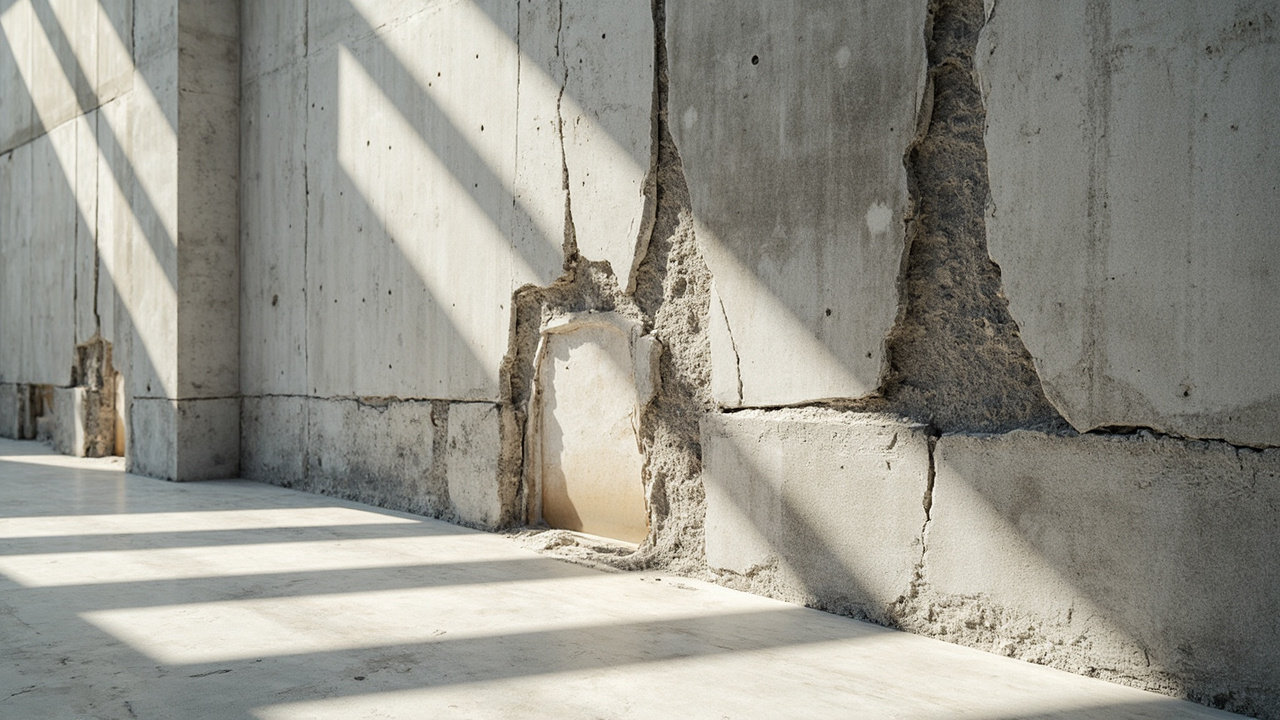
Stop and call a licensed structural or waterproofing engineer when you see any of these: a horizontal crack wider than 1/8 in, a vertical crack widening at the top or bottom, efflorescence that returns within days of cleaning, or humidity above 60 percent RH that the dehumidifier cannot hold. Any sign of heaving, settlement, or bowing wall also goes on that list.
None of those are coating problems. They are foundation or drainage problems, and the most expensive thing you can do is cover them up with a fresh membrane.
For most floors the path is short. If the slab is on grade and the goal is vapor plus stain control, a penetrating sealer at $0.50 to $1.50 per sq ft covers it. If the slab is below grade with damp but no standing water, an interior liquid polyurethane at $3.00 to $6.00 per sq ft is the realistic DIY-friendly option.
If the exterior is accessible during construction, torch-applied modified bitumen or crystalline at $4.00 to $8.00 per sq ft is the long-life pick. For the full numbers, the waterproofing membrane cost guide covers the same methods in price terms. The basement waterproofing guide covers drainage, gutters, and sump systems.