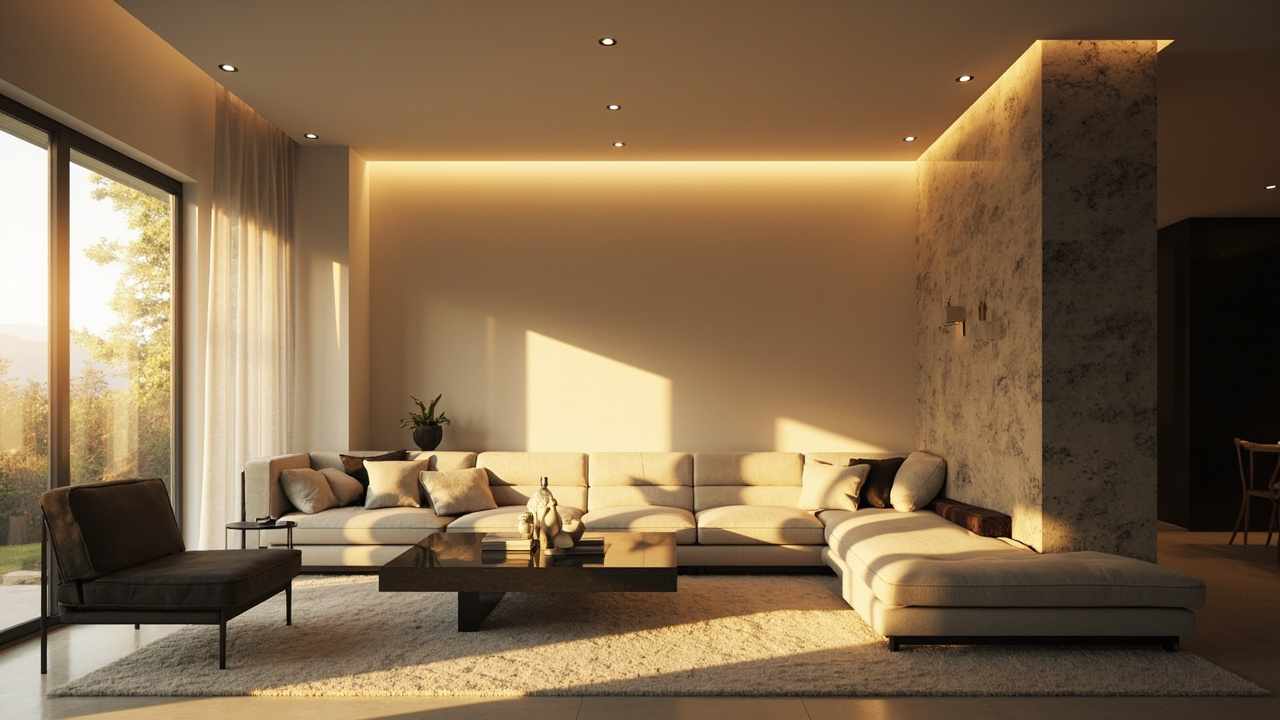

Most lighting problems aren’t about bad fixtures. They’re about missing layers. A single overhead light flattens every surface, kills depth, and casts shadows exactly where you need to see. The fix isn’t new cans in the ceiling. It’s understanding that every room needs three types of light: ambient lighting (general fill), task lighting (focused work light), and accent lighting (directional highlights). Miss one, and the room feels off in a way most people can’t name.
Lighting mistakes are expensive to guess at and cheap to fix once you know what to look for. This guide walks through the seven most common errors, why they happen, and the simplest solution for each.
The One-Fixture Trap: Why a Single Overhead Light Fails
One ceiling fixture in the center of the room is the default in most homes, and it’s the root cause of flat, uninviting light. A single source from directly above creates the “interview lighting” effect: sharp shadows under the brow and chin, no depth to the room, and a harsh contrast between the lit ceiling and the darker floor.
The mechanism is simple: light travels in straight lines. When it comes from one point directly above, every vertical surface (faces, bookcases, artwork) is lit from the top and falls into shadow below. Add a second source from a different angle and the shadows soften. Add a third and the room gains depth.
The fix: layering. Add a floor lamp in a corner, a table lamp on a sideboard, or a wall sconce near the seating area. Even one additional source from a different height and angle transforms the room. The interior lighting and materials page covers how fixture types and material finishes interact with your room’s architecture.
Color Temperature Mismatch: When Warm Meets Cool
Walk into a room with a 4000K (cool white) bulb in the ceiling fan and a 2700K (warm white) lamp on the end table, and something feels wrong even if you can’t say why. Mixed color temperatures signal “incongruent” to the brain. The room reads as chaotic, not layered.
The Kelvin scale measures color temperature: 2700K to 3000K is warm (yellow, cozy, residential); 3500K to 4000K is neutral to cool (blue-white, alert, commercial); 5000K+ is daylight (blue, clinical, task-intensive). The rule is to pick one temperature per room and stick to it.
For living rooms and bedrooms, 2700K to 3000K creates a warm, inviting feel. For kitchens, bathrooms, and home offices, 3500K to 4000K keeps you alert and makes colors read accurately. If you’re unsure, buy one bulb in each temperature, swap them in the same fixture, and live with each for a day. Your preference will be immediate.
If your house came with mismatched LED bulbs, replacing them is a $2 to $10 fix per fixture. It’s the cheapest lighting upgrade that makes the biggest difference.
Placement Problems: Glare, Shadows, and the Dead Zone
Recessed can lights spaced 6 feet apart in an 8-foot ceiling create alternating pools of light and shadow, the “cave effect.” The light is bright directly under each fixture and dim in between, forcing your eyes to constantly adjust as you move through the room.
The rule for recessed light spacing is half the ceiling height: 8-foot ceiling, lights 4 feet apart; 10-foot ceiling, lights 5 feet apart. The beam angle matters too: a 60-degree beam creates a tighter, brighter pool; a 90-degree beam spreads wider and overlaps more smoothly.
Pendant lights have their own placement rules. Over a dining table, hang them 30 to 34 inches above the surface for an 8-foot ceiling. For every additional foot of ceiling height, raise the pendant by 3 inches. Over a kitchen island, space pendants 30 inches apart center to center so the light pools overlap.
Task lighting is the most common missing layer. Kitchen counters need under-cabinet LED strips because the ceiling light casts shadows from your body directly onto the cutting board. Reading chairs need a directional floor lamp or pendant nearby. Bathrooms need wall-mounted vanity lights at eye level on both sides of the mirror, not a single ceiling fixture that shadows your face.
Aging eyes need more light: after 50, double the lumens you think you need. A room that felt fine at 30 will feel dim at 60.
The Dimmers-and-Layers Fix: Most Problems Solved Without Rewiring
A single-level light source has one mood: on. That means your living room is as bright at 10 p.m. as at 10 a.m., and your dining room can’t shift from homework mode to dinner mode without turning off the lights entirely.
A dimmer switch is the cheapest transformation in lighting. It lets you run bright ambient light during tasks and low warm light for evening. A $15 dimmer and 30 minutes of wiring (or an electrician visit for those uncomfortable with electrical work) changes the room’s entire personality.
Not all LED bulbs are dimmable. Check the packaging for “dimmable” before buying. If you have existing bulbs that buzz or flicker with a dimmer, the bulb and dimmer are mismatched. LED-compatible dimmers solve most of the problem.
For renters or anyone who can’t touch the wiring, smart bulbs let you dim from your phone without a dimmer switch. A $10 to $15 per bulb investment, zero electrical work.
Room-by-Room Diagnosis and When to Call an Electrician
Living room: the most common mistake is a single overhead fixture with no floor or table lamps. Add two sources at different heights and a dimmer on the main light.
Kitchen: recessed lights spaced too far apart create shadows on the counters. Add under-cabinet task lighting and make sure the bulbs are all the same color temperature.
Bedroom: a single ceiling fixture with no bedside lamps. Add wall-mounted reading lights or table lamps on nightstands, and put the main light on a dimmer.
Bathroom: a single ceiling fixture shadows the face. Add wall-mounted vanity lights at eye level on both sides of the mirror, spaced 36 inches apart.
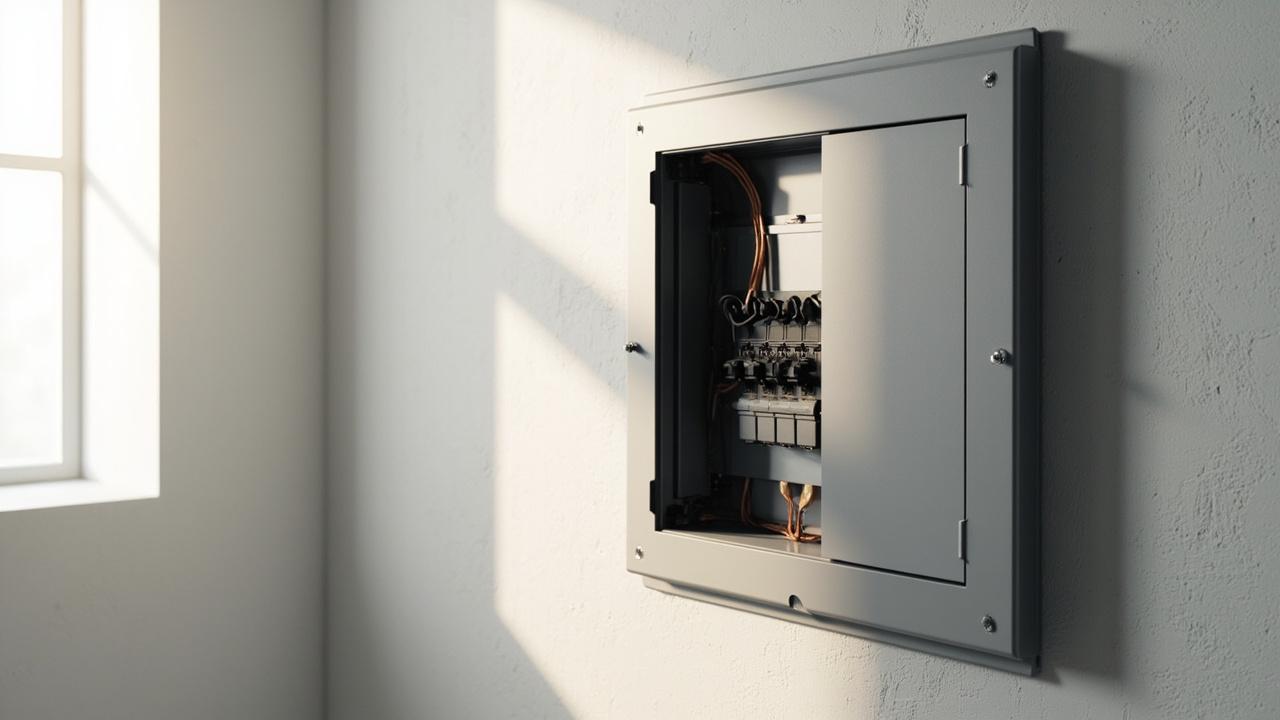
Bulb swaps, plug-in lamps, dimmer switches on existing wiring, and smart bulb installations are all safe DIY projects for a handy homeowner. Turn off the breaker at the panel, confirm the power is off with a non-contact voltage tester, and follow the manufacturer’s instructions.
Call a licensed electrician for: adding new recessed lights (requires ceiling cuts and new wiring), running new circuits (if your panel is full or the room isn’t wired for the load you want), any work in a wet location (bathroom, outdoor) that requires a GFCI circuit, and any project where your local code requires a permit.
A typical electrician visit for a single fixture or switch runs $150 to $400. Adding a new circuit runs $300 to $800 depending on distance from the panel and local rates. Get three quotes and check that the electrician is licensed and insured in your area.
For the full picture on how lighting interacts with materials, color, and spatial planning, the color theory for interior design page walks through how your palette choices affect how light reads on the walls.