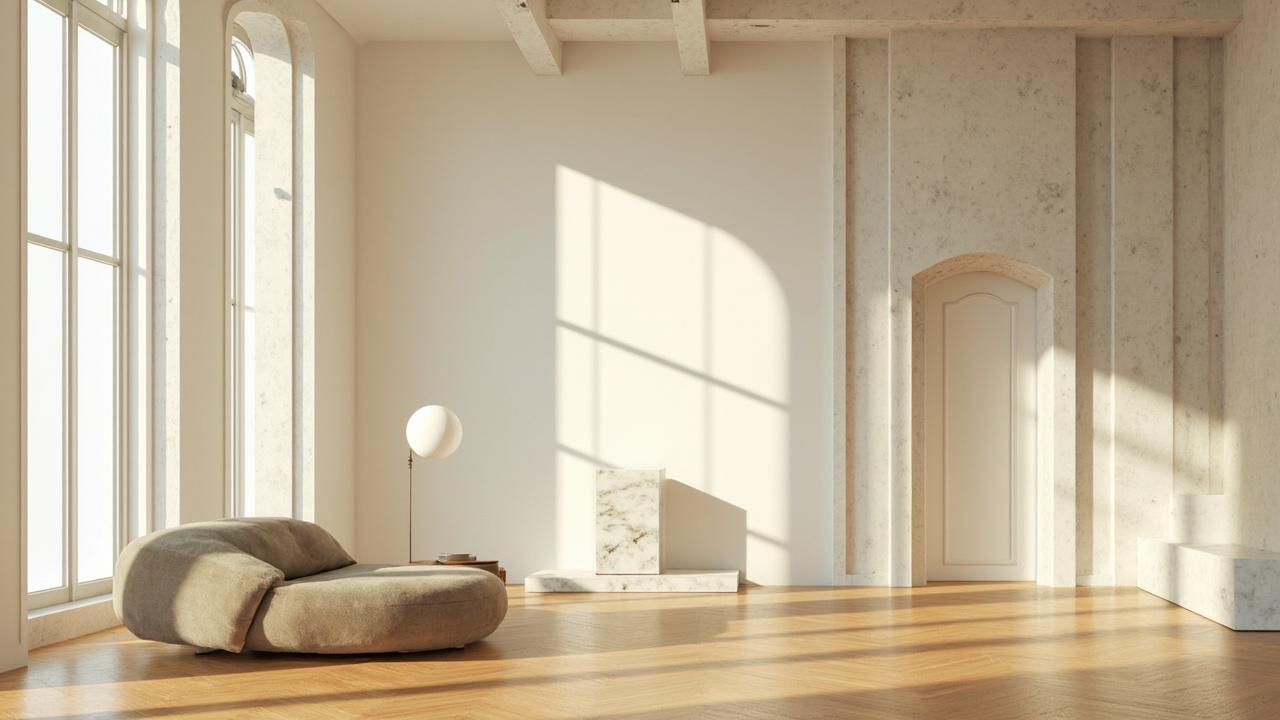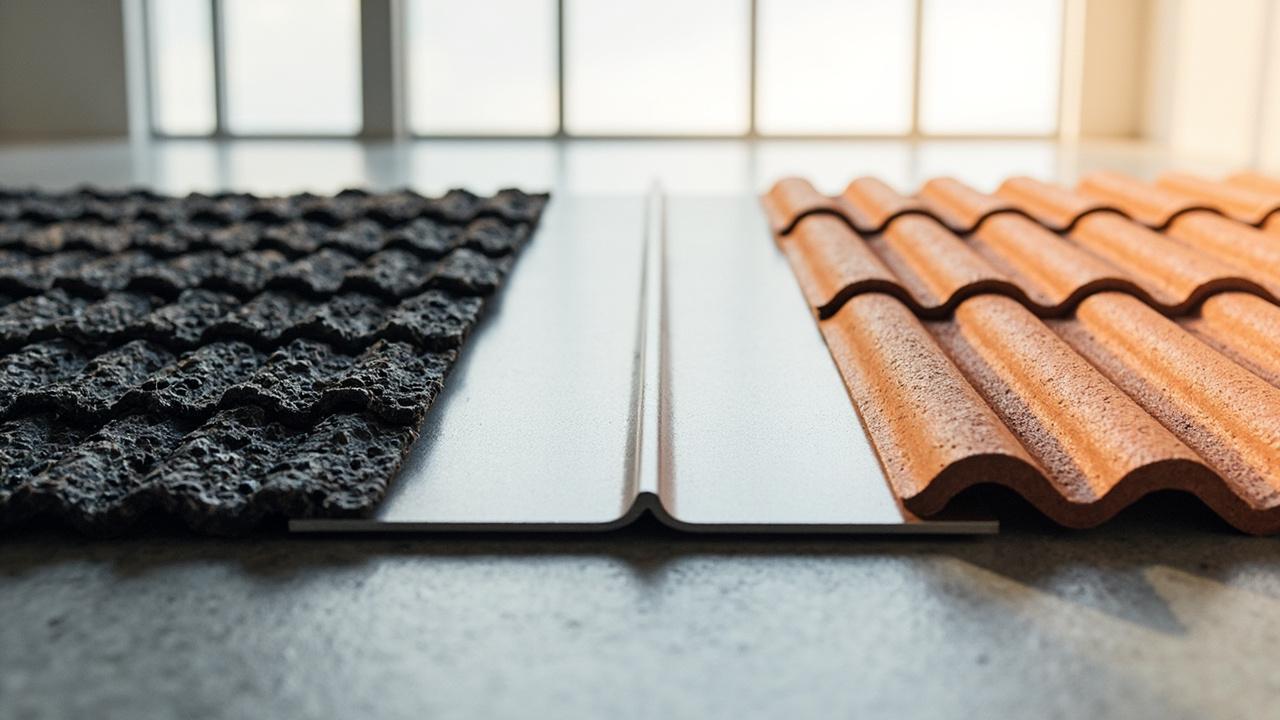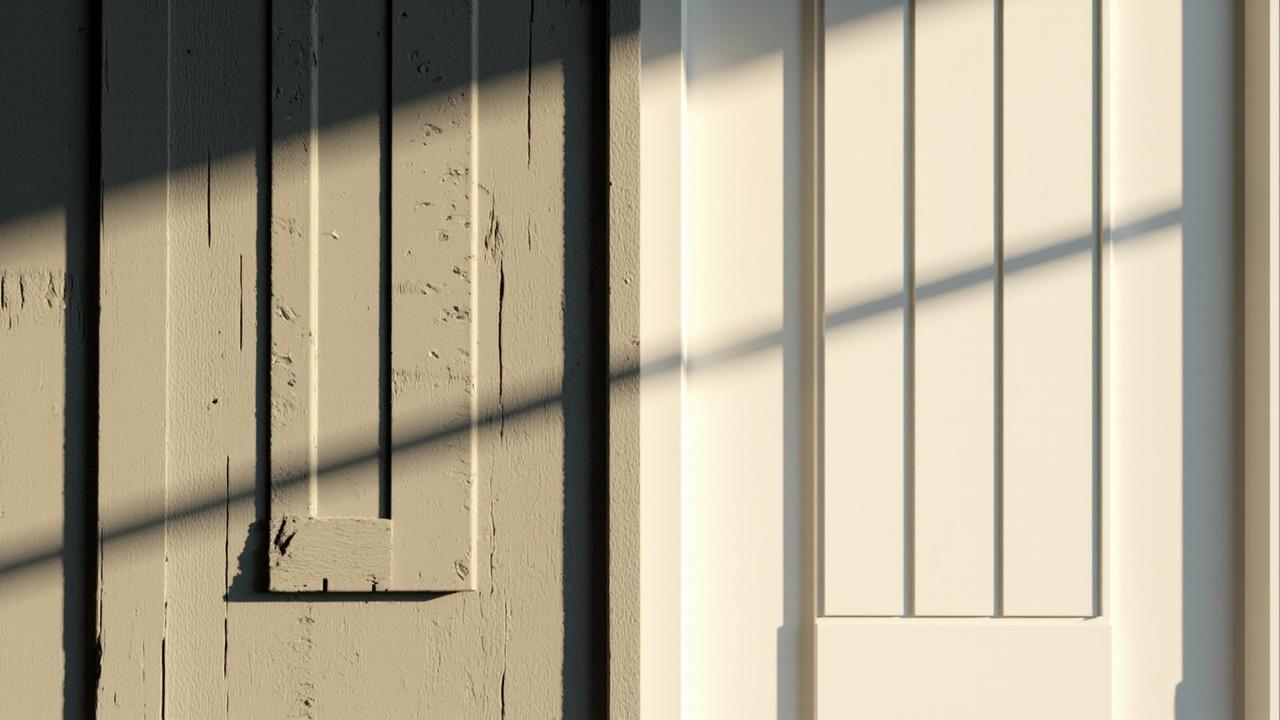

Choosing between drywall and plaster is not about which is better in general. It is about which wall system fits your room, your budget, and your timeline. Drywall panels are factory made gypsum boards that screw to studs and finish with tape and compound for fast, predictable walls, while a plaster system is a wet applied coating troweled over lath or base board that cures into a dense, seamless shell. If you need speed and cost control, drywall wins. If you want hardness, quiet, and a surface that lasts decades, plaster earns its price.
What Drywall and Plaster Actually Are and When Each Wins
Most American, Canadian, and European homes use drywall panels as the default. These are 4 by 8 foot sheets of gypsum core between paper faces, usually at drywall thickness 1/2 inch (12.7 mm) for walls and 5/8 inch (15.9 mm) for ceilings or fire rated assemblies. You screw sheets to studs at 16 inches on center, tape the seams, and build two to three coats of joint compound to a flat plane. The system is dry in hours and sandable the next day. Material is stocked everywhere, crews are easy to book, and repairs use the same tape and mud you already know.
A plaster system is different in kind, not just degree. Traditional three-coat plaster is scratch, brown, and finish coat totaling about 7/8 inch (22 mm) over lath, built by hand and cured slowly. Modern veneer plaster is a thin 1/16 to 1/8 inch (1.5 to 3 mm) hard coat over blue board, a hybrid that installs almost as fast as drywall. Both cure chemically, so the surface feels stone like and resists hallway dents. The trade is skill, a good plasterer is harder to find than a drywall crew.
Use a simple rule to decide. Choose drywall when schedule, budget, or scale leads, a 12 by 14 foot bedroom needs about 400 sq ft of wall and ceiling and can be hung in a day by two installers. Choose veneer plaster for living areas where you will see the walls for years and want seam free depth without full three coat cost. Choose traditional three coat for older homes, curves, arches, or anywhere you want mass and durability to justify scaffolding and longer cure. No option is universally best. Each is best for a condition, and naming that condition early saves rework.
How Each System Works: Layers, Thickness, and What They Tolerate
Layers explain why the two walls feel so different under the same paint. A standard 1/2 inch drywall board weighs about 1.6 lb per sq ft, while 5/8 inch Type X drywall 5/8 inch adds glass fiber for fire performance. Seams depend entirely on paper tape and compound, and finish levels run from Level 0 to level 5 finish, with Level 4 as the usual paint ready standard and Level 5 adding a full skim coat to hide joints under gloss or strong side light. If framing is out of plane more than 1/8 inch over 8 feet, drywall will telegraph it because there is no thick coat to mask the wave.
Plaster works by mass and bond. Three coat over lath builds a monolithic shell where each coat keys into the last, near 7 to 9 lb per sq ft versus 2 to 3 lb for drywall plus compound. That mass creates plaster hardness you can feel, a knuckle rap sounds solid and a chair bump that dents drywall often leaves plaster unmarked. Veneer plaster gives about 80 percent of that hardness at half the thickness, because the thin hard coat bonds to blue board and cures dense. Acoustic performance follows mass, with a sound rating STC 33 to 52 depending on stud spacing, insulation, and layers. Add resilient channel or a second layer to either system and both improve, but plaster starts ahead.
Environment separates them. Drywall wants humidity near 30 to 50 percent and temperature above 50 deg F (10 deg C) while finishing, otherwise compound shrinks or bubbles. Plaster needs patience, with curing time 3 to 7 days before paint and light misting in dry air so coats hydrate rather than flash dry and craze. Paint too early and you trap moisture that peels. Rush sanding and seams show only after the first paint coat, when fixing means repainting.
Drywall vs Plaster Head-to-Head: The Same Criteria, Side by Side
Score both on the same criteria and let your condition decide. The table uses 2025 installed ranges for the US, with UK and EU costs similar after conversion. Labor varies more than material, and remote or high cost metros can run 15 to 25 percent higher.
| Criteria | Drywall | Plaster |
|---|---|---|
| Installed cost | $1.50 to $3.00 per sq ft, Level 4 ready for paint | Veneer $2.50 to $4.50, three coat $5.00 to $9.00 per sq ft, more for curves |
| Speed to paint | 1 to 3 days to hang, tape, sand. Prime when dry | Veneer 2 to 4 days, three coat 5 to 10 days plus cure |
| Surface hardness | Paper face dents easily, corners need bead | Dense shell resists scuffs, crisp corners |
| Sound and feel | Light, slight hollow tap. STC 33 to 39 single layer | Solid tap, quieter. STC 38 to 52 with mass |
| Moisture handling | Softens with water, use moisture-resistant drywall or cement board in wet zones | More tolerant when cured, still needs vapor retarder and ventilation |
| Repair | Easy to cut, patch, retape. DIY friendly | Harder to blend invisibly, best left to a plasterer |
| Best for | Budget, speed, large areas, rentals | Long stay, high traffic, historic or curved spaces |
Conditions change the answer in useful ways. An 800 sq ft basement on a tight budget and a three week window leans drywall at material cost $1.50 to $3.00 per sq ft with crews you can book next week. A living room with 10 foot ceilings, strong side light, and a 15 year stay leans veneer plaster, where the extra $1.00 to $2.00 per sq ft hides seams and takes daily wear. A 1920s house already on wood lath often stays plaster in patches, because drywall patches telegraph unless you skim the whole wall. If you are coordinating finishes house wide, use interior design guide to match texture and sheen to light before you commit to Level 5 or polished plaster.
Installation Realities and Mistakes That Cost You Later
Good walls start before the first sheet or trowel. Check framing flat to 1/8 inch over 8 feet, studs at 16 inches on center for 1/2 inch board, and ceiling joists for sag. On ceilings use 5/8 inch or sag resistant 1/2 inch board to avoid the wave you only notice when a lamp rakes across at night. Drive screws at 12 inches on center on walls and 8 inches on ceilings, set just dimpled not torn, they hold better than nails that pop as lumber dries. Control dust with a vacuum sander and sealed registers, because fine compound dust travels fast and settles on fresh paint.
Plaster demands different discipline. Lath must be tight and furred, control joint breaks placed every 20 to 30 feet and at dissimilar materials so seasonal movement has a place to go, and each coat mixed to maker spec not by feel. The classic failure is impatience, troweling finish over a green brown coat or cranking heat to 85 deg F to force drying, which causes map cracking that shows through paint for years. For veneer, keep blue board dry on site and apply the 1/16 to 1/8 inch coat at the spread rate on the bag. Stretched thin it cures weak and powders when sanded.
Mistakes look similar but need different fixes. Drywall seams that photograph under paint mean compound was stretched thin or the final skim was skipped, the fix is a full skim, not another paint coat. Plaster cracks along stud lines often mean movement without a joint, not bad plaster, repair with elastomeric tape per maker detail rather than rigid filler that will crack again. In wet areas both systems fail the same way when ventilation is weak, a bathroom held at 65 percent humidity after showers will soften drywall and stain plaster. A quiet exhaust fan at 80 to 110 CFM ducted outdoors plus a proper how to apply waterproofing strategy in tiled zones protects either wall longer than any topcoat.
Limits, Trade-offs, and How to Choose for Your Room
Every system has an edge where its strengths fade. Drywall trades hardness for speed, it patches easily but even beaded corners dent and heavy side light reveals seams if you stop at Level 4 under semi gloss. Its fire resistance 30 to 60 minutes per assembly depends on the full system, a single 5/8 inch Type X layer gives about 60 minutes on a tested wood stud wall, but that is a system test not a board property alone. Plaster trades simplicity for mass, it feels premium and quiets a room, yet skilled labor books out weeks and spot repairs rarely blend without recoating the whole wall, while cure time can push move in by a week.
Let the room decide. Choose drywall to close walls quickly before inspection, cover large flat areas on a budget, or keep future access for wiring and plumbing where a handyman patch on a Saturday matters. Choose veneer plaster for high use rooms with strong natural light where hardness pays back over years, like hallways and primary bedrooms. Choose three coat for historic restoration, curves, arches, or thick reveals that drywall cannot bend without faceting, or when you want the quietest wall without adding resilient systems. If the wall may see bulk water, in a bathroom, laundry, or below grade, remember neither finish is the waterproof layer, the membrane and drainage behind it is. Solve water first, then pick the finish.
Before you order, run a quick scope check. Measure wall and ceiling square footage, note ceiling height and curves, count corners, and mark walls with strong side light or frequent contact. Get two bids per system on the same written spec, board thickness, finish level, primer, and bead type. Confirm lead time and cure time against your move in date and budget 10 to 15 percent waste for cuts, and map the spend with home renovation cost. For structural, fire, or smoke separation walls, consult a licensed professional and your local code official and reference IRC Chapter 7 and IBC Chapter 25. The right wall matches your condition and your calendar.