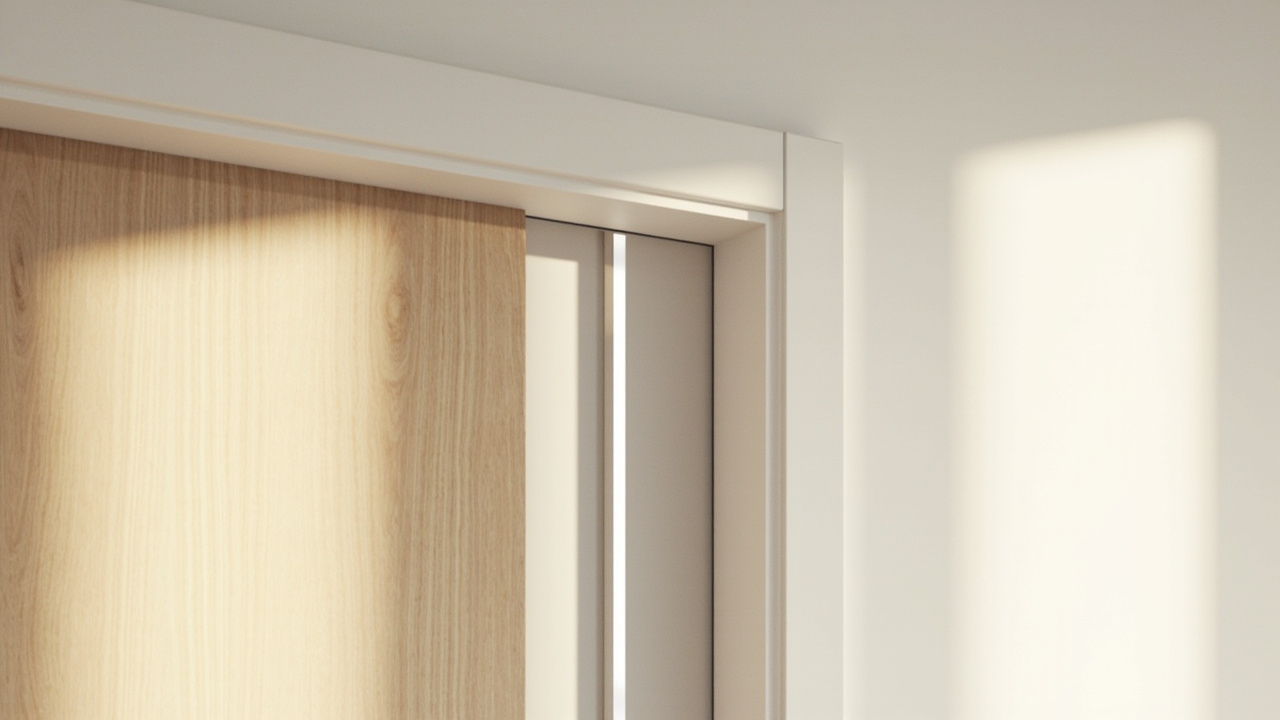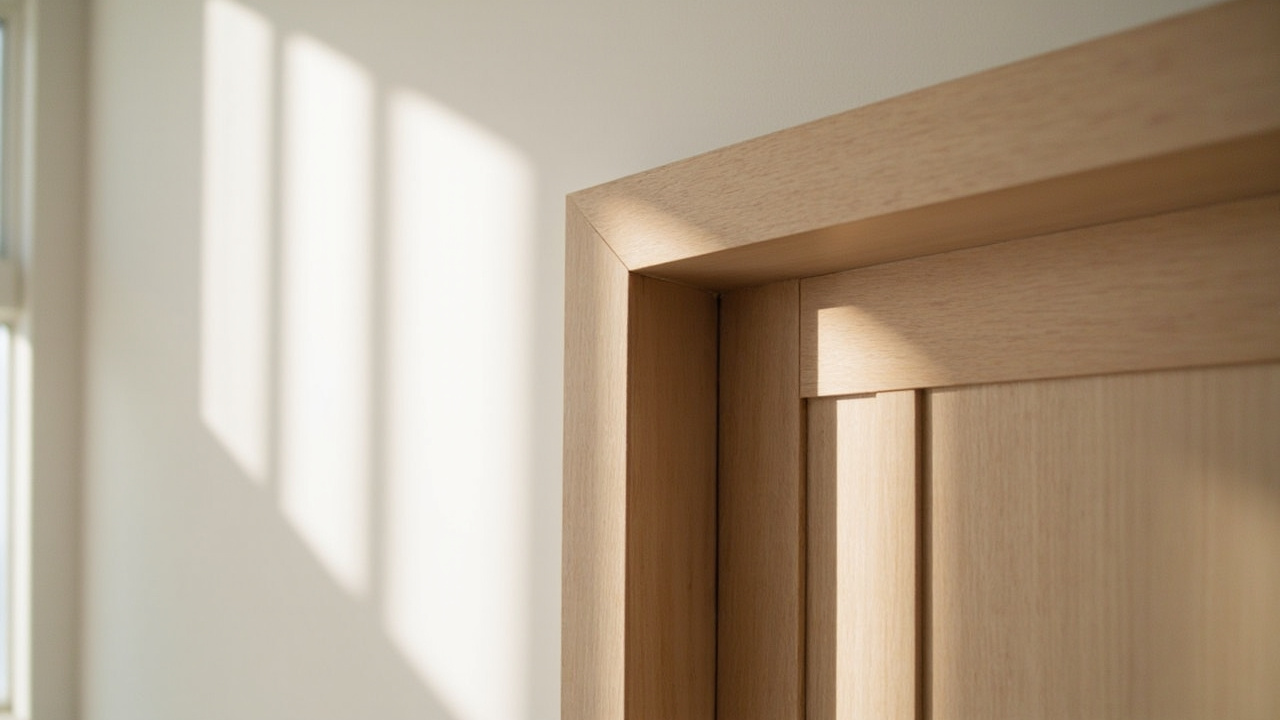

The last two hours of a door job decide whether anyone notices the work. A frame can be square, plumb, and shimmed perfectly and the doorway still looks wrong, because the casing is what your eye lands on.
Door casing is flat trim applied to the wall around a hung door. It hides the joint where the jamb meets the wall and gives the room a visual frame. If the door is hanging, you are at the last stage. If the frame is still loose on the wall, that comes first.
The casing hides the joint, and that is its whole job
Most people use “casing” and “trim” interchangeably, and builders mean the same thing: the decorative moulding applied over the wall around the opening.
It is worth separating that from the door frame, the structural element that holds the door. The frame carries the load and the hinges. The casing carries nothing, and knowing its pieces turns a pile of trim into a shopping list.
- The two legs are the vertical pieces running up each side of the opening.
- The head casing is the horizontal piece spanning the top.
- The top miters are the 45-degree joints where each leg meets the head.
- The backband is an optional second moulding nailed around the outer edge of the casing to build up width and shadow lines.
- The base trim is the separate run of baseboard that the casing legs meet at the floor.
Two things trip people up here. The head casing is always longer than the legs, because it spans the full width plus a miter on each side.
And the bottom of each leg is not a miter. It is a square cut, butting against the base trim, usually scribed to fit an out-of-level floor rather than cut square to the wall.

The reveal is the whole ballgame
The reveal is the small gap between the edge of the door stop and the inside edge of your casing. Understanding why it exists prevents the most common finish carpentry error there is.
The gap is not a mistake. It is deliberate clearance so the door can swing without the casing pinching the jamb, which matters most in humid weather when wood swells.
The insight that saves the job is that consistency matters far more than the exact number. Builders commonly mark the reveal between 1/8 inch and 1/4 inch all the way around, and any number in that range looks right as long as it never changes.
An inconsistent reveal is immediately visible. Nobody can name a 3/16 inch gap in a perfect doorway, but every eye catches one that changes width halfway up a leg.
Mark it with a combination square and a light pencil line, running the same distance from the jamb all the way around. Check from several angles before you cut.
One more rule that saves money: do not caulk the reveal line. Caulk the wall side of the casing and the jamb side, but leave the gap at the reveal open. Sealing it shut can make the door bind.
Measure the opening, not the drawing
Your working drawing tells you what the opening was supposed to be. What matters is what is on the wall now, because frames get shimmed, settled, and installed a little off.
Measure the jamb, the head height, and the width at the floor, then subtract your reveal. If the plan says 32 inches and the jamb measures 31 and 5/8, the plan is not your friend.
Mark and measure the opening
- Measure the jamb width and height, and settle on your reveal.
- Hold the head casing against the head jamb and mark the true length on the piece itself.
- Mark each leg to the floor, then scribe the bottom to the base trim instead of cutting it square to a level line.
- Add a little extra length to the head piece, since you can trim more off but you cannot add stock back.
- Check the diagonal of the opening so you know which leg is longer before you cut.
Cut the miters on a scrap first
Which way to cut each piece depends on which corner it serves and how you stand at the saw. Rather than memorize a rule, mark the piece while it is in position at the wall and note the cut direction then. A common shortcut is to cut the head piece first, then cut each leg to match against it.
Cutting a 45-degree miter scares people who have never done it, but it is mostly setup discipline. Spend two minutes proving your saw on a scrap of the same profile first. A test cut tells you whether the saw is cutting true and whether the fence is square.
- Orient the piece correctly. The thickest part of the profile rests firmly against the fence, and the long point of the cut faces the room, toward the visible face.
- Check the angle on scrap, not on the good piece. Hold two scrap miters together and look down the joint. A gap means the saw is off.
- Cut one piece and test-fit it before cutting the rest. Real trim varies slightly between boards, and a factory edge is not always straight.
Build it flat on the floor, then nail it up once
Fitting the two legs to the head on a flat surface before you touch the wall turns two awkward three-dimensional joints into one flat one, and lets you verify the assembly first.
Lay the legs on a table, bring the head down onto them, coat the mitered ends with wood glue, clamp them, and check the diagonal. A unit square on the table will almost always go up square on the wall.
Give the glue about half an hour to grab, then carry the assembly to the opening. Without clamps, installing one piece at a time is slower but more forgiving.
- Pre-fit all three pieces and confirm the miters close with no daylight.
- Glue the miters, clamp, and check the diagonal of the assembly.
- Nail the casing to the jamb first with shorter finish nails, keeping the inside edge on your reveal line.
- Nail the outer edge into the wall framing with longer finish nails, spaced roughly every 12 to 16 inches.
- Set each nail head slightly below the surface with a nail set.
- Fill the nail holes with wood filler, sand them flush once dry, then caulk the wall and jamb seams.
- Prime any bare wood, then paint or stain.
The nailing detail that trips people up: nail into the jamb and into the wall, not just through the face. Shorter nails on the inner edge catch the jamb and hold the reveal line steady. Longer nails on the outer edge reach the framing studs behind the drywall.
Finishing comes in a fixed order, and skipping it is why patched trim shows up as craters under the paint. Fill, dry, sand flush, caulk, cure, then prime and paint.
Casing styles, and how to pick one for your house
Style choice is less about taste than about matching what the house already is. A mismatched profile in an otherwise consistent room reads as a repair, no matter how well it is installed.
Colonial casing has a curved ogee profile that creates shadow lines and visual depth, and it is the most widely installed style in the United States. It pairs naturally with raised panel doors and detailed baseboards.
Craftsman casing uses flat or slightly beveled boards with a square edge, and its corner is typically a butted joint where the head sits on top of the legs rather than a miter. Wide versions run 3.5 to 5 inches, and it suits Craftsman and arts and crafts homes.
Minimal or flat casing is a square-edged board with no profile at all, usually 2 to 3 inches wide. It works in modern, industrial, and minimalist rooms, and trim suppliers report it as the fastest growing style in new construction in some markets.
Beyond the three common profiles the choice gets interesting. Farmhouse casing is a wide, chunky flat board, considerably wider than the profiles above. Victorian casing is layered and symmetrical, with rosettes and plinth blocks as required parts of the job.
A backband is the budget upgrade for any of them: a flat or ogee strip nailed around the outer edge of standard casing to add depth without buying ornate profiles.
Two rules make almost any choice work. Keep the casing consistent from room to room, and let the window trim set the tone, since designers nearly always match door trim to window trim. The window and door guide covers the window side of that pairing.
Make the casing equal to or slightly narrower than the baseboard height in that room. Wider casing than baseboard looks unbalanced.
Five mistakes, and the one time casing is the wrong fix
Every one of these has a fix, and most are cheaper to fix than prevent. The error is usually in the setup, not the nailing.
- The head piece is cut short. The most common error, because the head spans the full width plus two miters. Cut it slightly long and trim to fit the reveal lines with the piece in position.
- The miters will not close. Usually a saw that is off true rather than a bad measurement. Trim the back of the miter with a block plane, knife, or rasp, and recheck the saw angle.
- Nails go through the visible face. Drive them at a slight angle into the jamb and framing, keeping the head near the edge rather than in the middle of the board.
- The reveal came out wider than intended. You cut to the wrong line. Re-mark at a consistent distance and re-cut, checking all four sides against each other before nailing.
- More gap than expected around the opening. Casing is not a gap filler. If the reveal varies around the perimeter, the frame is out of plumb, and no amount of trim makes that disappear.
That last one deserves its own warning, because it is where a good installer stops and calls for help rather than trimming around it. If the jamb leans, the reveal you marked will be wider on one side than the other, and the variation shows up in the gap.
That is a frame problem, not a trim problem. Plane a projecting jamb flush, shim a recessed one out to the wall, or add jamb extensions where the wall runs past it.
When the frame itself is racked or out of square, correct it before it gets a beautiful casing that highlights the error.
Our guide to installing a door frame covers that work. If the door is not hung yet, our walkthrough of installing a prehung interior door starts there.
The casing is the last step of that job. The full sequence lives in the how to install an interior door guide. If you are replacing only the panel in a sound frame, installing an interior door slab covers that job, and the same casing goes on afterward.
One last detail: casing can meet baseboard with a coped joint, but a plinth block at the bottom of each leg is simpler and protects the vulnerable base of the casing from vacuum damage and foot traffic.