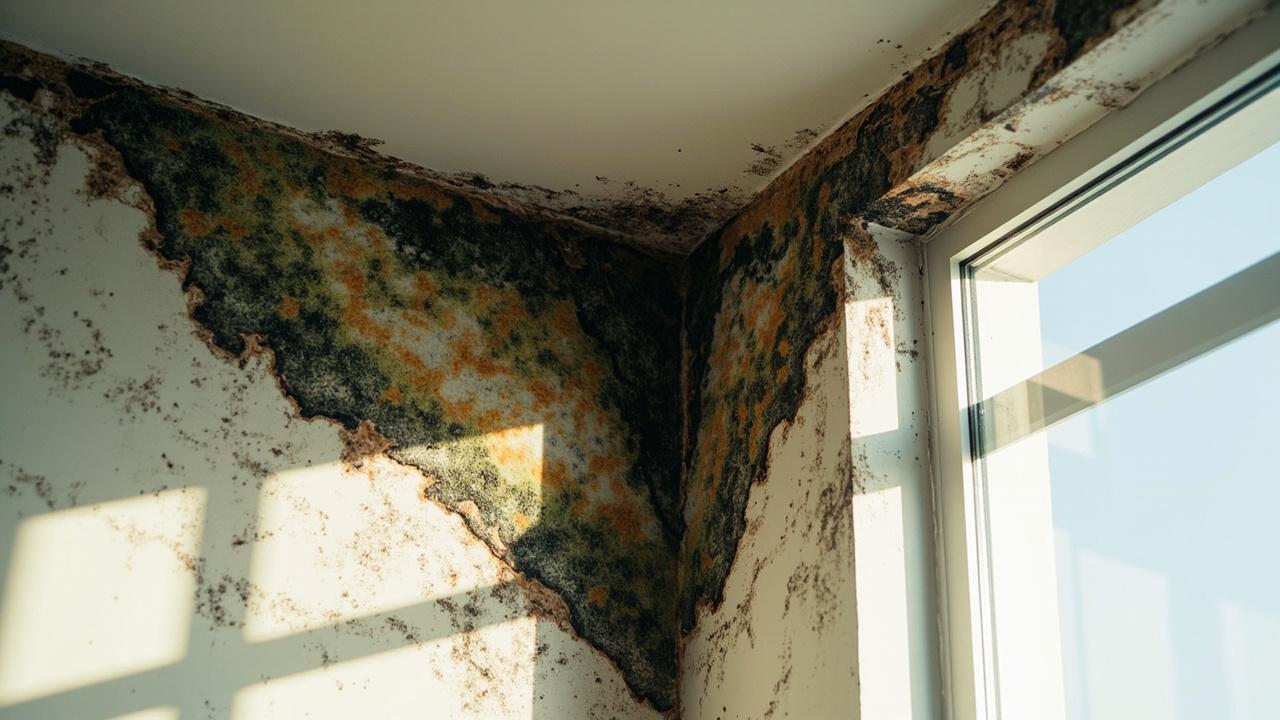

Mold under insulation does not show up because someone forgot to buy a high R-value batt. It shows up because warm moist air met a surface that was colder than its dew point, and nothing in the assembly stopped that meeting.
Insulation keeps a house warm. It does not, on its own, keep a wall dry. That single distinction is the reason this problem keeps showing up in homes that were just reinsulated last year.
If you are smelling something earthy in a back room, seeing dark streaks on drywall, or finding a cold bathroom that sweats in winter, the answer almost always lives in the moisture side of the assembly, not the insulation R-value. This guide walks through how to read the symptoms, find the actual source of moisture, and pick the right fix without making the problem worse.
Why Mold and Insulation Fail Together
Mold needs three things to grow inside a wall or attic: a temperature somewhere in the assembly that drops below the dew point, enough moisture to condense there, and an organic surface for spores to feed on. Standard fiberglass, cellulose, and open-cell spray foam all qualify as organic food. Paper-faced drywall is the buffet. The insulation itself is rarely the cause; it is the stage where the moisture problem becomes visible.
Where this trips people up is the relationship between R-value, dew point, and assembly temperature. Adding more insulation without addressing air leakage moves the dew point further inside the wall cavity.
In a cold climate, that dew point can land on the back of the interior drywall. In a hot-humid climate, the same mistake pushes moisture into the exterior sheathing. Either way, more insulation plus uncontrolled air leakage plus a vapor barrier in the wrong place equals a mold problem that gets worse as you spend more money.
The fix is rarely “tear it all out.” It is almost always a sequence: stop the moisture source, dry the assembly, then fix the insulation or vapor profile so it does not return.
Reading the Symptoms: Where the Moisture Is Actually Coming From
Most attic and wall mold problems trace back to one of four sources. Identifying the right one is the whole game; the wrong fix wastes money and lets the mold return.
- Air leakage from the house interior. Warm, humid air from bathrooms, kitchens, and the living space escapes into the attic or wall cavity through gaps at top plates, chases, recessed lights, and the attic hatch. This is the most common cause of attic mold in cold climates.
- Vapor drive from the exterior. In hot-humid regions like the Gulf Coast or the Southeast, outdoor humid air diffuses and pressure-drives into exterior wall cavities. If the vapor retarder is on the wrong side, the assembly traps moisture between two vapor-tight layers.
- A bulk water leak. Roof flashing, a window pan, plumbing in the wall, or a foundation seepage path. Bulk water overwhelms any insulation detail and produces mold growth within weeks, not seasons.
- Missing or undersized ventilation. A vented attic with soffit and ridge vents works only when the ratio is right (1:150 of the attic floor area, or 1:300 when a Class I or II vapor barrier is present). Blocked soffits or missing ridge vents let moisture accumulate even in a perfectly air-sealed house.
The clue that points to each one is different. Air leakage shows up as mold on the north side of the attic near bathroom or kitchen vents, often with frost on nail tips in winter.
Vapor drive shows up as sheathing or drywall paint bubbling on the exterior wall side. Bulk water shows up as a localized stain that gets worse after rain, not in sync with the heating season. Ventilation failure shows up uniformly across the entire attic deck, not just over one room.
Fixing the Assembly: Air Seal, Vapor Control, Ventilation
Once the source is identified, the repair follows a reliable order. Skipping ahead is how projects double in cost.
Step one is to stop the moisture at its source. For air leakage that means sealing every top plate, every wire and pipe penetration, every recessed light, and the attic hatch with canned spray foam or rigid board. A typical attic air-seal pass uses one to two cans of foam per 1,000 sq ft of ceiling area.
For bulk water, fix the roof flashing, the window pan, or the plumbing penetration before any insulation work begins. Painting over a wet wall never works.
Step two is to dry the assembly. Mold that has already colonized wood or drywall needs to stop growing. That means bringing the moisture content of the affected wood below about 15 percent, measured with a pin meter.
Dehumidifiers and directed airflow do most of the work. Affected porous material (drywall, paper-faced drywall, fiberglass batts in contact with mold) should be removed and discarded, not cleaned. Cleaning fiberglass in place does not stop the spores already embedded in the paper backing.
Step three is to fix the insulation and vapor profile. This is where you choose the right vapor barrier class for the climate zone. Class I (polyethylene, sheet vinyl, foil-faced foam) is vapor-tight.
Step four is to verify the ventilation works. For a vented attic, that means continuous soffit vents, a clear path from soffit to ridge through baffles, and a ridge vent or matching gable vents. The baffles also keep insulation from blocking the soffit. For an unvented attic, you need spray foam against the roof deck to bring the deck into the conditioned envelope, plus a sealed attic hatch.

Choosing the Right Insulation for a Moisture-Prone Assembly
Not all insulation behaves the same in a wet assembly. The choice you make here determines whether the next ten years are quiet or whether you are doing this again.
Closed-cell spray foam (R-6 to R-7 per inch) is the only common insulation that can handle being in contact with moisture without becoming a food source. It also acts as its own vapor retarder at about 2 inches of thickness. The downside is cost, usually $4 to $8 per board foot installed. In a basement rim joist, a crawl space wall, or a moisture-prone attic roof deck, the price is often worth it.
Open-cell spray foam (R-3.5 per inch) is vapor-permeable. It should not be used on the exterior side of a wall in a cold climate, and it should not sit where bulk water can reach it. It does fill gaps well and reduces air leakage dramatically.
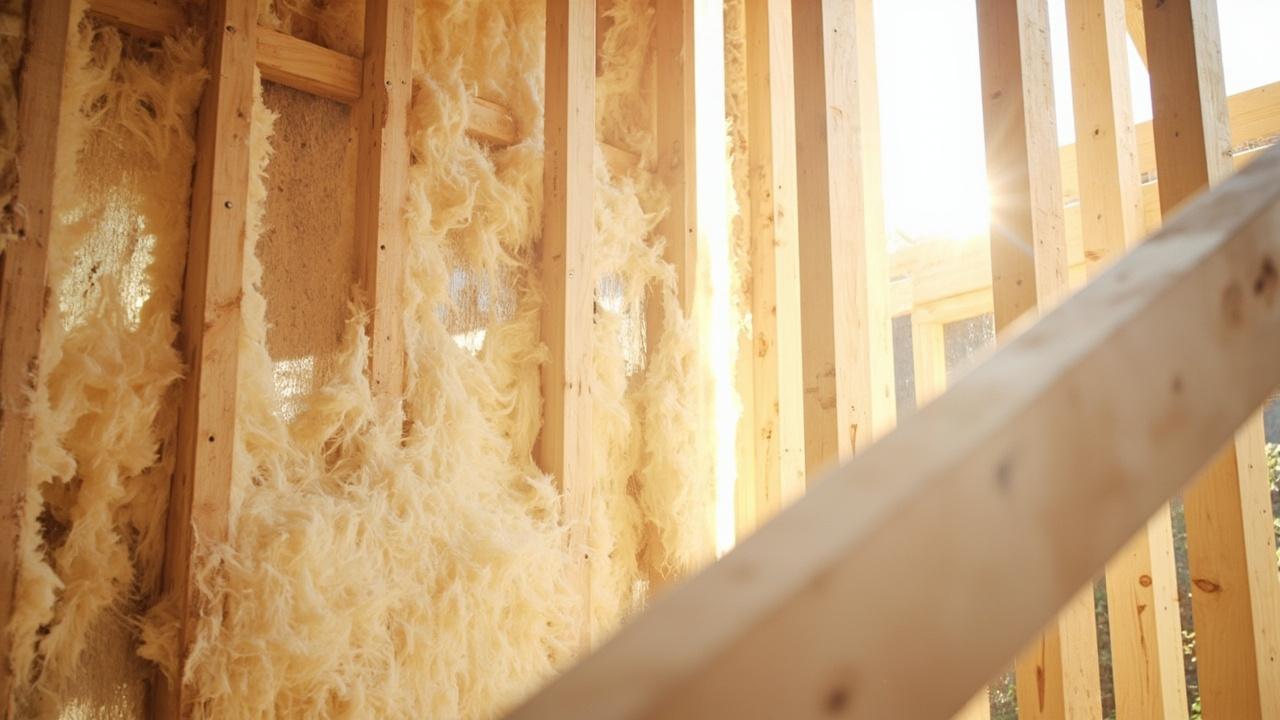
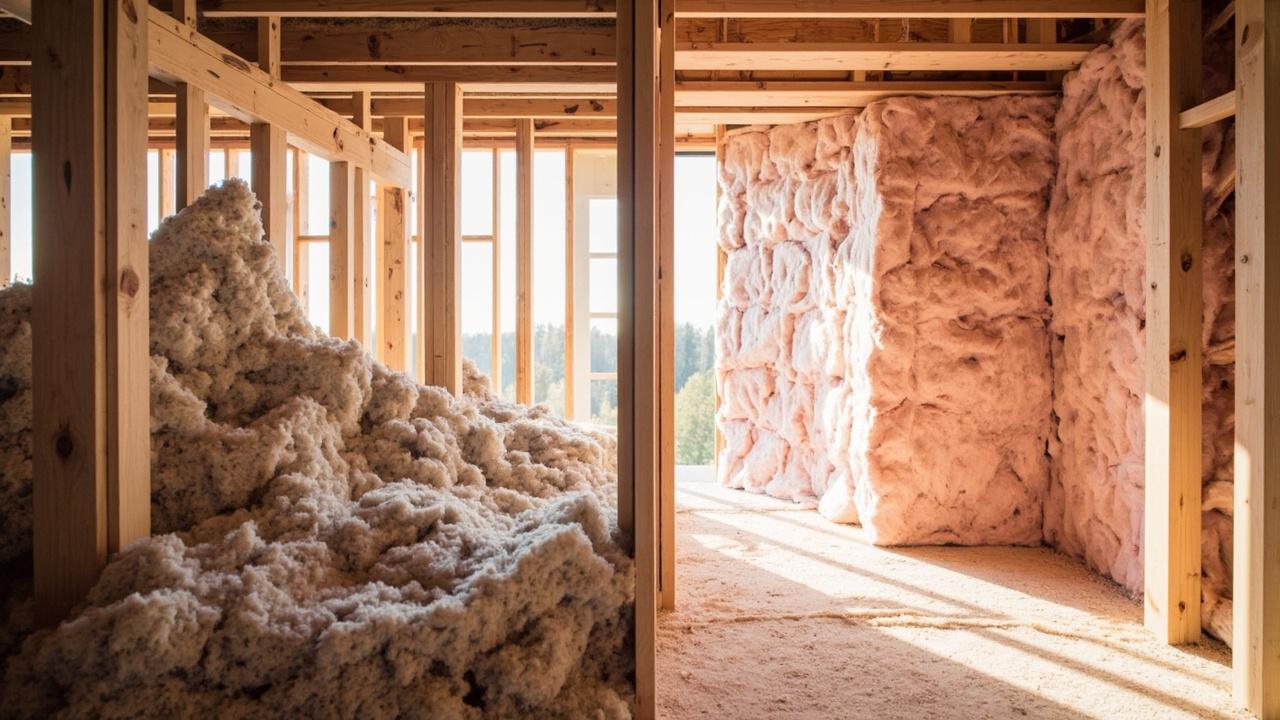
Fiberglass and mineral wool (R-3.1 to R-4.3 per inch) are vapor-permeable and cheap. They must be kept dry and must be paired with proper air sealing and a correctly placed vapor control. If the assembly is right, they perform well. If the assembly is wrong, they are the first thing mold grows on.
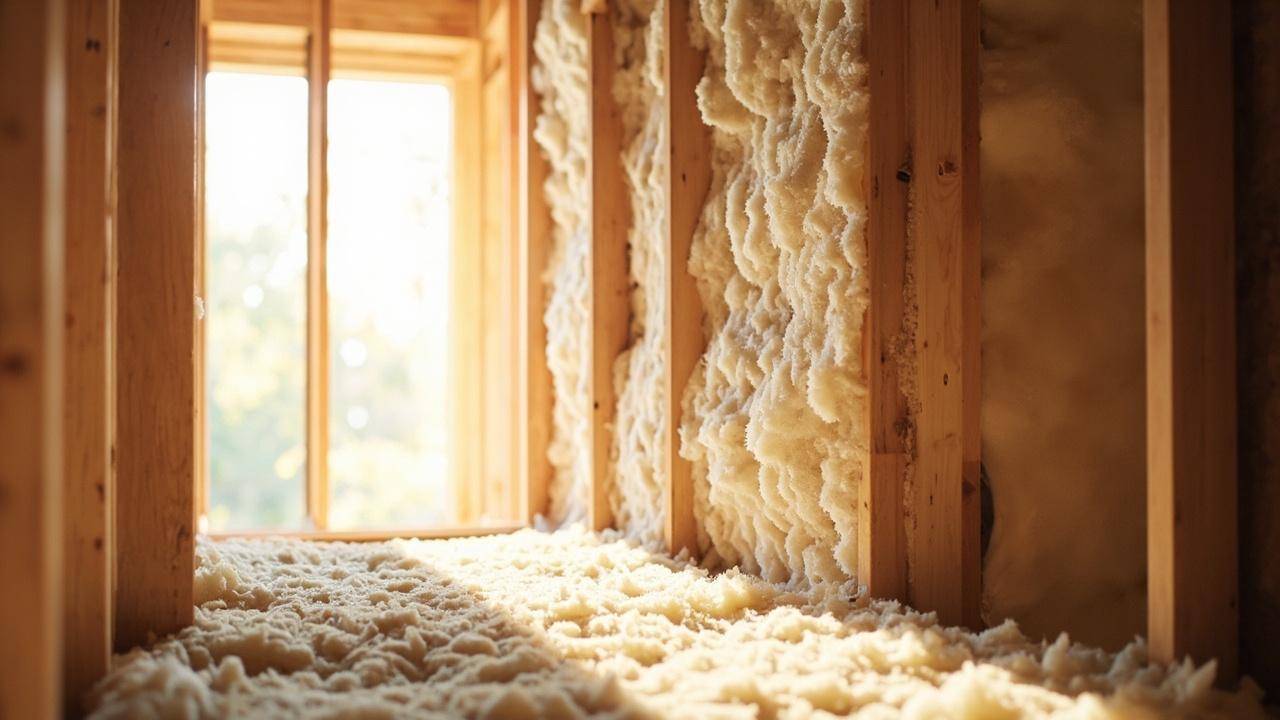
Cellulose (R-3.8 per inch) is made from recycled paper and is treated with fire retardants. It handles moisture by absorbing and releasing it, but if it stays wet above about 20 percent moisture content for long, it compacts and loses R-value. Good for dense-pack retrofits in dry assemblies; risky in chronically wet ones.
Rigid foam board (polyiso R-5.6 to R-6 per inch, XPS R-5 per inch, EPS R-4 per inch) is often used as continuous insulation over the exterior sheathing or under a basement slab. It is dimensionally stable, vapor-permeable at lower thicknesses, and unaffected by mold growth.
Limits, Edge Cases, and When to Call a Pro
Most small attic and rim-joist air-seal jobs are within a careful DIYer’s reach. Larger jobs are not. If the affected area is more than about 30 sq ft, hire a remediation contractor.
Same for mold on structural framing, suspected plumbing leaks inside a wall, or any household member with respiratory issues. The Environmental Protection Agency’s guidance treats more than 30 sq ft as a professional job.
A few situations require a structural or building-envelope specialist rather than a general contractor: cathedral ceilings where the roof deck is the only place to insulate, historic walls where the original vapor profile cannot be reproduced with modern materials, homes with HVAC ductwork inside the attic (unconditioned attic + leaky ducts is a moisture factory), and any case of ice damming that points to a ventilation failure deeper than the eaves.
If you have read this far and you are still not sure which source is driving the problem in your home, a single afternoon with the right tools will tell you more than a week of reading.
Pin moisture meters cost about $40. Many building supply stores lend thermal cameras. Walk the affected area with both before you commit to a fix. The pattern of where moisture is high and where it is low usually names the source on its own.
For a complete walk-through of how to insulate the most common moisture-prone area of a home, the how-to-insulate-crawl-space guide covers air sealing, vapor control, and the step-by-step that pairs with this diagnosis. To budget the work, the insulation installation cost guide breaks out materials and labor per square foot.