


Most home safety code problems are cheap to fix when you find them early and expensive when you find them during a sale. This checklist walks the same ground a safety inspector covers, so you can walk your own house first and know what you are dealing with before anyone hands you a report.
It is organized by system rather than by room, because that is how code actually works. Alarms, electrical protection, egress, stairs and rails, and fire separation each have their own rules, and each one can fail on its own. Work through it with a flashlight and a tape measure, and you will have the answer to the only question that matters before you call anyone.
What an inspector actually checks on every safety visit
A home safety inspection is not a hunt for beauty problems. It is a check that specific life-safety systems are present, in the right place, and working. An inspector is verifying three things: that the device exists, that it sits where the code requires, and that it operates as intended.
That third part is why a walk-through can pass while a test fails. A smoke alarm can be mounted in the right spot, wired correctly, and still have a dead battery or a failed interconnect.
You cannot see either from the doorway.
Most findings fall into a short list. Missing or misplaced smoke alarms. Missing carbon monoxide alarms. GFCI protection absent from wet and damp locations. AFCI protection absent from bedroom circuits. Egress windows too small or obstructed. Stair and railing geometry off by a margin. And missing fire separation between a garage and the house.
The per-room code requirements reference covers what the code asks for in each space. This checklist is the version you can actually carry through a house.
Alarms: the 0.5 in placement rule most homes miss
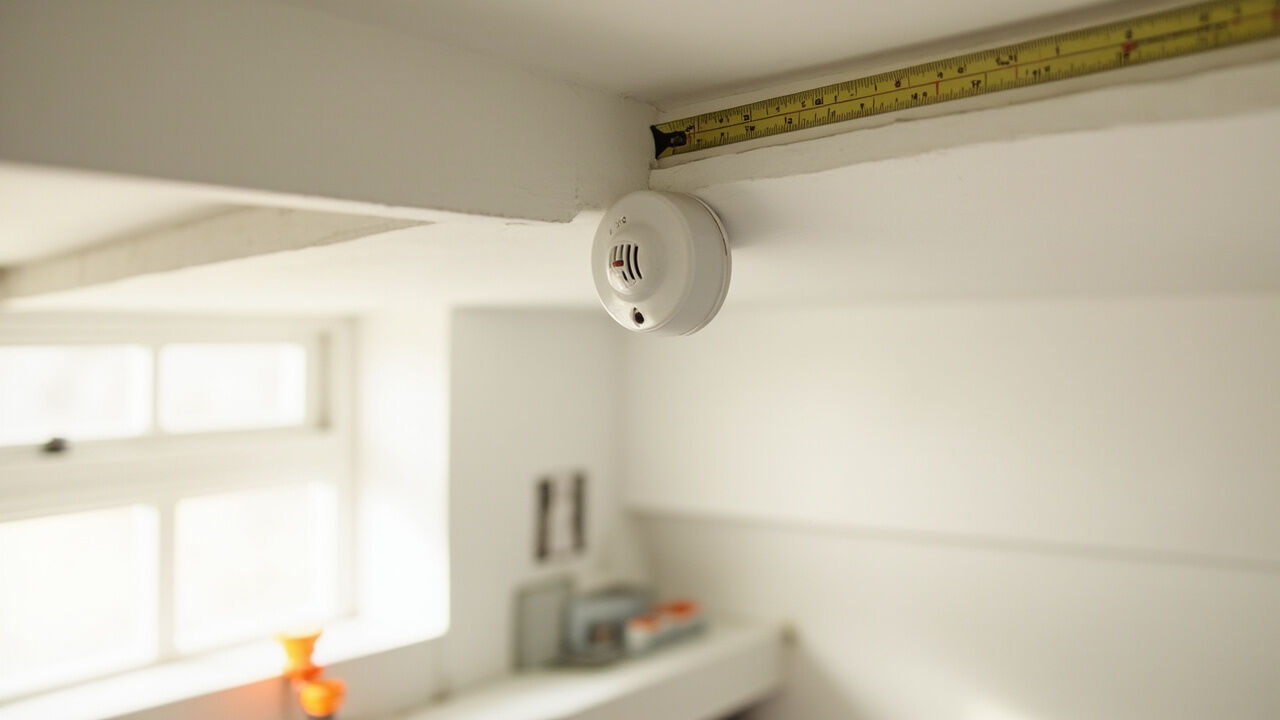
Smoke alarms go inside every bedroom, in every level of the home outside the sleeping areas, and in the living area of each separate dwelling unit. The placement rule people miss is that an alarm mounted on a ceiling must sit at least 0.5 in from the ceiling on the side of joists, not on the surface of the ceiling itself.
Alarm location is measured to the center of the alarm. Inside a bedroom, that means on the ceiling, in the room itself, or on a wall near the bed. A hallway alarm does not satisfy the bedroom requirement, and a downstairs alarm does not cover a basement bedroom.
Carbon monoxide alarms are a different rule and a common miss. They belong within 10 ft of sleeping areas, either inside or outside the bedroom. The basement bedroom is the classic failure, because a furnace in the basement can put the house at risk while everyone sleeps upstairs.
- Smoke alarm inside every bedroom, on the ceiling or upper wall
- Smoke alarm on every level outside sleeping areas
- Ceiling alarms set 0.5 in off the surface, away from joist edges
- CO alarm within 10 ft of every sleeping area, including basement bedrooms
- Alarms interconnected so one sounds when any one sounds
- Battery replaced yearly, or 10-year sealed units tested monthly
Interconnection is where older homes fail. A house can have a working alarm in every room and still have each unit wired only to its own battery, which means a fire in the basement does not wake the family upstairs.
GFCI and AFCI: two protections covering two different hazards
Two separate protections cover two separate hazards, and homeowners routinely assume one covers the other. GFCI protection addresses shock from water contact. AFCI protection addresses fire from an arc fault, usually a damaged cord or a loose connection behind a wall.
GFCI protection is required where water and electricity meet. That means bathrooms, kitchens, garages, crawl spaces, unfinished basements, outdoors, laundries, and any sink within six feet of a receptacle. A GFCI receptacle has two small buttons marked TEST and RESET, and a quick press of TEST should trip it instantly.
AFCI protection has been required in bedroom circuits since the 2014 edition of the National Electrical Code. It shows up as a breaker marked AFCI in the panel, or as a receptacle with a rectangular AFCI button. If your panel has no AFCI breaker on the bedroom circuits, that is a finding on nearly every house built before 2014.
Two more items belong on the list while you are at the panel. AFCI protection for the kitchen has expanded well beyond the 2020 code cycle to cover most kitchens, laundry rooms, and garages.
An ungrounded service, meaning no grounding electrode system, is worth knowing about before an inspector finds it for you.
- Press TEST on every GFCI receptacle; it must trip immediately
- GFCI in bathrooms, kitchens, garages, outdoors, and within 6 ft of any sink
- AFCI breaker on every bedroom circuit
- AFCI on most kitchen, laundry, and garage circuits
- Panel cover on, no gaps, no missing dead-front sections
- No burnt smell, no discolored breakers, no double-tapped breakers
Egress, stair geometry, and rail heights measured precisely
Egress is the way out, and it is checked in three ways: size, operability, and obstruction. A sleeping room below grade needs an egress window with a net clear opening of at least 5.7 sq ft, which sounds small until you measure it and find the window is 20 in wide and 40 in tall.
Net clear opening is the usable part after the frame, the sash, and any finishes. Height must be at least 24 in, width at least 20 in. And the opening has to actually open without a tool, because that is the point of an emergency exit.
Stairs get checked on dimensions. A residential stair riser is 7.75 in maximum, and treads run 9 in minimum to 11 in maximum.
A stair that feels steep is usually measuring over the maximum riser, which is why the height of the people who built the house matters.
Handrails are measured from the top of the stair nose: 34 to 38 in. Guards on the open side of a stair must be 36 to 42 in high.
A guard must resist a 4 in sphere, which is the test that rules out wide gaps between balusters.
- Net clear egress opening at least 5.7 sq ft in any below-grade sleeping room
- Window opens without a key or tool, and nothing blocks it
- Stair risers 7.75 in maximum, treads 9 to 11 in
- Handrail 34 to 38 in above the stair nose, continuous and graspable
- Guards 36 to 42 in, with no opening that passes a 4 in sphere
- Fall protection on any opening over 30 in above the floor below
Fire separation: Type X drywall, latching doors, and dryer vents
The garage is the most common place for a house to fail a fire separation check, and the reason is almost always the same. Someone finished the ceiling with 1/2 in drywall because it was on the truck, when the code requires 5/8 in Type X on the garage ceiling and the wall between the garage and any habitable room.
Type X gypsum is heavier and contains gypsum between paper layers, which slows the spread of fire long enough for a family to get out. It is a specific product, not a thicker version of the ordinary board.
A self-closing, self-latching garage door to the house is the second piece. A door that stays open by itself, or a connector that does not latch, breaks the separation.
The third is the dryer. A dryer vent is allowed a maximum of 14 ft of duct with no more than one 90-degree elbow, and the duct must be rigid metal.
Flexible or vinyl duct is a finding on most older homes because it compresses and traps lint.
- 5/8 in Type X drywall on the garage ceiling and walls facing living space
- No drywall gap where the garage ceiling meets the house frame
- Self-closing and self-latching door between garage and house
- Dryer vent in rigid metal, 14 ft maximum, one elbow maximum
- Furnace and water heater in the garage raised off a slab floor
Turning the checklist into a decision: fix it, trade it, or call an inspector
Now that you have walked the list, sort what you found into two piles. The first pile is items you can correct in an afternoon with a screwdriver and a part from a hardware store: a missing battery, an alarm that needs moving, a loose handrail bracket. Fix those yourself and save the trip.
The second pile needs a licensed trade and possibly a permit: any electrical work beyond swapping a device, any structural change to an opening, anything that touches a garage wall or ceiling assembly. That is the pile to budget for inspection and repair rather than absorb into a weekend.
Two things decide how much of this you need to do. The first is whether you are selling. A buyer’s inspector will look at exactly the items on this list, and the findings that carry resale weight are the life-safety ones: alarms, electrical protection, and egress.
The second is your insurer’s underwriting file, which can be just as specific.
If you want the code context behind any single item, the code families comparison explains which document governs which part of the house, and the home safety codes guide covers how the adopted codes work in your jurisdiction.
Your next step is deliberately small. Walk your own house with this checklist and a tape measure, photograph anything you are unsure about, and take those photos to a licensed inspector or your local building department. Both can tell you in one conversation whether what you found is a real defect or a non-issue, and that conversation is worth far more than anything a checklist can decide on its own.