Drywall and Painting Replace vs Repair: Costs, Pros, and What to Choose
Deciding whether to repair or replace drywall comes down to damage extent, moisture, and cost. Small holes and cracks are cheap to patch; widespread water damage or sagging ceilings usually demand replacement. This guide gives a clear decision framework, cost comparisons, and the pitfalls that turn a simple patch into a full redo. In short, repair when damage is localized and dry, replace when moisture, mold, or structural movement is involved.
Repair vs Replace: The Core Decision
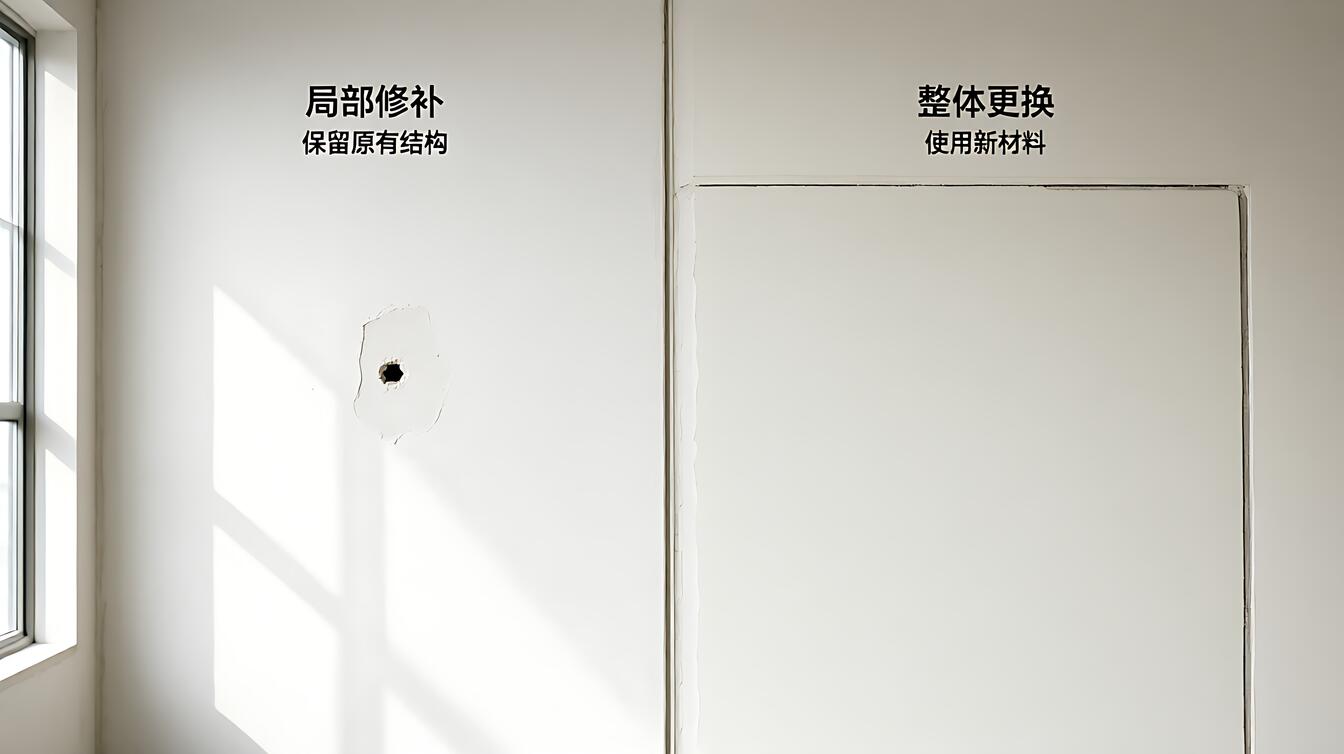
Drywall repair means patching, taping, and finishing a damaged area while keeping the surrounding board. Drywall replacement means removing sections or full sheets and hanging new board. The choice hinges on three factors: how much area is damaged, whether moisture or mold is present, and whether the framing behind is sound.
Localized damage under about 2 square feet with dry framing is a repair. Water stains, soft spots, or sagging point to replacement. Cracks that recur after patching suggest movement and may need structural attention before any board work.
Painting ties into the decision because patched areas can flash if not primed and feathered. A repair only looks seamless when finish level and sheen match the surrounding wall.
When Repair Is the Right Call
Small holes from anchors, doorknobs, or minor impacts patch easily with a self-adhesive patch or a cut-out and backer. Hairline cracks at seams or corners can be re-taped and finished. Nail pops get reset, dimpled, and patched.
Repair works when the board is dry, mold-free, and firmly attached. The framing behind must be sound. If the damage is under 2 square feet and isolated, repair is faster and cheaper.
Technique matters. Cut out damaged paper cleanly, add a backer for holes over 4 inches, tape seams with thin coats, and feather 8 to 12 inches. Prime the patch before color to avoid flashing.
When Replacement Is the Better Choice
Water damage softens gypsum and feeds mold on paper faces. Even moisture-resistant board fails under standing water. Replace any board that is soft, stained, or moldy, and fix the moisture source first.
Sagging ceilings indicate fastener failure, moisture, or undersized board. Replacing with 5/8 inch board and proper fastening fixes the cause. Patching sagging board only delays failure.
Large damaged areas over 2 square feet cost more to patch seamlessly than to replace a sheet. Full-sheet replacement also yields a cleaner finish level.
Fire or code upgrades may require replacing board with Type X in garages or furnace rooms, which is replacement, not repair.
Cost Comparison: Repair vs Replace
Small repairs run $50 to $200 in materials and a few hours of labor. A patched hole under 6 inches with paint touch-up often stays under $100 DIY. Professional small repairs typically cost $150 to $400 including paint.
Sheet replacement runs $1.50 to $4.50 per sq ft installed depending on type, plus finishing and paint. A 4 by 8 sheet replacement with Level 4 finish and paint often lands $200 to $450. Full room replacement scales to the square footage.
Hidden costs matter. Water damage may require insulation replacement, mold remediation, and fixing the leak, which can exceed the drywall cost several times. Always diagnose the cause before pricing the board.
Painting and Finish Considerations
Patched areas absorb paint differently than original board, so drywall primer is essential over repairs. Feather the finish 12 inches or more to hide the transition. Match sheen exactly; even slight differences show under raking light.
For large repairs or full replacement, consider repainting the whole wall or room for uniformity. Touch-ups on aged paint rarely match. Plan paint as part of the project, not an afterthought.
Finish level affects cost. Level 4 is standard for flat or eggshell paint. Level 5 is needed for gloss or strong daylight. Replacement gives a chance to upgrade finish level where light demands it.
Common Mistakes and How to Avoid Them
Patching over moisture traps water and grows mold. Dry the area and fix the source first. Skipping primer causes flashing. Under-feathering leaves visible ridges. Ignoring framing means patches crack again.
Using the wrong board in wet areas leads to repeat failure. Match board type to condition. Overlooking code in garages and fire separations risks safety and resale.
DIY beyond skill shows in finish quality. Large patches and ceiling work often need a pro. Get quotes and weigh labor against your time and result quality.
A Practical Decision Checklist
Is the damage under 2 square feet and dry? Repair. Is there water, mold, or sagging? Replace and fix the cause. Is the crack recurring? Investigate structure first. Is the area a fire separation or garage? Replace with rated board. Is the finish level inadequate for the paint planned? Upgrade during replacement.
Get written quotes separating repair, replacement, finishing, and paint. Confirm board type, thickness, and finish level in writing. Inspect under raking light before final payment. When in doubt, consult a licensed professional, especially for moisture, mold, or fire-rated assemblies.
Cost Scenarios and Next Steps
A single nail pop repair costs under $50 DIY. A 2 foot patch with paint runs $150 to $400 pro. Replacing a 4 by 8 sheet with finish and paint lands $200 to $450. A full 12 by 14 bedroom replacement with Level 4 finish and mid-grade paint runs $850 to $1,750. Water damage remediation can add $500 to $3,000 depending on extent.
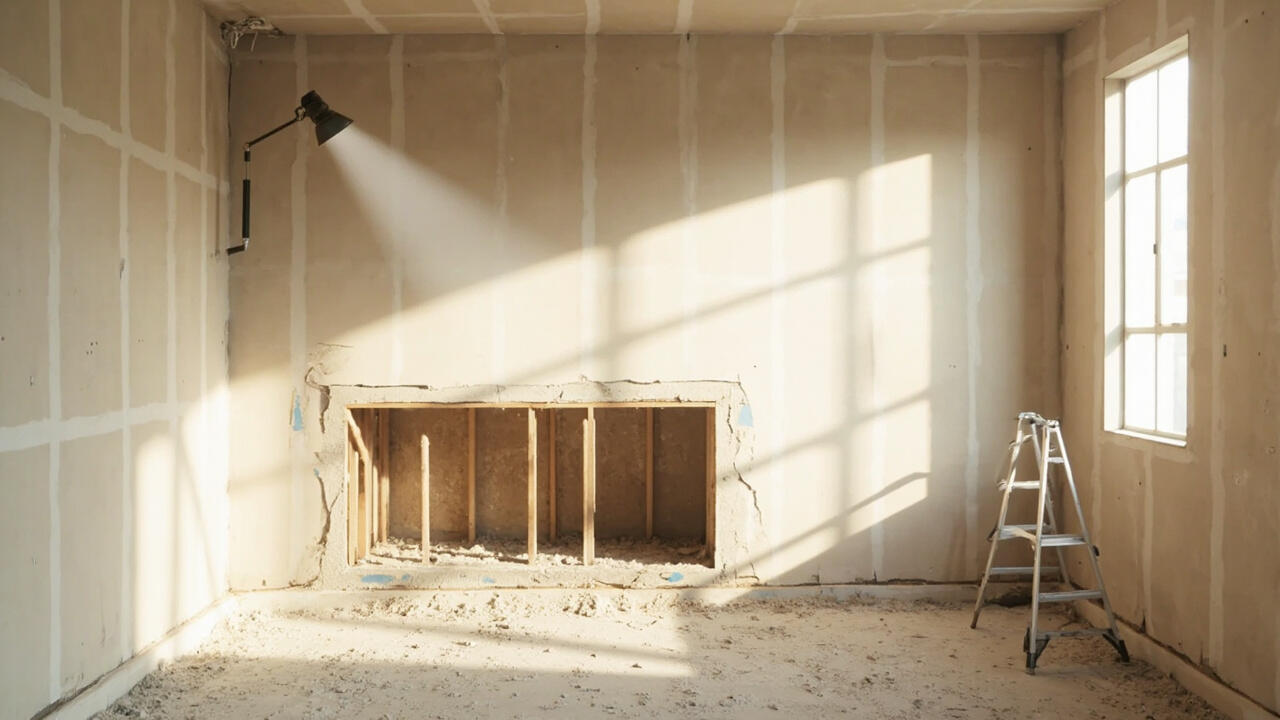
Repair methods vary by damage type. For small holes under 2 inches, use a self-adhesive fiberglass patch, two coats of joint compound, sanding, primer, and paint. For holes 2 to 6 inches, cut a square, insert a backer board secured with screws, patch with compound, tape seams, and finish. For larger holes up to 2 square feet, cut to the nearest studs, install new board, tape, finish to Level 4, and paint.
Materials list: joint compound (all-purpose or setting type), paper or fiberglass tape, sanding sponge, primer, paint, screws, backer board, utility knife, drill, and a 6 to 12 inch knife. Setting-type compound dries faster and shrinks less, good for deep fills. All-purpose compound is easier for final coats.
Time estimates: small hole 1 to 2 hours active plus drying; medium hole half a day; large patch a full day including drying. Paint touch-up adds an hour. Plan around drying times of 24 hours between coats in humid conditions.
Replacement Process Step by Step
First, locate and fix the moisture or damage source. Then cut the damaged board along stud centers, remove fasteners, and pull the old board. Inspect framing for rot or mold and treat or replace as needed. Install new board with screws at 8 inches on edges and 12 inches in the field, leaving a 1/8 inch perimeter gap.
Tape all seams with paper tape and three coats of compound, feathering 8 to 12 inches. Sand lightly between coats. Apply primer, then two topcoats. For ceilings, use 5/8 inch board and consider a helper or lift.
Dispose of old board properly. Gypsum is recyclable in many areas. Keep dust contained with plastic sheeting and a HEPA vacuum, especially in older homes where lead or asbestos may be present in surrounding materials.
Reader Payoff: Action Plan
Inspect damage and test for moisture with a meter. If dry and under 2 square feet, repair with proper feathering and primer. If wet, moldy, or large, replace and fix the cause. Get written quotes separating labor and materials. Match board type and finish level to the room. Inspect under raking light before final payment. When moisture, mold, or fire rating is involved, hire a licensed professional.