
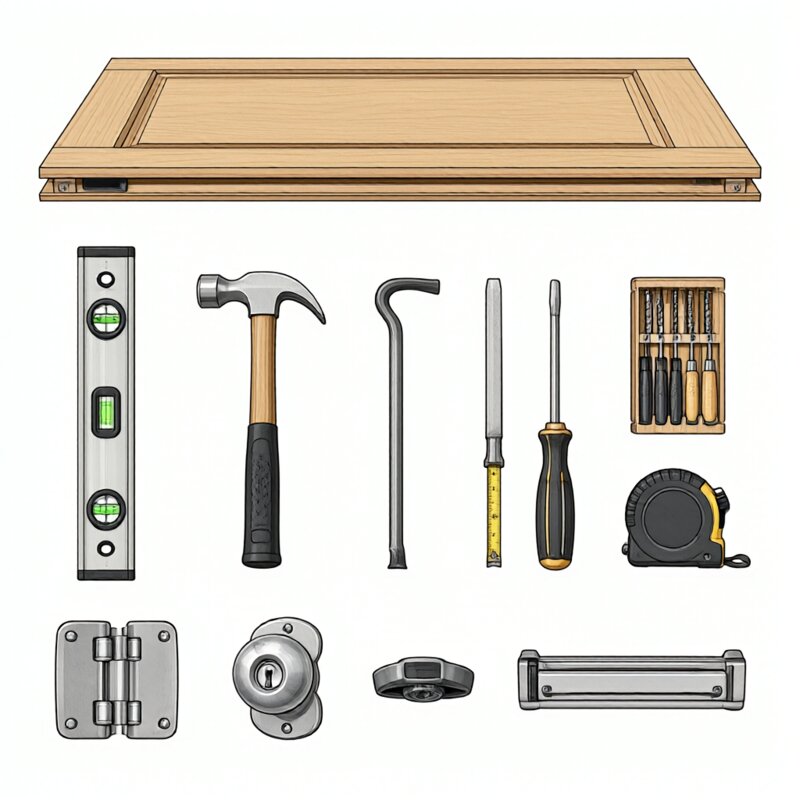
Installing an interior door requires a modest tool kit and the right materials. Having everything on hand before you start prevents mid-project trips and protects the door from damage. This guide lists the essential tools, materials, and consumables, with notes on when to upgrade to pro-grade gear.
The interior door installation tools and materials set includes measuring, cutting, fastening, and finishing items. space planning, lighting lux 200-300, and circulation 900mm in the work area round out a safe setup.
Measuring and Layout Tools
A four-foot level, a tape measure, a combination square, and a pencil are the core. Add a laser level for tall jambs and a plumb bob for quick checks. A framing square helps verify corners. Measure three times before cutting.
Good measuring tools prevent the tapered reveals that plague rushed installs. Replace a bent tape measure; accuracy matters more than convenience. Keep a notepad for recording measurements.
For uneven floors, a straightedge and a compass for scribing are essential. See how to install interior door on uneven floor for scribing technique. A digital angle finder helps with out-of-square openings.
Cutting and Trimming Tools
A circular saw with a fine-tooth blade handles door bottom cuts. A block plane and sanding block refine edges. A utility knife scores veneer to prevent tear-out. For hollow-core doors, a handsaw reduces vibration.
Choose a blade with at least forty teeth for clean cuts. Support the door on sawhorses with a sacrificial board underneath. Seal cut edges with primer immediately.
A jigsaw helps with notches for hinges or strikes, but a chisel and mallet give cleaner mortises. Practice on scrap before cutting the door. Keep blades sharp and use a straightedge guide.
Fastening and Shimming Materials
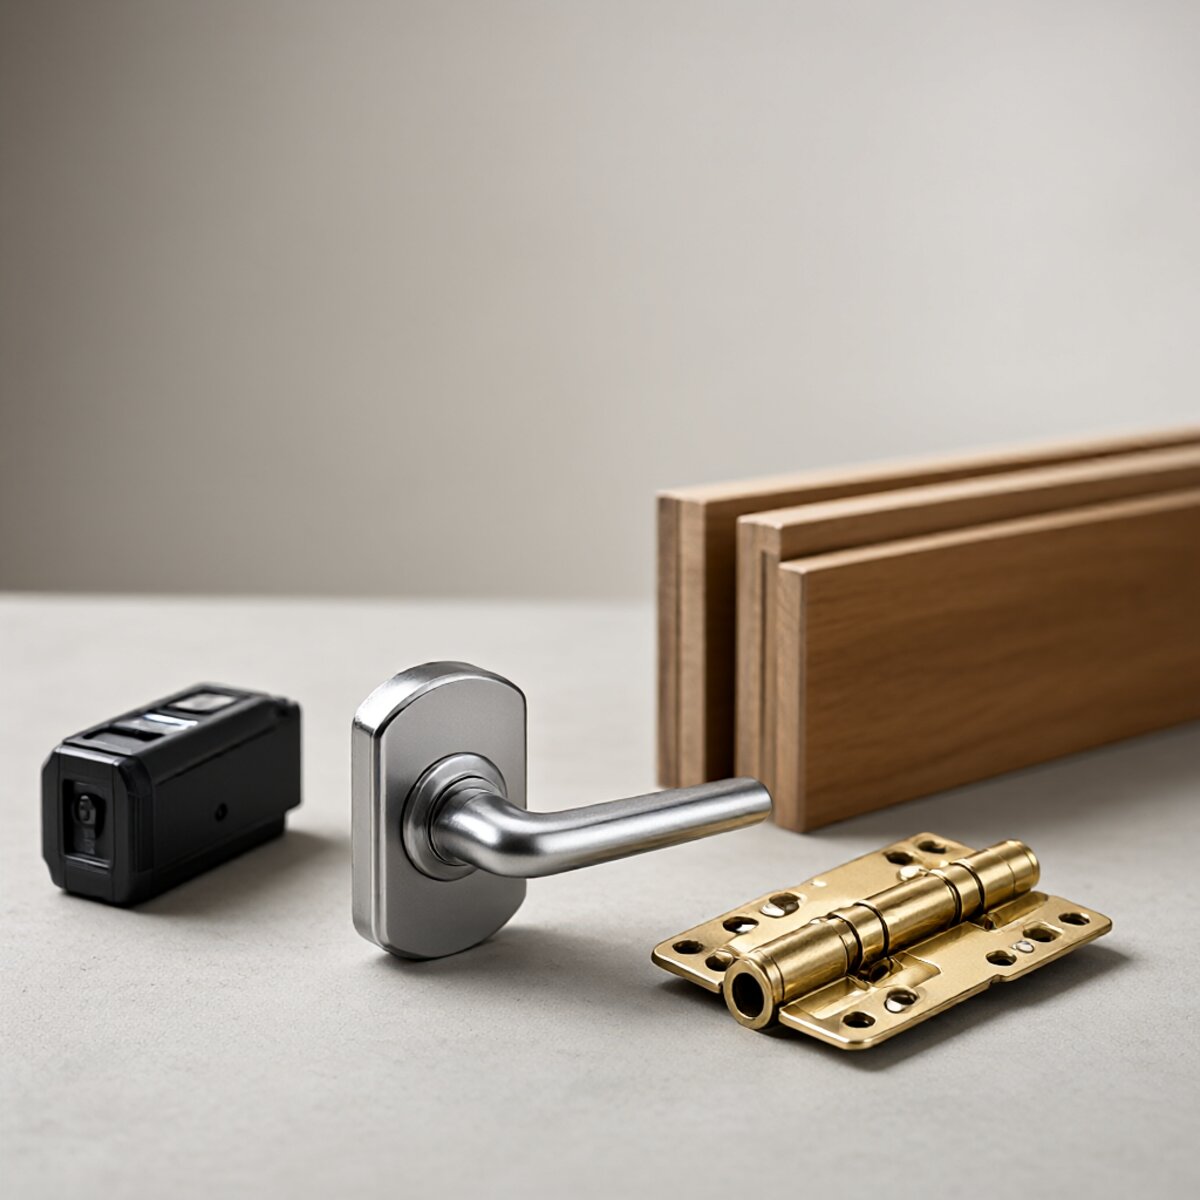
Composite shims, finish screws, and construction adhesive secure the jamb. Use shims that will not compress. A nail gun speeds work but hand-nailing gives more control. Keep a rubber mallet for tapping shims.
Fasten through shims and snap off excess. Re-check plumb after each screw. For concrete floors, use concrete screws and a moisture barrier. Have extra shims on hand; they split easily.
Store shims flat to prevent warping. Match screw length to jamb thickness. Pre-drill to avoid splitting.
Hardware and Finishing Supplies
Hinges, a latch set, strike plates, and screws complete the door. Add primer, paint, and caulk for finishing. Keep touch-up paint for later. A hinge template speeds mortising.
Choose hardware rated for the door weight. Solid-core doors need heavier hinges. Pre-drill screw holes to prevent splitting. For pocket doors, add track hardware and wall blocking.
For barn doors, include a track kit and floor guide. Match finishes across the room for a cohesive look.
Safety Gear and Workspace Setup
Wear safety glasses, hearing protection, and a dust mask. Keep the workspace clear and well lit at lighting lux 200-300. Maintain circulation 900mm around the door. Use sawhorses and clamps to secure work.
A clean workspace prevents accidents and protects the door finish. Lay down drop cloths to catch dust and shavings. Plan for dust collection when sanding or cutting.
Open windows or use a fan for ventilation. Keep a first-aid kit nearby. Never work alone on heavy doors.
Cost Considerations
A basic kit costs under a hundred dollars; pro-grade tools cost more but last longer. Rent specialty tools like a laser level if needed. Compare against hiring; see how to hire an interior door installer for quotes.
Review interior door cost per square foot for budgeting. Buying quality tools pays off across multiple projects. Budget for consumables like blades and sandpaper.
Frequently Asked Questions
What is the minimum tool set? Level, tape, saw, shims, screwdriver, and chisel handle most installs.
Can I use a hand saw? Yes, but a circular saw is faster and straighter.
Do I need a nail gun? No, hand nailing works fine.
What shims are best? Composite shims resist compression and moisture.
How do I avoid tear-out? Score the cut line and use a fine-tooth blade.
Safety and When to Call a Pro
If you lack tools or confidence, hire a pro. Review how to hire an interior door installer for vetting. A pro brings the full kit and warranty. For complex openings, professional help saves time and rework.
Fastening and Hanging Tools
A drill-driver with bits, a hammer, shims, and finish nails complete the hanging kit. A nail set sinks nails below the surface. A screwdriver set covers hinge screws. A pry bar helps remove old trim without damage.
Use a countersink bit for clean screw holes. Keep spare screws on hand. A magnetic bit holder speeds work. Pre-drill to avoid splitting hardwood jambs.
For pocket doors, add track hardware and a level for plumb. For barn doors, add a stud finder and lag bolts. Match fasteners to the wall type.
Finishing and Touch-Up Materials
Wood filler, caulk, primer, and paint or stain finish the job. Sandpaper in multiple grits smooths filler. A small brush handles touch-ups. Keep mineral spirits for cleanup.
Choose paint compatible with the door material. Prime cut edges to seal moisture. Use painter’s tape for crisp lines. Allow proper drying between coats.
Have rags and a drop cloth ready. A tack cloth removes dust before finishing. Quality brushes reduce brush marks.
Safety Gear and Workspace Setup
Safety glasses, hearing protection, and a dust mask are essential. Gloves protect hands from splinters and sharp edges. A first-aid kit should be nearby. Keep the work area clear and well lit.
Good space planning, lighting lux 200-300, and circulation 900mm reduce accidents. Secure the door on sawhorses. Keep cords out of walkways.
Unplug tools when changing blades. Store sharp tools safely. A tidy site is a safe site.
Tool Care and Storage
Clean tools after use and store them dry. Sharpen blades regularly. Calibrate levels and squares periodically. Replace worn measuring tapes.
Organize tools in a toolbox or bag for the next project. Label consumables. A well-maintained kit lasts years and improves results.
Common Mistakes to Avoid
Using a dull blade causes tear-out. Skipping acclimation leads to warping. Over-tightening screws strips holes. Neglecting to seal cut edges invites moisture damage.
Measure twice and cut once. Test fit before final fastening. Do not rush the finishing stage. Quality work takes patience.
Storage and Transport
Transport doors flat or supported to prevent warping. Store in a dry, climate-controlled space. Keep doors off concrete floors. Allow acclimation before cutting.
Protect finishes with moving blankets. Avoid stacking heavy items on doors. Handle with clean gloves. Inspect on delivery.
Upgrading and Pro-Grade Options
Pro-grade tools improve speed and accuracy. A track saw beats a circular saw for precision. A router with hinge jig speeds mortising. Laser levels improve plumb.
Invest gradually. Start with essentials, then upgrade as skills grow. Quality tools pay for themselves.
Measuring and Marking Best Practices
Measure at multiple points and record the smallest. Use a sharp pencil and fine lines. Transfer measurements carefully. Double-check before cutting.
Mark hinge locations consistently. Use a story stick for repeatable layouts. Verify plumb and level. Accurate marking prevents errors.
Disposal and Cleanup
Remove old doors and trim responsibly. Recycle where possible. Bag dust and debris. Sweep and vacuum the work area.
Dispose of solvents and finishes per local rules. Store leftover materials safely. A clean site protects your home and health.
Cost of Tools and Materials
A basic kit costs modestly; pro-grade gear costs more. Buy essentials first and upgrade over time. Borrow or rent specialty tools. Quality pays off over many projects.
Track spending and reuse consumables. Maintain tools to extend life. A well-stocked kit reduces project delays.
Environmental and Health Considerations
Choose low-VOC finishes for indoor air quality. Ventilate during sanding and painting. Dispose of dust safely. Protect family and pets from fumes.
Use dust collection when possible. Wear respirators for fine dust. Keep work areas clean. Health-conscious choices improve long-term comfort.
Record Keeping and Documentation
Keep receipts, manuals, and measurements. Photograph the process for reference. Note lessons learned. Documentation helps future projects.
Create a simple checklist for next time. Update your tool inventory. Track which products performed well. Continuous improvement saves time.
Conclusion
The right tools and materials make interior door installation smoother and safer. Invest in quality essentials, maintain them well, and your projects will succeed.